WHEN YOU DISCOVER that your camera can pick up ten times as many stars as your naked eye, taking photos of them can be just as fun as staring at them. Astrophotography is definitely a challenge, but once you learn a few basics you’ll be blown away by the images you’re capable of capturing. Grab your tripod, pop on a head lamp and let’s get started…
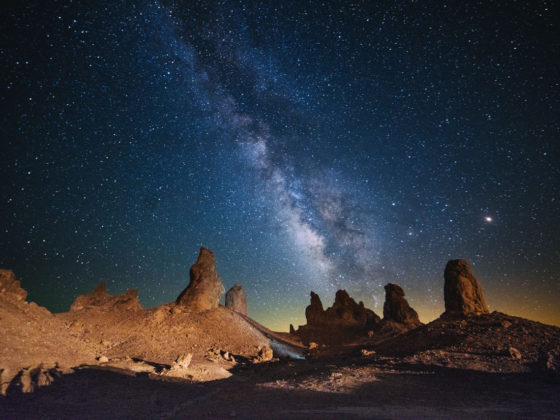
Image courtesy of Frank Lopez
9 Ways to Get Killer Shots of the Stars at Night
1. Go dark
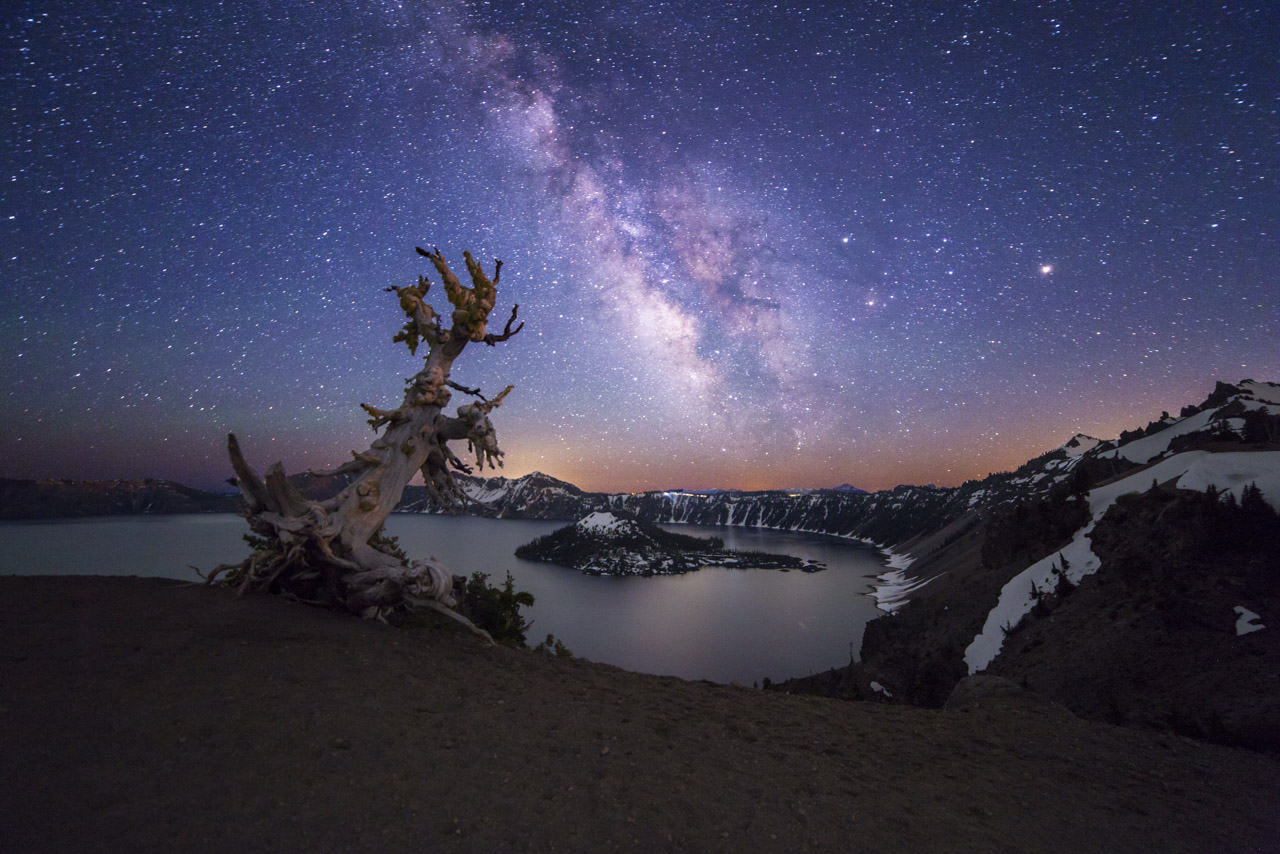
Image courtesy of Robby Edwardian
The less light pollution, the better off you are, so try to pick as remote a location as possible. On that note, you’ll want to pay attention to the moon’s phase and what time it sets, because bright moonlight can be just as much of a game killer as city lights. Moody skies are generally not your friend, but a few clouds (or a little bit of fog) can add some depth to a shot.
2. Get low
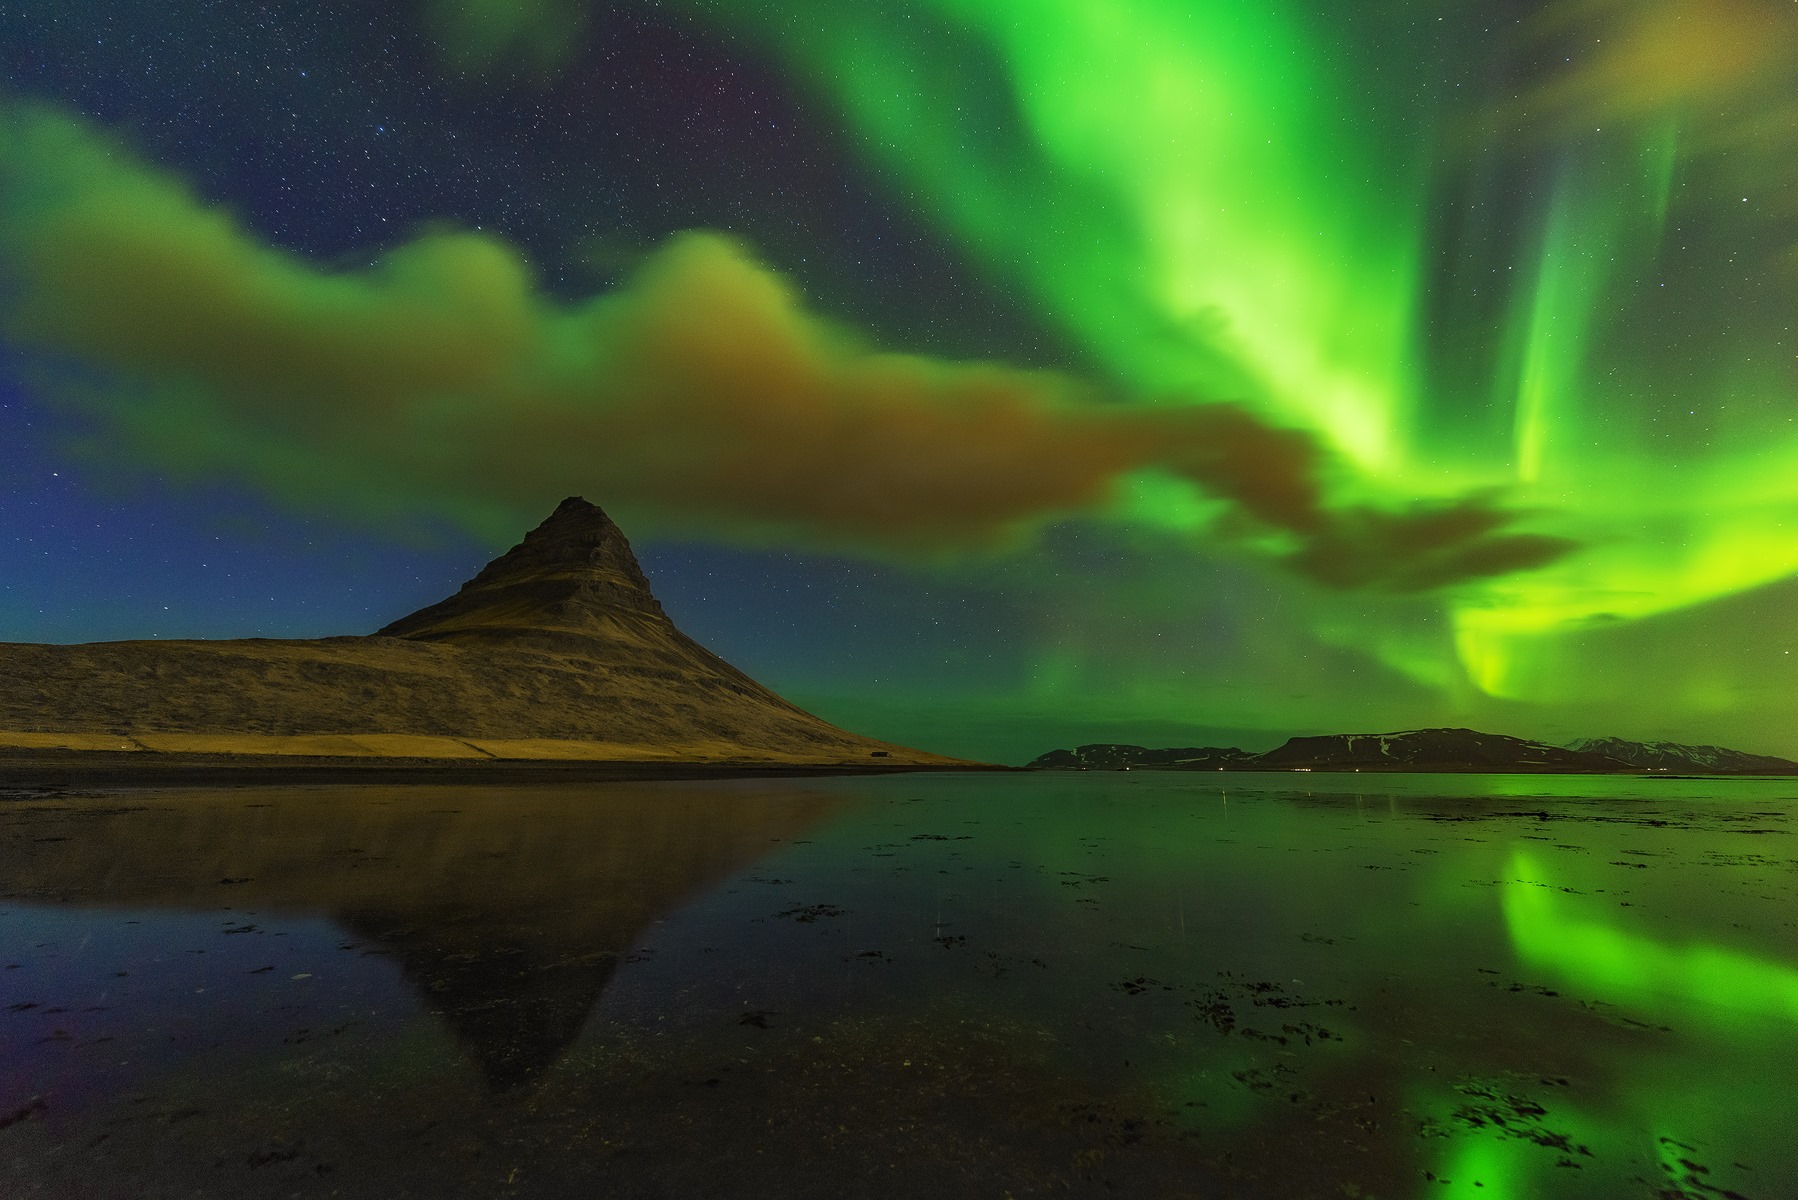
Image courtesy of Mike Mezeul
Put your camera in manual mode and drop your aperture as low as it will go, which on most lenses is somewhere between f/2.8 to f/4. While you’ll get the best results on a DSLR or mirrorless camera, you can still do this on a point and shoot, provided that you can put it in manual mode. If you’re hooked after a few astro sessions and you really want take your photos to the next level, invest in a manual Rokinon 14mm f/2.8, which is one of the best (and
cheapest) lenses for night shooters.
3. Find your focus
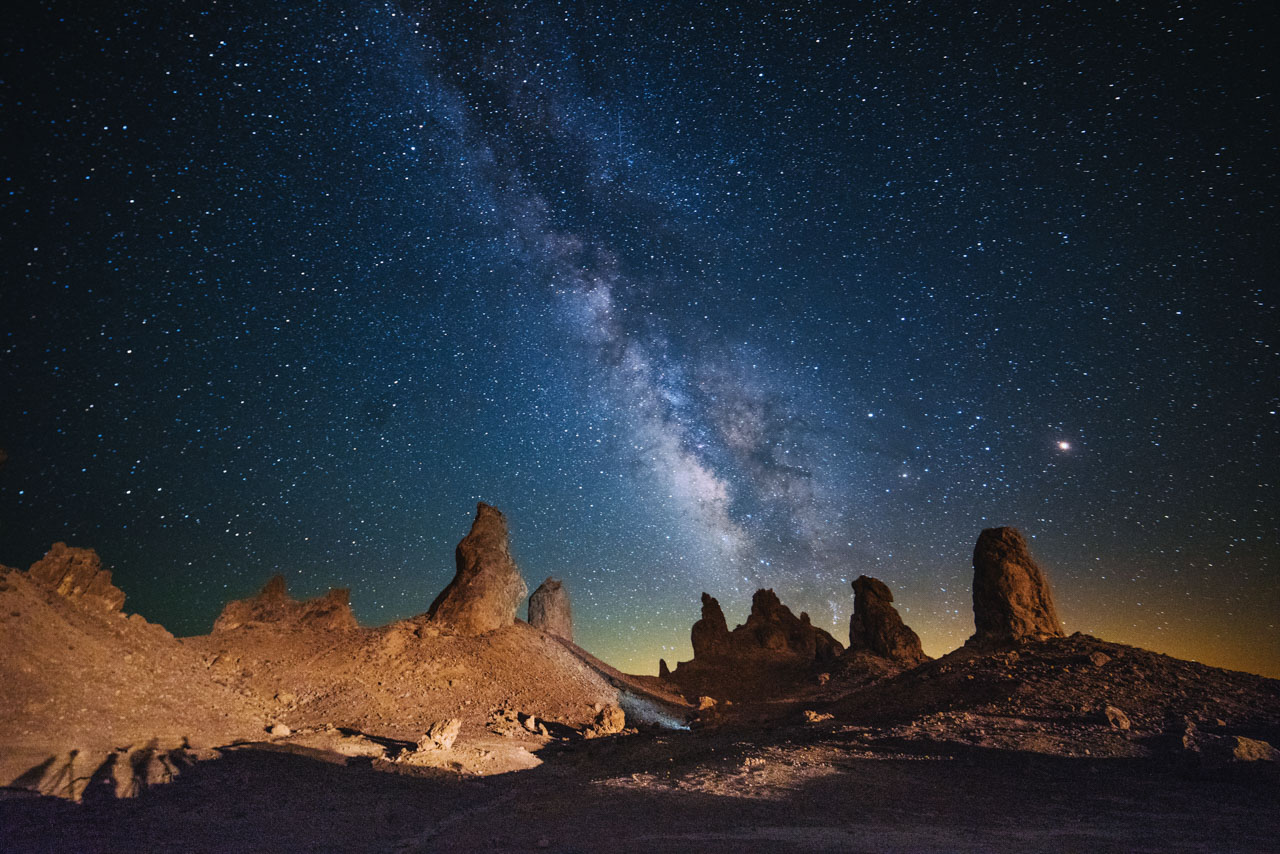
Image courtesy of Frank Lopez
Once you’ve found the perfect spot and dropped your f stop, getting the stars in focus is the next order of business. First you’ll want to make sure your lens is switched from auto focus to manual focus. Then you’ll want to move your focus to infinity and crank it back just a hair to the left. This is probably the hardest part about shooting the stars, so don’t get frustrated if it takes you a while to figure it out.
4. Adjust your ISO
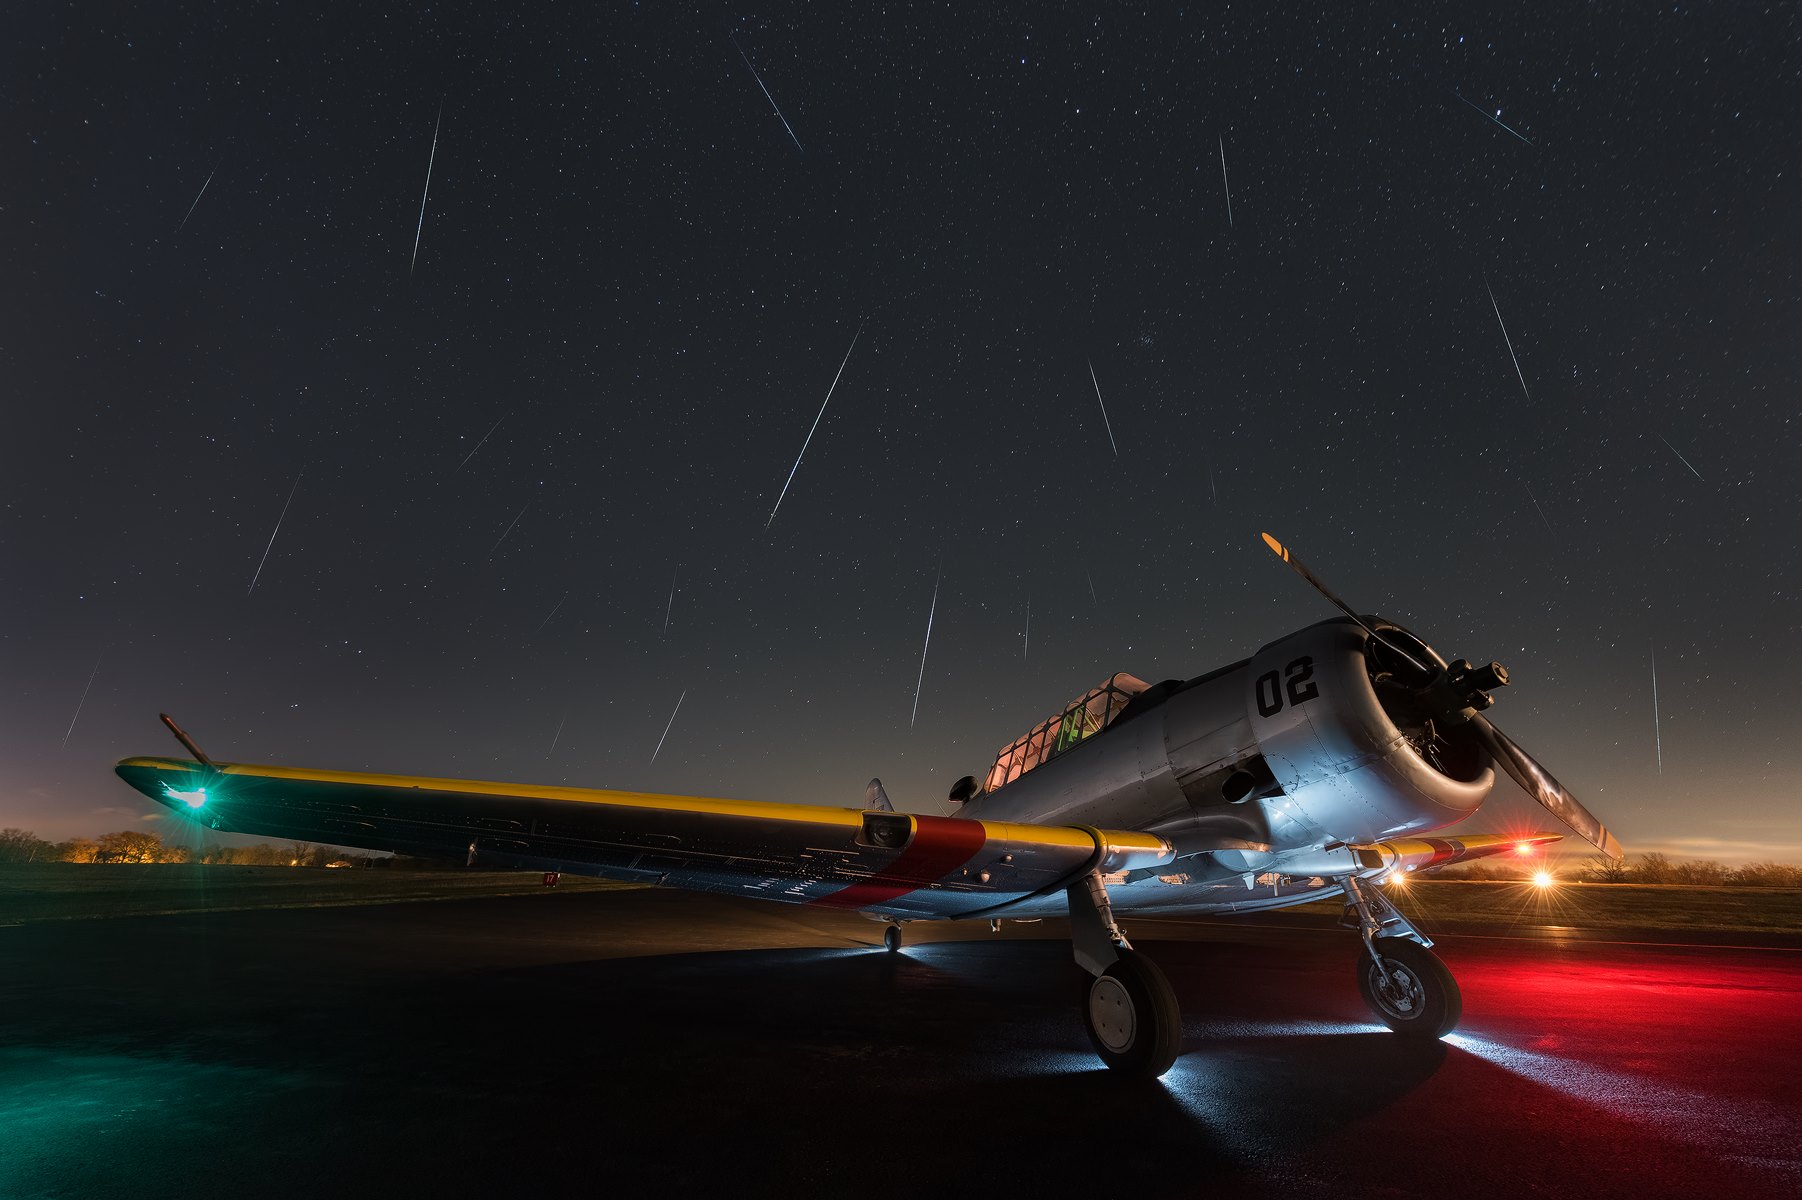
Image courtesy of Mike Mezeul
The magic ISO range is somewhere between 2000-4000, depending on available light, your gear and what style you prefer. I personally don’t like super grainy bright star shots, so I generally don’t set my ISO higher than 2500. However, some DSLR and mirrorless cameras can give you incredibly noise-free images with a very high ISO, so test this out. Oh, and don’t forget to switch your ISO back the next morning!
5. Set the right shutter speed
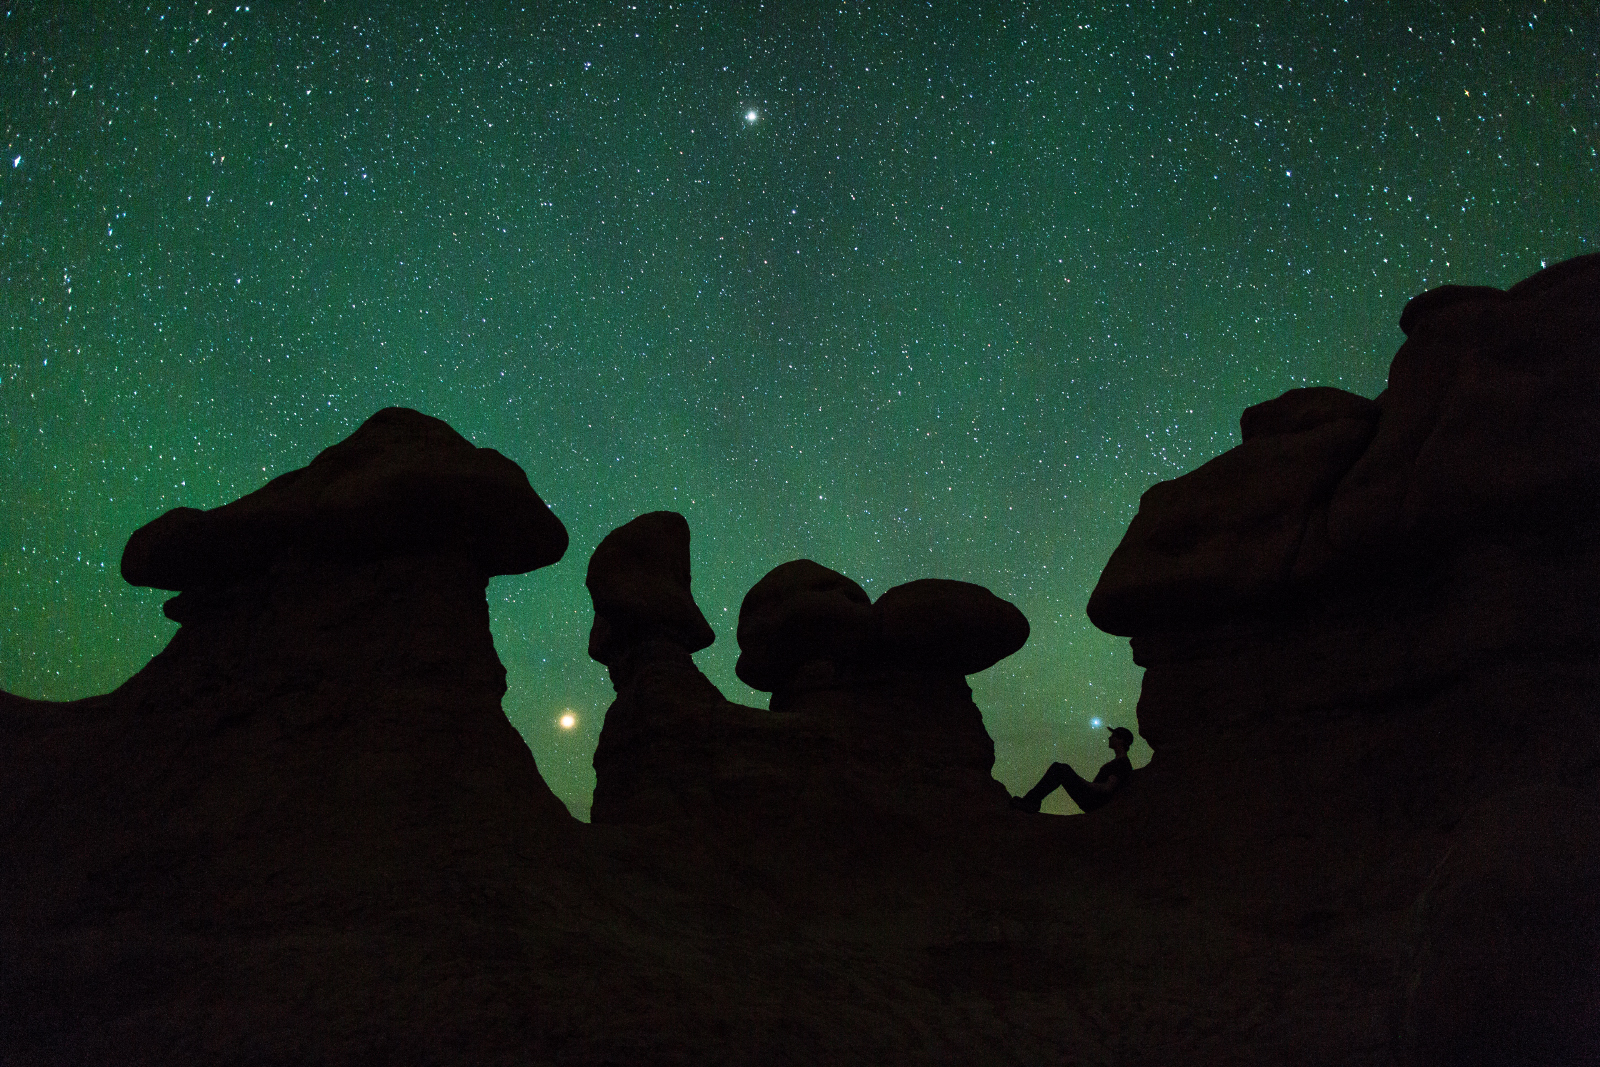
Image courtesy of Shane Black
Your shutter speed should be around 15-25 seconds, but generally a 20 second exposure is a good starting point. Anything longer than 25 seconds will show the movement of the stars, and the idea is to have dots, not dashes. If you’re shooting up north with the aurora (or if there is a lot of light pollution), you may need to go for a faster exposure or pull down your ISO.
6. Minor details
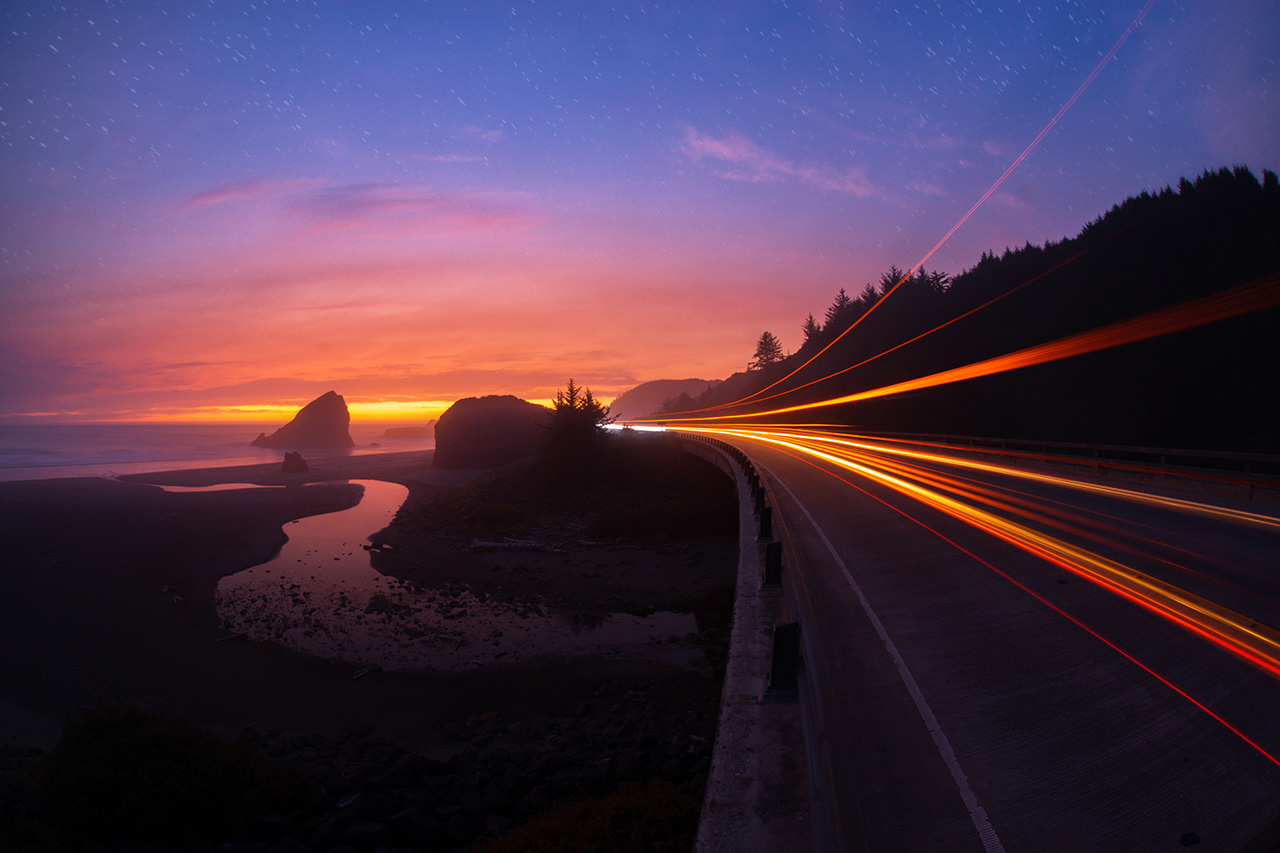
Image courtesy of Dustin LeFevre
I have a remote, but I rarely use it, because I’m generally too lazy to dig through my camera bag in the dark. However, something as slight as the motion of your finger touching the shutter button can jostle the camera, so one way of dealing with this is to set your 2-second timer to reduce shake. If you’re not a fan of the way the self timer lights up (or if you’re shooting with others and you want to be considerate), consider tacking a piece of black electrical tape over your timer light. You don’t need to do either of these things, but they certainly help improve image quality.
7. Experiment with light painting
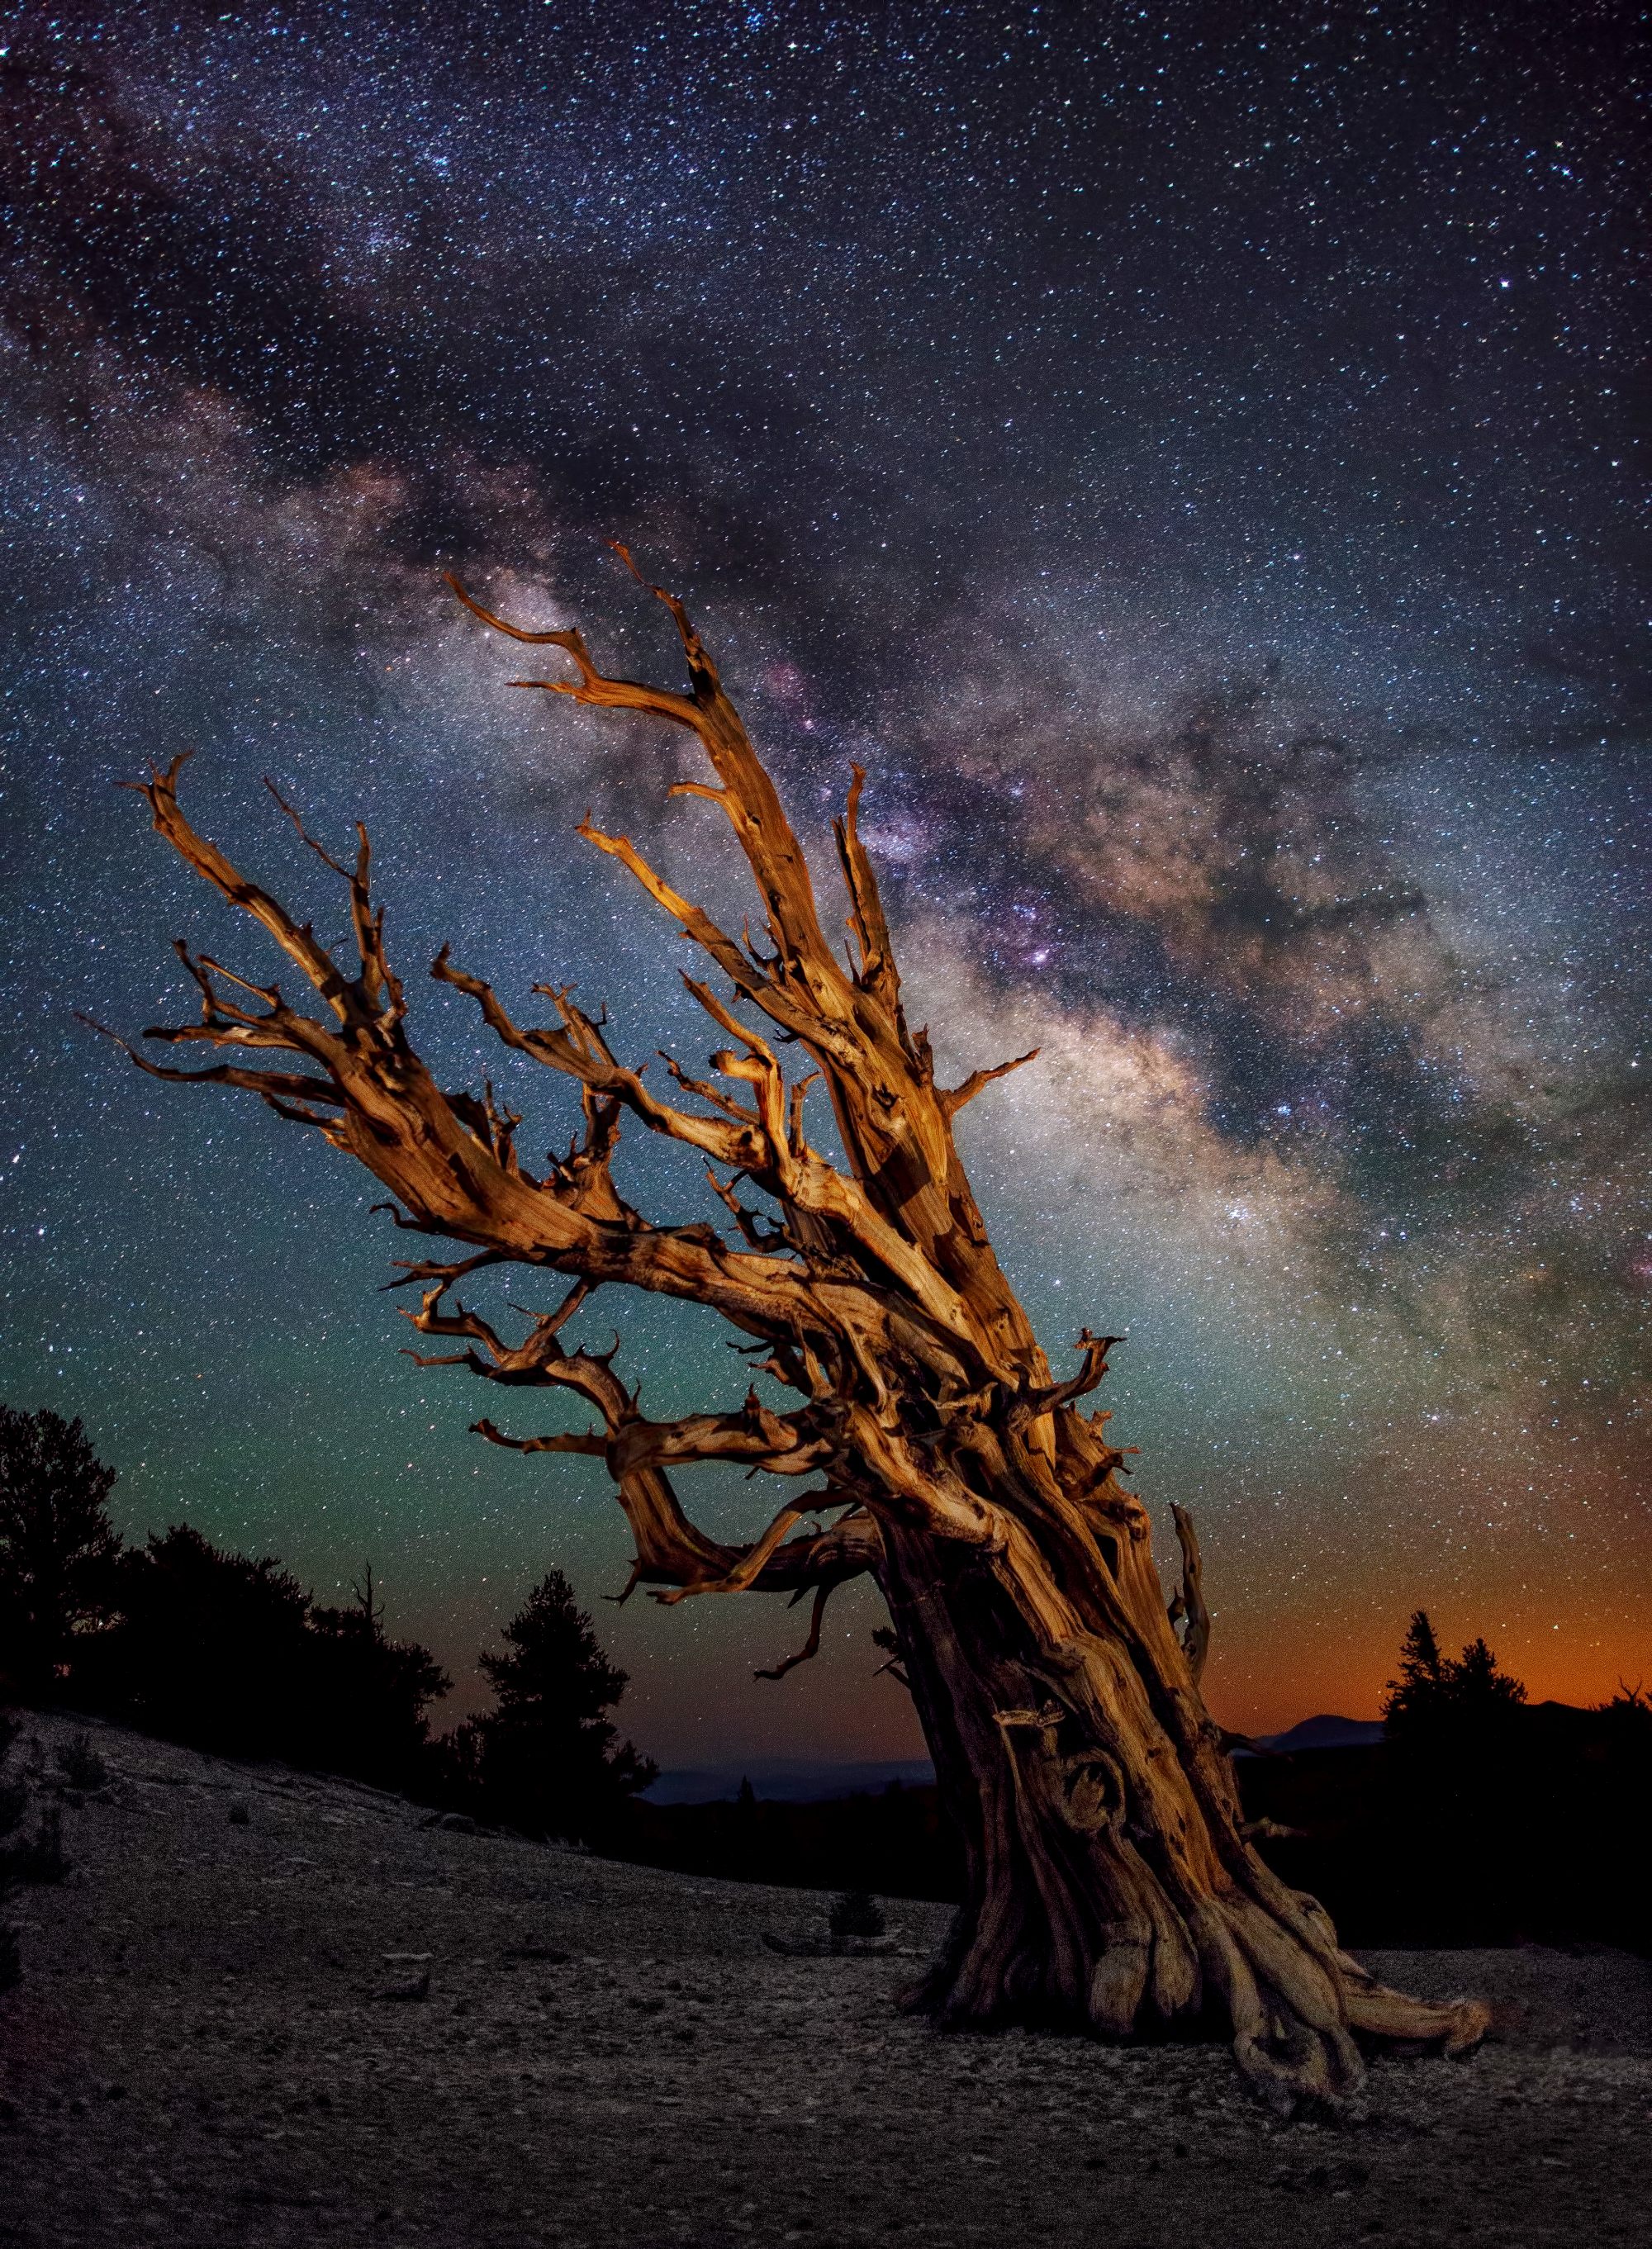
Image courtesy of Shane Black
Once you’ve nailed your focus and found the right light, you’ll want to think about your composition. The Milky Way is nice and all, but if there is a mountain or a tree in the frame, that makes a photo even more dynamic. Shining a light onto objects in the foreground can bring them to life, and while it isn’t necessarily the way your eyes saw the landscape, it’s a pretty fun way to play around with an image. You generally don’t need to light paint for more than 5-10 seconds, and stick to lights that have a warmer tone to them.
8. Put your twist on it
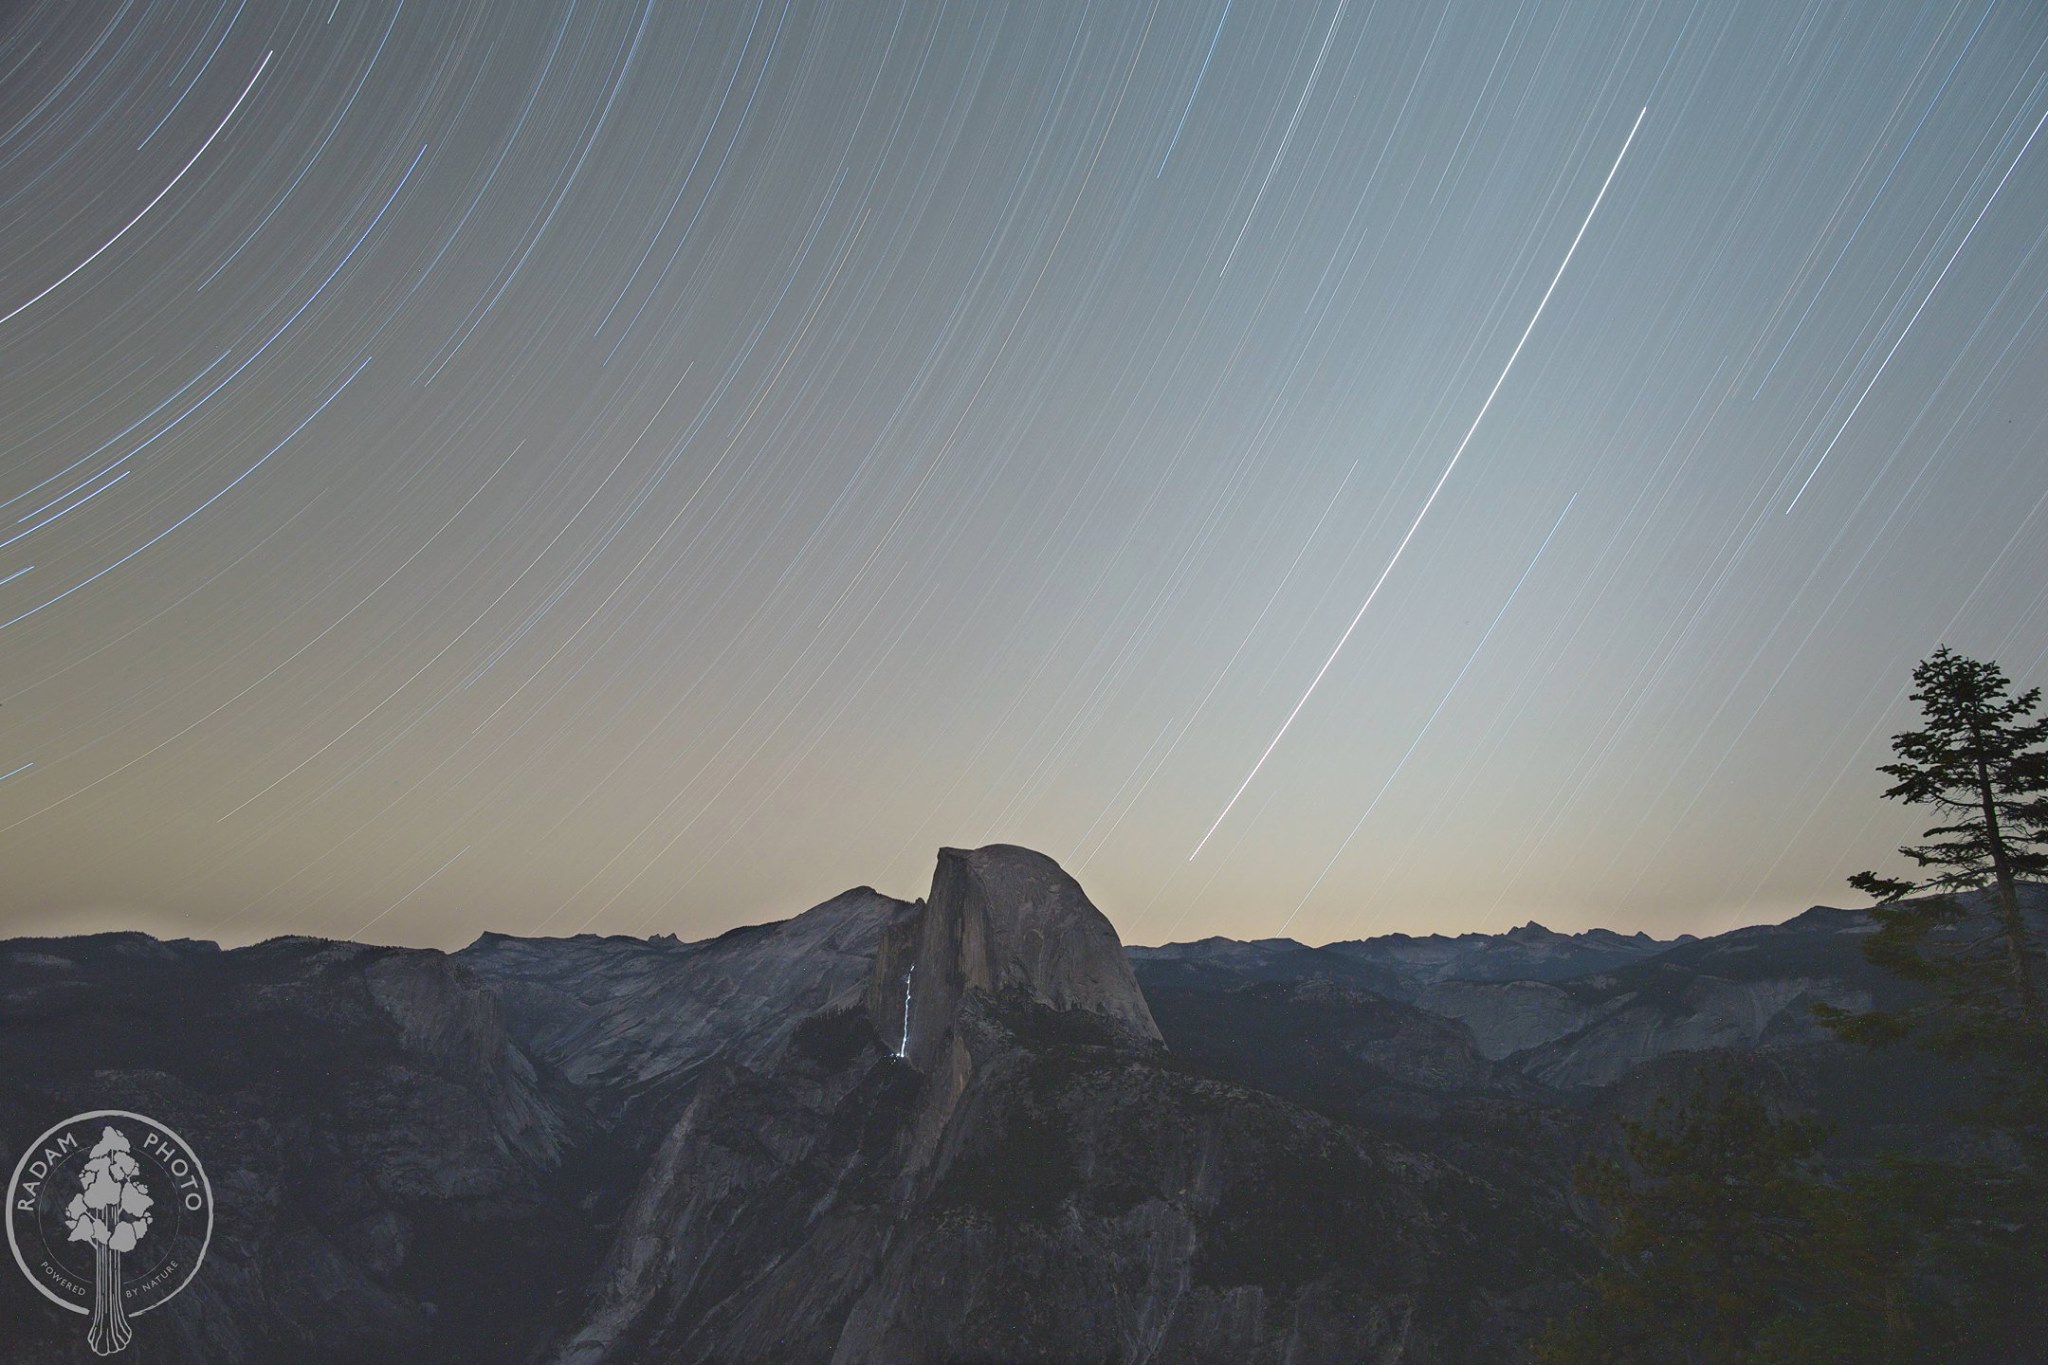
Image courtesy of Adam Prieto
Once you’ve mastered compositions and light painting, think about ways to push your creativity even further. Putting a person in the shot is a great way to give a photo a sense of scale, provided that you’re reasonably good at standing still. Car headlights on a scenic road can be fun to shoot, and if you really want to dig deeper, dabble with super long exposures and capture star trails.
9. Learn how to use Lightroom

Image courtesy of Shane Black
Lightroom is the program most pros use to edit their photos, so if you’re shooting raw files of the stars, this is what you should be using too. Adjusting the masking and clarity will make a world of difference with noise, and it will also allow you to pull up the highlights and exposure on your images. Seeing the photos on the LCD screen of your camera will put your jaw on the floor, but when you start manipulating them on a computer screen, it will make you feel like you’re on another planet.![]()