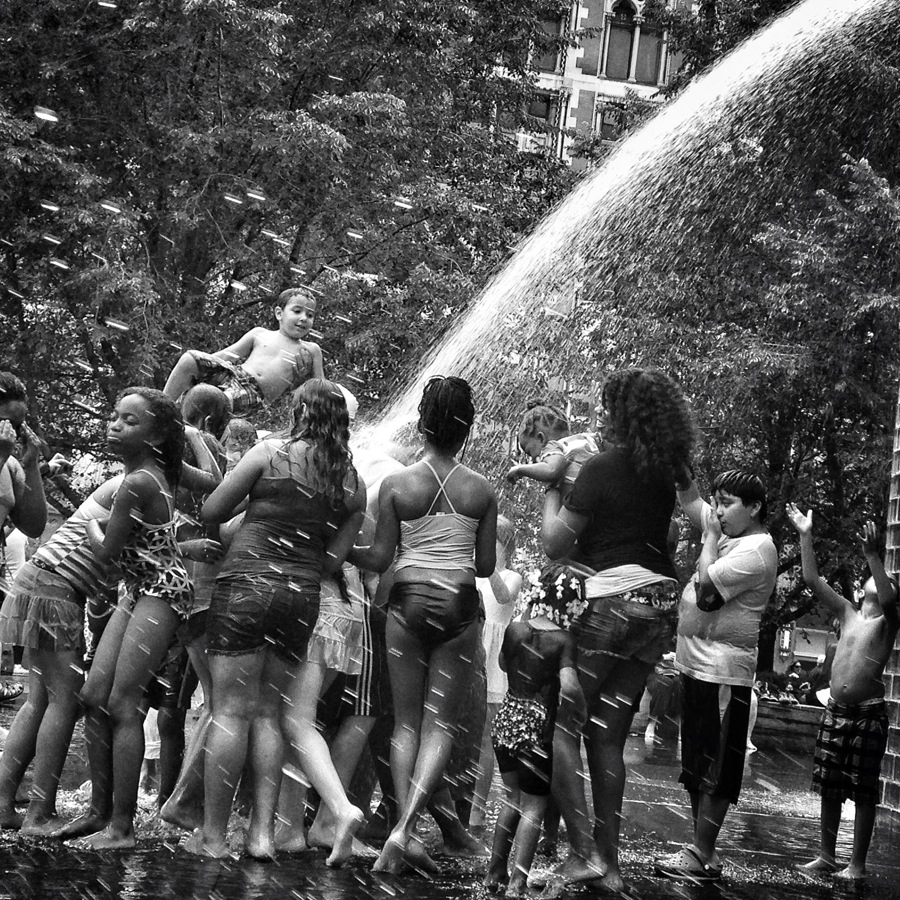
Although camera sizes have been shrinking over the years, the majority of high-quality cameras are still far too large to be carried at all times. And as I’ve learned from covering riots and war zones, they draw a lot of unwanted attention and detract from the spontaneous nature of a candid situation. All of which make iPhones and other cameraphones such powerful documentary instruments. They are discreet, easy to use, and can create surprisingly beautiful photos.
And of course, these pocket cameras are always with us, which frequently makes them the most important camera; you wouldn’t leave a hotel room without your phone, but you might leave without your bulky DSLR. Knowing how to use this device that’s never more than an arm’s reach away is critically important. Make the most of what you have.
1. Take the phone out of your pocket and shoot.
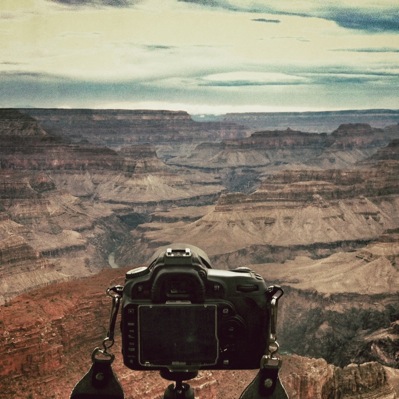
DSLR setup waiting for sunset over the Grand Canyon. All photos: Author.
Any time I’m teaching someone how to use their camera, the single most important point I try to drive home is actually using it. You’ll never get better without shooting. We now live in a world where anyone with a couple bucks can afford a camera and be a photographer. It doesn’t take years of experience and classes to take pictures anymore, and having a phone puts that camera right in your pocket.
The first step to getting better at anything is doing it. Make mistakes and learn from them. Your skill will improve with experience; the more you use your camera the better you’ll be, and on the way you’ll become more comfortable with the different settings and capabilities of your device. I’d never shoot an assignment with brand-new equipment. I like getting to know how things work and how smoothly it’ll run in my hands before shooting with it for work.
You might think it looks funny or amateur shooting with a phone, but the truth is it’s an amazing piece of equipment you always have in your pocket, and not using it to its fullest potential is wasted opportunity for excellent photography.
2. Download some apps to shoot AND edit with.

Tourists explore the inside of Istanbul’s Hagia Sofia.
Just like other forms of photography, shooting with an iPhone can be as simple or complicated as you make it. The iPhone’s stock camera works wonderfully for taking simple photos quickly. You can even jump to it easily from the lock screen by sliding up on the camera icon on the right-hand side of the screen. Despite the ease of use on the stock camera, Apple certainly left a large gap for other companies to improve on. Third-party apps come with a variety of settings that will allow you to take faster, sharper photos, and edit them easily.
Among the most useful tools I’ve found from other camera apps is the ability to independently set focus and exposure points while shooting. Although you’re limited to preset shutter speeds and aperture settings in the phone, being able to pick the point you’re focusing on and basing exposure off is crucial for improving your iPhone photos. Other apps allow you to, among other things, frame, sharpen, replicate old camera looks, and even add lens glares.
There are so many apps out there to mess around with on your phone — download some and have fun. My suggestions on where to start: Camera+, ProCamera, Snapseed, and Hipstamatic. Going off point #1, you need to use these new apps to learn them.
3. Control your phone.
How you hold your camera is extremely important for how well you’re able to compose photos and protect your gear; treat your phone the same way. Typically people do things on their phone with one hand, but this doesn’t give as much control when taking photos. Try holding your phone with two hands, gripping it from both ends and using your thumbs and pointer fingers to maneuver settings. Many of the camera apps even have the volume button as the shutter release, making a horizontal grip much like holding typical cameras.
Because of their size phones are easy to drop, so adding a case with some grip will make it easy to maneuver and less likely to slip from your hands. I tend to prefer a horizontal hold for more landscape shots but it’s all up to you.
4. Control lighting and focus points.
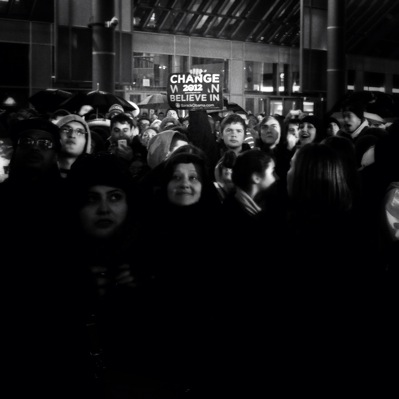
Supporters of President Obama celebrate election results.
Like I mentioned in point #2, there are certain apps that allow you to change your focus point and exposure independently, dramatically altering how you make images on your phone. Just using the basic camera on the iPhone will allow you to set the focus point by tapping on the screen, but if you go into some of the other camera apps and tap on the screen, then add an exposure point, you can drag each around independently.
This ability is especially useful for shooting landscapes where your sky might be blown out. Setting your focus on something close but then using the sky as the exposure point will darken the foreground while keeping it in focus. Whatever the circumstance, download some new apps and try out the different ways you can adjust your camera settings for better focusing and exposure abilities. What you can do is endless, but get out and try them.
5. Remember depth of field.
The iPhone 5 and 4s come with preset apertures of 2.4, and by using this effectively you can create amazingly detailed photos. Focusing on the foreground will cause the background to drop away into blur and can create beautiful landscapes and portraits.
As mentioned in #4, you can choose your focus point by tapping your screen on what you want to be in focus. Try using the low aperture on some food, flowers, or something small and detailed — this will show exactly what you’re focusing on in full detail while allowing room for other objects in the photo to remain out of focus.
6. Don’t use zoom or the flash.
If there are two big things I suggest staying away from on your iPhone, it’s zooming and flash. There’s nothing that has the potential to ruin the quality of an image more than starting out with a low-quality photo because of zooming. (That being said, you should also always take your photos in the highest-quality settings. iPhones now have 8mp cameras, which don’t produce terribly large files, so shooting at the maximum file size won’t kill your storage while giving the highest quality possible.)
Digital zooming reduces the overall quality of photos by cutting out the total megapixels used. Unlike an optical zoom, where the glass is actually moving to create a larger image, still using the entire surface of the sensor, a digital zoom uses part of the sensor and then crops in-camera. You’re much better off shooting an image and zoom-cropping it manually later. However, the best option for a zoom with your iPhone at this point will still be to use your feet. If you want a closer shot, get closer!
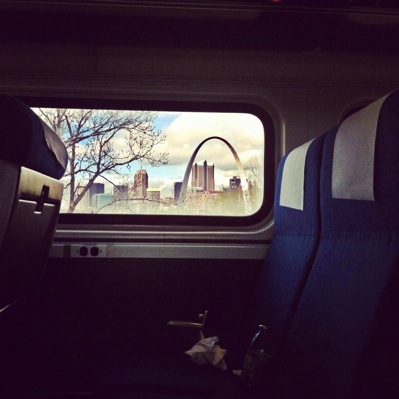
View from the Amtrak on the way into Saint Louis.
As for using flash with your iPhone, it tends to ruin photos more often than make them stronger, while being distracting and attention grabbing. Using the flash also slows down how quickly the photo will be taken. The pause might not be that noticeable, but even a short delay can ruin a picture or miss a moment. iPhone flashes also throw off the lighting and color balance of photos and more often than not overexpose subjects. Flash has its place, and you can definitely come out with some fun images when using it, but I’d stay away from this common feature unless it’s really needed.
7. Compose, then re-crop.
The iPhone might not crop your image exactly as you expect. It might leave out parts of the photo or fail to center it correctly. A simple crop and alignment can have quite an impact on how your iPhone photo looks. Simply throw it in an app like Snapseed and adjust it how you want.
This is also extremely helpful when posting to sites like Instagram, which use square-format postings or other dimensions not typically produced by most iPhone cameras. When cropping in Instagram, the app won’t always crop your photo exactly as it appears to be set when you’re uploading it. Using a square crop tool in another app will allow you to drop your square photo directly into Instagram without using their crop.
Cropping is also a great way to avoid using you zoom function (see #6) if you can’t move around. Take the image you’d like to zoom in on and then crop to it. This way you always have the high-quality photo in addition to the cropped, lesser-quality version to keep if you need.
8. Remember your lighting.
Taking photos with your phone doesn’t mean you throw out everything you know about making images. Lighting is still the most important factor when shooting on your iPhone. Focusing on how light builds an image and plays with the different subjects you’re shooting will make you much better when using your iPhone’s camera.
Pay attention to shadows, highlights, and contrasts. Use your exposure key to lighten certain areas over others or to darken the image around certain points. Watch for how light reflects off objects or streams through windows or holes in walls.
9. Watch for reflections.
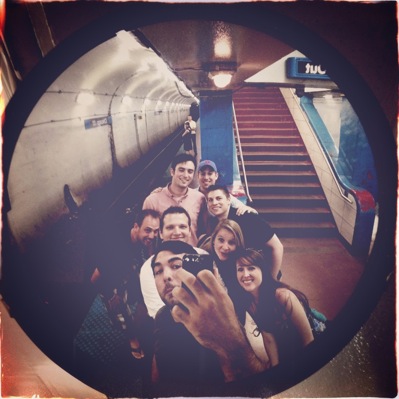
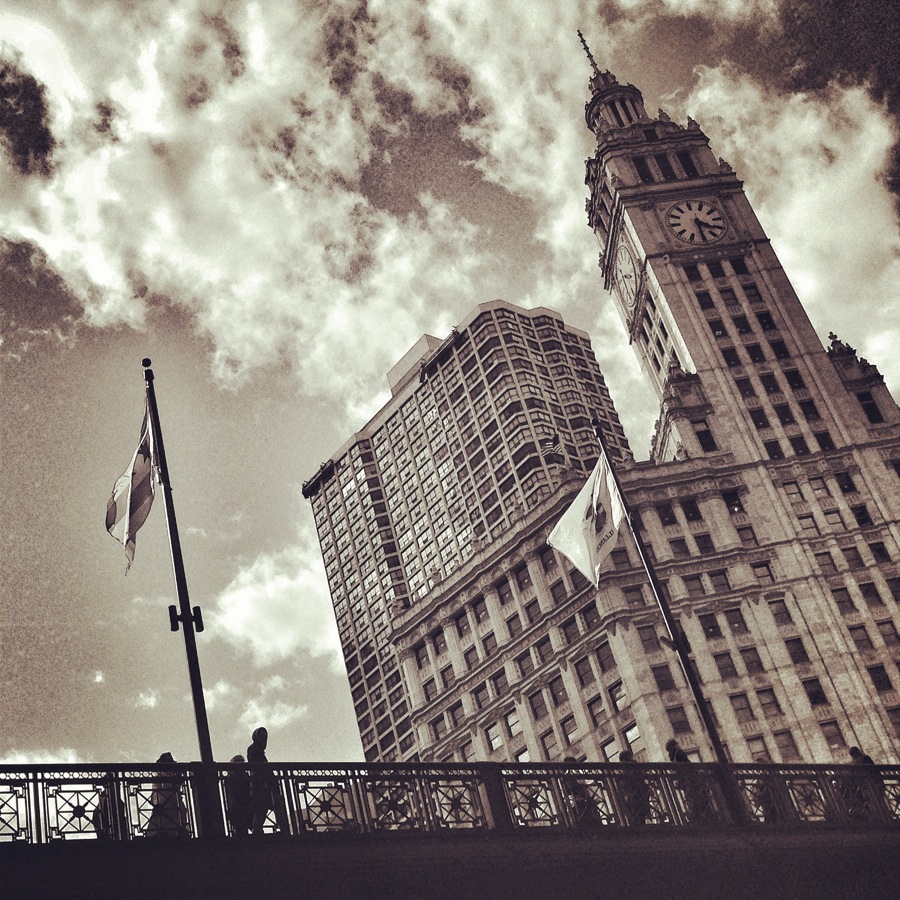
The author and some friends in a Chicago subway.
Reflections can make for stunning photographs. Keep an eye out for how objects are reflecting and use your iPhone to capture that. Keep an eye out for buildings and light reflecting off water near a city during the blue hour just after sunset. Look for calm bodies of water in the early morning and grab the trees or mountains that might be bouncing off them. Keep an eye out for shiny things like buildings or chrome that also can reflect beautifully.
After you’ve found an object with some good reflections, try framing your photo differently than you might normally. Try shooting with only the reflection in frame. Then try with the reflection and the rest of the scene. It’s always up to you how the final shot comes out, but keeping an eye out for the reflections will help improve those iPhone shots you’ve been working so hard on.
10. Get inspired by others.
One of the things I’ve always held onto in my photography is how important it is to find inspiration in my peers. This was critical to developing my own craft.
With the internet and sites like Instagram and Flickr, it’s never been easier to find people online who you can follow and take inspiration from. There are some incredibly talented iPhoneographers out there that are changing the way the medium is used.
Lots of the big names in photojournalism and travel photography have mobile photography postings online. For example, most of the National Geographic staff, and the AP team in North Korea, make thorough use of mobile photography. If they don’t inspire you to grab your phone and start shooting photos, I’m not sure how you made it to the end of this article. ![]()


Intermission

Lake of the Clouds
Flowers on a mountain overlooking Lake of the Clouds in the Porcupine Mountain Wilderness Park.