4 Easy Tips for Shooting Better Travel Videos

Photo + Video + Film
by Stephanie Bryant Mar 5, 2008

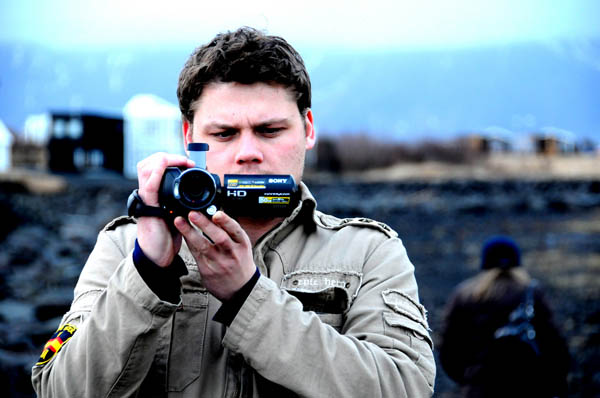
Photo: dieogo cupola

Creating a great shot, interview, or montage takes more than walking around with a video camera glued to your eye. These four tips are the cornerstones of making great travel videos.
1. The Light Side of the Force

The most important factor in video is lighting. Insufficient light makes videos grainy and dim, and affects blurriness and capture rate. Video cameras don’t “see” as well as humans do in the dark or indoors, so low-light videos are often very disappointing compared to “the real thing.”

You don’t always have a choice about lighting, though. Inside museums and cultural sites, the lighting is carefully selected to reduce light damage to cultural artifacts, and flash photography and videography are prohibited. For these situations, use a tripod or monopod or other stabilizer, and avoid walking shots. Stop, take your video from a stabilized position, then turn off the film and move to your next position.

Outdoors, you have the best source of light: the sun. The problem with sunlight is that harsh sun results in harsh shadows, often under the eyes and chin for human subjects. Overcast (but not rainy) days are best for shooting video, or you can put your subject underneath a shading tree. Just be sure they’re not standing with bright sunlight directly behind them, to prevent silhouettes.

Most night videos are a blur of moving shadows and lights, and fail to adequately portray that night carnival, street musician, or midnight walk on the beach. Show up an hour before sunset to start filming, stabilize your camera, try to find locations with more light than you think you should need, and be patient with the outcome.

2. Can you see the colors?

Color is a great way to highlight a story. Cities tend to be gray and brown. Woods are green and brown. The sky is blue or gray. As a result, colors that are not green, brown, gray, or light blue stand out in video.

Stained glass windows in red and blue and gold, a bright red parrot, a field of orange pumpkins– these colors grab our attention and keep it. When you set up a shot, use contrasting color to your advantage. Wear a red shirt if you plan to be on camera. Pick a bright yellow harness for your rock climb– it’ll be easier to see from a hundred feet below.

Color can also set a mood. Blues and greens are calming, red is exciting, and yellow makes people happy. If you want to emphasize a relaxing time at the beach, frame your shot to show more sky and sea. To emphasize your exhilarating salsa dance lessons, focus on dancers in red clothes and rely on ambient lighting to help tell the story and set the mood.

3. Ready Set Action!

The big advantage video has over still photography is the action. Pay attention to what’s moving in your video, because that’s where the viewer will look. If you have a lot of motion in the background (such as a crowded market), the foreground must be well lit, colorful, and audible in order to keep the viewer’s focus from drifting around to the background noise.

Focus your video on the thing that’s moving fastest or with the widest range of motion. Again, stabilize your camera with a tripod or monopod, and keep the subject in the center of the frame, following it as it moves.

4. Can You Hear Me Now?

Sound is tricky, and it’s the part that’s hardest to fix or fake in the editing room. If you stand in a crowded street fair talking to a friend, your ears automatically try to filter out everything except your friend’s voice. Your video camera, however, does not do this important noise-canceling, and your friend’s voice is overwhelmed by the background noise.

Similarly, when you try to record the speech of someone on the other side of a crowd of people, you record more sound from the people around you than you will from the amplified speaker.

The best way to fix this problem is to avoid it in the first place: record your friend’s voice using a separate microphone. A unidirectional or shotgun microphone, aimed directly at your friend’s mouth and recording directly to your camera, is best for picking up his words.

In the case of a large crowded speech or event, if you can tap into the soundboard or P.A. system, that’s ideal. But in most cases, you don’t have that choice. Try to get as close as you can, use a microphone if you have it available, and position the microphone above the heads of the people around you, to move it away from their voices.

Some alternatives to a microphone are recording a voice-over during editing, or putting your friend somewhere easier to hear, like next to a wall or away from the noisy street. Unfortunately, moving your subject might not be feasible or plausible, and the voice-over is only practical if you aren’t trying to record a person while they speak.

Follow these tips and tricks and you’ll have more exciting videos of your travels and adventures to share with friends or just relive your experiences!

Discover Matador