This photo demonstrates blue hour, reflection, and long exposures on water. Golden Hour is often hailed as king of light, but this photo shows that Blue Hour has a lot to offer as well. Note the pinks and purples, the perfect reflect, and the calmness that comes with no direct sun. The lack of light allowed for a long exposure, helping ensure the water is flat as glass. This photo also is a perfect example of how keeping a frame simple can make an impactful image.

Travel Photography Tip: Intro to Landscape Photography

Travel
by Kate Siobhan Mulligan Sep 23, 2013
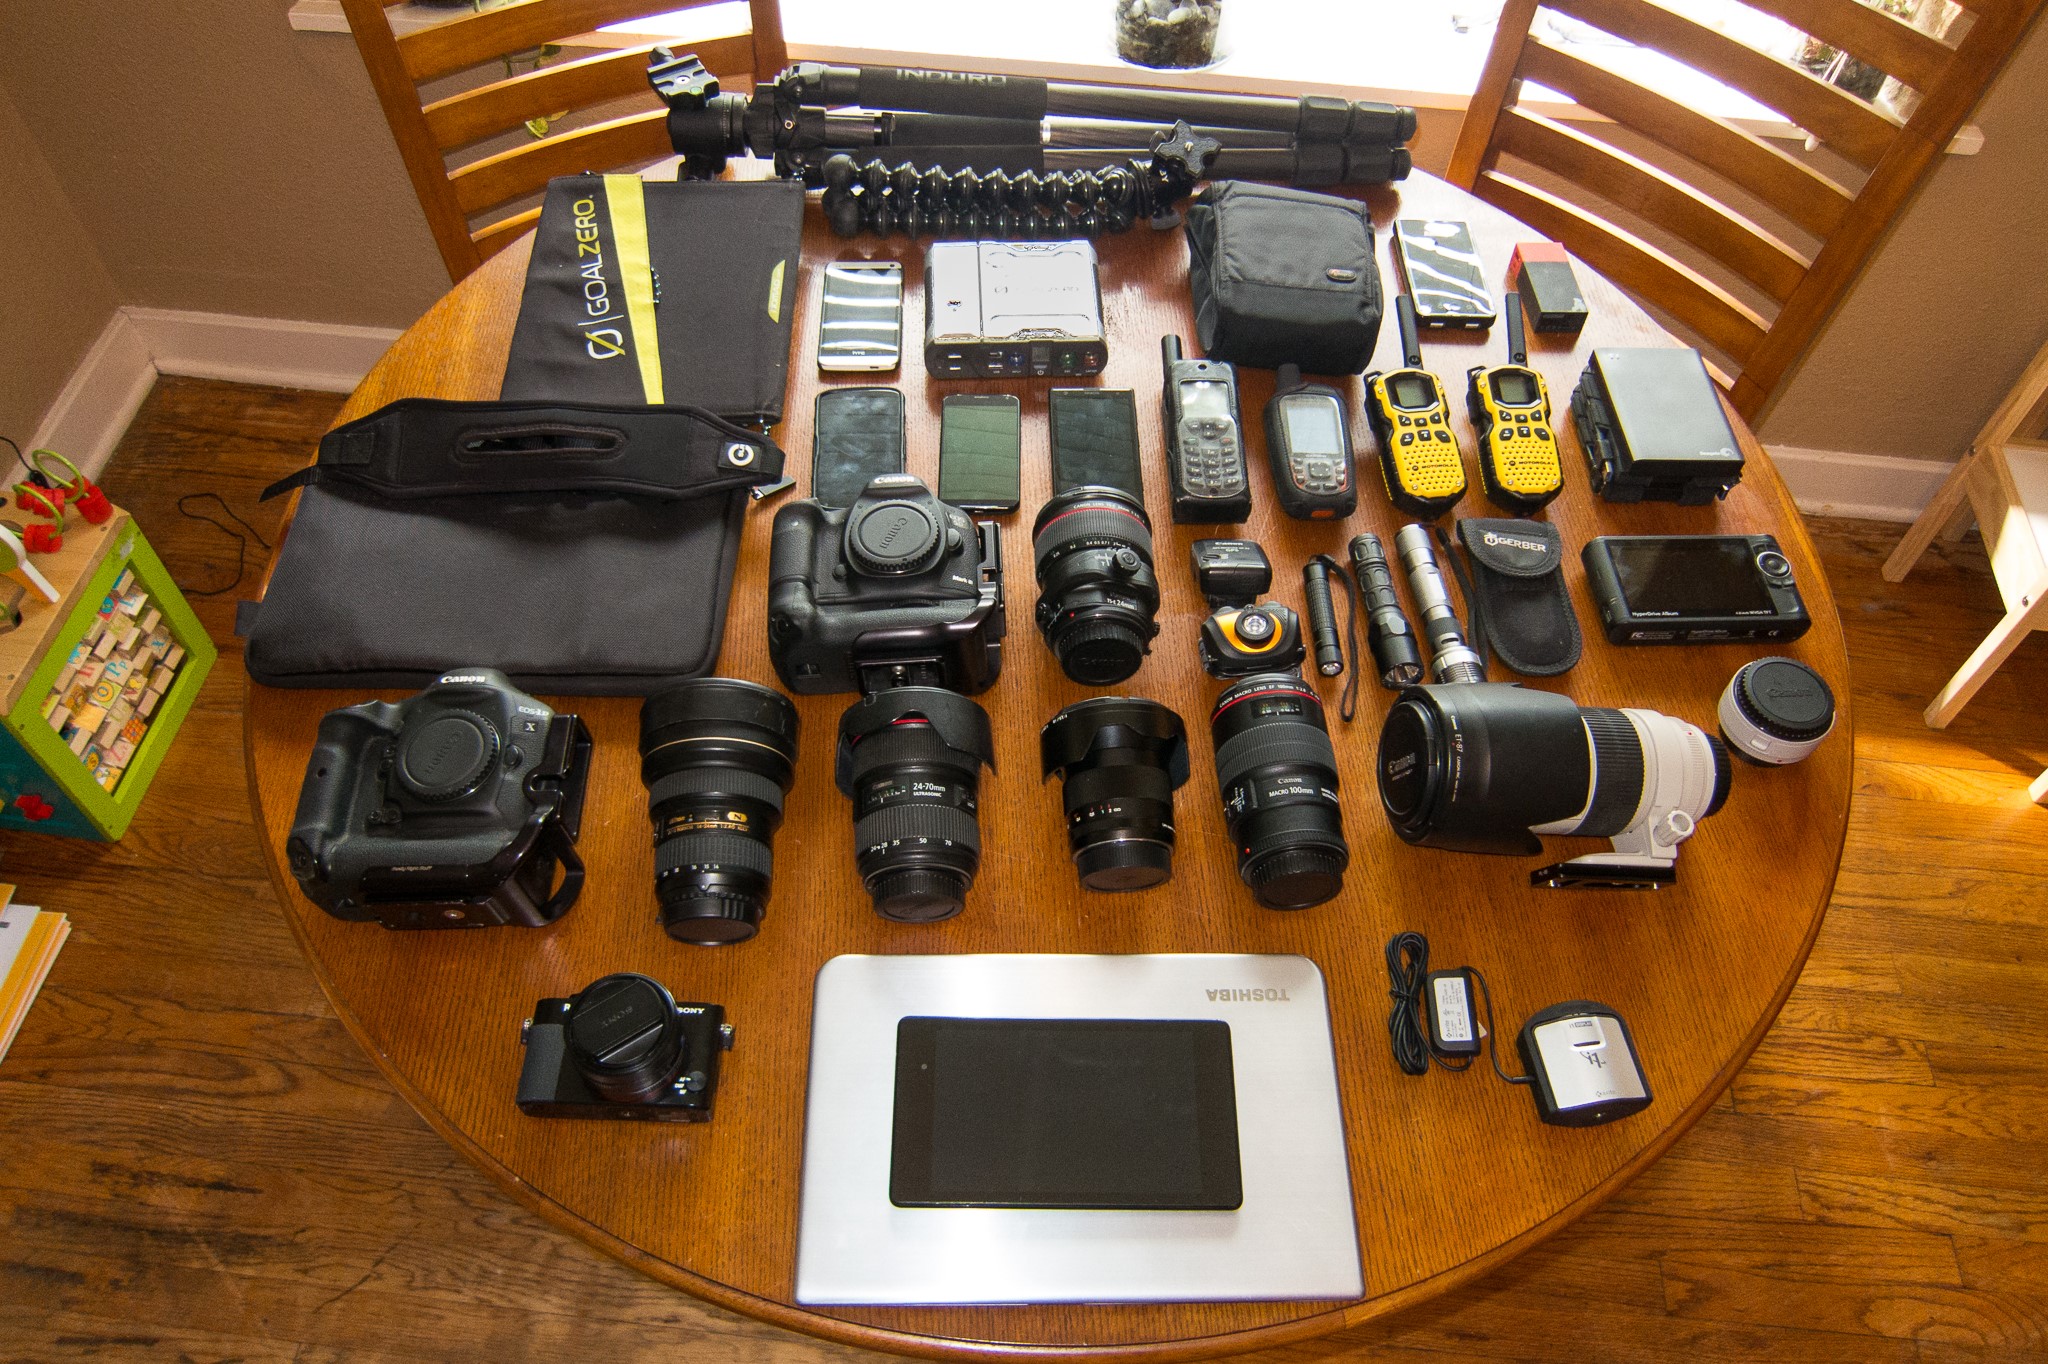
This post complements the lessons in the MatadorU Travel Photography course.

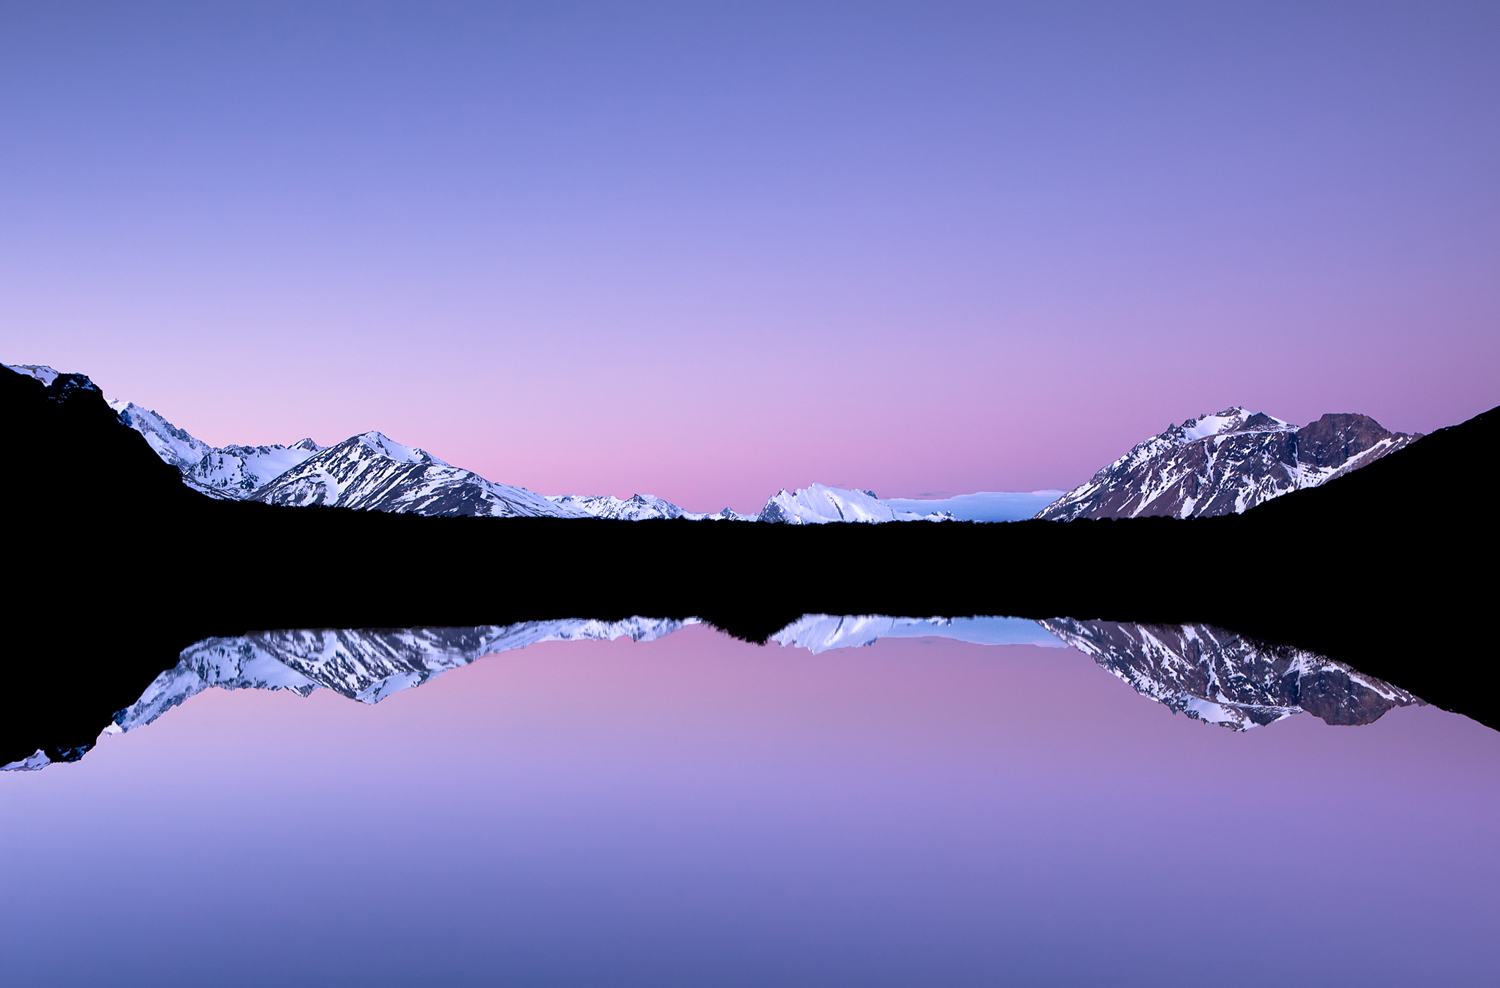
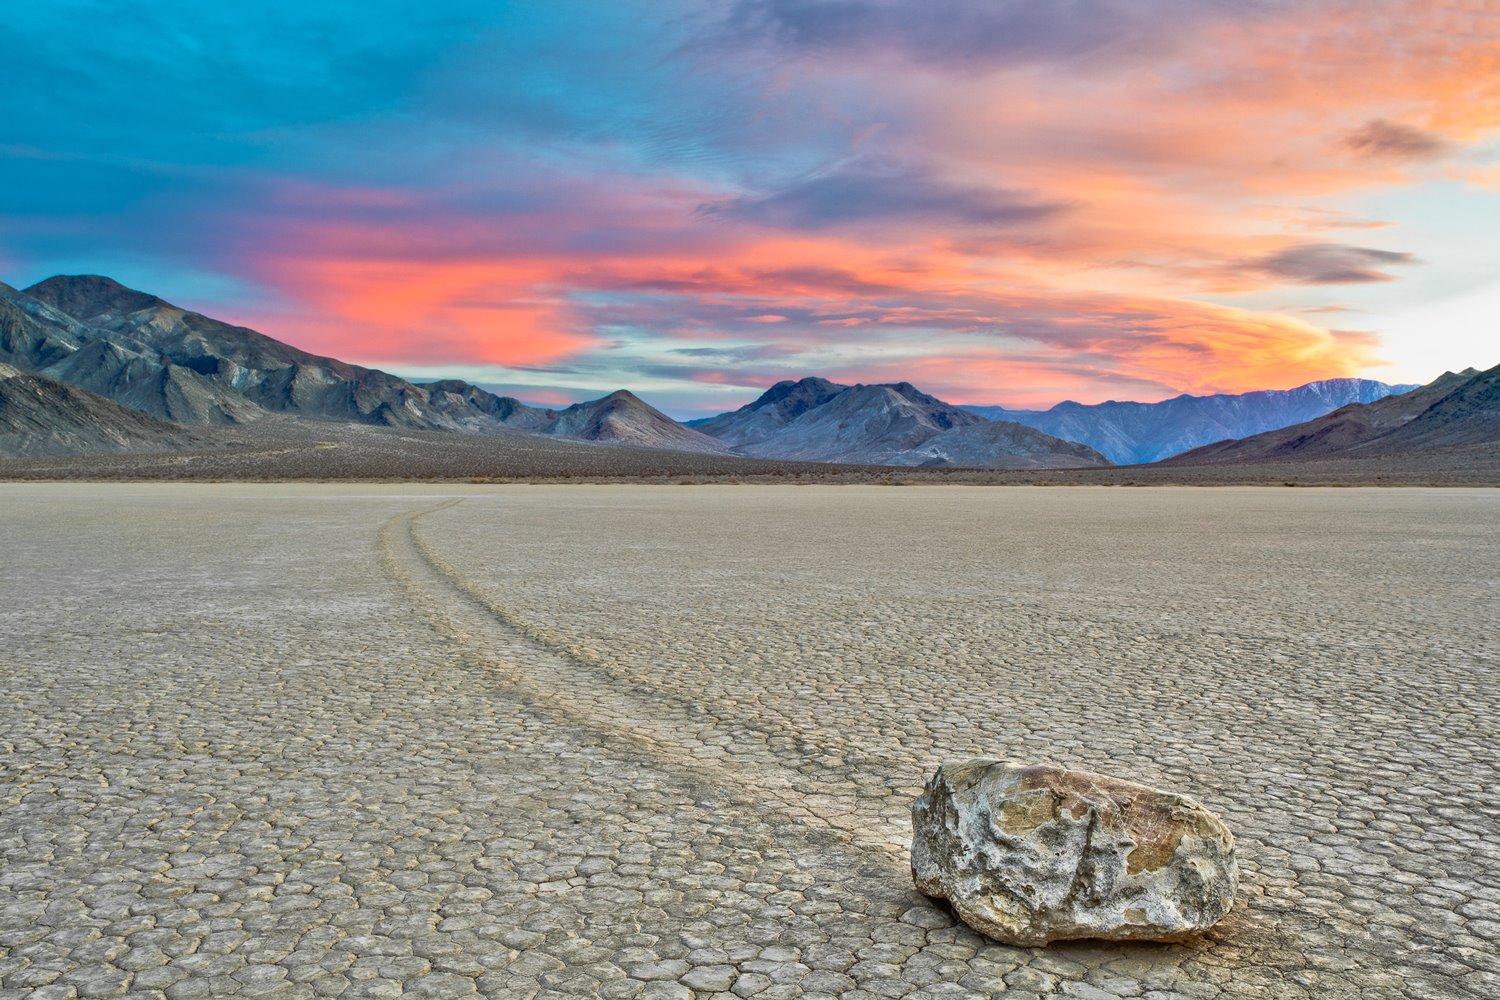
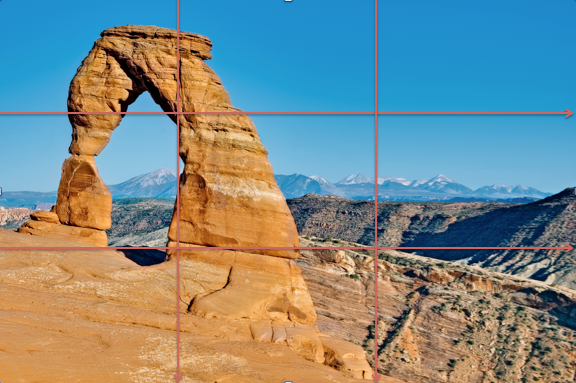
One of the ultimate goals of anyone traveling with a camera is to produce images that instill a “sense of place.” It can be portraits, street photography, or architecture, among other genres. But one that stands out as the boss of producing a sense of place is landscape photography — which is also one of the harder genres to grasp for many photogs, because the subject is so, well, large, and often complex.

What is it?

That’s not a dumb question. What constitutes landscape photography? The foundation of this genre is images that convey any natural (or God-made, or Universe-formed, whatever term you like) formation: lakes, rivers, mountains, hills, valleys, gorges, oceans, trees, clouds, sky, storms, grasslands, farmland, and the list goes on.

Anything not man-made (or woman-made) can pretty well qualify — though including some element of humanity can add to an image. More on that below.

Gear
The contents of Colby's bag

Here is what professional landscape photographer – and head of the MatadorU Travel Photography course – Colby Brown packs for a trip. To get started with landscapes, you need about 1/4 of this.

What do you need to shoot landscape photography?

  • DSLR – Something weather-sealed or weather-proofed will help with the wear and tear of hiking, rain, dirt, sand, ocean, tumbles, etc.
  • Wide-angle lens – Research a lens that has good contrast, clarity, and colour so your images can be vivid.
  • Zoom lens – A zoom will help you isolate a particular subject, or crop into something interesting that’s farther away.
  • Tripod – Level horizons, lower ISO, and less blur. Lighter is best, since you’ll be carrying it. Or, if you can’t afford that, try a Joby — a go-anywhere, lightweight alternative.
  • Shutter release – For low-light situations, so you don’t shake the camera.
  • Backpack – To haul all the gear around in. Make sure it’s comfortable if there’s going to be hiking involved. All the major brands supply them, like Lowepro, and some specialize, like F-Stop.
  • Camera strap – If you want to have your camera out while you hike, in the event something you want to shoot comes up, have a strap on it. Not the neck strap, that shit’s painful. You can get hand-straps, cross-body straps a la the Black Rapid, or lock-and-load holsters a la Cotton Carrier. The possibilities are out there, so ditch the neck strap and find something more user friendly. Also, you will look cooler, always a bonus.
  • Some sort of rain protection – You can buy rain covers for your bag, or even for the body itself, or a good old-fashioned garbage bag always works too.
  • Filters – Lots of landscape photographers use filters to darken parts of the image, aid in a longer shutter speed, add contrast and colour, or even cut through reflections in water. But that’s a whole other article. Filters to research: Neutral Density, Circular Polarizer, and Graduated Neutral-Density.
  • Also consider – Something to sit on while you wait for the right light, good walking shoes, a first-aid kit, and a satellite phone if you’ll be rural. Will you stay for a night? Tent and bag, appropriate to where you’ll be. Research weather, conditions, and forecasts.
  • ALWAYS tell somewhere where you are going. Did you learn nothing from 127 Hours guy?

While it sounds like a lot of gear, if you’re into travel photography, you probably already have most of it.

The Basics
  • Know the Exposure Triangle – As with any form of photography, you should be familiar with the three elements of exposure: aperture, shutter speed, and ISO. We have lots of articles to catch you up.
  • Shoot in RAW – The default on a DSLR is JPEG, but a RAW file holds heaps more data and allows you much more control in post-process, especially in regards to White Balance and Tonality.
  • Depth of Field – DoF is how much of the frame you want in focus. For landscapes, the answer is usually…all of it. Most swear by f/8, and many lenses are at their sharpest at f/11. Don’t go lower, ie f/2.8, until you need to (dawn, dusk, at night). If you need help, read up on Aperture here.
  • ISO – As much as possible keep your ISO low for best quality.
  • Scouting – Whenever you can, avoid giving yourself just one day to shoot a location. Scout it first, if possible. Even better if you can spend the night, and have several days of shooting.
  • Golden / blue hour – Plan to shoot sunrise and early morning, or late afternoon and sunset. These fall into the golden hour category, considered the best time of day to shoot, with the best light possible. If you have nowhere to be, the light before dawn and after sunset is called blue hour, and it’s fun to play with long exposures and the eerie blue cast on the land.
  • Mountains reflected in the water

    This photo demonstrates blue hour, reflection, and long exposures on water. Golden hour is often hailed as king of light, but this photo shows that blue hour has a lot to offer as well. Note the pinks and purples, the perfect reflect, and the calmness that comes with no direct sun. The lack of light allowed for a long exposure, helping ensure the water is flat as glass. This photo also is a perfect example of how keeping a frame simple can make an impactful image.

  • Reflection – Having a reflection of your landscape in a body of water brings a very interesting element to your image. It can double the colour, double the details, and double any interesting lines or patterns occurring. This is when waters are calm and when the sun is not directly hitting the water.
  • Long exposures on water – The longer the shutter speed, the smoother the water. This is calming, peaceful, and overall quite beautiful. If the water is moving, a long exposure allows for motion. Tip:Don’t focus on the water, focus on a subject that won’t move.
Composition

A lot of general photography tenets take on even greater importance when you’re shooting landscape photography.

  • Foreground – Many of the strongest landscape images are anchored by a foreground subject, especially when placed on the rule of thirds (see below). It gives the viewer a journey from the front to back of the image.
  • Rock in the foreground

    The foreground in this image is the rock. It anchors the picture, and draws the eye immediately due to being close to the front of the frame. The mid-ground is the pattern in the rocks, and the mountains stacked at the back of the frame. The background is the pink and blue sunset that’s occurring. The eye moves from front to back, drawing the eye across the frame, which creates a whole experience for the viewer.

  • Mid-ground – The mid-ground of your image is often the subject, though not always. It is whatever sits between your foreground object and the background (which is usually, but not always, the sky).
  • Background – Often for landscapes this is the sky, clouds, sunrise, or sunset. But it is whatever objects lie at the back of your frame. Note: It’s important to consider all three of these elements, because if one is left out — until you’re doing it on purpose, with experience — the frame can feel empty.
  • The rule of thirds – A rule that most certainly can be broken, but is useful for those starting out and overwhelmed by how to compose. The rule states that objects of interest, or the subject of the image (a tree, a lone church or temple, a mountain range) should be placed at the crosshairs of lines which divide the image into thirds horizontally and vertically. It’s much easier to just look at it overlaid on an image:
  • Delicate Arch

    Colby placed the famous Delicate Arch right onto the intersections of thirds on the left of the frame. This is pleasant for the eye and for the viewer – we often dislike pictures with the subject right in the middle. This allows for more details to the right of the Arch, the valley and the further mountains. There are certainly times the rule of thirds doesn’t apply, but until you’ve mastered it, keep it in mind.

  • Leading lines – Any lines found naturally in the image that lead the eye from front to back, from side to side, or from the edge of the frame to your subject.
  • Edges – Keep your edges clean. Whenever possible avoiding chopping a tree, bush, etc. in half right on the edge. If there’s a flower at the bottom of the frame, include it or exclude it, but don’t leave half of it in, if you can help it.
  • Level – Use your tripod to ensure your horizon is straight.
  • Human element – Subtle addition of human elements can add scale and interest to the image, such as a church, barn, or temple, a fence or farm equipment, or an actual human body. Facing a person looking outward to the horizon, for example, will add scale and interest, and hint at deeper themes like exploration, our place in the world, existence. Just blew your mind, right?
Human element

The addition of a Vietnamese man in his boat, at the start or end of this day, with no one else in sight, turns this image from a pretty sunset to a whole experience. It becomes not only exotic, but relatable (human), and calming (in the colours, the smoothness of the water, the clean silhouette) all at the same time.

* Get access to paid publishing opportunities and a community of fellow photographers, along with a robust travel photography curriculum, at MatadorU.

Discover Matador