Trail mix, crackers, granola — the classic road-trip foods hardly make for substantial road-trip fuel. Eating well and eating right on the road has been a chore since the dawn of the automobile, and hauling our favorite holiday foods? Forget about it.
Not so fast. The dawn of the automobile is now high noon, and this thinking is stuck in the days of Styrofoam coolers and paper maps. Nowadays, anything is possible — even hauling the holiday turkey and all its fixings. With the right equipment, some packing hacks, and a bit of planning, the road might just become your favorite place to enjoy a home-cooked meal. Here’s how.
Hacking your cooler
What you think your cooler is capable of and what your cooler is actually capable of are probably two different things. With a little finagling, you can get far more out of your investment, cold or hot.
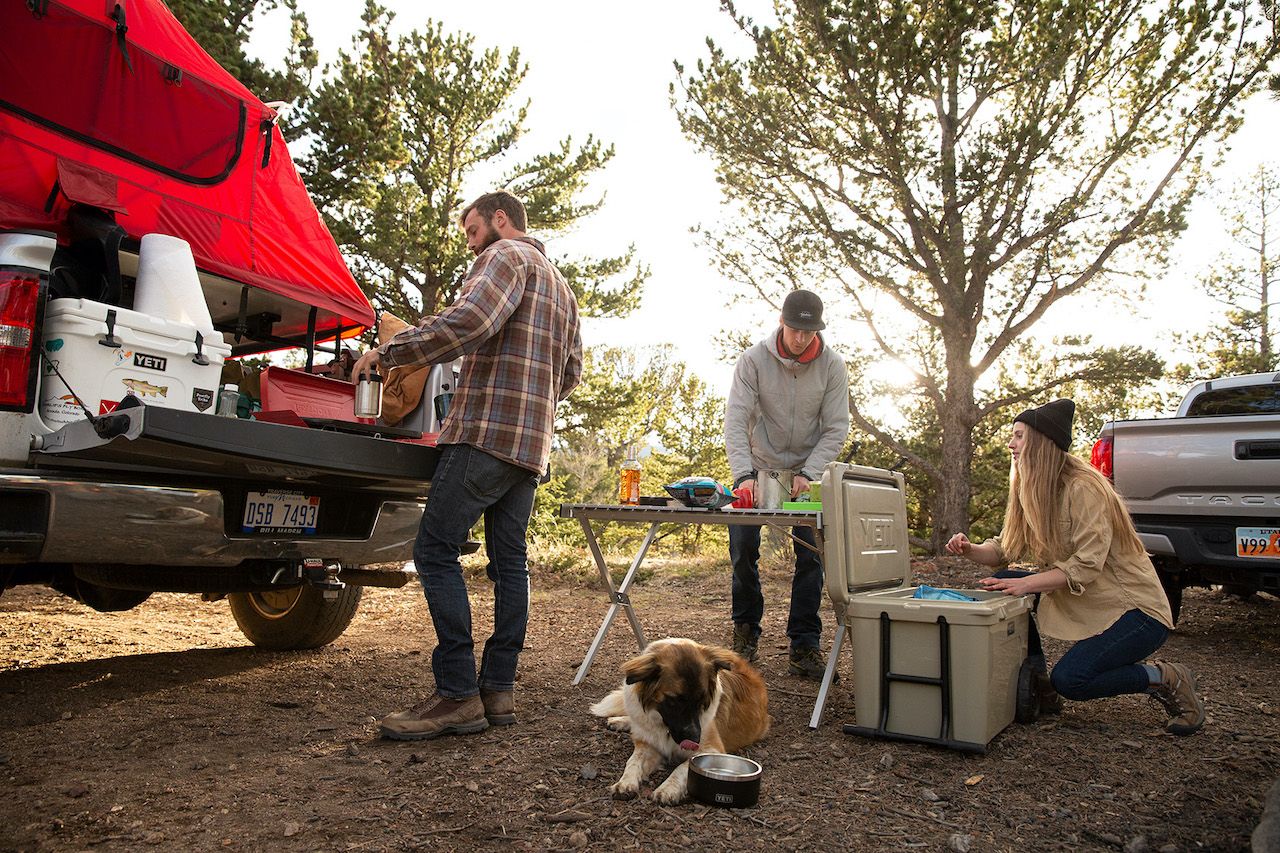
Maximize your cooler’s ice-cold potential.

Photo: M. Shaw / YETI
Take the YETI Roadie 24 Hard Cooler, for example — with zero hacks, it’ll keep ice for several days. But with a few tricks up your sleeve, can you push it beyond a week? Yes. Try these:
- Sacrifice a bag of ice for pre-cooling. Some of us will be able to throw our cooler in a pile of snow or leave it in a walk-in cooler overnight, but the simplest way to pre-cool your YETI is to ice it a day or two beforehand. Then when you’re ready, dump ‘er out and replace the ice.
- Line it with aluminum foil. This isn’t totally necessary, but aluminum acts as yet another insulation layer, prolonging the life of whatever you put inside (and is handy for cleaning, too).
- Get smart about your ice. Dry ice, in its own bag or container, will prolong your cooler’s stats. Just take care when handling it — always wear protective clothes, and ensure proper ventilation. If you’re making your ice, make it with boiling water — the ice is denser this way and subsequently lasts longer. It’s also a good idea to invest in some YETI ICE™, which works as an ice supplement to help your cooler retain its ice longer.
- Use your cooler to keep things cold, not make things cold. In other words, pre-chill any and all consumables — everything that goes into your cooler should already be cold. Routinely dump out any melted ice, too, as that encourages further melting.
Use your cooler to keep things warm.
Yep, a sturdy cooler works both ways. The key here, though, is to pre-warm your cooler. You can do this by filling it with hot — not boiling — water prior to use, letting it soak up the temps for about an hour, and dumping (and drying) it out. (As always when handling hot water, use extreme caution to avoid burns.) Then when you throw 10lbs of piping-hot smoked brisket inside, the meat can rest in the cooler and finish getting juicy and delicious all the way across state lines. Eight-hour road trip? Yep, it’ll stay warm.
Of course, temperature maintenance is the most basic way to use a cooler. Feel free to get even more creative — have you considered using one to brine that turkey?
Packing your cooler — the right way

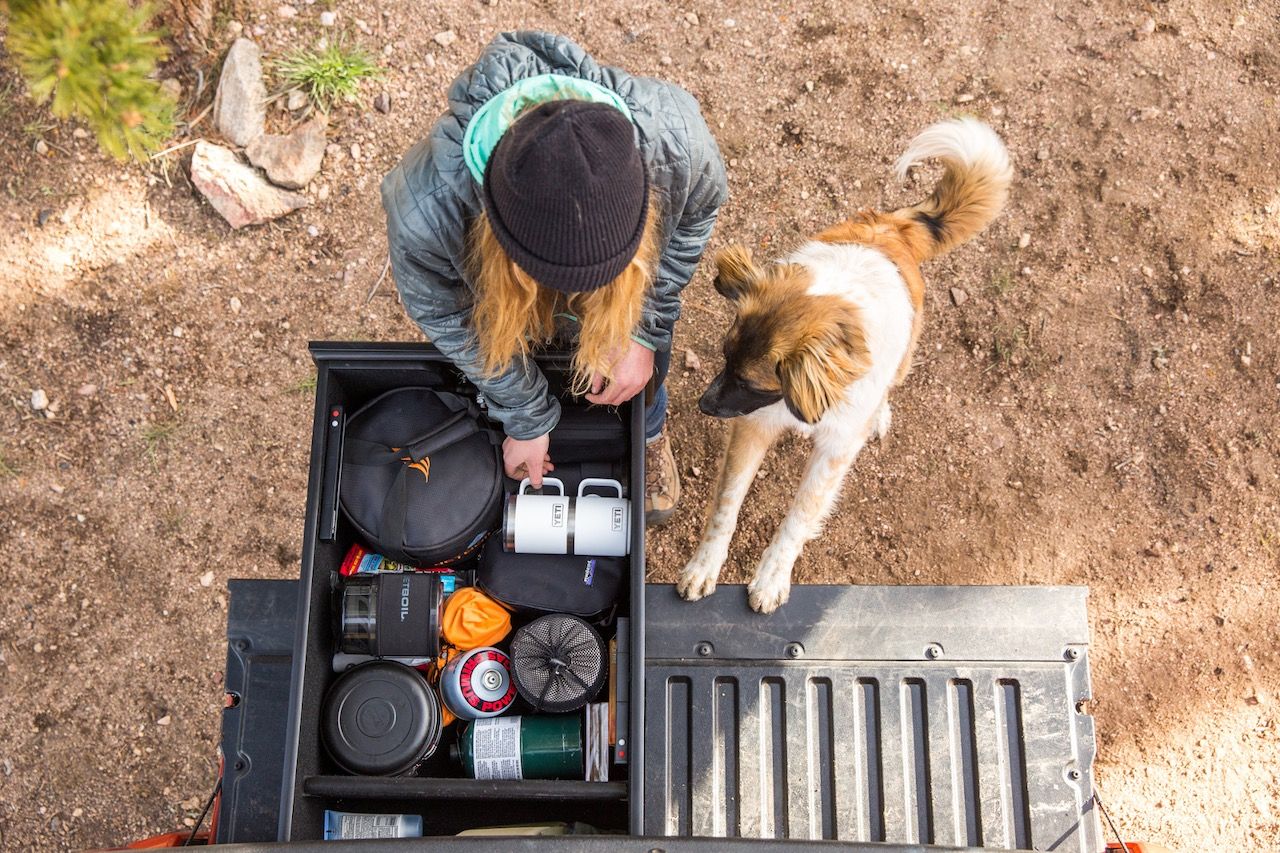
Photo: Scott Sporleder
For starters, fill your cooler to the brim. Coolers with less space keep colder longer — and note that YETI recommends a fully packed cooler should have enough ice to fill two-thirds of its space (leaving one-third for your consumables).
A good way to do this is to “think square” and “think stacks.” Throw together a few lasagnas or casseroles in aluminum pans, par-cook them (that is, cook them halfway or so), and wrap them in foil. Without even unwrapping it, you can toss that bad boy right over the fire. Of course, make sure it goes into your cooler cold.
For a little less work, invest in stackable Tupperware or other reusable containers. And don’t forget ice cube trays! You can freeze milk or half-and-half for just-right portions for your morning coffee (in fact, you can also freeze coffee), squares of olive oil for cooking, pre-portioned cookie dough for a one-off treat, soup stock, curry, pesto — you get the idea. What do your go-to meals require?
Tip: You can also freeze entire meals — chili, burgers, spaghetti and meatballs — in glass containers. They act as stackable ice blocks until they become ready-to-eat dinners. Just make sure that any food stays completely frozen prior to being reheated for consumption.
Packing the extras

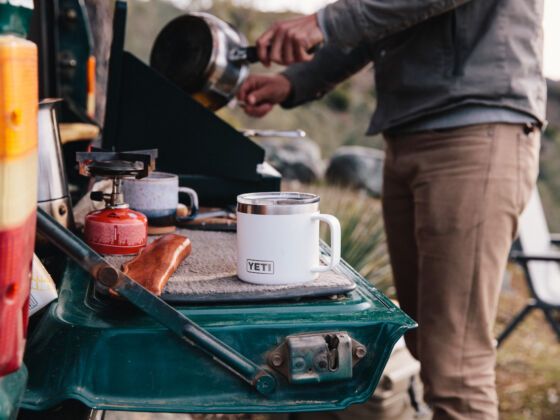
Photo: M. Shaw / YETI
You know to bring reusable silverware, straws, napkins — you’ve even packed a spatula or two. Here’s how else to up your game:
- Dutch oven – Your YETI can hold an entire Thanksgiving dinner, so why not dream big? Roast a turkey over a campfire, slow-cook your mom’s stew recipe, bake bread — the possibilities are endless.
- Reusable containers and jars – Mason jars are surprisingly effective road trip tools. Fill them with pre-mixed salads or dry recipe ingredients (bread = yeast, flour, salt), pickle those cucumbers, whatever you can imagine. Beyond that, pre-arrange — cut, slice, or portion — snacks into containers for easy access (and less waste!) on the road.
- Rambler Tumblers and Mugs – It may seem like that Rambler Mug is for coffee or tea, but check this out: You can use them for overnight oats, baked beans, chopped veggies, frozen fruit, you name it. And then, when they’re empty, fill them up with ice for double-insulation backup.
Tip: Fill a Rambler Tumbler with super hot water, and you can cook a hot dog in it. (Note that none of this should be done with a Rambler Bottle, however.)
Plan it: Preparation and research

Photo: Kina Picket
You have only two tasks here. Number one: Prep your meals for your road trip — that is, portion everything out, meal plan, and have a good sense of what keeps and what doesn’t. Milk? Probably only a few days. Cream cheese, though? Six or seven. Fresh veggies? Two or three days. Hard-boiled eggs? A week.
You also have to prepare for how these meals will happen. Do your research: Where will the local grocery stores be? Farmers markets? Are there public grills you can use at a nearby park? What are the fire restrictions where you’re going? Will your hotel have a fridge?
Eating well while traveling takes effort and planning, but there’s nothing like a home-cooked meal. Especially on the road.

