We all have this longing to get in a van and just drive away. So many people I have talked to dream of this, like it’s a fairy tale that will never happen. I think of it differently. People dream of having mansions, the newest car on the market, or the most expensive watch. It’s a hard thing to accomplish, and probably won’t happen. On the other hand, living the van life is super attainable, and a lot more freeing and affordable than having those possessions will ever be. Find out how you can achieve this dream of yours in guide to buying a van in New Zealand.
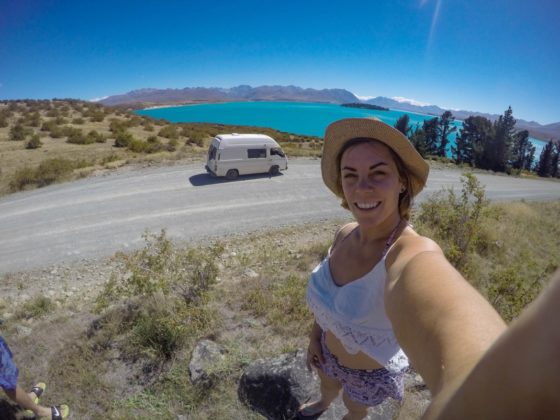
Photo: Nicolette Bigger
A Complete Guide to Buying a Camper Van in New Zealand
Where do I look for a van?
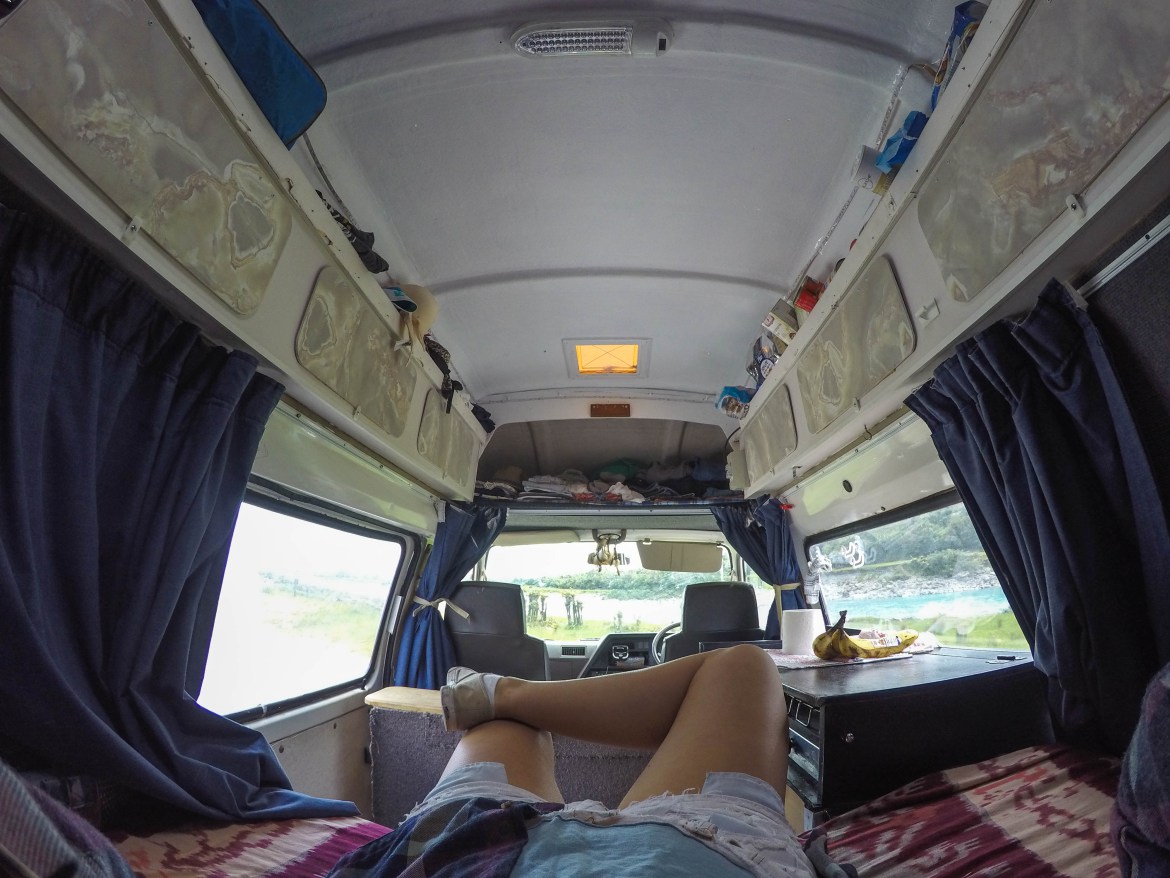
Photo: Nicolette Bigger
When looking for a van in New Zealand, whether it’s a camper van or a normal van that you’d want to convert, all answers below are for both options.
- Look in the big cities — Auckland, Wellington, Christchurch, etc., though you will have the most luck in Auckland.
- There is Travel Cars New Zealand and JUCY.
- Be sure to check the newspaper listings in each city.
- Hostels also have listings.
- Three extremely useful websites when looking for vans
- Backpacker Board
- Trade Me NZ (this is where I found mine)
- Backpacker Cars New Zealand Facebook group
How much should I spend on a van?
Photo: Nicolette Bigger
Obviously the more expensive the van is the better and/or newer it’s going to be. But since we’re travelers and we have to keep our budget cheap, we’ll deal with the cheaper vans. We suggest anything around 3,000 to 5,000 New Zealand dollars. If you’re looking at vans cheaper than that, it’s going to be a gamble. Realistically you’re spending at least NZ$3,000 on a van, and you’ll use it for a year and perhaps sell it for NZ$2,500, which means you only spent NZ$500 on a rental. Personally, I spent NZ$5,500 on my van, because it was perfect and had everything I needed. When you’re planning to buy a van, save up a bit more money than you intend to spend — you’ll have a much better experience in a van you’re happier with!
How do I get it inspected and how much does it cost?
Photo: Nicolette Bigger
There are companies such as AA where you can bring the van you’re looking at buying and do a pre-purchase inspection. It costs about NZ$170 and we highly recommend doing this. This way you’re completely sure that the people selling the van to you aren’t trying to scam you, and that you’re not going to have problems in the future. If you’re not in the mood to pay this much, try calling a local mechanic shop and see what their price is.
Pre-purchase checklist
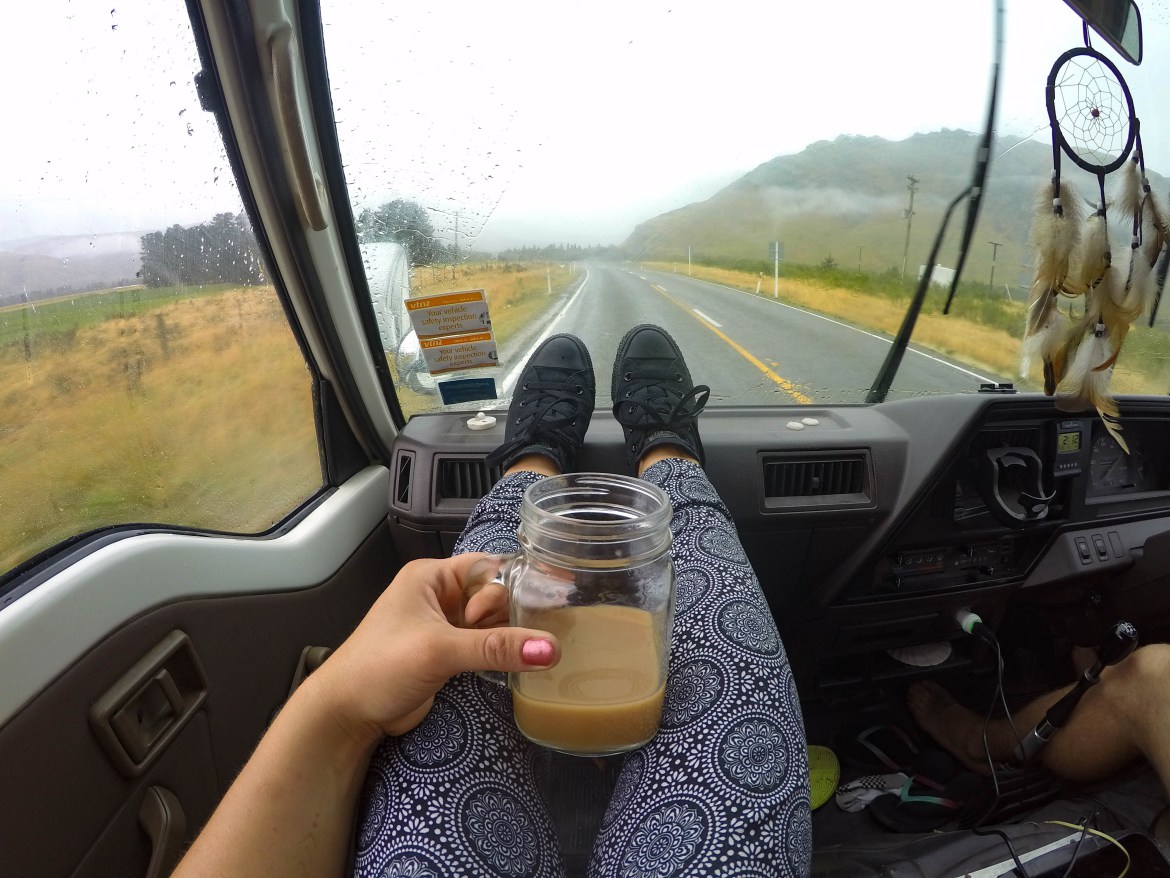
Photo: Nicolette Bigger
Warrant of Fitness
A WoF as kiwis would call it, is a test to make sure the vehicle is road worthy. Most vehicles get a WoF every year, but many of the vans you’re going to look at buying are going to be older, which means they need a WoF every six months. The key is to look for a van that has recently had a WoF so you won’t have to deal with it right away. Sometimes getting a WOF can be pretty expensive if they find things that need some fixing.
Warrant of Electrical Fitness
A WoEF is similar to a WoF. It’s just a warrant to make sure the electrical in camper vans was built to code. There’s going to be a little sticker on the window about this. There’s a date for when it expires and you’ll just have to do a google search for a NZCMA near you. This is probably something you’re not going to encounter, because the warrant lasts for quite some time, but it’s always good to know.
Registration or REGO
Just like in your hometown, you have to register your vehicle in New Zealand. The van is going to have a sticker on the front windscreen saying when the registration is good until. If the registration expires a month after purchasing your van, it’s not as big of a deal as the WoF. All you’ll have to do is just spend a bit of money (NZ$170 for six months and NZ$210 for 12 months) and then you’re good to go. Just make sure you’re always up to date with the WoF. I got a scare and didn’t realize mine was expired, so I rushed to a postal office.
Transfer of ownership
Head to the post office and grab yourself an orange transfer of ownership form. You and your van seller will have to fill it out and hand it in. It’ll cost NZ$9 to put the van in your name and then you’re all set. Don’t forget to do this, or else the guy who sold you the van has all your money and still owns the van.
Diesel road tax
If you’ve been blessed with a diesel van, you have the privilege of having to pay road tax. Diesel is cheaper than petrol, but it’s just a hassle having to keep up on yet another thing. You have to prepay for your kilometers with a diesel tax. We recommend buying 5,000 kilometers’ worth so you don’t have to think about it for a while. It’s about NZ$70 per 1,000 kilometers. It totally sucks, but in the long run, it actually works out cheaper than petrol — especially when petrol is at NZ$2 a liter.
Note: All of the things we’ve mentioned so far can be purchased/updated at any postal office in New Zealand.
Insurance
Insurance is actually not mandatory in New Zealand. However, we still recommend doing so in case of an emergency, and we suggest getting comprehensive insurance and not third party. It’s pretty cheap, about NZ$50 a month, and well worth it.
Self-containment certificate
If you have a van that is self-contained, then great! If you’ve purchased a “normal mom van,” you’re probably not going to have a self-containment certificate because there is a checklist of things that must be done to your van. So this little tab of information is pretty much for the people who would like to convert their mom van into a self-contained van.
We’ve got a small recap of things you’ll have to do, but click here to find out more information. To be a self-contained van, the van needs to be equipped with:
- Fresh water supply
- A fitted sink
- Toilet
- Holding tank (gray water)
- An evacuation hose connected to a sealed portable tank
- A rubbish bin with lid
What supplies does the van come with?
Ideally you’ll want the van to come with a cooker, pots, pans, utensils, bowls, etc. I’m a bit spoiled because I have a stove, fridge, sink, and toilet so I can fully live inside. Think of your van as a house, and as you’re looking through it ask yourself some questions: Is there a mattress and blankets? How does the cooker run? Where can we wash dishes? Where will all my clothes go? Where will the food go? Where will we charge our electronics? There’s a place for everything but you’ll have to be the judge of which kind of van will be the right fit for you.
Does the van need fixing up?
Maybe it just needs a new battery and you’ll be able to charge your items. That’s a simple fix. The pre-purchase checkup is a good idea in this situation, just so you know what repairs will be needed in the near future.
Do you have the cash available now?
Have all your money already transferred to New Zealand bank account or have it in cash. The worst thing you can do is be ready to hand over the money and then realize that you can’t get it out. There is a daily limit on how much you can take out of ATMs, so we suggest to take it out days in advance or bring it with you in cash. It’s a tricky one, because bank transfers can take time and sometimes travelers are ready to leave and need to sell their van as soon as possible. You can also put the money in in your PayPal account and do a transfer through there.
The reason why this is a good idea is because most travelers selling their van are looking to sell it right away. They are ready to move on to their next set of travels and want to get this thing sold. So the best idea is for you to have your cash handy so you can call dibs on the van first.
Checklist recap
- Looking for places to get the van
- Setting a price range
- Warrant of Fitness
- Warrant of Electrical Fitness
- Inspection
- Registration
- Transfer of ownership
- Diesel kilometers
- Insurance
- Self-containment certificate
- Van supplies
- Checking if anything needs to be fixed
- Money to pay for the van

Photo: Nicolette Bigger
This article originally appeared on Beanies & Bikinis and is republished here with permission.