Capturing a great photo can be challenging enough when all you have to consider are your camera settings and post processing. Adding in extreme weather (hot or cold) or hectic environments complicates things to a whole other degree, but it’s easy to not think about the affect these situations can have on our equipment and our physical well-being.
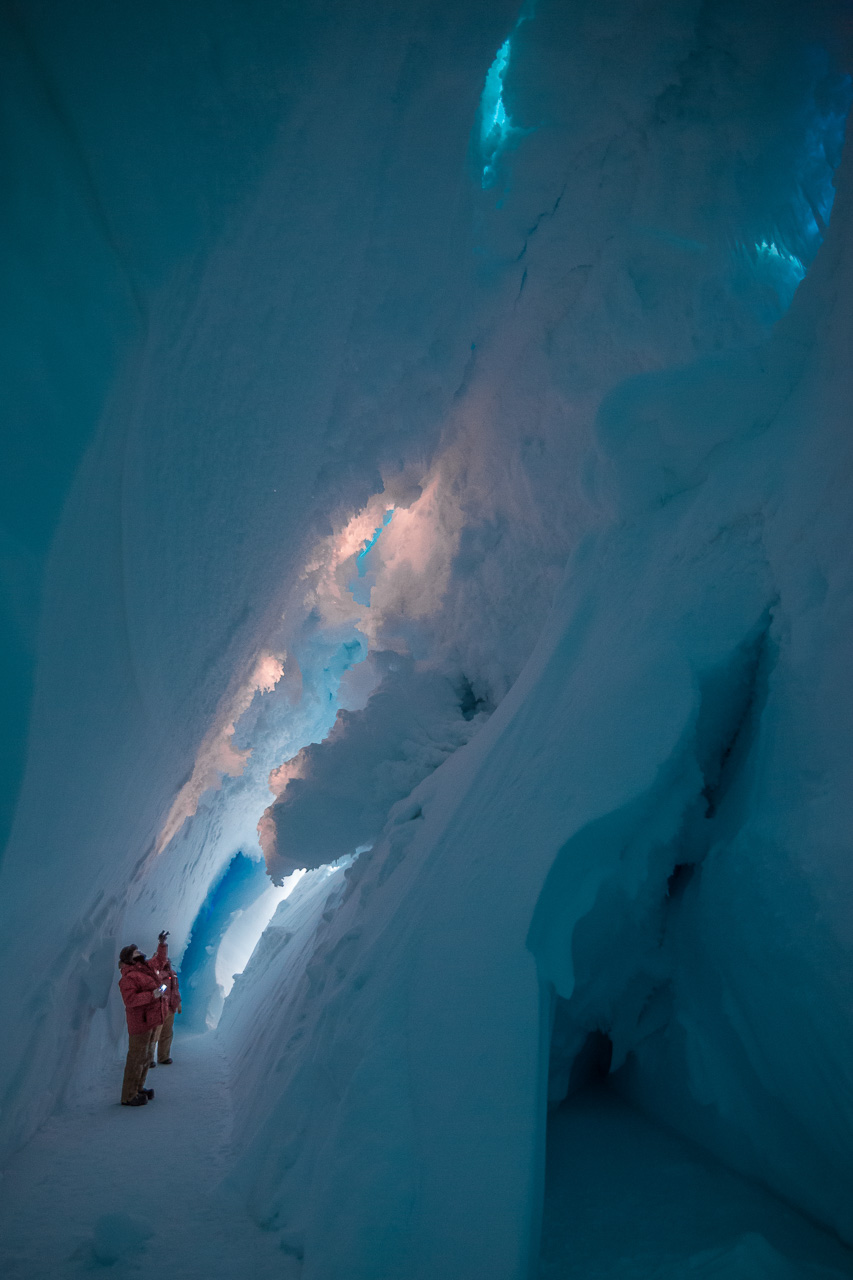
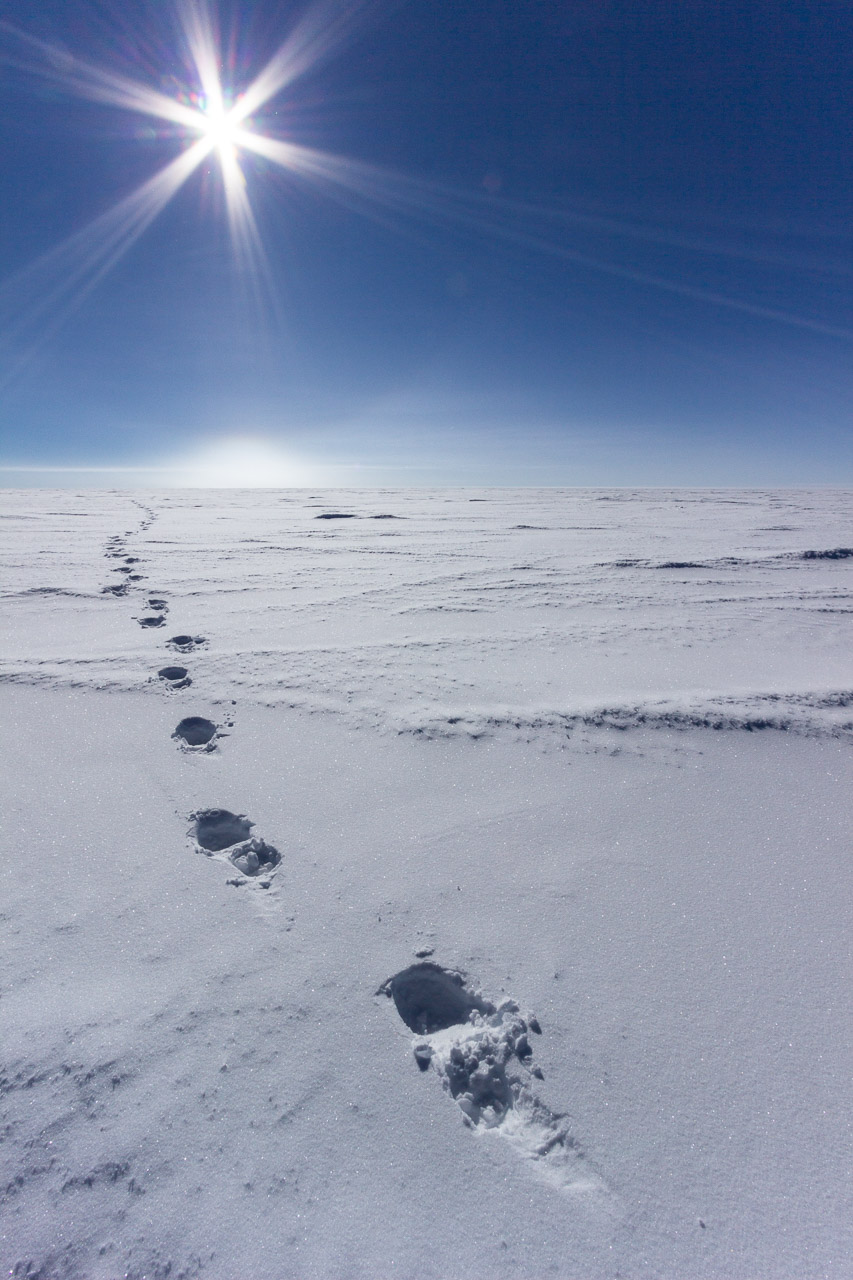
After spending the better part of the last three years in Antarctica (including one long, dark, and cold winter) I have developed a few techniques to help survive a day shooting photos in the cold. ![]()

Prepare inside
Be fully dressed and have proper lenses and accessories attached to your camera. Also adjust your camera settings as close as you can for your shooting conditions and even consider pre-focusing if you’re shooting stars at night.
Use a tripod and remote as much as possible
While essential for night photography, these tools allow you to keep your hands warm and move around more for warmth. Once you finally do start shivering camera shake is not a problem with the remote!
Timelapse considerations
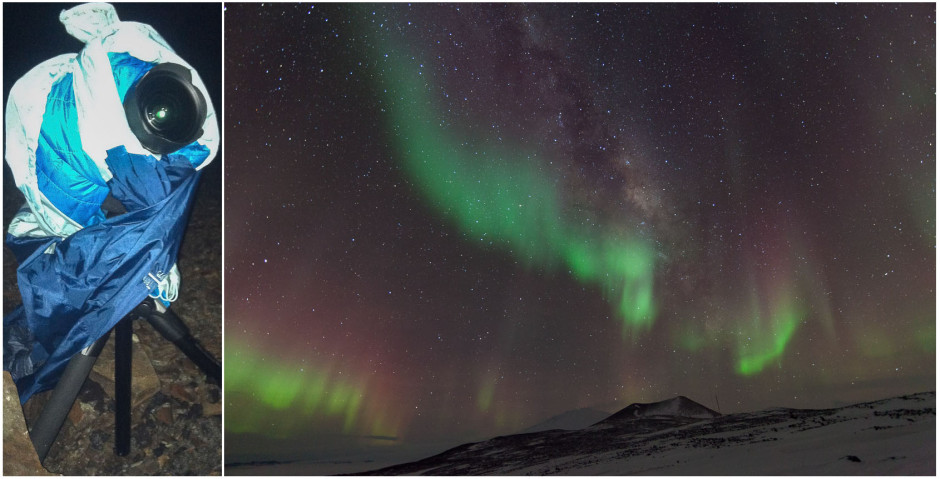
For cold weather timelapse photography you will need a way to keep your camera warm for a number of hours. You can buy aftermarket camera/lens warmers and AC power adapters that make this easy, but they aren’t financially feasible for many people. After I know my exposure is correct I’ll start my time-lapse and use chemical hand warmers placed around the camera (mainly around the battery compartment). Then I’ll wrap my camera in extra clothing and jackets, using the sleeves to tie everything around the body and lens. While it doesn’t look pretty, this system will keep the battery going for about 4 hours even when it is -20F.
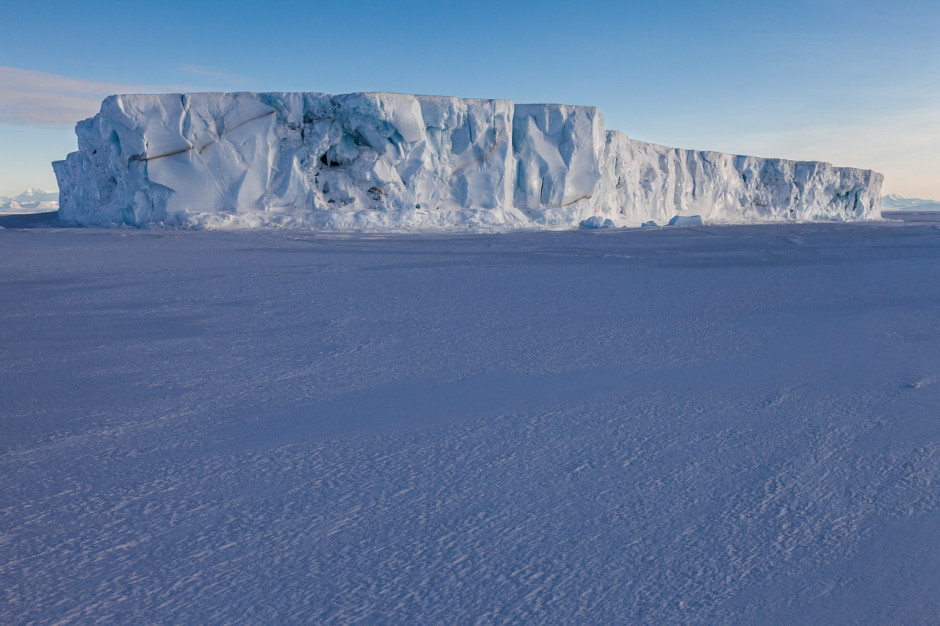
Intermission
Have proper cold weather clothing
I always dress in multiple layers so I can change them whether I am moving around or standing still. The key is to not sweat and don’t wear cotton because, unlike synthetics, if it gets wet the fabric will zap the heat from your body. Do jumping jacks or other exercises to stay warm.
Keep your fingers warm
To keep your hands warm and still be able to change camera settings I usually wear a pair of thin liner gloves inside of a thicker pair of gloves or mittens. Avoid fingerless gloves, as bare skin is more likely to get frostbite—especially the tips! Try practicing using your camera with liner gloves before you go out so you aren’t fumbling your first time out in the cold.
Don’t forget to protect your face and feet
Warm boots with a snow or ice traction device like Yaktrax are essential in winter environments. Always wear sunglasses during the day to prevent snow blindness and consider clear glasses at night for blowing snow and dust.
Protect your expensive glass
I always have a lens hood and UV filter on my lens to protect it against the onslaught of blowing snow and ice. I’ll also rarely change my lens outside to avoid filling my camera body with snow.
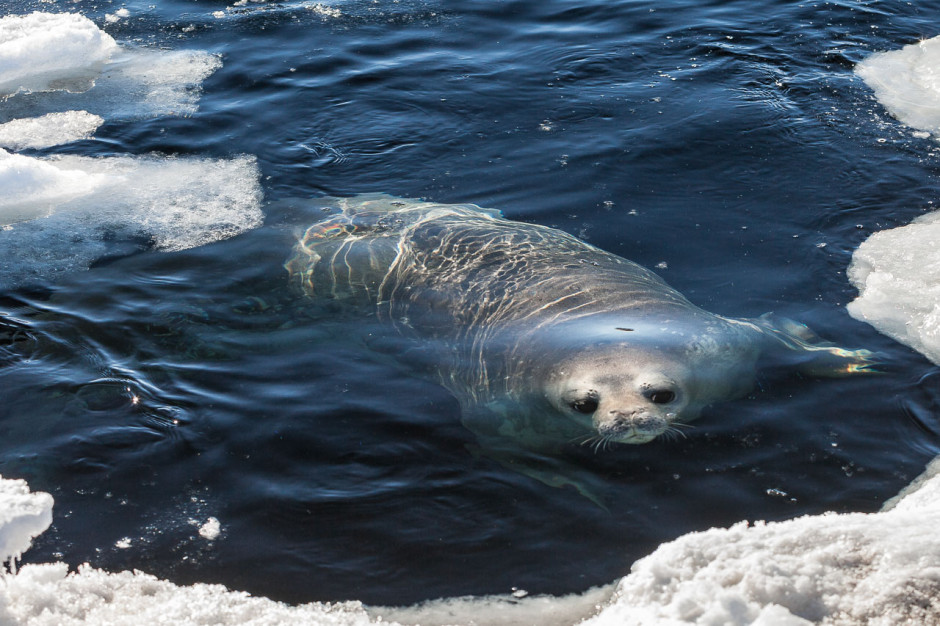
Intermission
Plastic doesn’t like the cold
Everything becomes more brittle in the cold so don’t force any controls that might be stuck on your camera and be delicate when changing filters or flash or even putting your camera on a tripod.
Care for your batteries
Battery life seems to be the biggest concern for photographers heading out into the cold for the first time. Most of today's advanced lithium-ion batteries will last for hours in the cold. I always have a few spares in my innermost pockets just in case. Your camera will respond slower and a flash will take longer to recharge in the cold so build these delays into your shooting plan for the day.
Protect from the weather
Even though most pro-level cameras and lenses are weather resistant, it is still necessary to protect them against heavy rain and snow. Rain covers or simple ziplock bags will do the trick.
Don’t rush your camera indoors
This is the most frustrating and important part of cold weather photography: slowly warm your camera back to room temperature. Put the camera in an airtight bag and bring it into the coldest part of your house. After an hour or so move the bagged camera into room temperature until the camera matches the temperature of the room. If this process isn’t followed condensation will form inside and outside of your camera and the rapid temperature change can cause other problems within the camera.