5 Simple Hacks for Getting Dreamy Waterfall Photos

by Elisabeth Brentano Jun 20, 2016

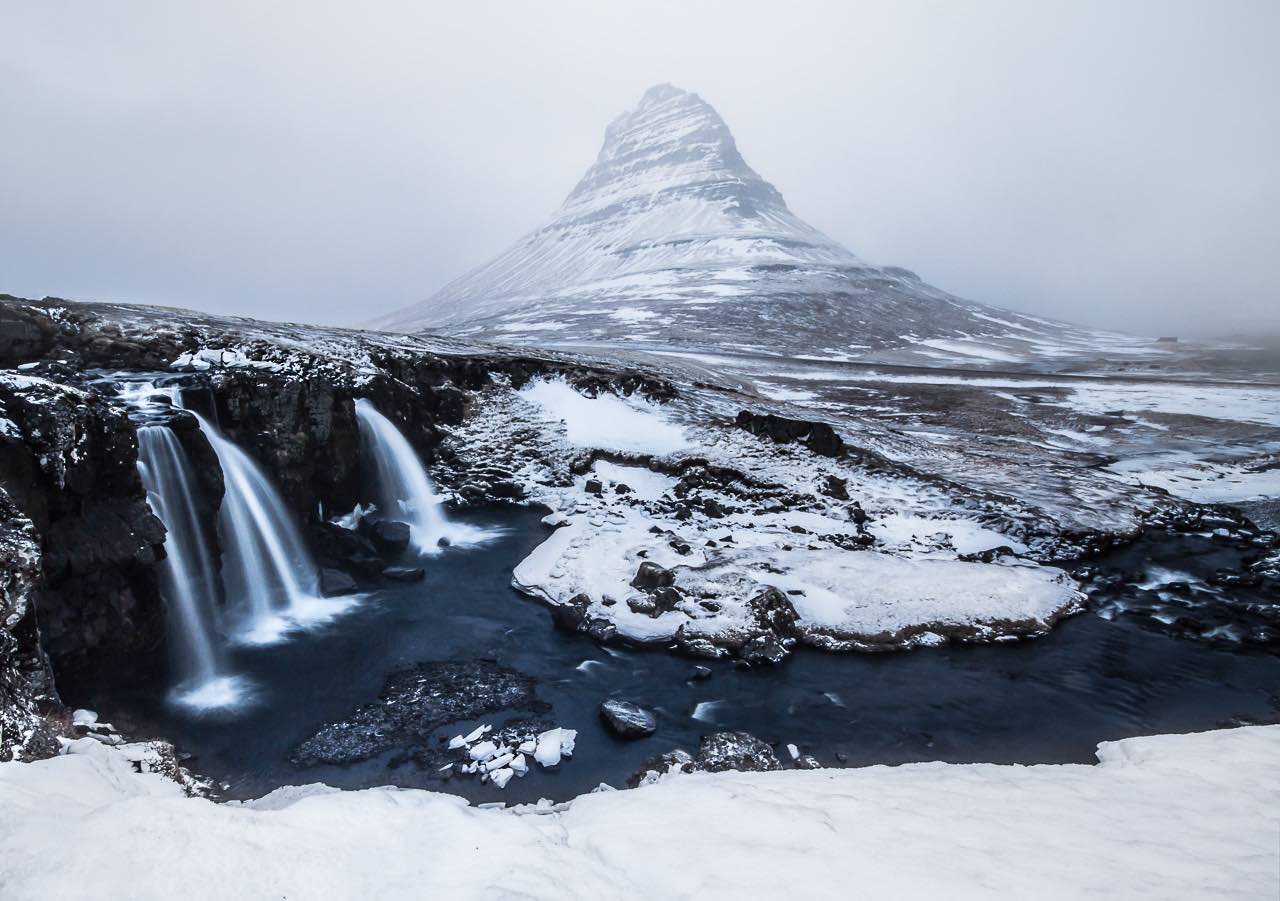
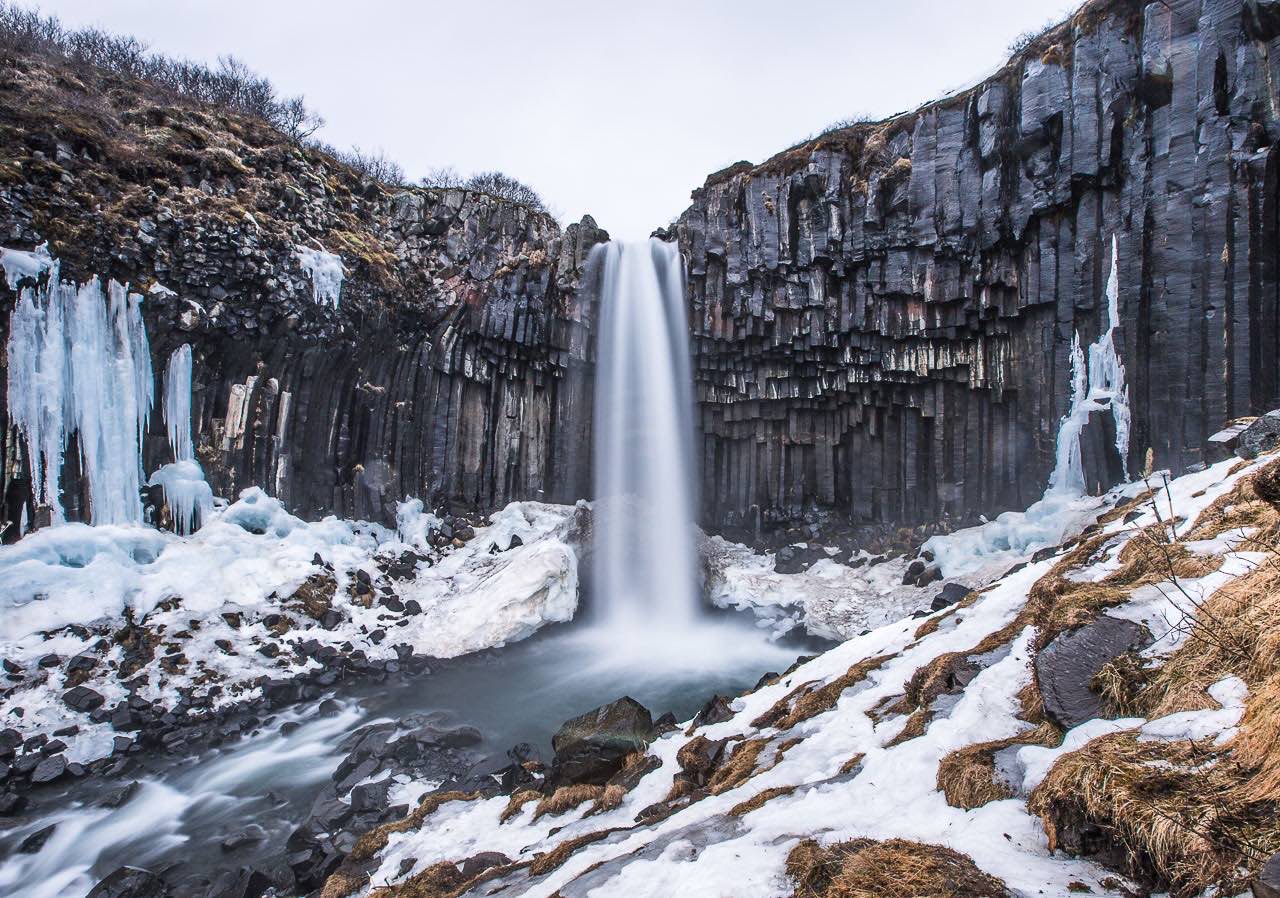
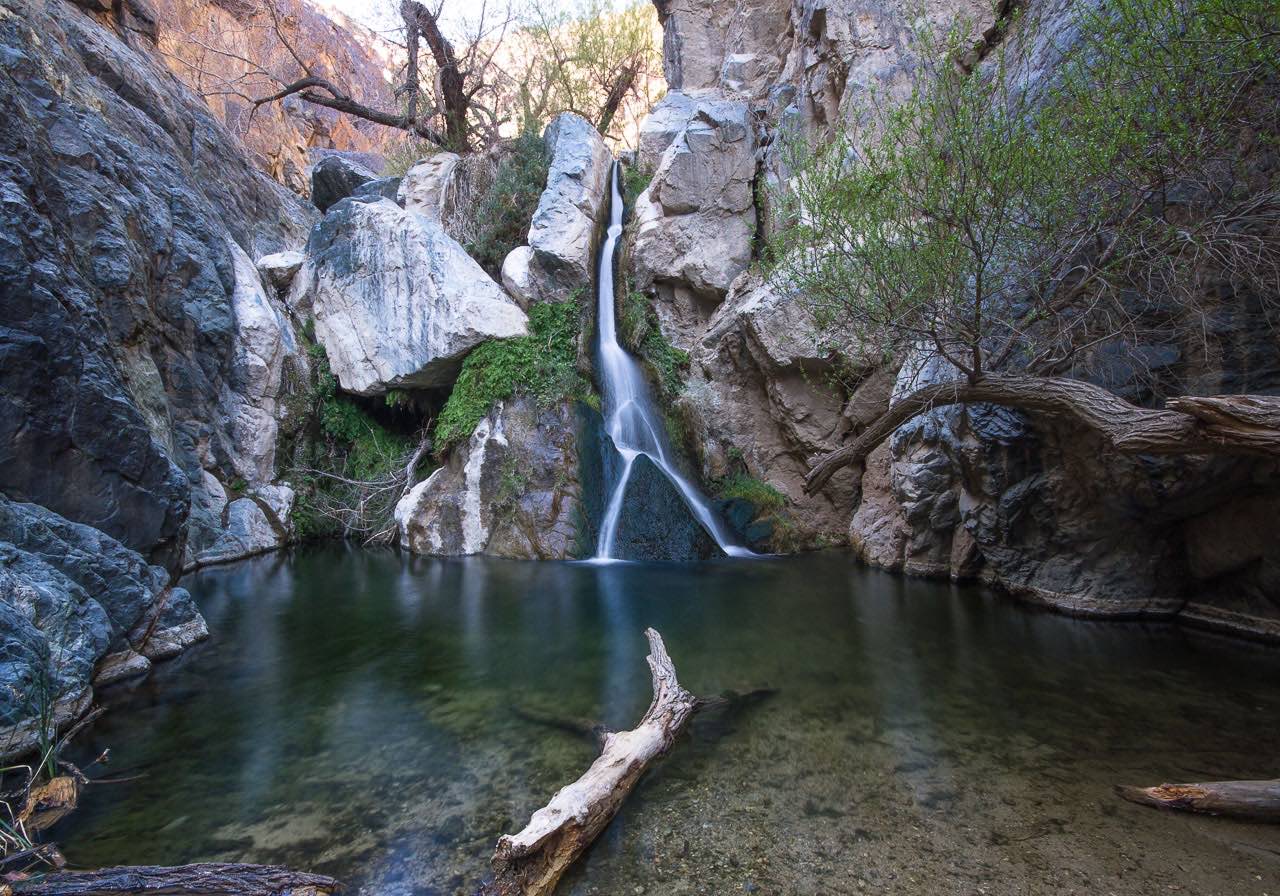
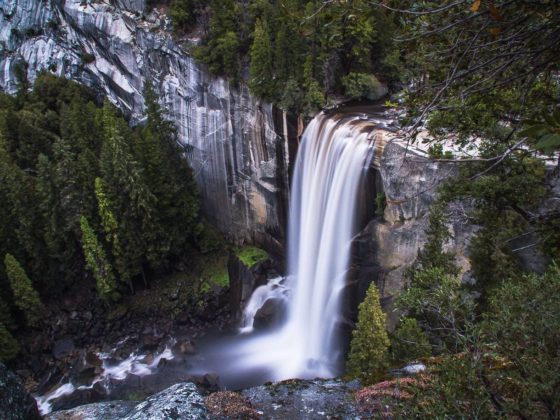
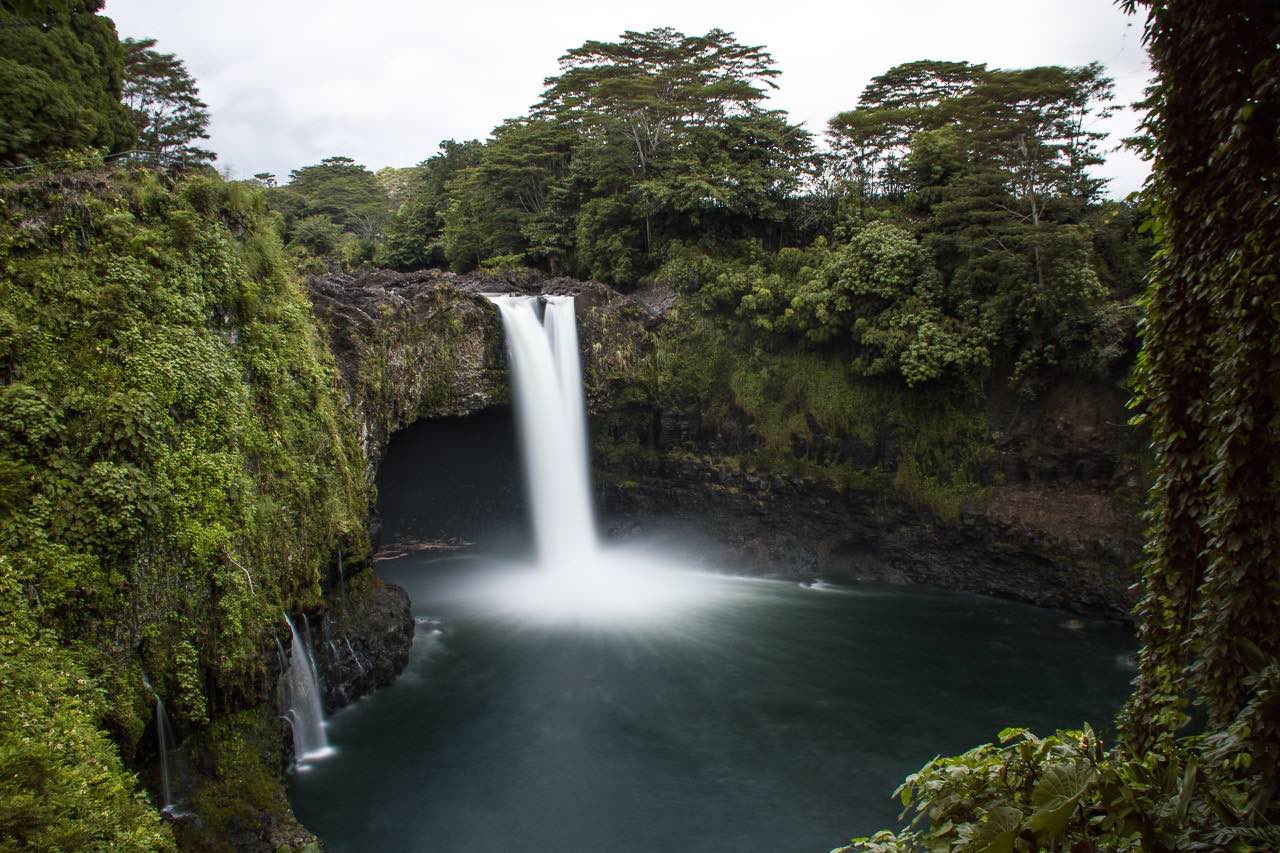
Have you ever wondered what exactly photographers do to give waterfalls that dreamy, silky effect in their shots? As it turns out, it’s simply a matter of adding two pieces of equipment to your camera kit and finding a few spots to practice shooting.

All photos by the author.

1. Invest in a tripod.

IMG_3267-Edit-2

It may be that traveling without one is easier on your back, but using a tripod gives you the freedom to break away from handheld shots and capture all kinds of incredible images. If you want to start playing around with long exposures and you have a DSLR, this should be the first thing on your list. Look into a lightweight option (MeFoto and Induro make some of the best ones on the market) or Joby’s Gorilla Pod, which is low to the ground, but flexible enough to attach to fence posts or other stationary objects.
2. Add filters to your shopping cart too.

IMG_0588

Unless it’s dark out, you won’t be able to shoot at a shutter speed of more than a second without getting completely bright and blown out photos. And anything less than a second won’t give you that smooth look, so what to do? Neutral density (ND) filters are essentially dark sunglasses for your camera’s eyes, and they’re the next thing you should add to your shopping cart. Depending on your budget, there are a wide variety of ND filters to choose from, but the only ones you really need are a 10-stop and a 6-stop. Lee has the best professional filter set up (it consists of a ring, a holder and the filter itself), but Tiffen and Hoya have affordable circular filters that screw right onto your lens. If you’re ordering online, just make sure you get the right size for your lens thread.

3. Check the weather.

IMG_2709-Edit-Edit

Just because you have a 10-stop ND filter doesn’t mean you’ll be able to eliminate the sun from your shot. If you really want to get the best light while shooting waterfalls, cloudy days will be your new best friend. Additionally, going at the right time of day (i.e., NOT noon) will be incredibly helpful. The darker the natural light, the longer you’ll be able to shoot, and the smoother the water will be in your shot.

4. Look for a good composition.

E13A0124

If it’s your first time shooting a long exposure, it’s easy to get so distracted by the silky smooth water on your LCD screen that you forget how to compose a shot. Snap a few frames without filters first to find a composition you like, and then pop them on and go to town.

5. Play around with settings.

IMG_1842-Edit

Practice makes perfect, but playing around with your settings and learning the relationship between your shutter speed and aperture is even more important. There’s no rule on the exact settings to use; base it off of available light. If you’re not sure where to start, put on a 6-stop filter and make sure you’re in manual mode. Set your aperture to f/11 and shoot a 5 second exposure and see what happens, or go in live mode and adjust it from there. If it’s too dark, bump your shutter speed to 15 seconds, and if it’s too bright, switch over to a 10-stop filter or push your aperture to f/18.

Discover Matador

Save Bookmark

We use cookies for analytics tracking and advertising from our partners.

For more information read our privacy policy.