Photo: My Good Images/Shutterstock

Bikepacking Is the Coolest New Way to Get Outdoors

Cycling Backpacking
by Tim Wenger Oct 1, 2020

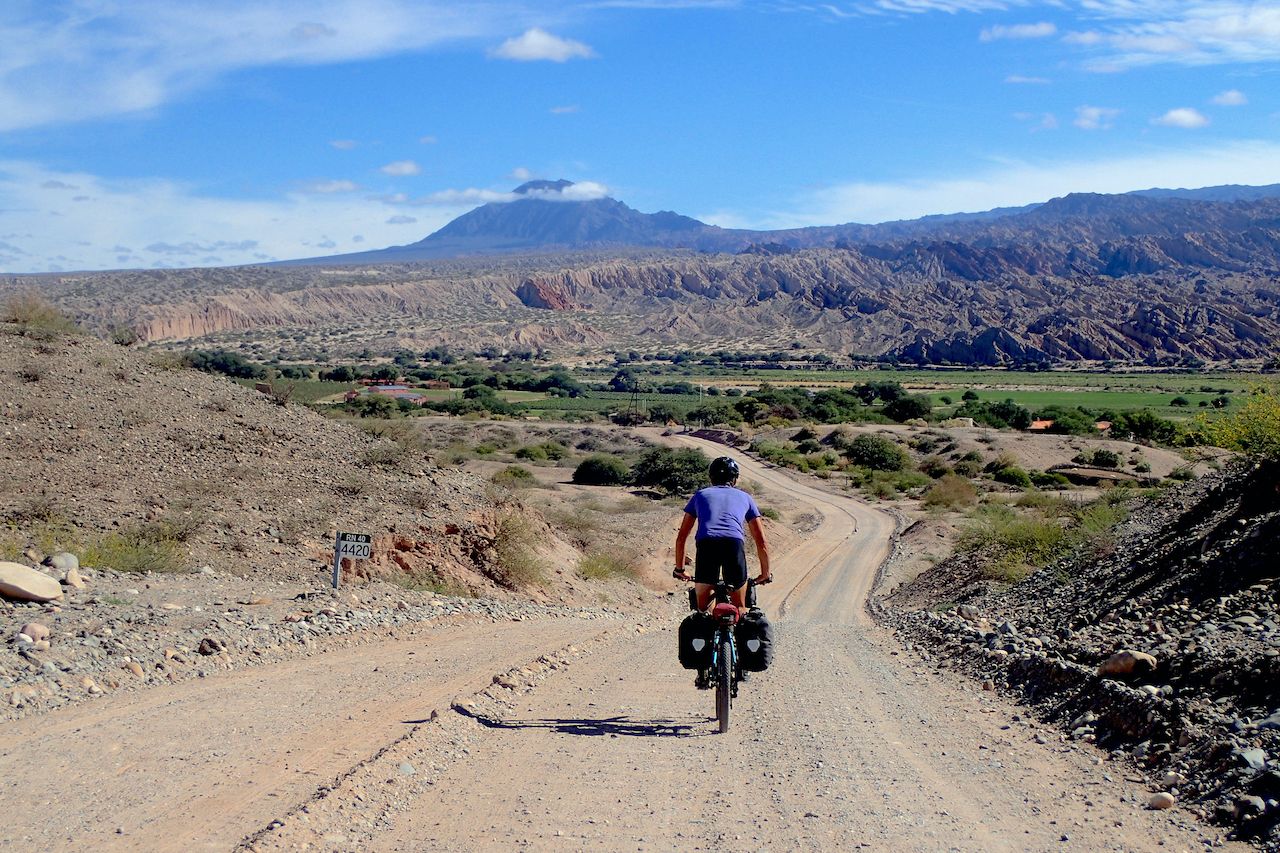
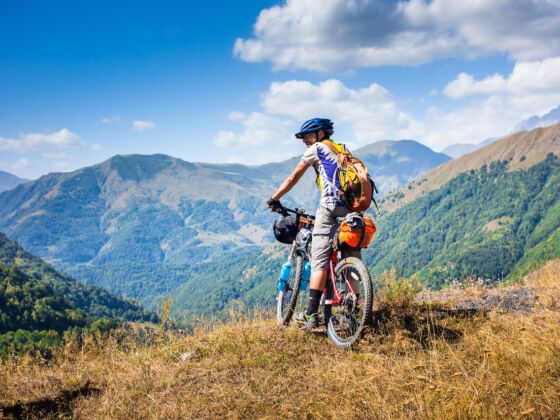
The term “bikepacking” is a play on “bicycle touring” and “backpacking.” It’s an improvement on both. The simple fact that you’re on a mountain bike frees you from the need to stay on asphalt and opens an entire world of possibilities that road cyclists can only stare at from a distance. And cycling is far more efficient than walking as a means of covering ground.

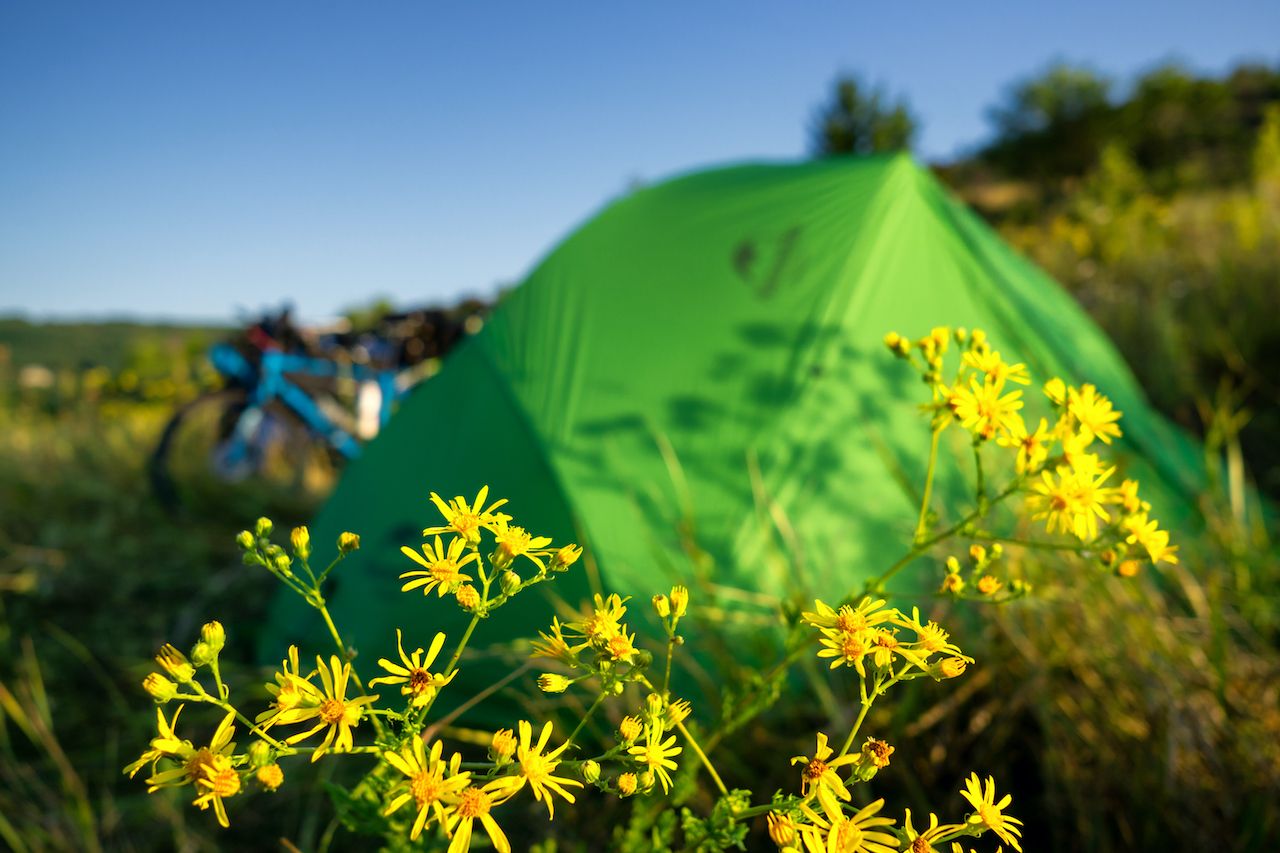
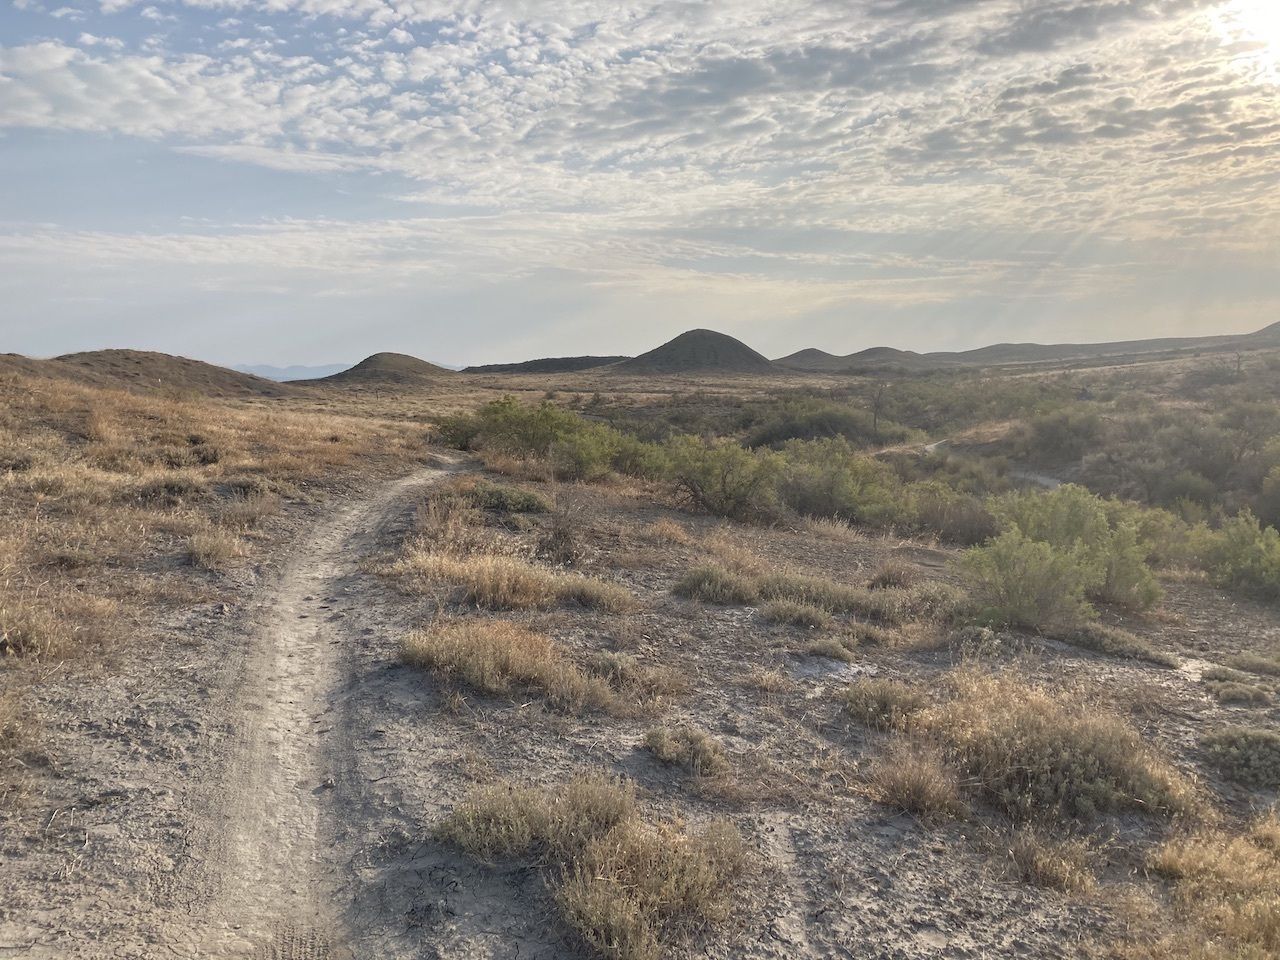
On the first weekend of autumn, I embarked on my first bikepacking trip. The route from my house in Palisade, CO, took me 43 miles across the mostly-paved Colorado River Trail along with stretches on gravel trail, singletrack, and road to Highline Lake State Park. I camped there. In the morning I rode the park’s singletrack trail system and backcountry roads before joining the Loma-Fruita Bikeway and eventually the Colorado River Trail back toward Palisade. Here’s what I learned from the experience, and here’s what you need to know to make your first bikepacking trip as smooth as possible.

Choosing a bike for bikepacking

Cyclist on road

Photo: Sophie Castillo 1986/Shutterstock

A hardtail mountain bike — meaning it has suspension on the front but not the rear — is ideal for bikepacking trips traversing across mostly dirt roads, gravel, and non-technical singletrack. Hardtails don’t absorb bumps as well as full-suspension bikes. But they’re much more efficient for distance pedaling and are lighter in weight. If you plan to affix a rack or other semi-permanent add-ons to your bike, you may be forced to use a hardtail simply because many technical mountain bikes aren’t designed to hold such gear.

If your route spends ample time on technical singletrack, a full-suspension bike is worth the extra weight in exchange for saved energy and frustration. In this case, opt for the bikepacking-specific packs discussed below.

To reduce the chances of a popped tube, I kept my tire pressure around 30 PSI. The harder the tire, the less the ability to absorb awkward contact. I also took the bike in for a full tune before departing and had gear for light maintenance. As such, I wasn’t stressed every time I rode over a bump or rock.

Packing for a bikepacking trip: the overnight must-haves

Tent and bike

Photo: Maxim Burkovskiy/Shutterstock

Not to draw from a millennial cliche, but minimalism is essential on a bikepacking trip. Heavy or oversize camping gear will make riding trails more difficult and cause you more stress than the added comfort is worth.

Though any small and easily backpackable one-person tent will do, the biggest change I’ll make before my next bikepacking trip will be to obtain a lighter overnight setup. With a standard 1-2 person tent and a three-season sleeping bag strapped to a rack on the back of my bike, I carried more weight than I needed to.

When buying a tent specifically for bikepacking, opt for a one-person tarp-style tent such as the Fly Creek HV UL1 from Big Agnes or go all-in with the Tarptent Aeon Li. Some bikepackers choose to go with just a camp tarp or bivy bag when the weather looks clear. The closer you’re willing to get to nature, the reward is less gear to carry.

Compact sleeping bags such as the Trailbreak series from REI are ideal for packing in one of the pack setups listed below. A sleeping pad and down quilt can save space on even that, provided inclement weather is not in the forecast.

If you must have a full setup or if traveling with another person and sharing a larger setup, strap a tent and backpack(s) to a rack affixed to the back of your bicycle. Be sure to tighten the straps and test — the last thing you want is a bump in the trail sending your gear flying overboard. Though I didn’t have any issues, I’ll swap the pannier and rack for a handlebar bag next time for the sake of efficiency and comfort.

What else to bring on a bikepacking trip

Gear

Photo: Juiced Up Media/Shutterstock

Backpacks are not ideal for bikepacking for a number of reasons. It’s tough to maneuver yourself, the pack straps can cause shoulder or back strain, and you have to stop to access the contents, among other things. The most important piece of bikepacking-specific gear you need is a frame bag. This triangular-shaped pack affixes within the bike frame itself, adding no external mass to you or your ride. Store items you’ll need on the fly like water or snacks, though the pack should also fit a bike lock, bivvy bag, and other small-to-medium-sized items.

For additional storage, opt for a front frame handlebar bag. Easy access bags such as this one from Ortlieb run about $160, though stripped-down duffel versions like this one from Birzman cut that cost in half and double as a dry bag, helpful in cases of rain or stream crossings.

You can get by with a traditional pannier attached to a rack above the rear tire as I did, but a handlebar bag is better for balance on uneven terrain. On a trip longer than two days, you may wish to add an additional pack such as this seat pack from REI, which attaches to the bottom of your seat in lieu of a rack. This is great for storing overnight gear.

Bike and safety gear

What happens if you pop a tube? Being prepared with proper maintenance and routing tools is an essential part to a successful bikepacking trip. The bike gear to have on you:

  • Spare tubes, portable pump, tire levers, a patch kit and plugs, and a bike multi-tool
  • Extra chain links and lube
  • Jerry-rigging stuff like straps and duct tape
  • Basic first-aid supplies, including gauze, bandages, tape, and ibuprofen
  • Phone charging bank and chords, sunscreen, and toiletries

Water

For most, four liters of water per person, per day, is a good starting point. If the trail spends much of the day in open heat, you may want up to six liters. A Camelbak or other water bladder plus a water filter that allows you to filtrate water on the go are necessities for any bikepacking trip.

Store your bladder in the bike frame bag for easy access on the go. Anytime you pass a visitors’ center, convenience store, or somewhere else with potable water, fill up the bladder. You’ll thank yourself later.

Food

Because you’re on a bike, the key to an optimized meal setup is portability. Anything that takes excessive preparation or storage won’t cut it. Lightweight, pre-packaged backpacking meals like Patagonia Provisions make perfect dinner meals that are quick and can be cooked over a portable butane stove or alcohol stove, both of which fit into the frame or handlebar bag. Brave makes nutrition-enhanced, on-the-go oatmeal breakfasts ideal for a quick and healthy morning meal. I particularly enjoyed the Peanut Butter Banana flavor on this trip. Quick snacks like Clif Bars and fruit are mandatory for rapid-fire calories.

I brought just enough food and water — two backpacking meals and some high-calorie snacks — and I had a filter and routed myself to a place where I knew there’d be water.

Planning your bikepacking route

bikepacking

Photo: Tim Wenger

Now it’s time for the fun part: figuring out where you’re going to pedal to, and what you’ll see along the way. Bikepacking is unique from most other outdoor adventures because you don’t necessarily have to end up where you started. Long-distance trails such as the 142-mile Kokopelli Trail, which traverses desert and mountains between Fruita, CO, and Moab, Utah, are popular because they offer a challenging route that actually takes you somewhere. By stationing or arranging a shuttle vehicle or public transit at your finish point, there’s no need to go both ways — unless you want to.

For your first bikepacking trip, pick a terrain and route that you are at least partially familiar with and will be comfortable riding. Use Bikepacking Roots to identify and plan your route. Then, use a bike-centric GPS app on your mobile device such as GaiaGPS or Strava to input starting and ending points, overnight stops, water refill points, and additional waypoints. Bikepacking covers popular routes and gear and offers advice from pioneers of the activity. Rotatable smartphone mounts to monitor the app, such as this one from Nite Ize, start around $20.

If you’re nervous about biking a long distance with all of this gear, as I was, plan a test route from a nearby trailhead to a campground or state park. Ride there, set up camp and spend the night, and then ride back to the trailhead. Take notes of what you did right and anything you’d change to your setup, planning, or execution, and then implement those changes before taking a longer trip. And if you are going by yourself, always tell someone where you are headed.

Discover Matador