Camping bonds people of all ages. Hours spent exploring creeks, setting up tents, and counting stars all create lasting memories. Whether it’s telling ghost stories or roasting marshmallows, time spent around the campfire causes emotions to run deep, and, believe it or not, one cooking device can further enhance those experiences: Dutch ovens (and no, not the kind you harass your bedmate with).


Dutch Oven Cooking Is the Best Way to Eat Well While Camping
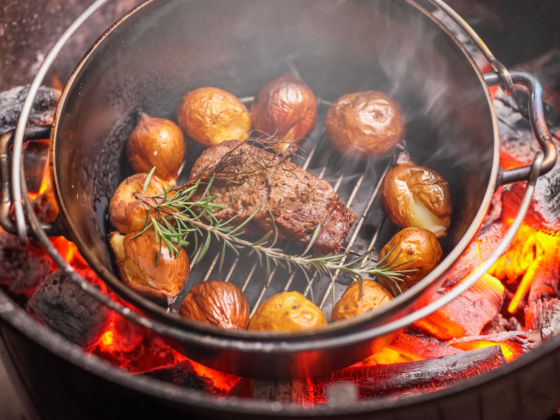
Dutch ovens were invented in the early 1700s, decades before the US was even an idea. In case you aren’t familiar, a Dutch oven is a deep, lidded pot made out of cast iron (or cast aluminum in some cases). At first glance, it may seem archaic, but incorporating one into your camping gear can ramp up your cuisine from hot dogs and s’mores (not that we don’t love those) to stews, casseroles, and cakes.
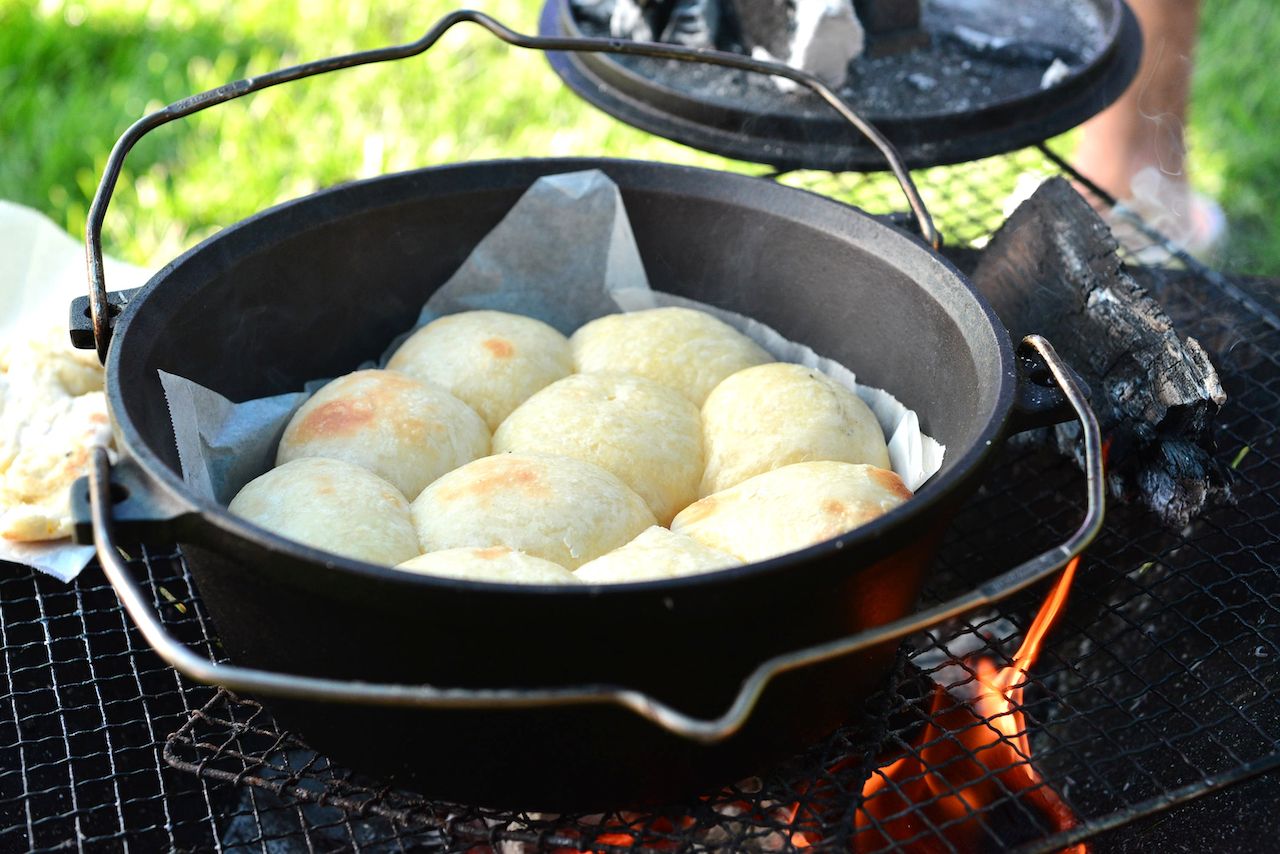
It’s easier than you think to cook high-quality meals with a Dutch oven over coals. I didn’t realize this style of meal prep was a possibility until I experienced cobbler, rolls, and bread pudding made in the open while camping at the annual Reno Rodeo Cattle Drive. I went over to talk with the woman who was cooking, and she was delighted to talk about this uncommon technique.
Terry Bell — who goes by The Dutch Diva due to her extensive knowledge of cooking in Dutch ovens — suggested that beginners start with making a simple, high moisture dish such as stew or soup. Once those recipes are perfected, you can move on to more difficult dishes, such as biscuits, casseroles, and cobblers, which are impressive menu items for a camping trip.

Photo: yoko13/Shutterstock
In addition to the wider array of foods you can make, another advantage of using a Dutch oven is that most of the labor can be done beforehand, leaving more time for you to take in the communal experience that is camping. With your ingredients already prepared in bags, “all you need to do is throw the ingredients into the oven, add your liquid, and start cooking,” Bell said. “Then you have some time to just sit around the fire and visit.”
Bell’s level of expertise comes with practice, and she wants to pass her skills on to others. Her love for this style of cooking has forged strong ties, which include friendships made at the annual Reno Rodeo Cattle Drive. On the drive, guests interacted with Bell as she provided fare for dinner, such as sourdough bread and carrot cake.
“I am passionate about sharing this Western art form,” Bell said. That led her to teach classes filled with ladies of all ages, and there are hopes the younger generation will foster the tradition of Dutch oven cooking. “Hopefully I can continue to share my passion and keep it alive,” she said.
With the endless menu options and relationships built around campfires, we hope it will too.
Tips on how to cook with a Dutch oven while camping

Photo: Jed Packer/Shutterstock
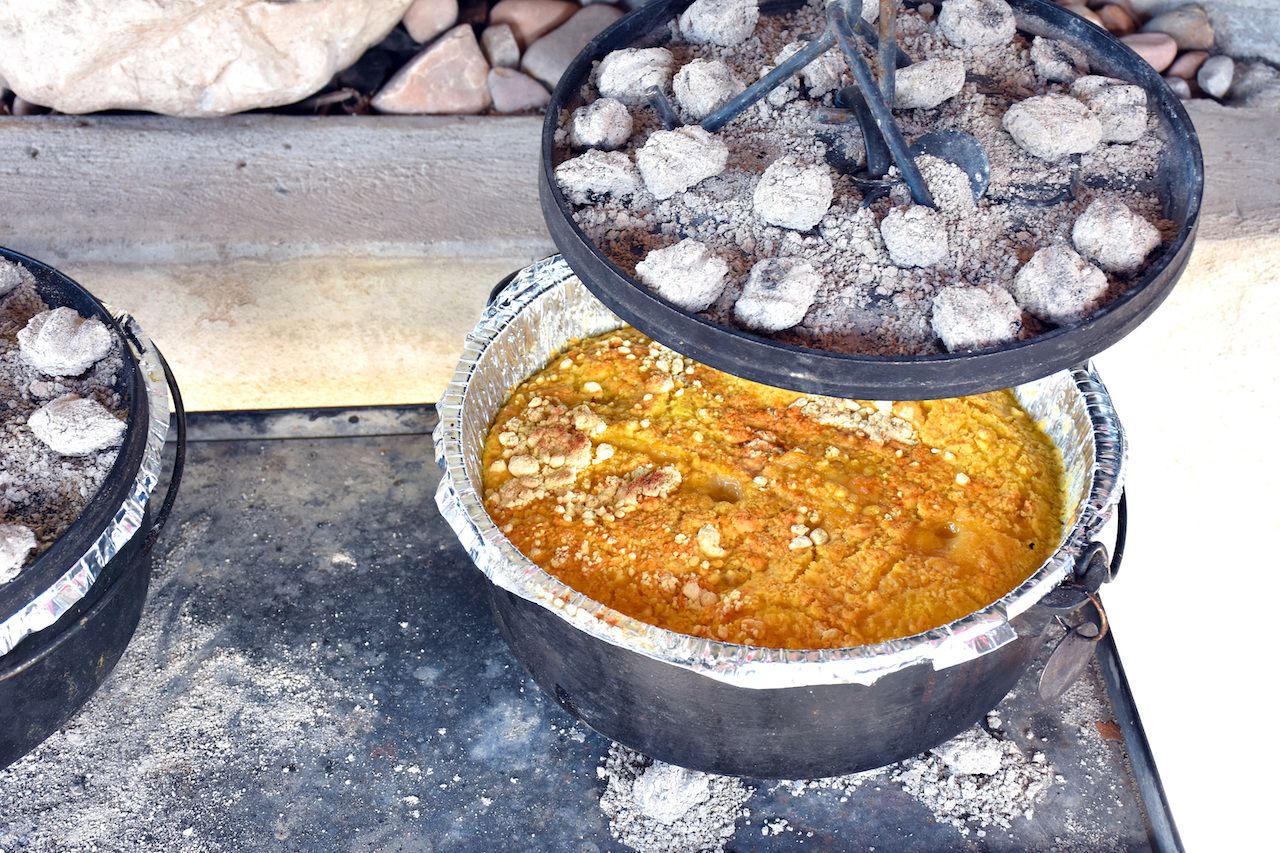
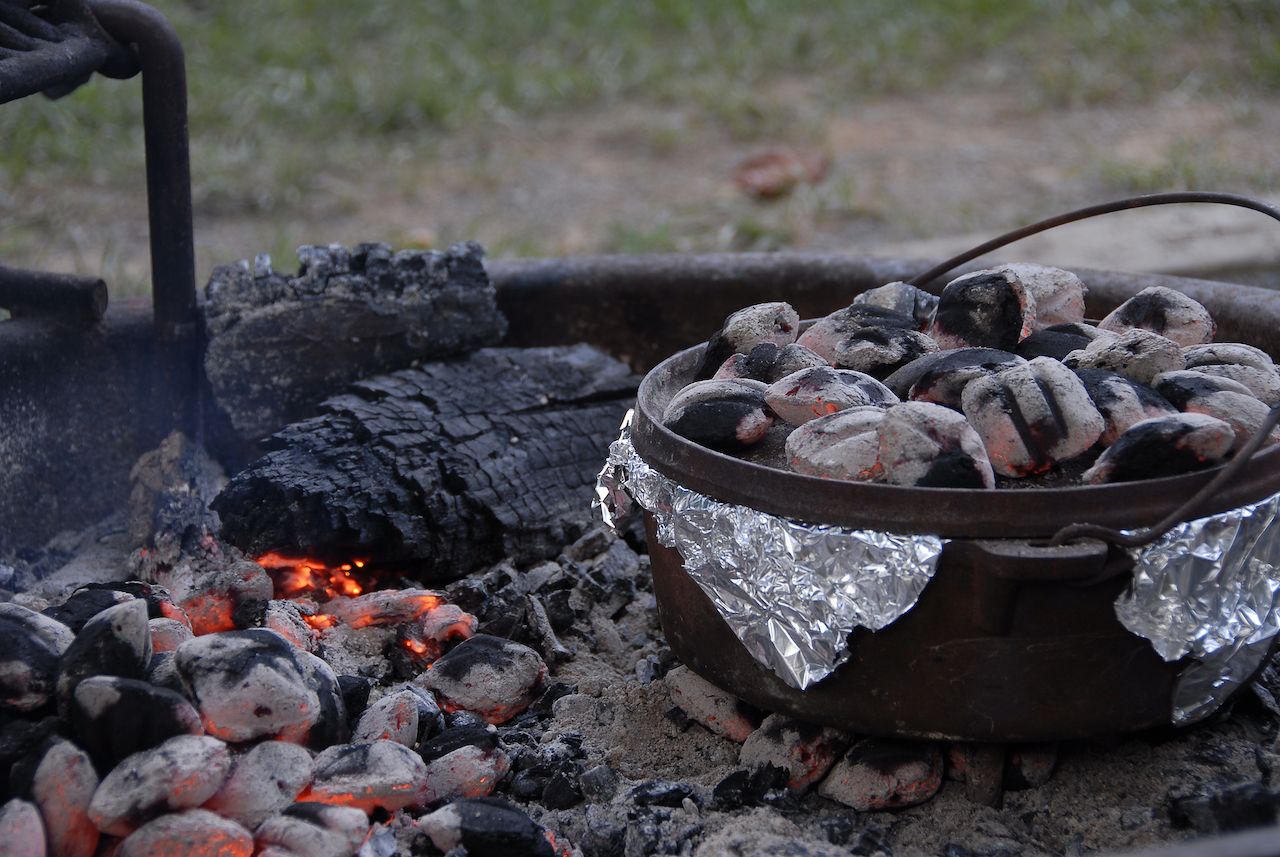
The most efficient way to achieve the correct temperature for cooking with a Dutch oven is by using charcoal briquettes. Admittedly, Bell said this is the most intimidating and trickiest part of the process. Thankfully, most Dutch oven cookbooks have a chart to help calculate the number of briquettes to place on the top and bottom of the oven, depending on the size of the pot and the desired temperature.
If cookbooks aren’t your thing, there are phone apps to help determine the number of coals based on the size of the pot, cooking style (such as baking or roasting), and heating times. Take note, however, that the most successful method for Bell hasn’t necessarily been the number of briquettes. The secret is to make sure the coals are carefully spaced to create varying temperatures. Of course, practice makes perfect.
Another tip for success is to be careful about the number of briquettes you use. “People don’t realize how much heat is generated by each briquette,” Bell said. “I advise people to start slow with fewer briquettes because you can always add more if needed, but if you start with too much heat and burn the food, you can’t go back and ‘unburn’ it.”
There are situations, such as long trips, when taking charcoal to a campsite isn’t practical. Wood can be used, but it isn’t as reliable in regulating temperature. When using logs, Bell recommended checking the food more often and rotating the Dutch oven periodically to avoid hot spots.
How to season and clean your Dutch oven
When it comes to taking care of your Dutch oven, purchase a pre-seasoned one or season it yourself. Seasoning creates a non-stick coating on the surface of the cast iron, and it also helps prevent rusting. Bell advised that this can be accomplished by “putting a light coat of vegetable or canola oil inside the Dutch oven, placing it in your kitchen oven at around 300 degrees for about an hour, turning the oven off, and letting it sit in the warm oven.” That way the oil can soak into the cast iron and keep it from drying out.
Cleanup is of the utmost importance with cast iron, as moisture causes rust. Wash, dry, and air ovens out with the lids off until they’re completely dry. Bell also recommended storing your Dutch oven with a paper towel in between the lid and base to account for any moisture that may remain. If your oven rusts, don’t fret! A bit of fine steel wool and elbow grease will remove it. Just wash the oven and re-season it afterward. A well-maintained Dutch oven should last for life.
Camping equipment to buy before cooking on a Dutch oven

Photo: Russell Dickerson/Shutterstock
The first thing you’ll need, of course, is a Dutch oven. Look for a cast iron one that’s 12 inches deep. The Lodge Cast Iron Camp Dutch Oven is a good choice (prices range from $30 for a two quart to $90 for a six quart), while the budget-minded should look into Amazon’s pre-seasoned cast-iron Dutch oven, which is around $40 for a six quart. You’ll also need a lid lifter for lifting the lid to check on the food and also for carrying the pot when it’s hot. Don’t forget to find a fire-safe surface to cook on that is level, firm, and free of combustible materials such as sticks and pine needles.
When it comes to charcoal, you’ll need long-handled tongs for handling your briquettes and a charcoal chimney for starting the coals. Be sure to bring an ashcan to dispose of the ashes, as not all campsites provide one.
Optional supplies include a trivet, gloves that are heat-resistant, and bags for carrying your ovens.