Photo: AnnaTamila/Shutterstock

How to Edit Your Travel Photos With Your Smartphone (and Look Professional)

Photo + Video + Film
by Giorgio Velardita Nardini Feb 15, 2018

The latest smartphone models from Apple and Samsung take beautiful photos and sometimes you can’t even tell if one was shot on a professional camera or with an iPhone X. Despite being less competitive compared to cameras when talking depth of field (the iPhone X “fakes” it by blurring the background) and optical stabilization, phones can capture detailed images even in low light conditions.

I’m not a photographer but I like to take care of my Instagram. So step up your mobile photography game, get creative, and follow these suggestions.
1. Make each day a new horizon. Also, make sure it’s straight.

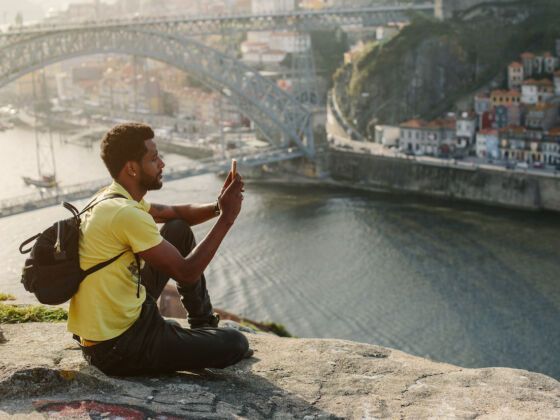
This might sound obvious, but how many photos did you see with a sloping horizon? Sometimes the line is so inclined that you have to tilt your head to one side. Straighten your horizons. It sounds inspiring but it’ll also make you a better photographer.

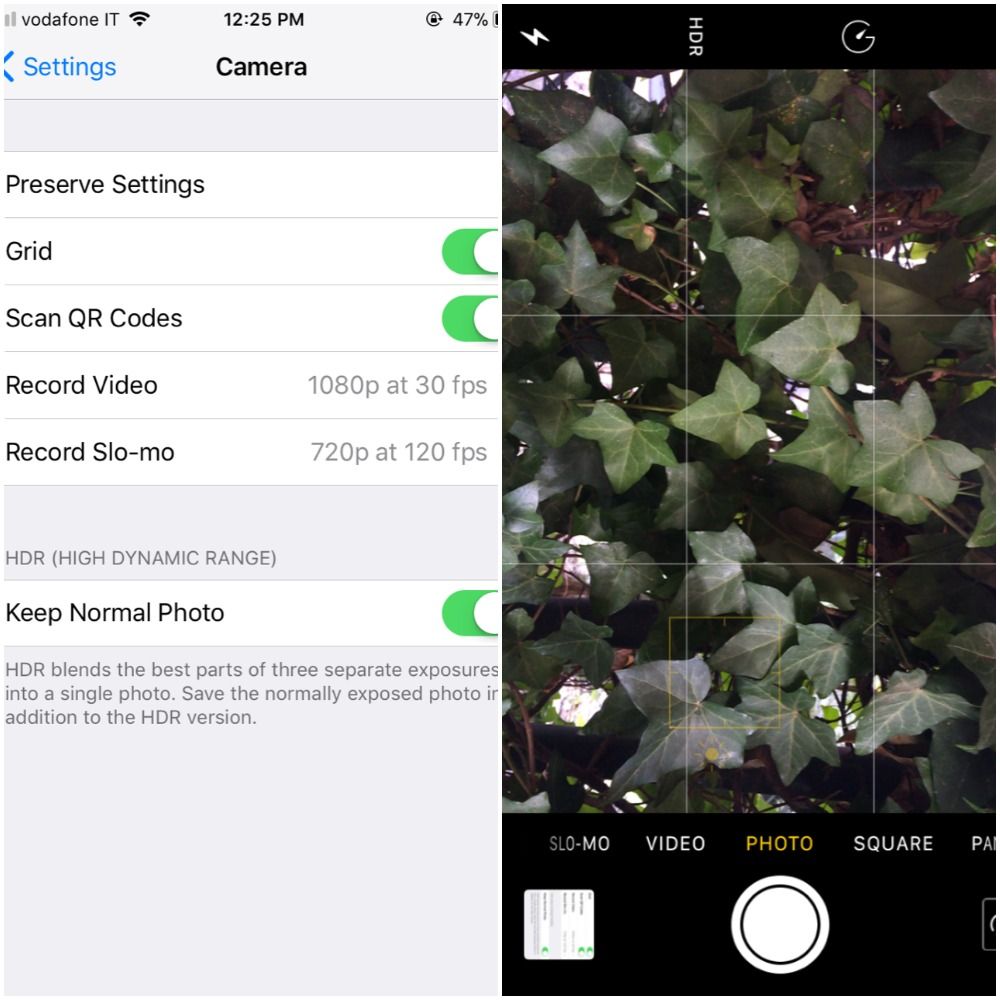
On almost every smartphone you can activate a grid that will help you with this. Here’s how to turn it on on iPhone: Settings — Camera — Grid

2. Wake up early.

I’m not a morning person and I rarely set my alarm early to take a photo (I’d rather sleep!). But in some cases, it’s necessary if I want to capture a tourist spot without selfie sticks getting in my way. Let’s say you’re in Paris and you want to take a great photo of the Eiffel Tower in decent light and no crowds. Check on your weather app and mark down what time the sun rises and be there on time. Specifically for the Eiffel Tower, I suggest you take a photo on the stairs of the Jardins du Trocadero, just in front of the Eiffel but far enough to frame it all and bring un pain au chocolat for breakfast and enjoy the view.

3. Create a theme on your Instagram.

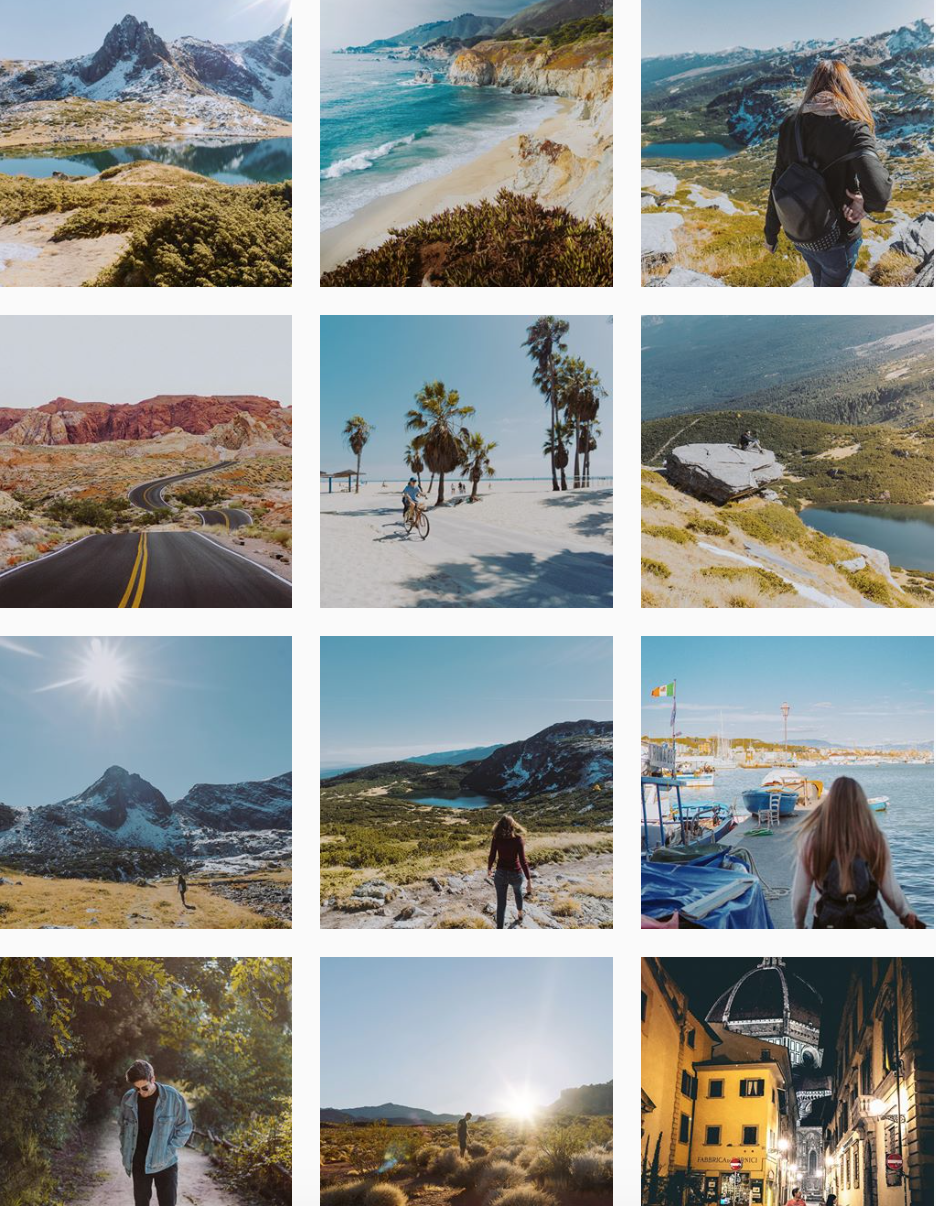
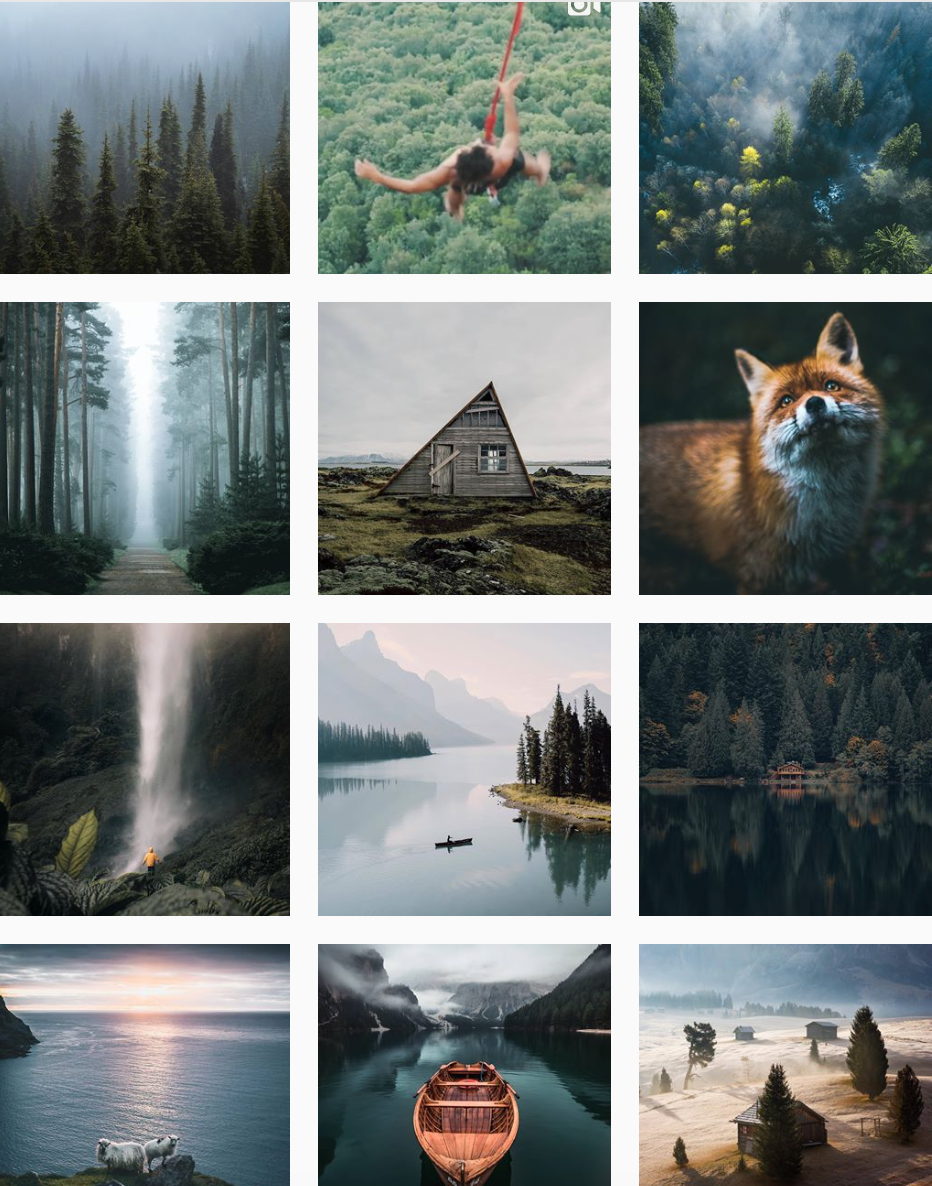
It’s not an easy thing to do, but if you want your feed to look nice and neat, hear me out on this. When you decide to follow someone that is not a friend or family member, the first thing you do is to look at their overall profile, maybe you tap on 2-3 photos, too. And if you’re the kind of person that likes aesthetically pleasant patterns and colors, you’ll be more keen to follow those kinds of profiles.

That’s why your photos should go well with each other when viewed in the mosaic layout. To keep your color theme consistent try to edit your photos with the same style, lights and tones. Here are some examples:

edit photos

Photo: @folkgreen

Tips: Using VSCO you can copy and paste your past edits so that your photos will have the same custom filter every time. The UNUM app helps you create a grid before you post the photos.

4. Don’t over-edit: keep it clean.

The times where we used to apply the Toaster filter are over. Keep it clean is my mantra when I edit photos — I never increase the contrast or the saturation a lot, neither do I use structure (on Instagram) or clarity (on Lightroom). Less is better.

5. Download these apps.

When I travel without my laptop with me to edit, I have an army of powerful apps on my phone. My favorite ones are:

    • Lightroom

Lightroom the equivalent of the desktop software and it’s almost as much as powerful and full of features. The thing I love the most is the selective color adjustment; you can change the saturation, luminance, and tone of one single color.

  • VSCO

    Download VSCO now. It started what I’d call a movement because since everyone started using it, galleries have improved a lot (and the fade effect has taken over Toaster). The app’s filters are beautiful and you can also create and save your own.

  • Lens Distortion


Lens Distortion helps you add lights and lens flares to your photos. Just be sure not to exaggerate — if you don’t measure out the intensity of the lights, your photo will look fake.

6. Find a subject.

What I try to do every time I take photos of a landscape is to ask a friend to “go there”. They usually obey because they’re about to have a #newprofilepicture, and it gives the photo a new perspective. When you’re surrounded by majestic mountains just tell someone to walk far from you (if they have bright clothes it’s even better) and then leave. Just kidding. After you took some photos, wait for your friend to come back and enjoy your hike.

This mini-guide on mobile photography also applies if you take photos with a camera and transfer them to your phone for a quick edit (my Sony a6000 has Wi-Fi for example).

Discover Matador

Save Bookmark

We use cookies for analytics tracking and advertising from our partners.

For more information read our privacy policy.