There’s a special feeling you get when you buy a new piece of backpacking gear. It could be a small item, like a sleeping bag liner or a merino T-shirt, or a bigger one, like a tent or backpack, that completely revolutionizes your backpacking experience. There’s something satisfying about building out your gear setup and options, and having the right items makes it easier to execute and feel comfortable on bigger and better trips.
Backpacking or distance-hiking equipment usually makes a great gift for the outdoorsy people in your life as it’s always fun to try out near gear and supplies on the trail. The right gear can be the difference between a good outdoor experience and a downright risky one. Here’s all the summer backpacking gear you need to ensure you’re properly prepared for your upcoming — and no doubt epic — night spent under the stars.
We hope you love the summer backpacking gear we recommend! Just so you know, Matador may collect a small commission from the links on this page if you decide to book a stay. Listed prices are accurate as of the time of publication.
Getting prepared for summer
While backpacking is the ultimate adventure during long summer days, optimizing the trip takes a decent amount of advanced planning — and the right gear. Being unprepared is the fastest way to ruin the journey for yourself and everyone in your group. You’ll need to carry far more gear than you’d pack for a day hike, including multiple layers of clothing, camping supplies, and food and cooking supplies. But if you’ve never gone backpacking before and agreed to join your buddies without knowing what you were getting into, never fear: we’ve compiled the ultimate summer backpacking gear guide for beginners.
When planning your trip, note that every route is different in different ways. On guided treks, the host company should offer a list of the required gear, along with some additional comfort items or specialty gear they’d recommend. And usually, “trekking” means sleeping in huts or semi-permanent shelters, whereas backpacking is entirely self-sufficient and in nature (and hence requires a bit more gear). Trekking companies may even rent out certain items that are tough to travel with, such as sleeping bags or backpacks with frames. On unguided hikes — a.k.a backpacking — it’s up to you to know what you need. That said, in Europe and other parts of the world, it’s common to refer to both hiking and backpacking as trekking. So they’re sort of interchangeable.
Fortunately, the list below has the basics, no matter what trip you’re taking. You can buy everything below at the links provided or potentially your favorite local outdoor store.
The basics
Backpacking pack
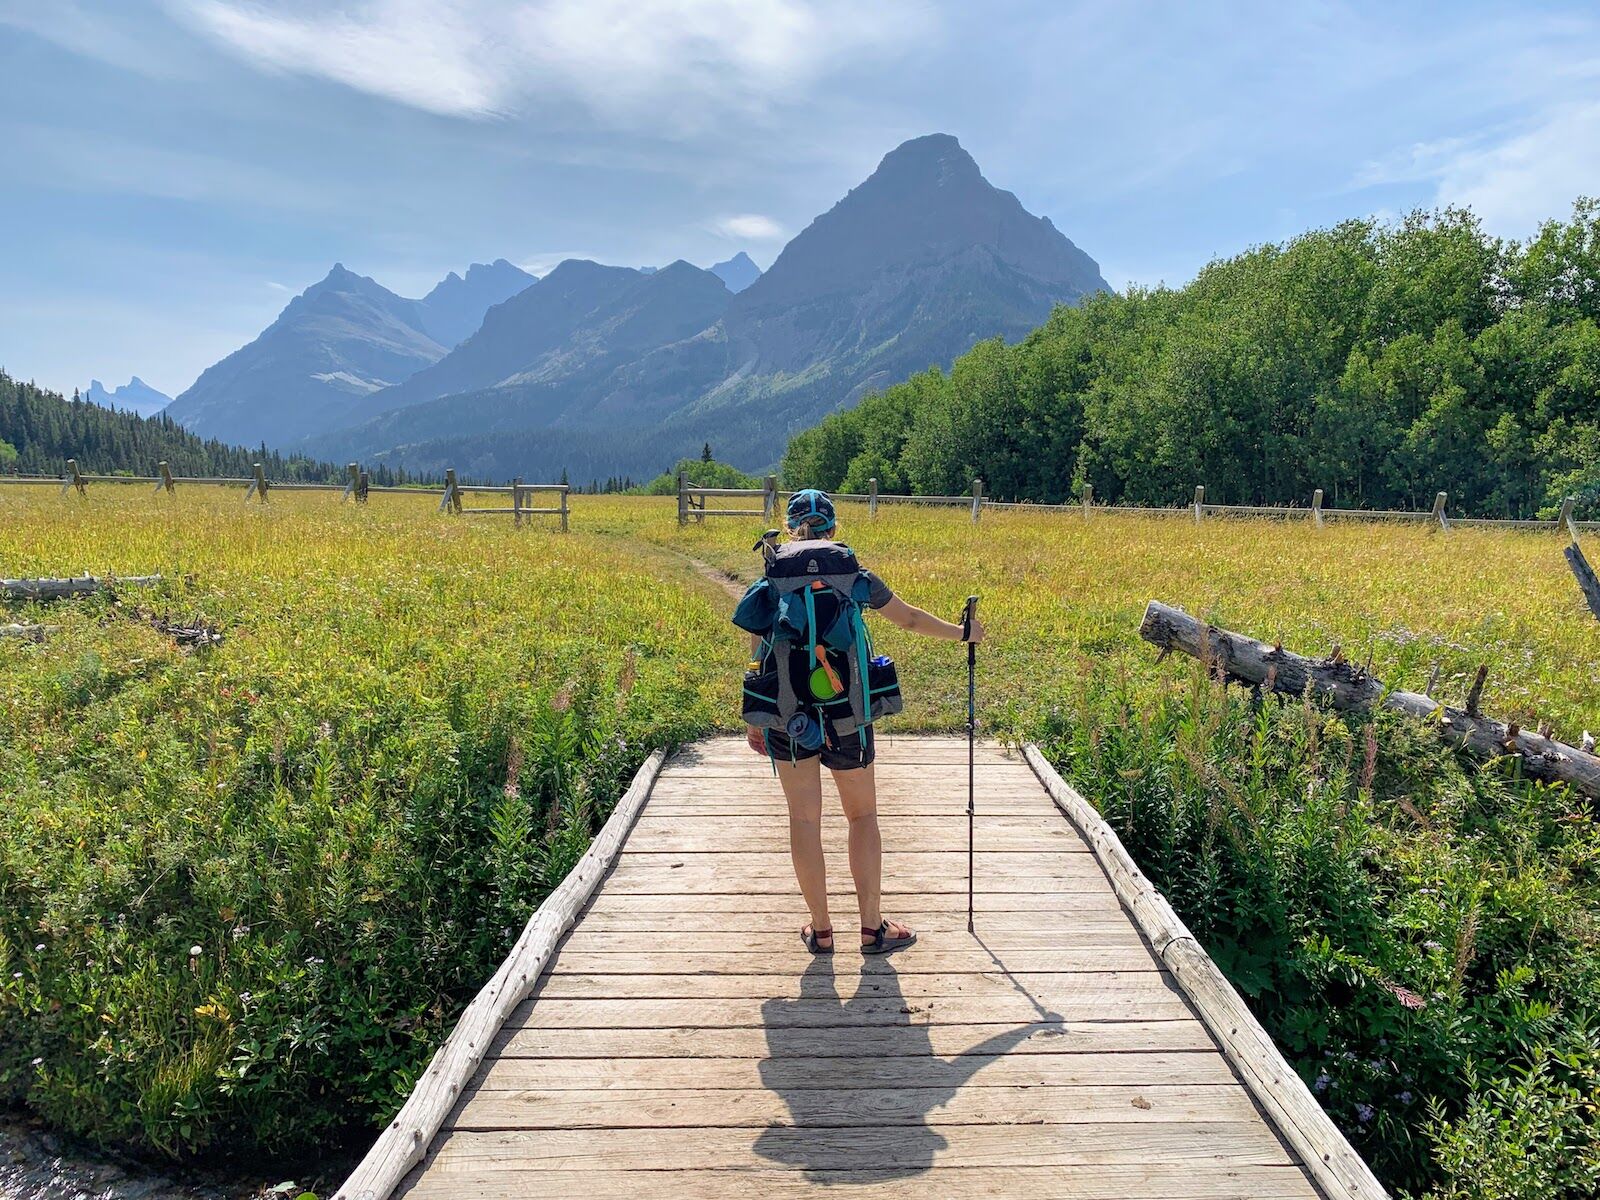
Photo: Suzie Dundas
Cost: $150-$300
If you’re spending at least one night in the woods, you need to have a comfortable, oversized pack to carry your sleeping gear, food, and everything else coming with you. Get a rugged pack built for the backcountry, and you’ll want one that’s at least 45 liters for a single-night trip, but an expandable one is even better. For multi-day trips, a 55-70 liter pack such as the Osprey Atmos AG 65 will do you right. Osprey is a very popular brand with a fantastic reputation in the outdoor world.
Make sure your pack includes a reservoir for a water bladder, such as a CamelBak (see below). If you do buy a pack online, we recommend buying it from a retailer with a physical location you can visit to have it properly adjusted to your body. At REI stores, you can usually put sandbags in a demo and walk around the store with it to test out how it feels on your back and hips when full.
Packs come in men’s and women’s versions. Generally, women’s versions will have a shorter torso and more narrow shoulder straps, plus a more padded hip belt to account for larger hipbones. But if you’re a guy with narrow shoulders or a woman with a tall torso, by all means, buy whatever bag you prefer. Our outdoor editor has and loves the Osprey Viva 65, with giant side pockets and plenty of storage space for your gear. It also comes in a men’s version at the same price ($220).
Tent
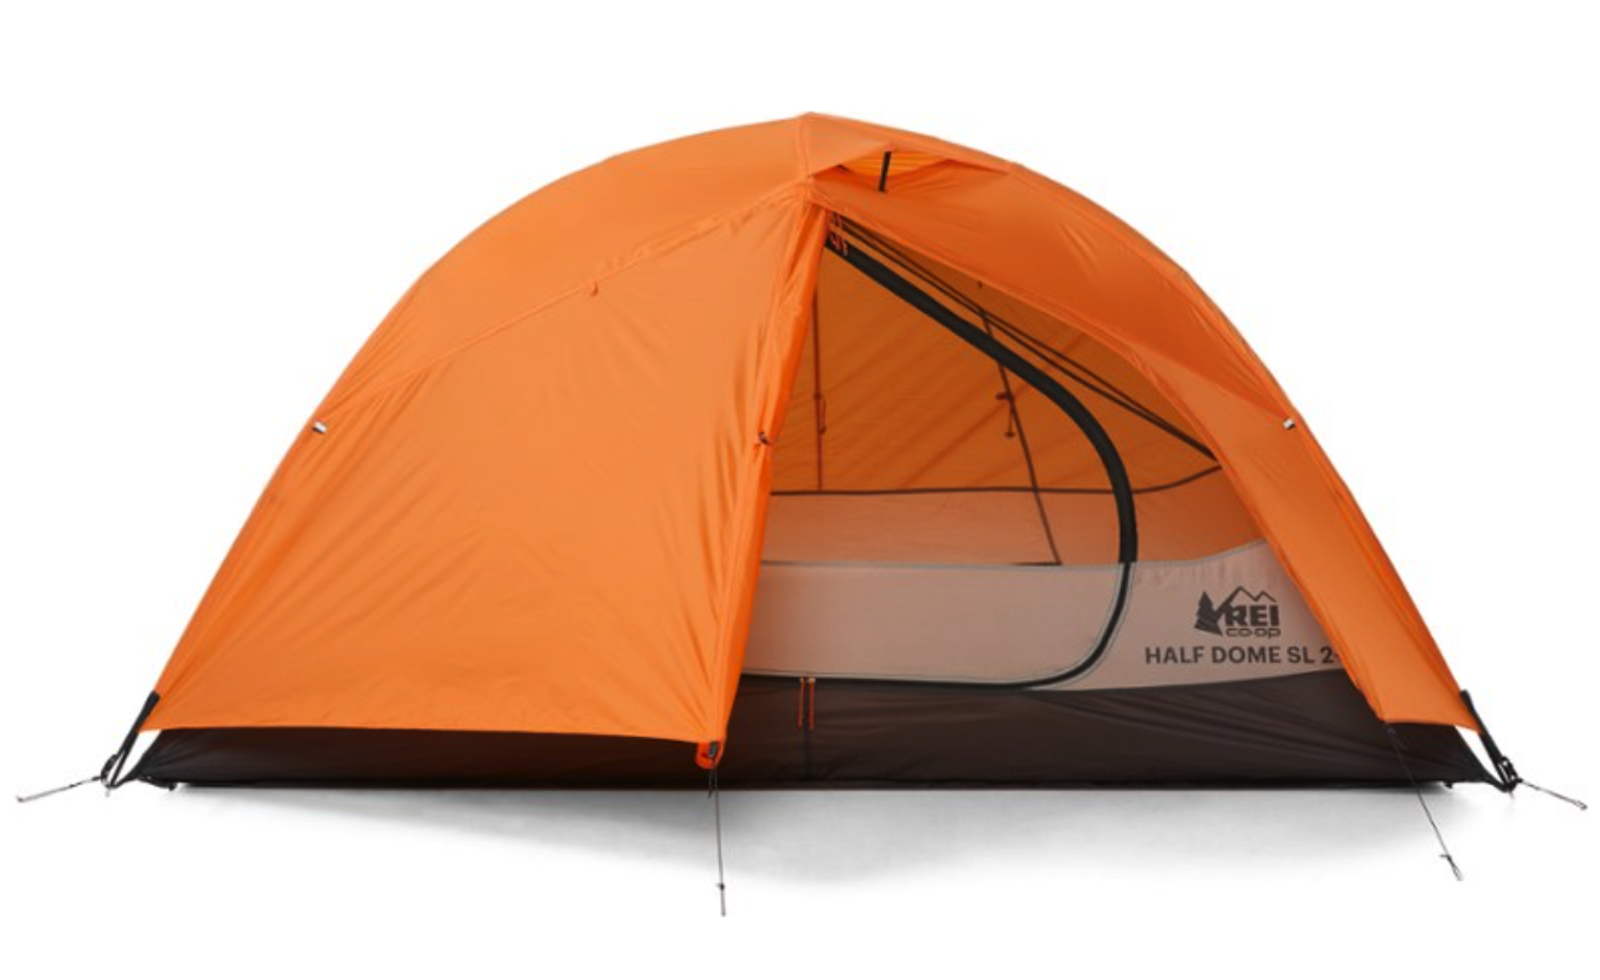
Photo: REI
Cost: $217-$279
If you’re not staying in guest houses, a good tent with a rainfly is mandatory. A one or two-person tent is the best option, as it’s small enough to clip to the outside of your backpack and easy to set up. The REI Half-Dome makes for a great trekking tent for solo trekkers or couples — or friends who don’t mind sharing a tent, as it’s spacious enough. It’s made for the elements and can handle rain, sleet, or wind, and won’t weigh down your pack too much since the total weight is under four pounds.
For a family, we recommend a larger option — of which REI has plenty. Larger tents are tougher to carry into the backcountry, and its advised that each person or couple has their own — but if you’re traveling with your kids or campers without gear, a bigger tent saves less-experienced trekkers from needing to carry a tent at all. Before heading out, double-check to make sure you have the required stakes and poles. Wrap the tent around them when you put it away it morning as you break down camp.
Sleeping bag
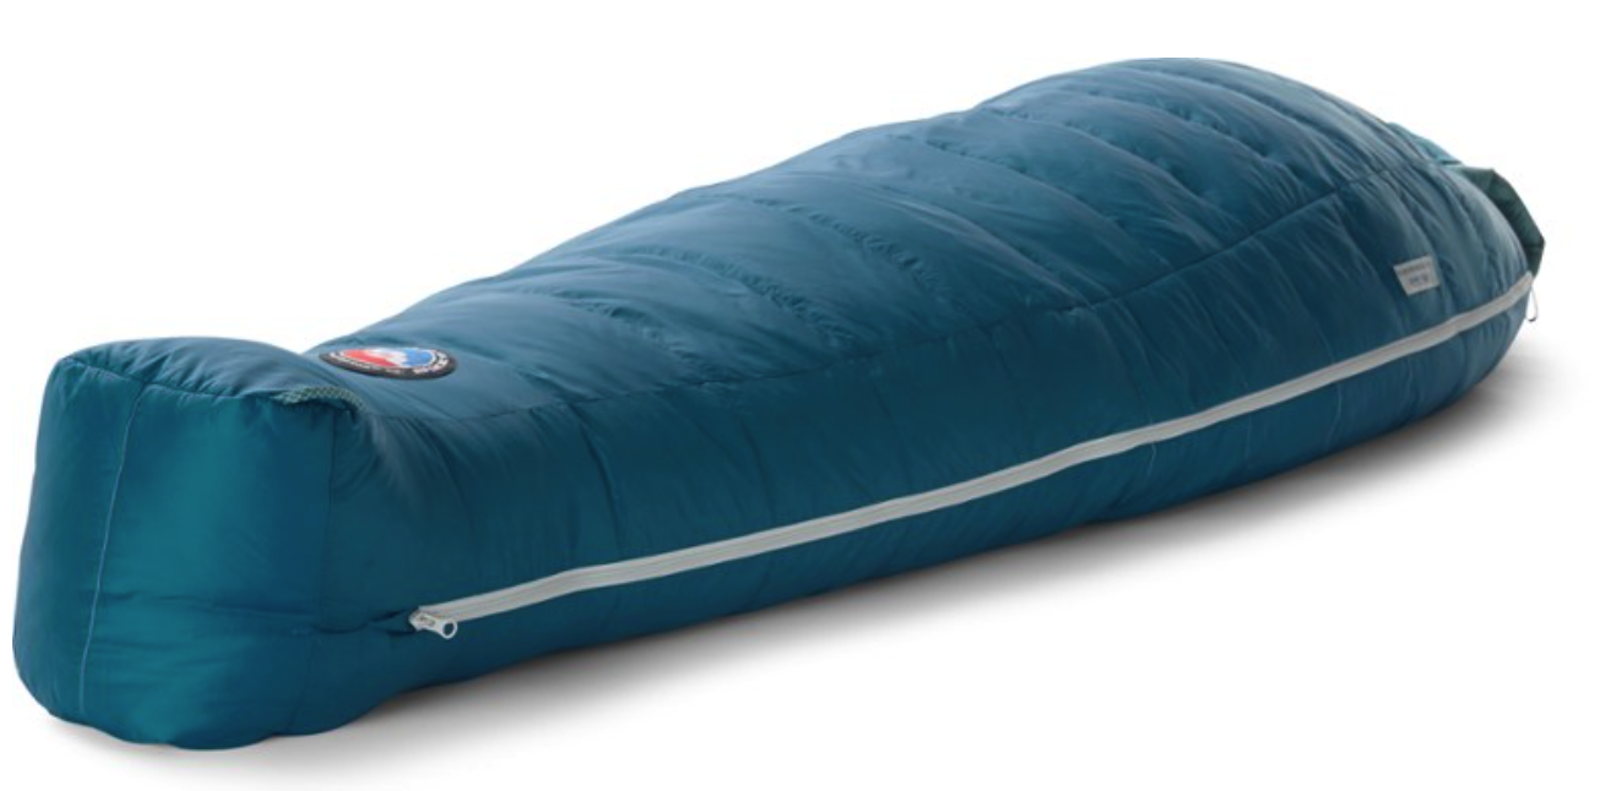
Photo: REI
Cost: $279-$299
Few things are more frustrating than not getting a decent night’s sleep when you’ve got a bit day of hiking coming up — but a good sleeping bag makes all the difference. The first step for buying a bag is to check the temperature rating, which is typically on both the bag and the packaging, plus the actual tag. Be sure you’re bringing a sleeping bag appropriate for summer and the weather expected on the trip (90 degrees during the day doesn’t mean 90 degrees at night). We love the Big Agnes Sidewinder SL, available in men’s versions and women’s versions, for its comfort and easy packability and because it meets each of the following recommendations:
- 20-degree temp rating: A solid three-season bag will do the trick for most adventures.
- Compatible with a sleeping bag liner: A sleeping bag liner can add an extra 10 degrees to a sleeping bag’s rating.
- Down insulation: It’s the lightest and most efficient insulation. If you have the choice between this and polyester, go with down.
- It’s water-resistant: Splurge for a water-resistant sleeping bag. You don’t want to wake up in the middle of the night with a soaking wet back if water gets into the tent
When it comes to sleeping bag shape, you have three options: mummy, semi-rectangular, or rectangular. This is personal preference as much as anything else. Mummy bags are tight and warm, but don’t allow much wiggle room. Rectangular bags are more versatile for those who have a tough time sleeping in a still position. If you’re not sure, a semi-rectangular shape like this one is a happy medium. It allows for side sleeping while still being snugger (and therefore warmer) on your feet. Depending on where you’re camping, your summer backpacking gear will probably weigh a little less than in fall or early spring since you won’t need as much clothing — but you’ll still want to carry a warm bag.
Inside the pack
A well-prepared trekker or backpacker researches the trip, reads online forums and comments, and takes note of what gear previous hikers recommend. In your research, you’ll likely find comments along the lines of, “I wish we’d brought this” or “I was so glad I had enough of that.” Look for patterns – when multiple people discuss the same item, it’s a pretty good sign that you should have it with you. Here’s some of our go-to specialty gear.
Gas Camp Stove
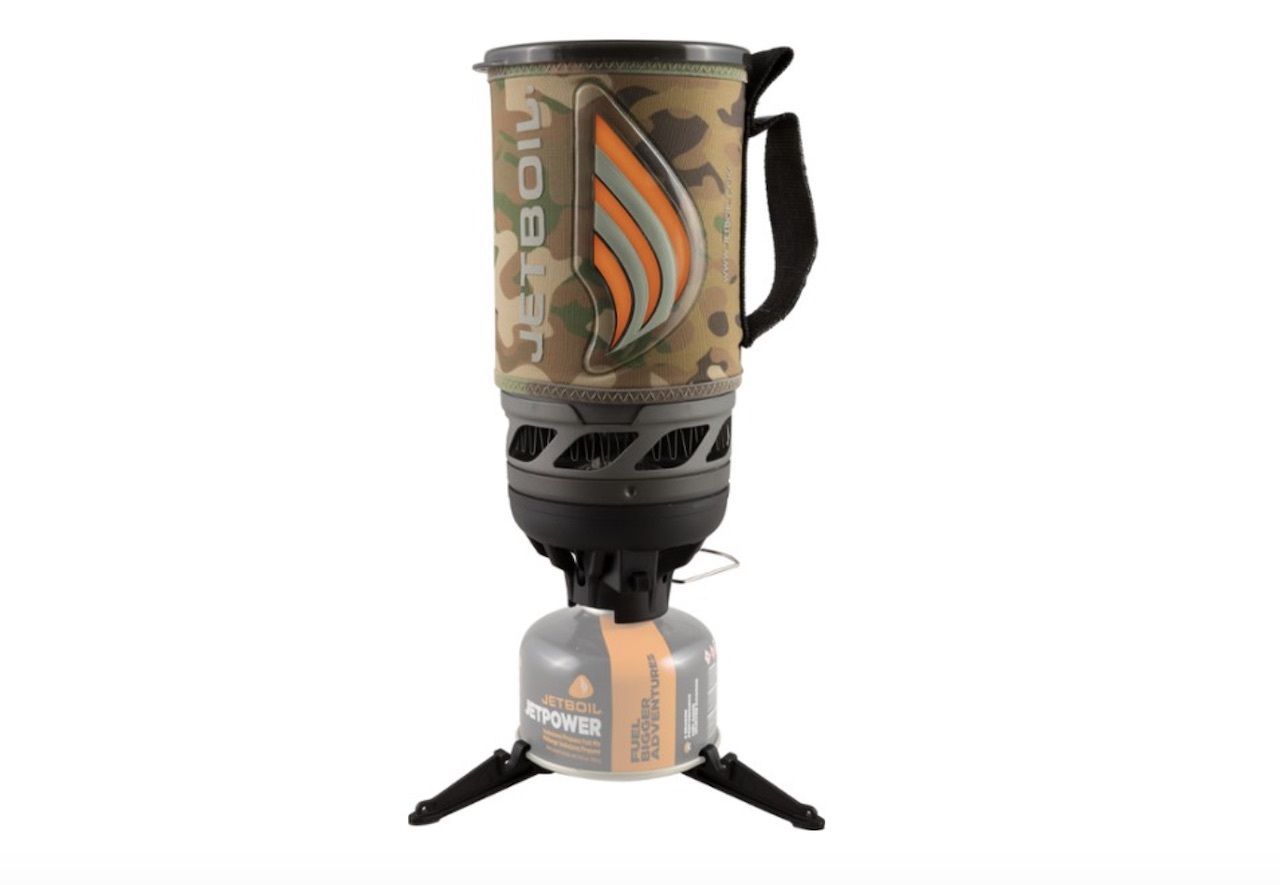
Photo: REI
Cost: $109.95
Jetboil’s burner connects easily to any 3.5-ounce fuel tank and allows you to heat food over an open flame in the middle of nowhere. It’s guaranteed to work in temperatures down to 20 degrees Fahrenheit, so you can have a warm meal and hot coffee (or a hot toddy) even if it gets unexpectedly chilly.
Water purifier
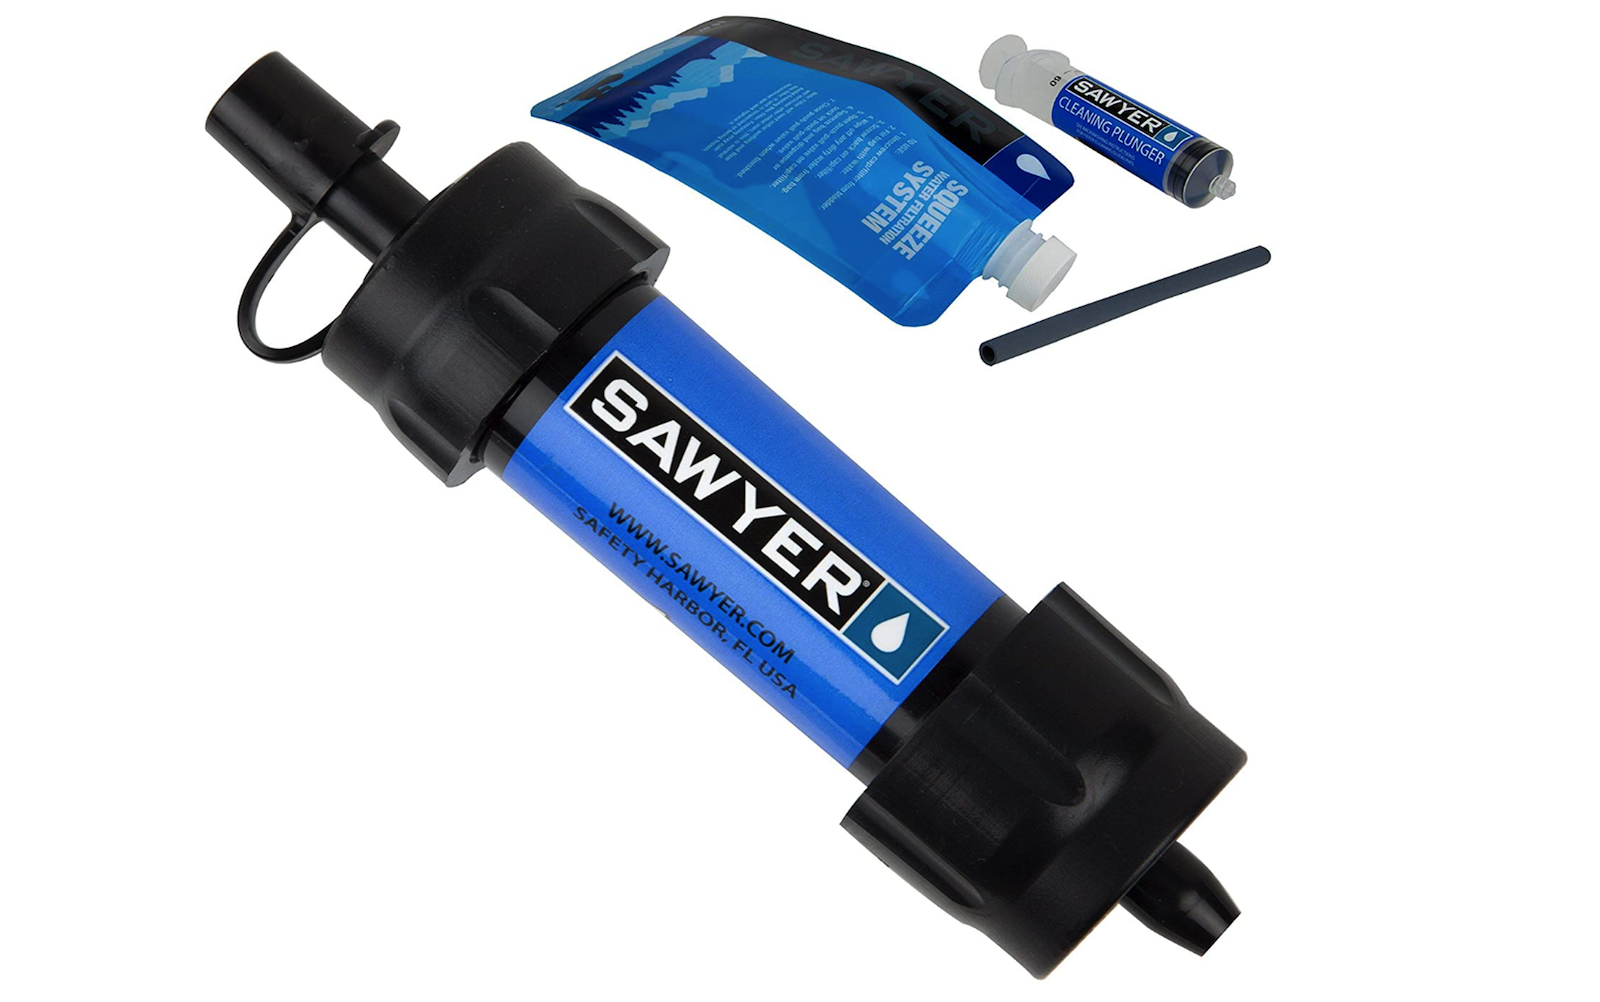
Photo: Sawyer
Cost: $25 or so
Grab a Sawyer Mini Water Filter for your hike and you’ll be able to drink freshwater streams, lakes, and pretty much anywhere that doesn’t have farm runoff. Having an actual filter system is preferable to simpler tools like filtration straws, which don’t do as good of a job at removing toxins and bacteria (though they’re better than nothing). Of course, always take caution in drinking water from the source, and never drink still water.
Waterproof matches
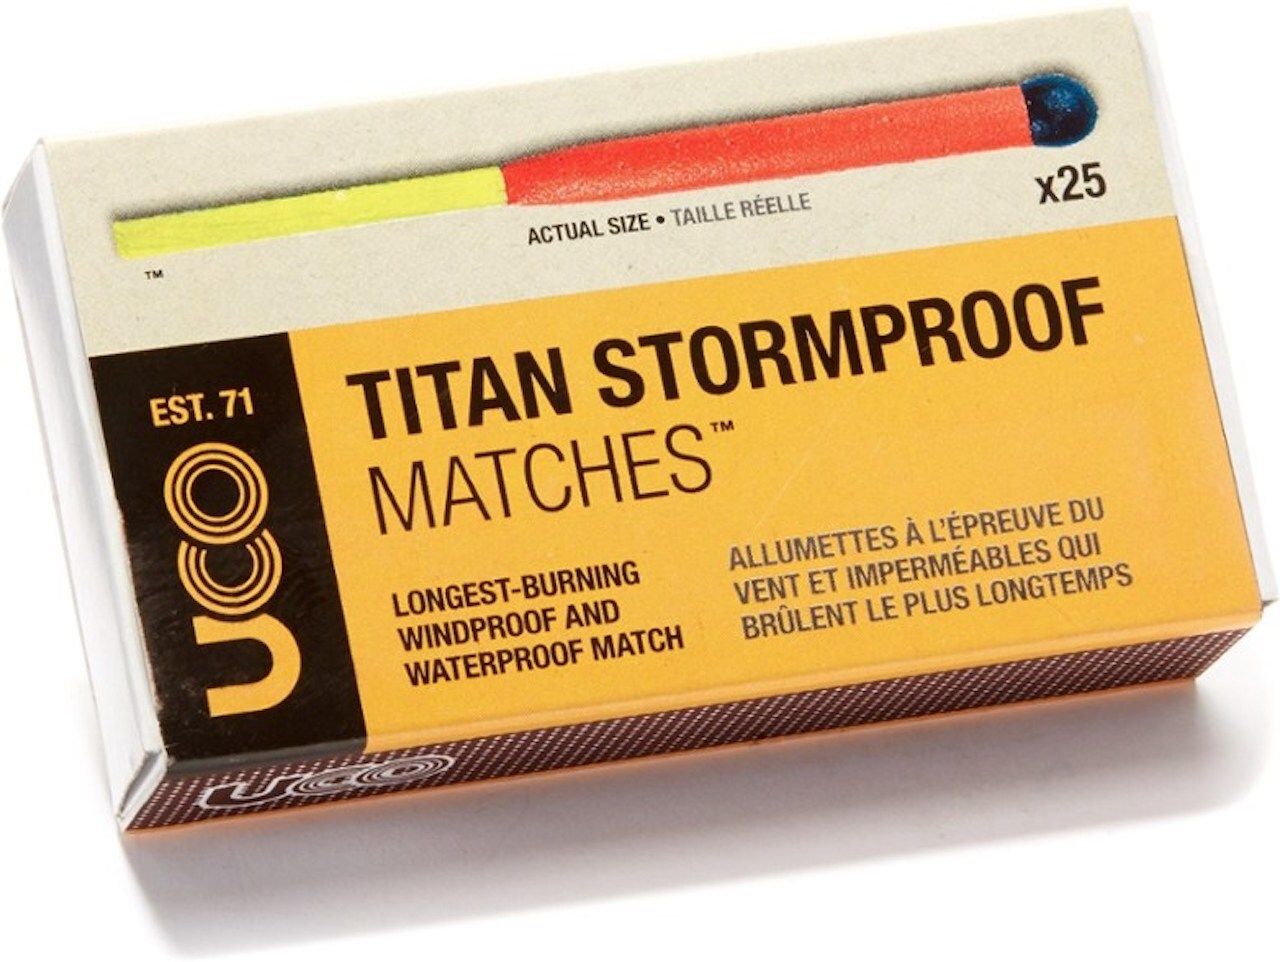
Photo: Amazon
Cost: $15
For use in getting a fire going, among…other things. UCO’s Titan stormproof matches will come in handy more often than you’d expect.
Building your outdoor gear setup? Check out Matador’s guides to everything you need to thrive outside:
Headlamp
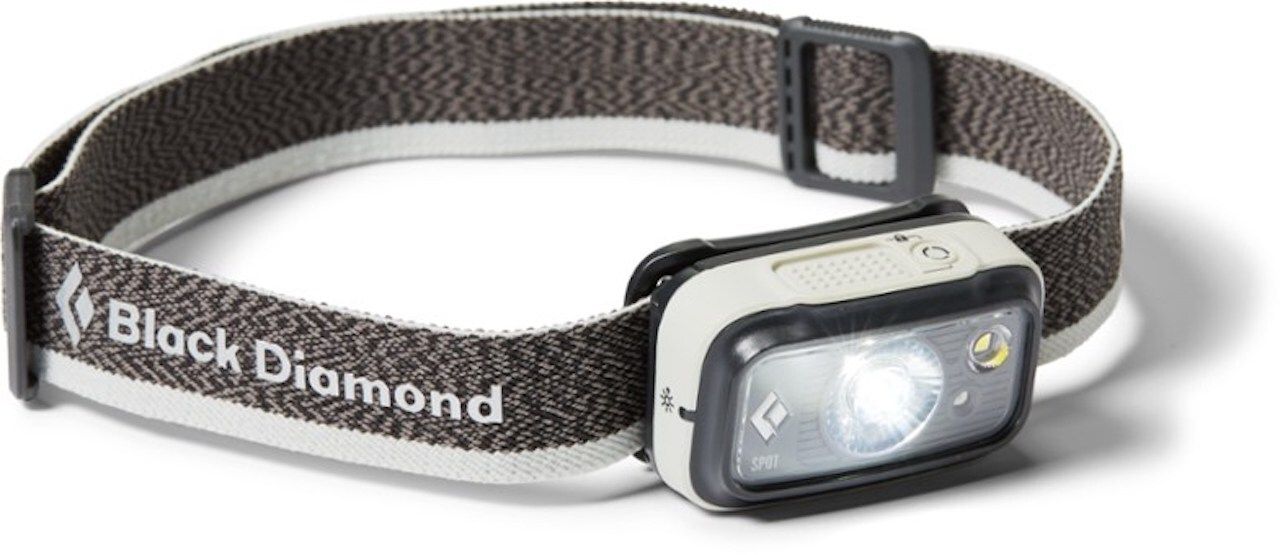
Photo: REI
Cost: $39.95
Illuminate the night with a headlamp from Black Diamond. Whether you’re reading a book in the tent, checking your route map for tomorrow, or getting up before dawn to make a summit bid, a headlamp is just as useful inside the tent as it is outside.
Hatchet
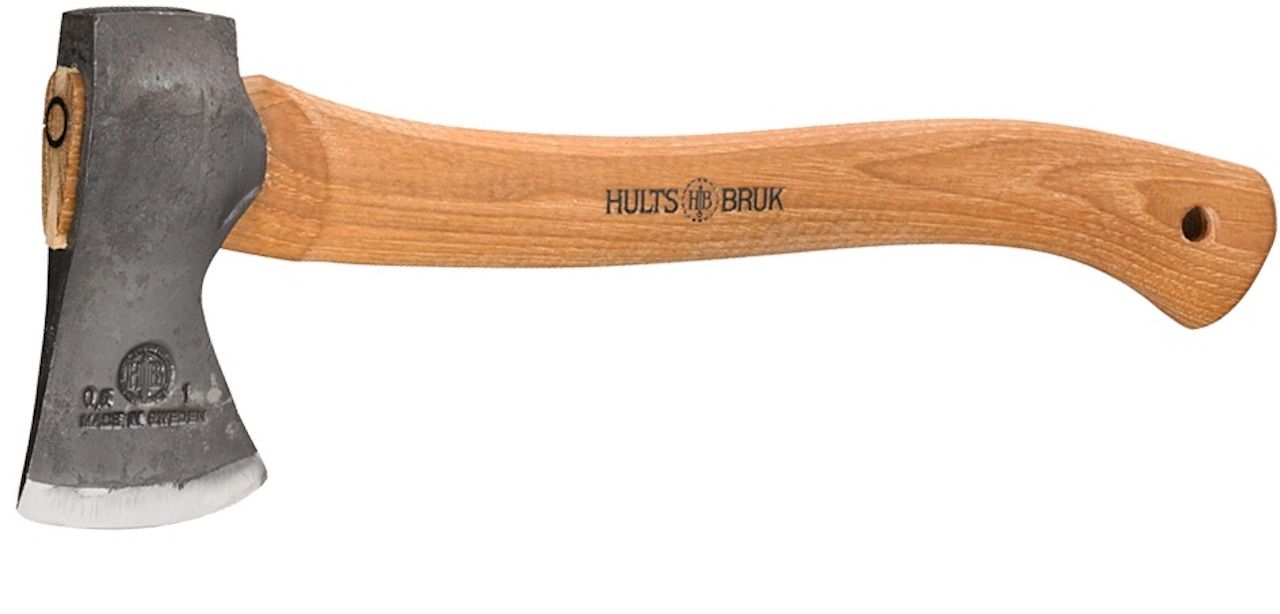
Photo: Hults Bruk
Cost: $139
If you don’t mind the extra weight, some people like having a hatchet if they’re spending the night in the woods. Of course, you may not need it in areas where campfires are illegal, like they are in much of the US West. But if you do carry it, it’ll come in handy for chopping kindling or, potentially, bushwhacking your way through thick patches of overgrowth. And in a pinch, it’s self-defense. The Almike from Hults Bruk is the best option because it’s small enough to fit in your pack or strap onto the side. The Swedish brand has been making axes since 1697 and they’re among the most durable you’ll find.
Compass with clinometer
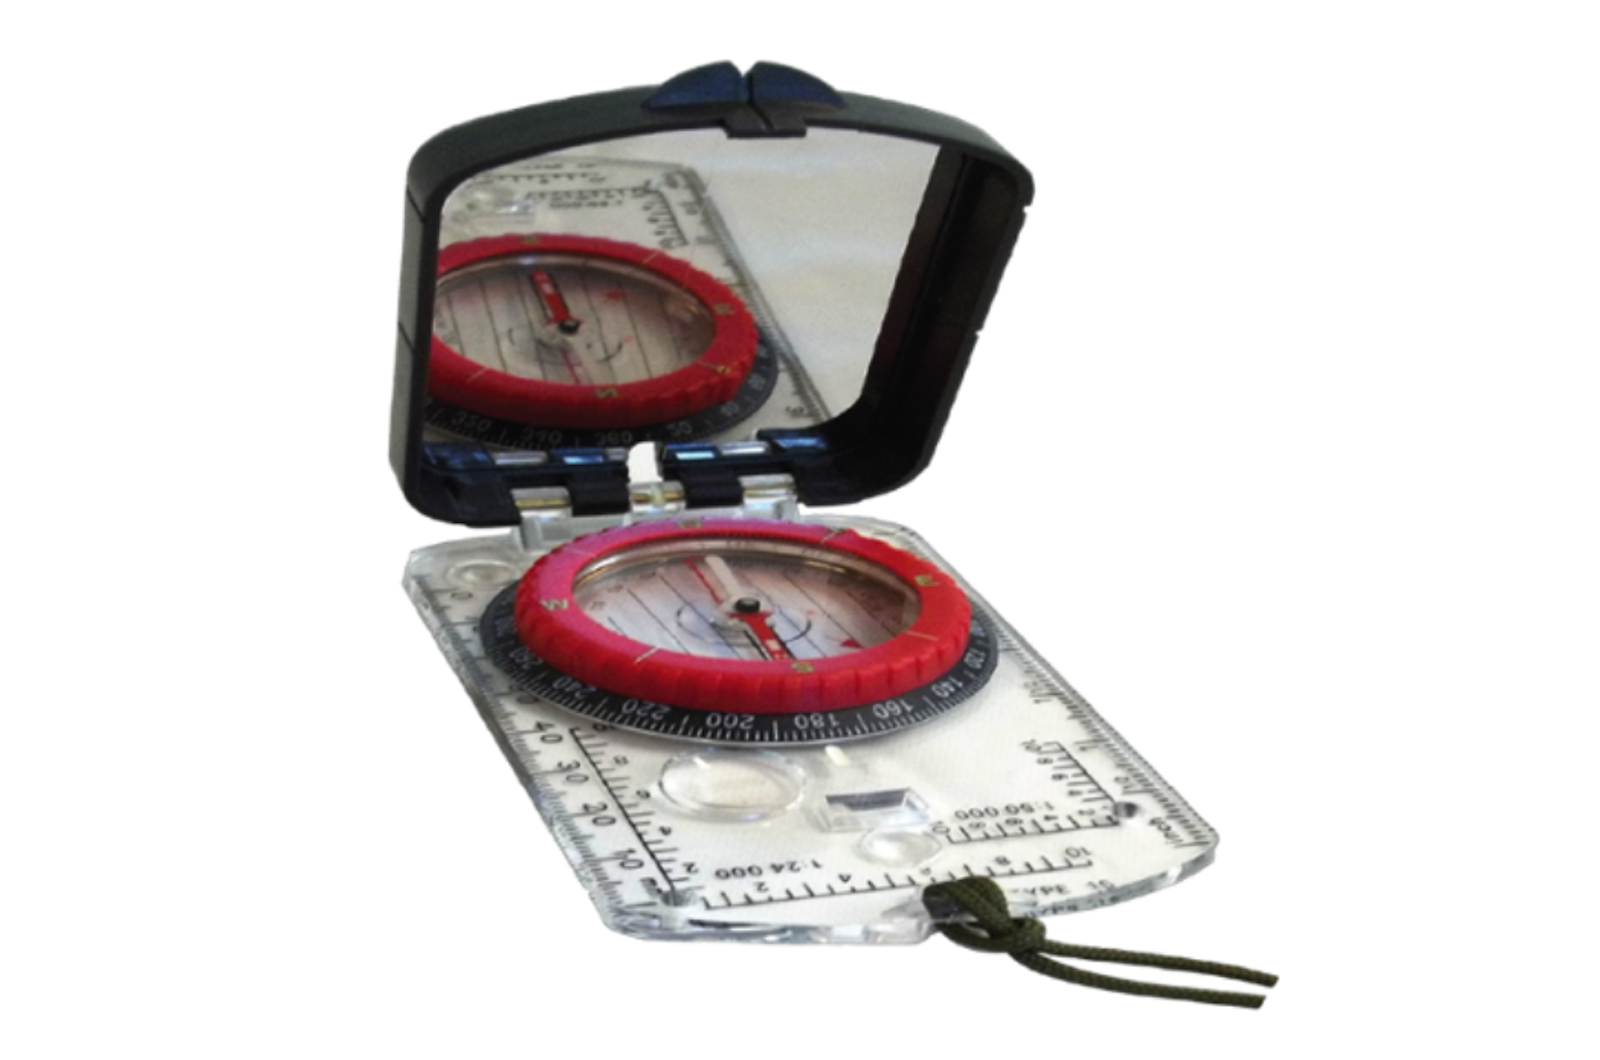
Photo courtesy Alpine Mountain Gear
Cost: $15.99
A reliable compass is a great hiking companion. This one from Mountain Summit Gear comes with a clinometer, used to measure the degree of slope, in case your crew gets into a heated discussion about how steep the forthcoming trail or summit push is. And yes, you do have a compass on your phone — but what happens when your phone dies? Exactly.
Topographical map and trail map
Cost: Varies
A topographical map shows altitude gain and loss along with detailed terrain features over a specific area. They can be tough to read at first, but once you get the hang of it, you’ll never want to head into the mountains without one again. A trail map of the area where you’re heading is also mandatory — don’t count on Google to save you. You can usually pick one up at an outdoor store near wherever you’re backpacking. They’re an essential piece of summer backpacking gear, however, so take the extra 10 minutes to duck into a shop or visitors center to see if they have one.
Heavy-duty knife
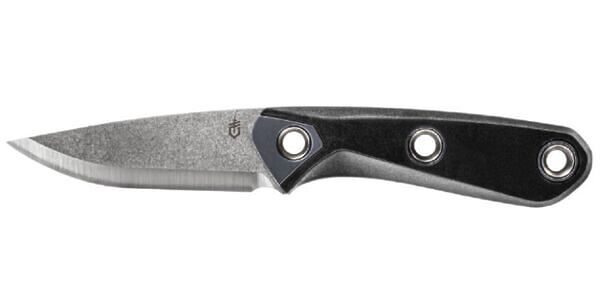
Photo: REI
Cost: $64.95
It’s incredible how often a good knife comes in handy in the wilderness for everything from cooking to building a fire to making repairs. If you’ve got a Swiss Army Knife, bring it. If not, this Gerber Principled Fix Blade Knife will do the trick.
Alternatively, you could carry a multi-tool, with everything from a knife to ferro rod (for starting fires). Leatherman multi-tools are a bit pricey, but they’re very high-quality — you’ll be able to pass them on to your grandkids. We think the pop of color on the Leatherman Signals Colors Multi-Tool ($129.95) helps make us a little less likely to leave it sitting in the dirt when we pack up and move to our next site.
First-aid and safety supplies
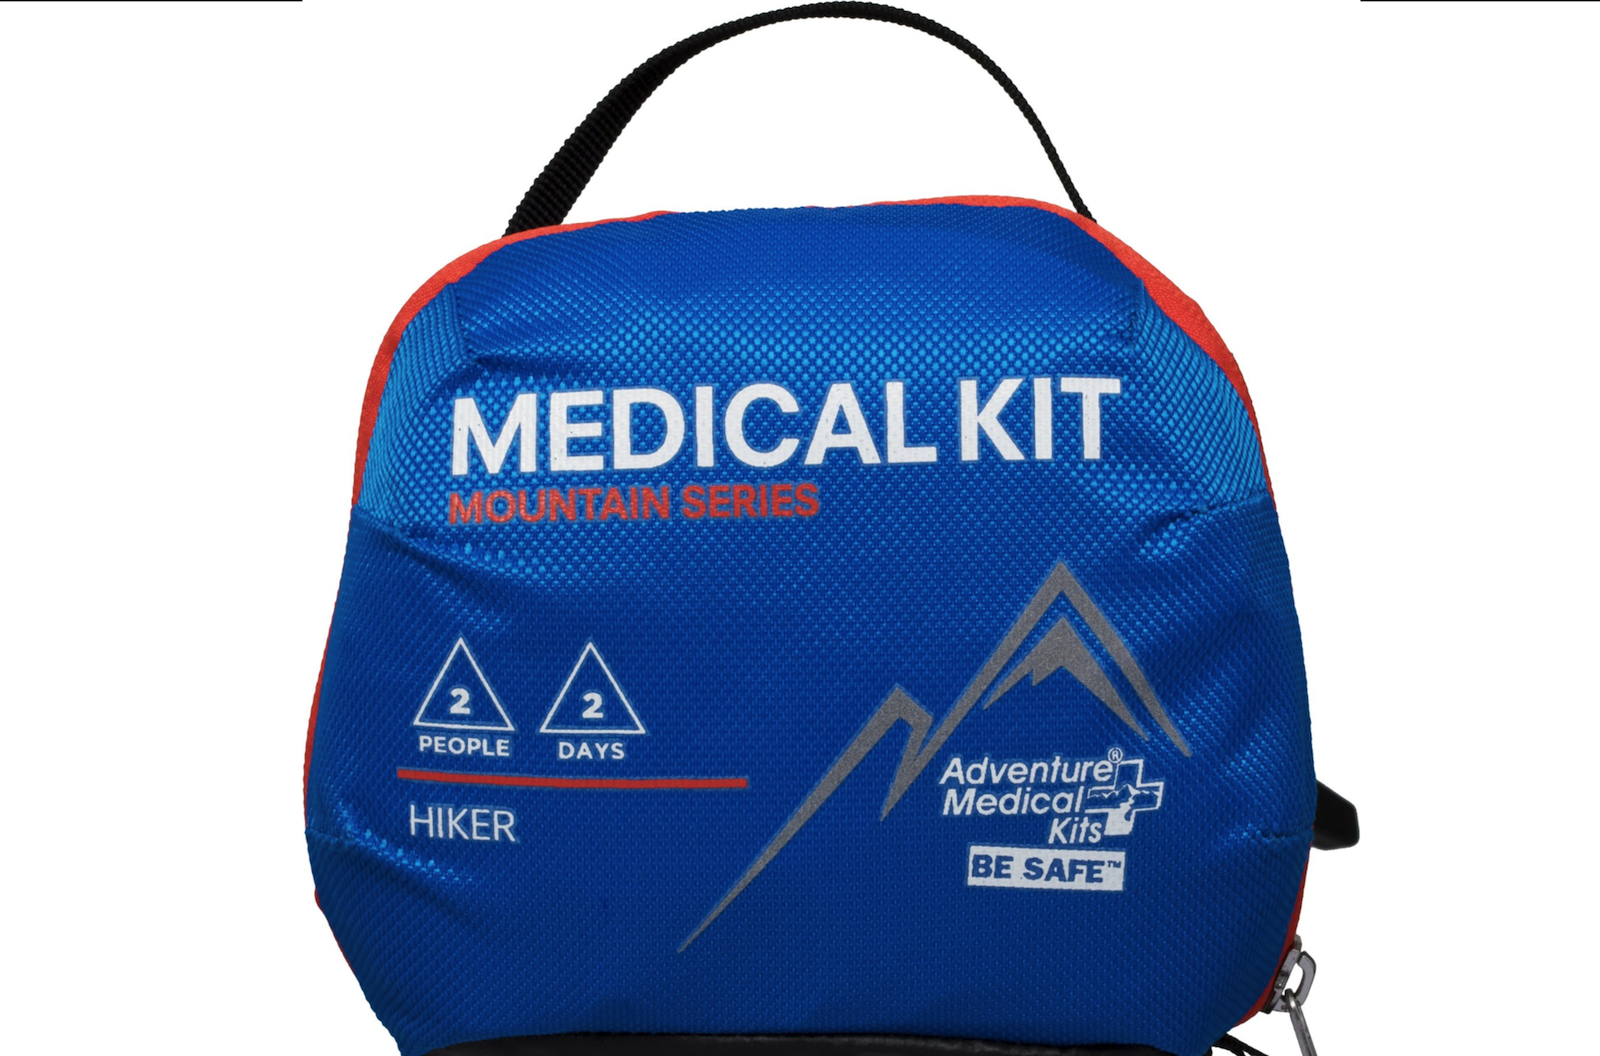
Photo: REI
Cost: $25
It’s always worth making room in your pack for a small first aid kit. Adventure Medical Kits come with everything you’ll need to treat a minor inconvenience as well as a quick guide to tips and tricks for field use. Use it not just as part of your summer backpacking gear collection, but also for backcountry ski days, day hikes, or even road trips.
Hat, sunglasses, and sunscreen
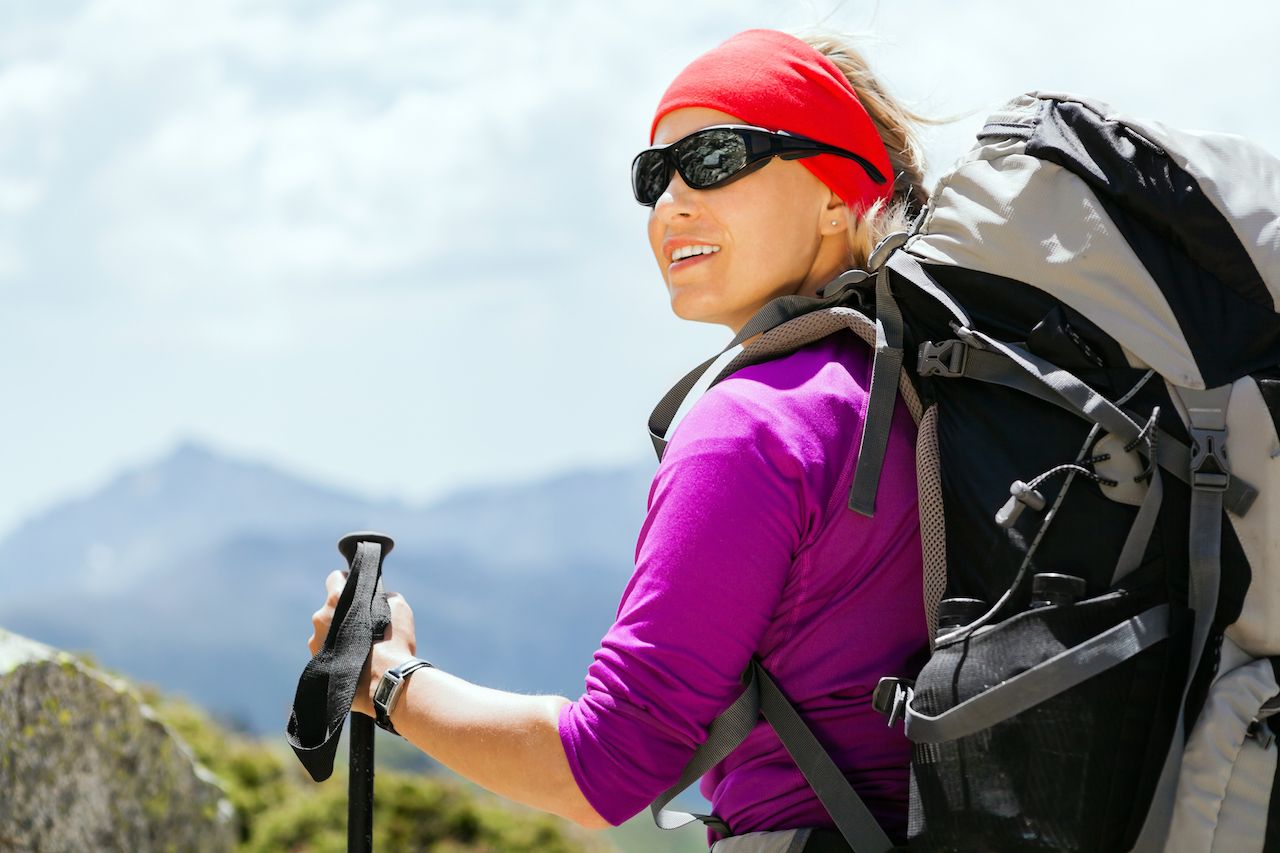
Photo: Blazej Lyjak/Shutterstock
Cost: Varies
The air is thinner and the sun is closer at high altitudes. Always have sun protection on hand. Sunscreen or sun-protective clothing and hats should be a non-negotiable piece of your summer backpacking gear setup.
Sea to Summit Pursuit Self-inflating mat
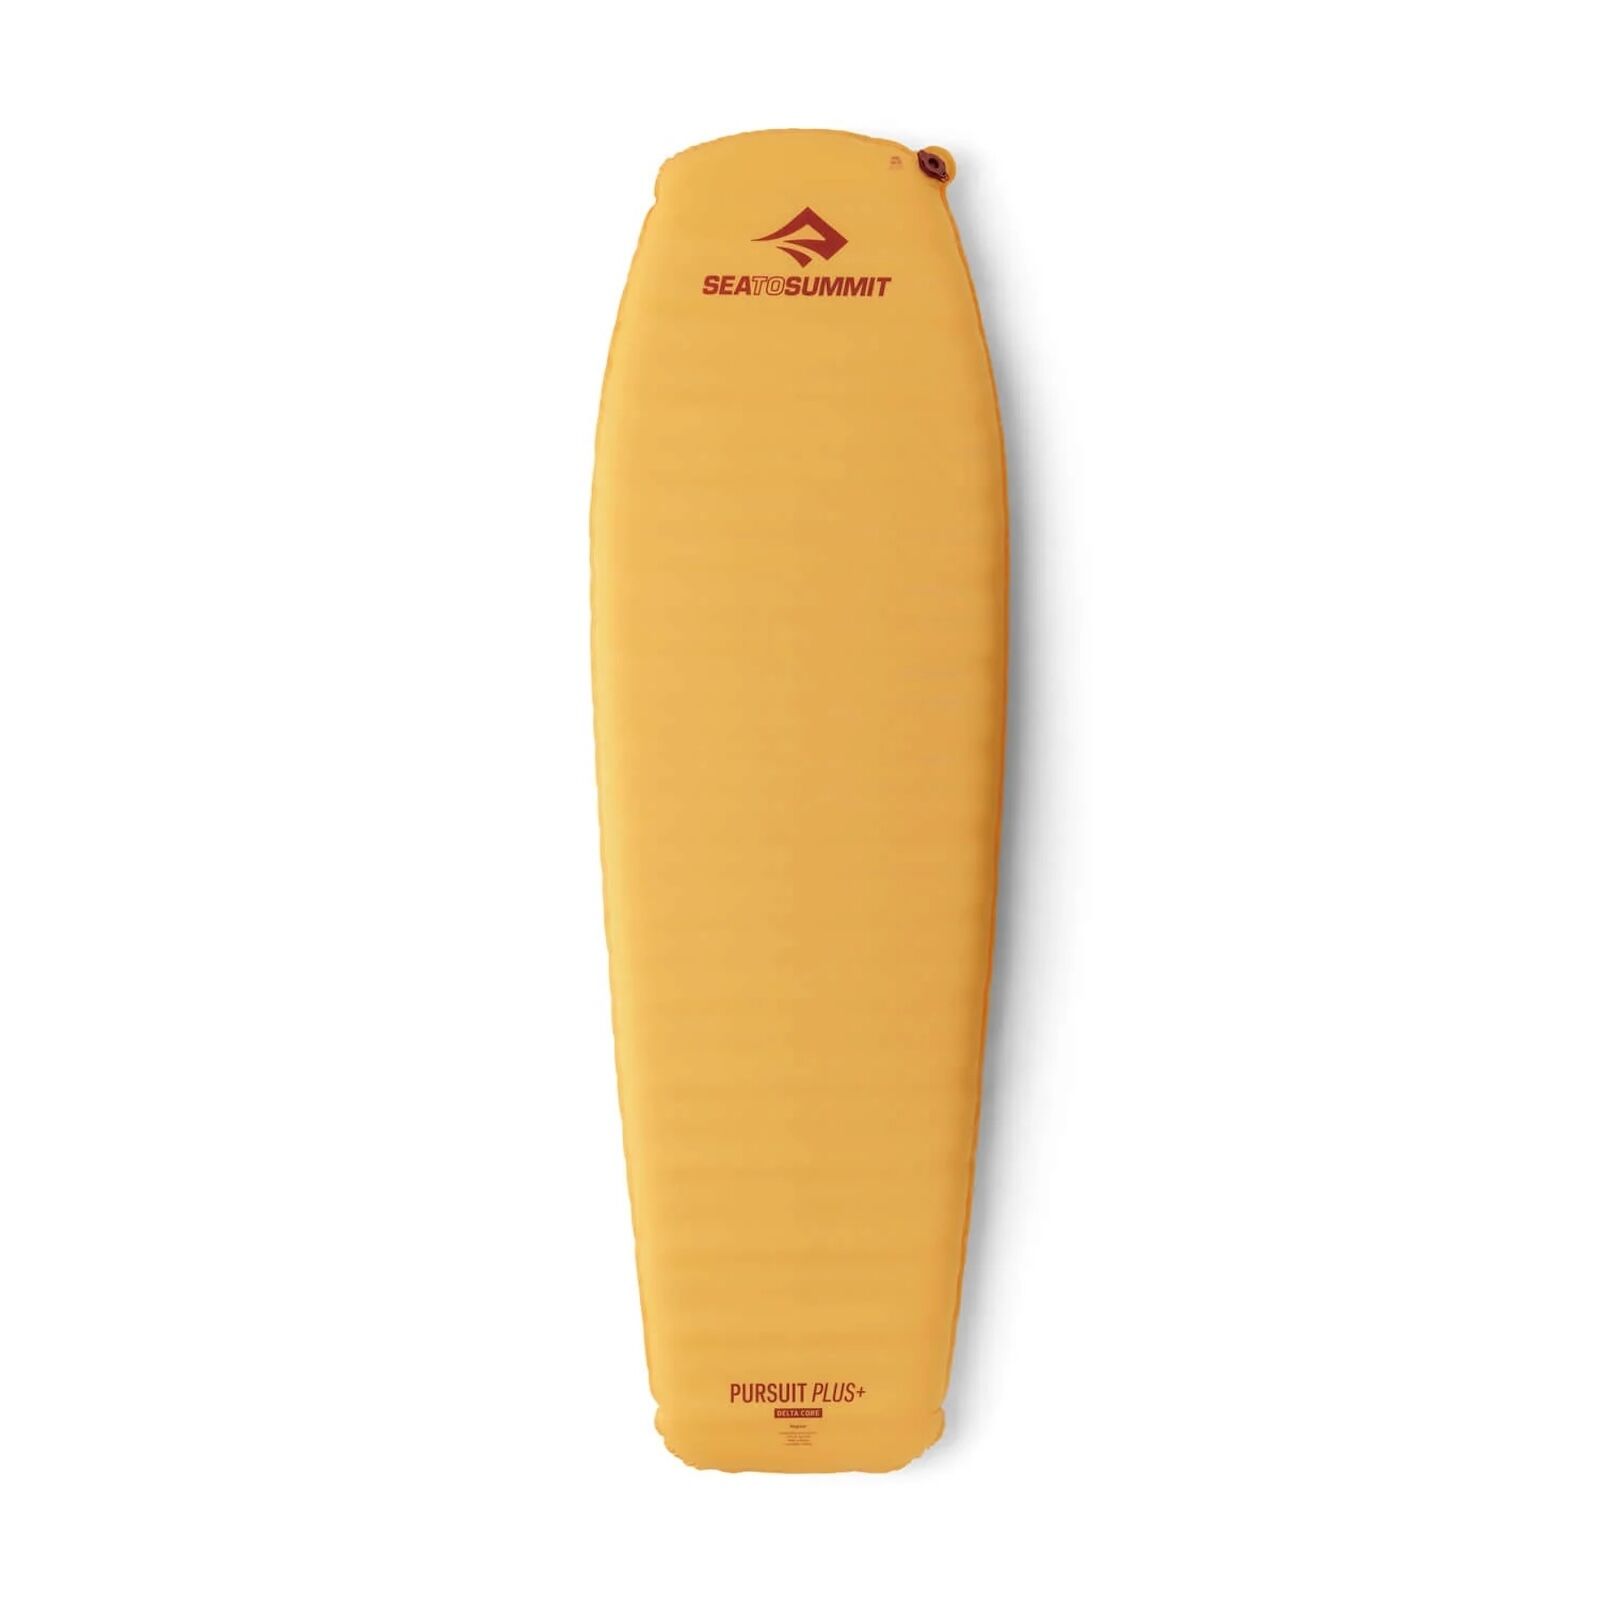
Photo: Sea to Summit
Cost: $159
For years I struggled through accordion sleep mat game for backpacking. Conventional wisdom held that these were easier to pack and took up less space, because they “fold up” and can strap to the side of your pack. However, Sea to Summit innovated the accordion mat out of relevance with the Pursuit Self-inflating mat. When compressed, it takes up less space — 11.8 x 6.3 x 6.3 inches — than an accordion mat and weighs only one pound, 12.4 oz. The best feature about it, however, is that it comes with a “bag” that you blow into that inflates the mat in about one minute, instead of having to carry a pump. Genius — and I’ll never go back to my folding mat.
Shop Sea to Summit Pursuit mat
Bivy sack
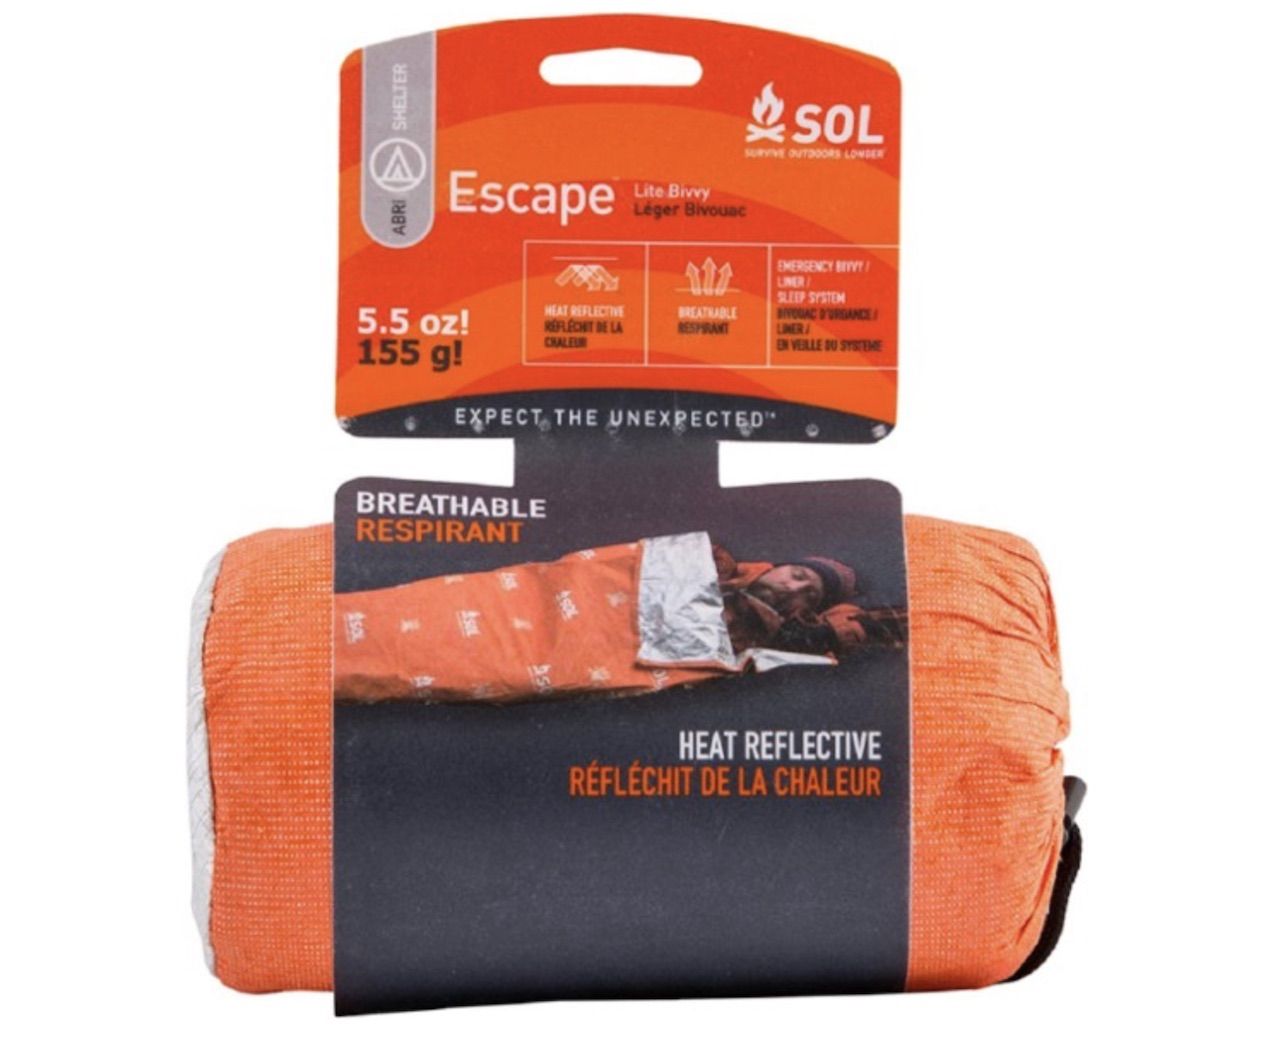
Photo: REI
Cost: $40-$179
A bivy is a lifesaver when you’re far from your campsite when a storm rolls in. It’s essentially a makeshift sleeping bag that retains your body heat and protects you from the elements overnight. You can go fancy and opt for the tent-sleeping bag hybrid Helium Bivy from Outdoor Research, but if you already have a tent setup with you, a basic emergency bivy like the Escape Lite from Sol will do just fine. For most summer backpacking gear kits, a lightweight one should do the trick.
Paracord (or utility cord)
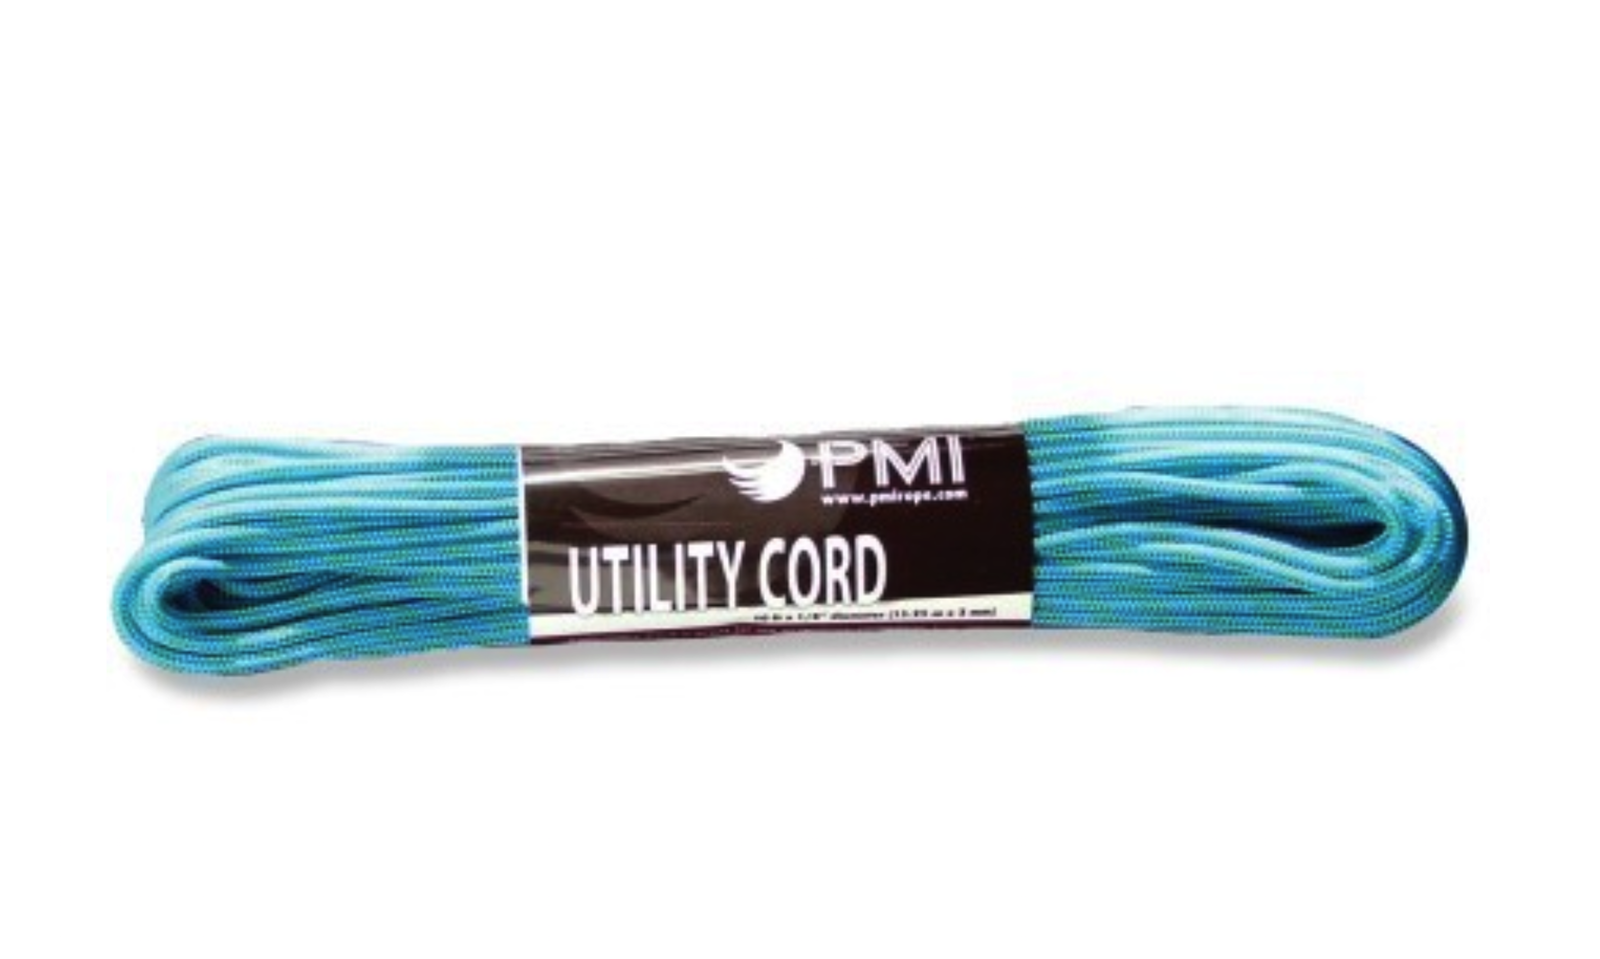
Photo: REI
Cost: $5 (ish)
Even if you aren’t a climber, it helps to know a few knots in the backcountry — especially knots for securely hanging your bag from a tree or pole in bear country. Most backpackers carry paracord, also known as utility cord, also known as parachute cord, which is an ultralight, ultra-strong, and waterproof plastic cord. While hanging your food may be the primary purpose, it could come in handy for any number of things, like creating an emergency stint or evacuation sled or raising and lowering gear across cliffs. Beyond emergency situations, having some rope around is never a bad idea, anyway. And there’s no need to buy the super-expensive kind. Just buy it in bulk (40 feet or so should do for tying and hanging food over bear poles) or buy a roll of utility cord online.
Water bladder
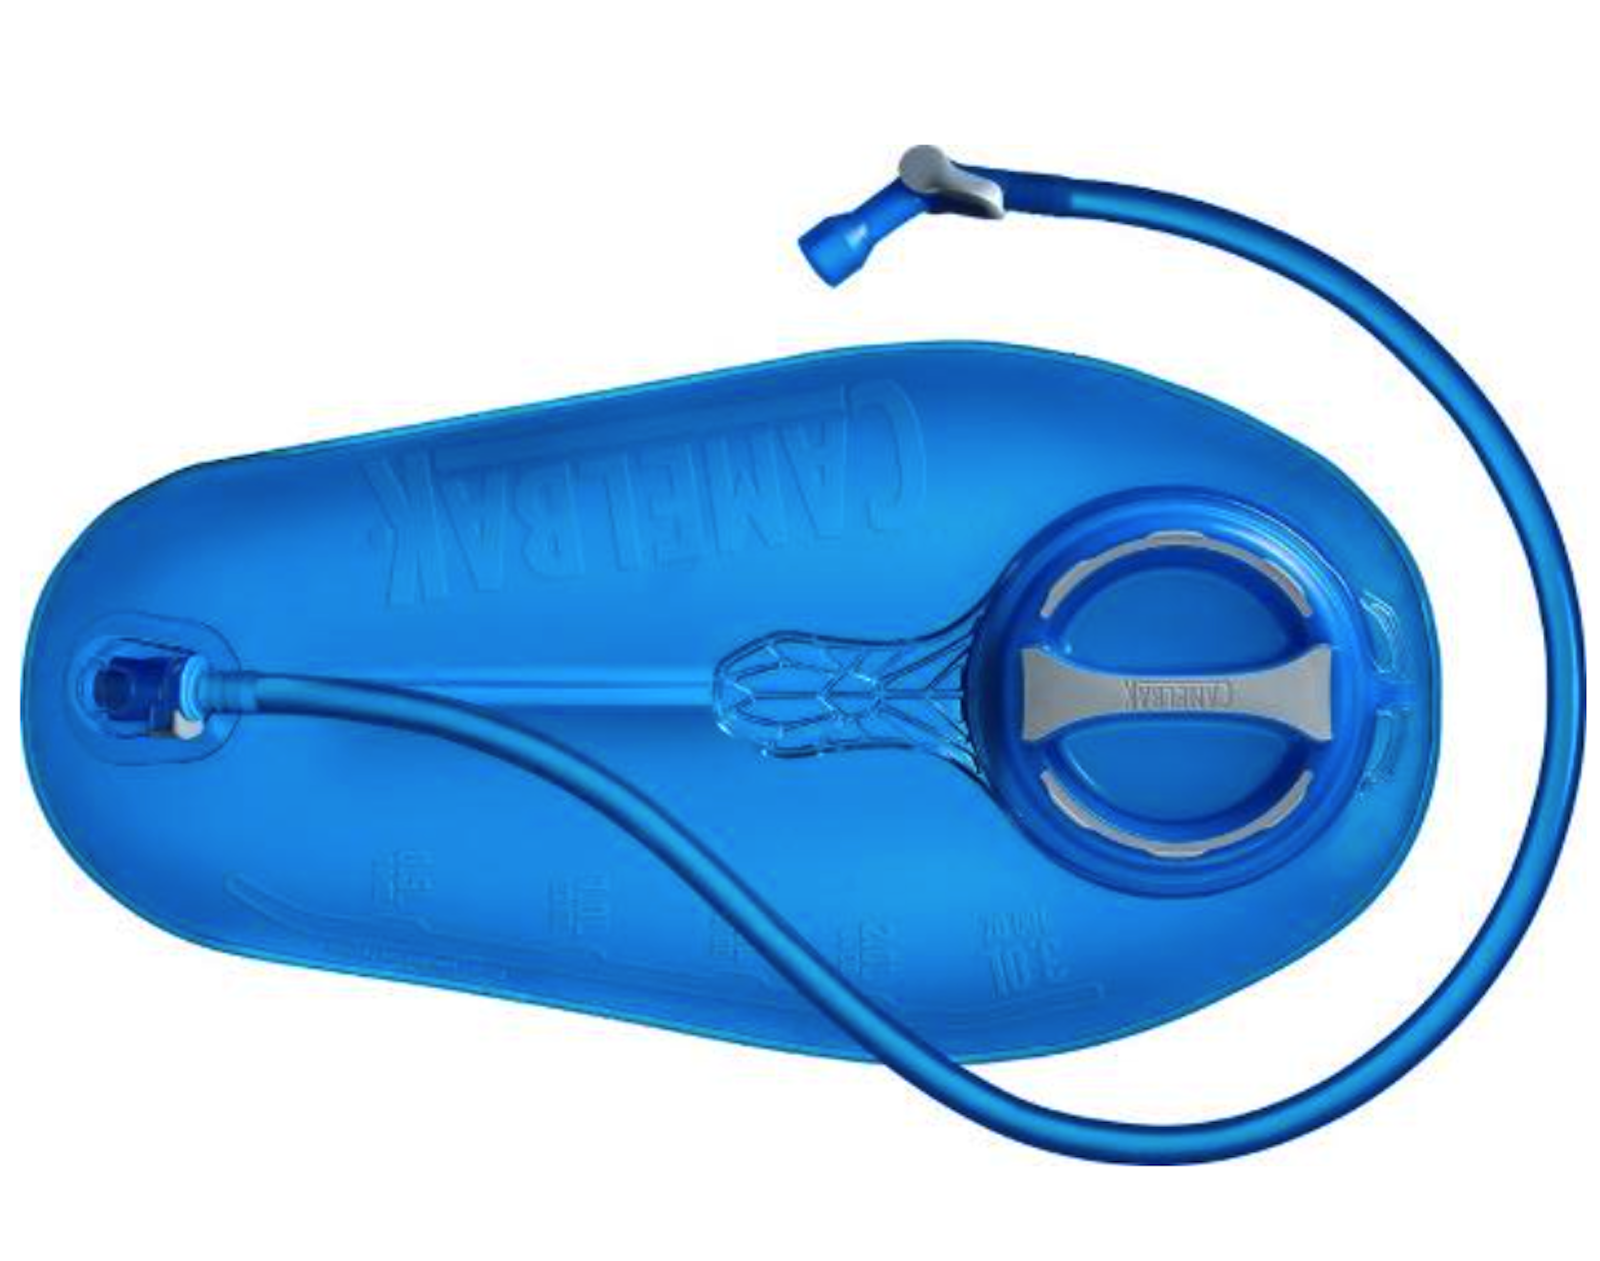
Photo: Camelbak
Cost: $20-$35
The easiest way to cart and drink water is with a CamelBak bladder. They fill easily from a faucet or from your water purifier and allow you to drink water as needed without having to stop and unzip your pack or reach around for a water bottle each time. Almost all backpacks will have a clip for the tube so it doesn’t dangle when you’re walking.
Handheld GPS
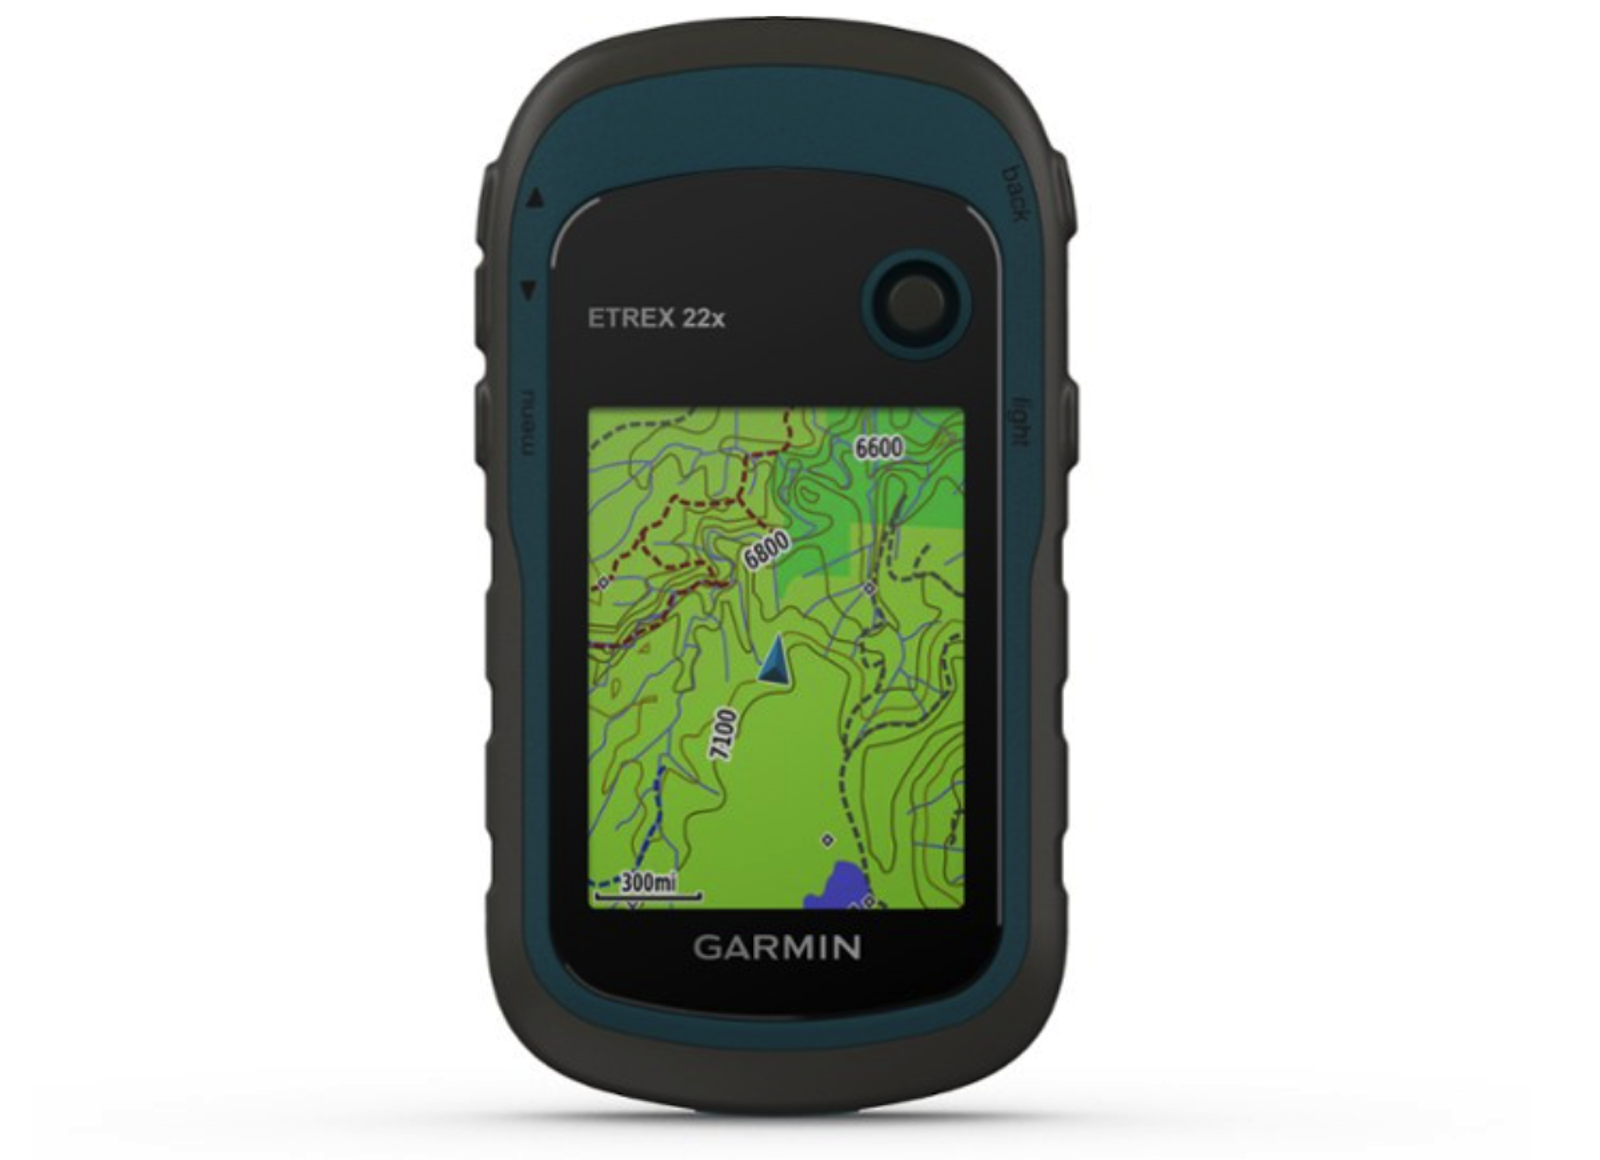
Photo: REI
Cost: $200
Without cell phone service, a handheld GPS unit like this one from Garmin is the best way to find yourself if you lose the trail or need any directional assistance. If on a guided trek, or with someone who has one, you don’t necessarily need your own. But if you plan to make backpacking or trekking a regular activity, this is a good item to have on your list. It’s one of those pieces of summer backpacking gear (or any season, really) that you hope to always have and never need.
Trekking poles
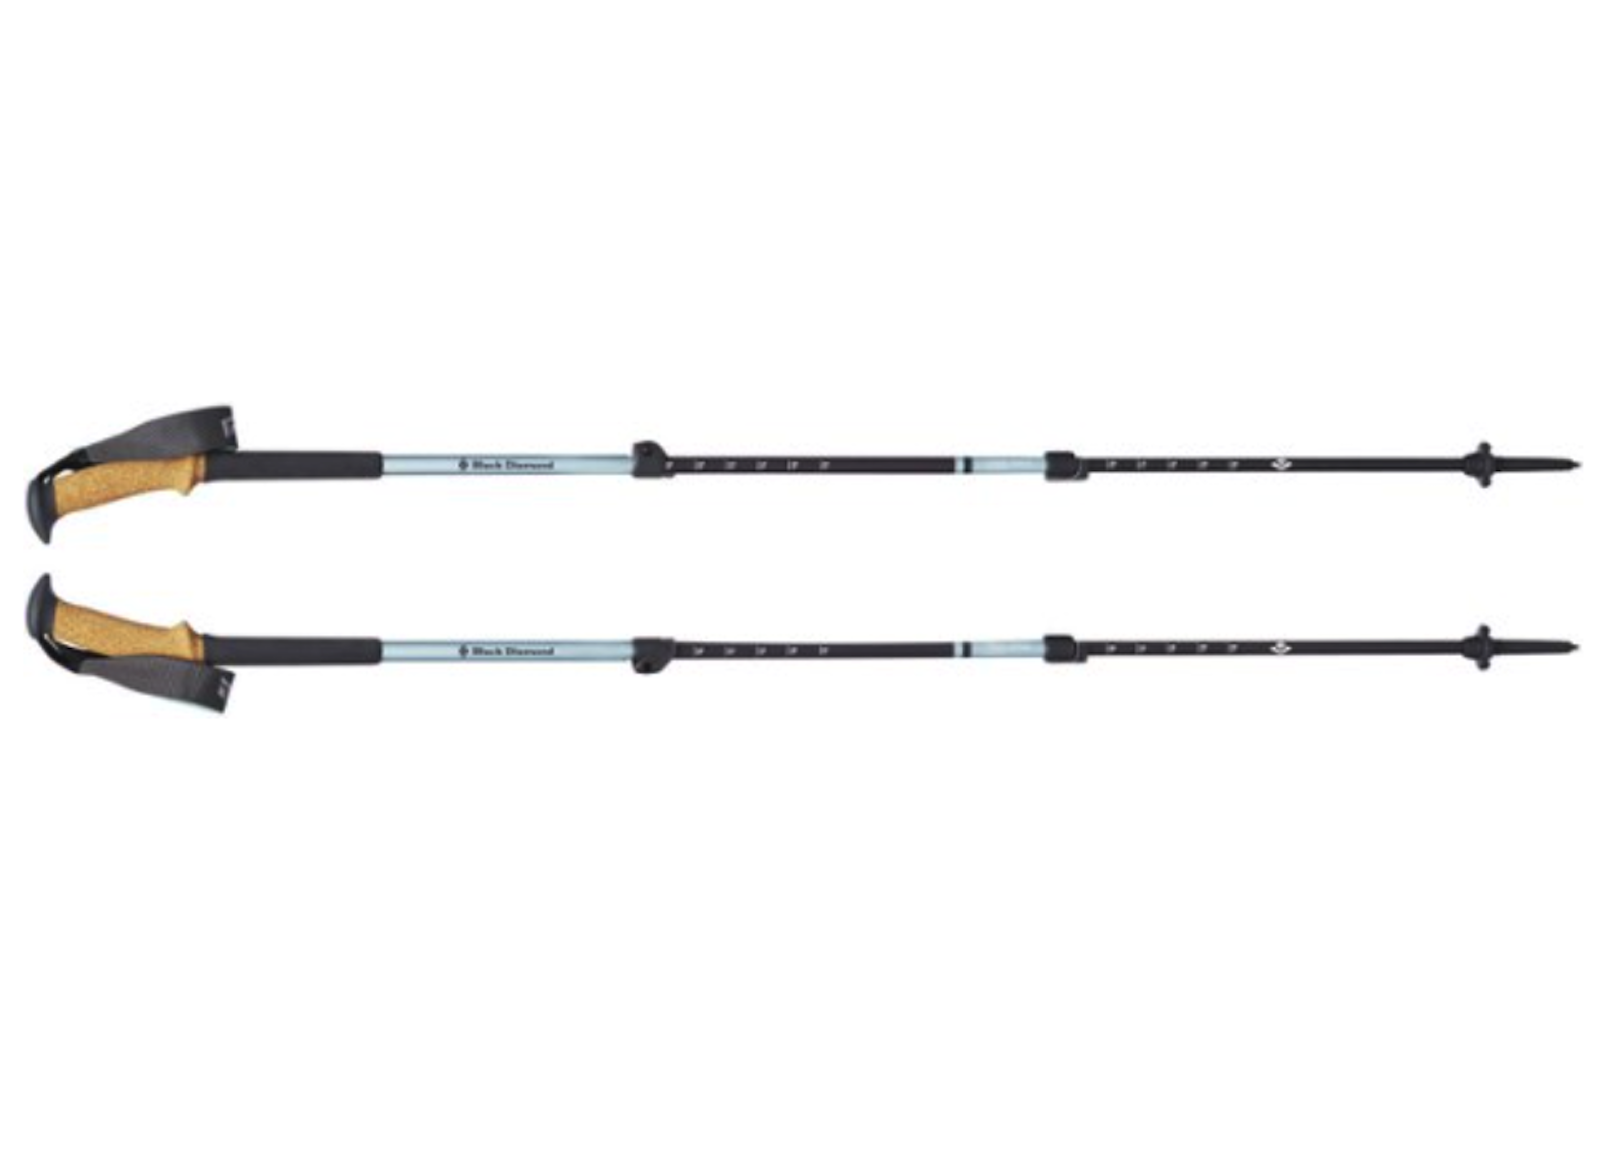
Photo: Black Diamond
Cost: $99-$150
They look an awful lot like ski poles, but they have a pointed bottom, rather than buckets, and strap to the side of your pack when not in use (that’s what the little loop near the bottom of your pack is for).
Trekking poles, also known as hiking poles, are the modern version of a hiking stick and particularly useful when heading down the mountain as they absorb some of the shock and pressure put on your knees with each step — though they also make a big difference on uphills, especially since you’ll probably be carrying an extra 30 or so pounds in your pack. Trekking poles are also great for balance at any point during the hike.
Black Diamond offers a collection of great options starting at $99. Most people don’t need any fancy features, though you should spring for some with an adjustable length.
Edibles
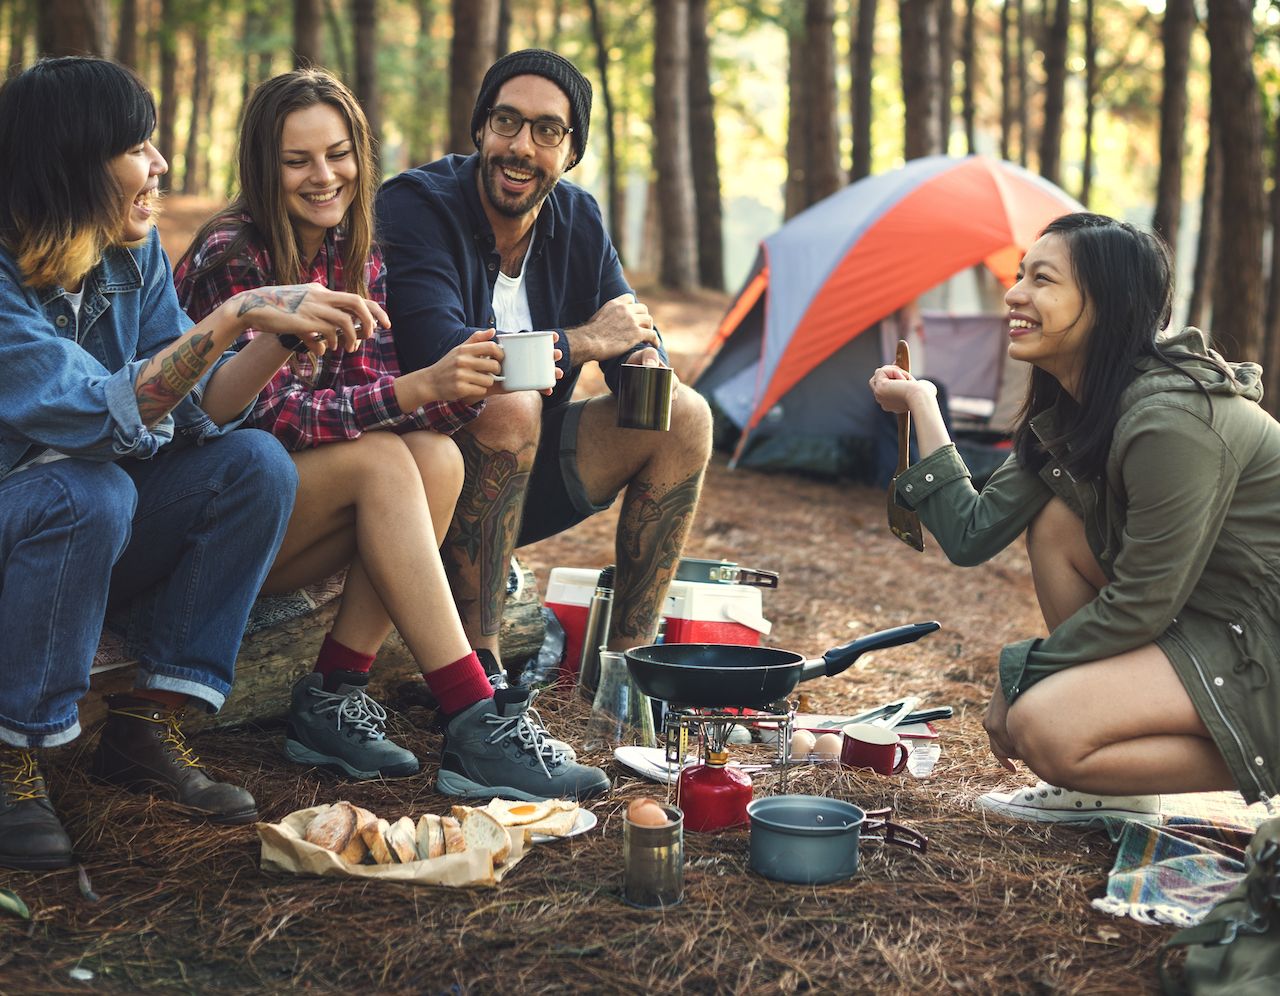
Photo: Rawpixel.com/Shutterstock
Cost: Varies
No, we don’t mean the fun kind. Basics like granola bars and apples are cheap and easy to eat on the go. Bring them, along with protein and foods heavy in calories — they’re an essential boost on multi-day treks. Here are some ideas to get you started.
-
-
- Peanut butter is a cheap, easy-to-pack, and filling protein. Plus, it’s high in calories — a must for trekking.
- Trail mix earned its name for a reason — it’s a great energy boost and easy to carry.
- Nuts. And more nuts. Protein. Calories. Protein. Calories.
- Patagonia Provisions campfire meals. Patagonia offers a range of easy-to-prep hot meals designed for cooking and consumption in the wilderness. They’re delicious, full of protein, and come in small packages which fit easily into your pack. If you’re a vegetarian, Backpacker’s Pantry has a wide section of good options; our outdoor editor says the pad thai is the best.
- Red beans and rice is a classic campfire meal. Quick, easy, and filling, this meal provides both protein and carbs to get you powered up for the next day.
- Tortillas are great for backpacks as they’re much less likely than bread to get smushed. They can be packed compactly in your backpack — just don’t fold them.
- A bottle of Big Nose Kate whiskey pairs well with campfires, as well.
-
Clothes
Water-resistant shell jacket
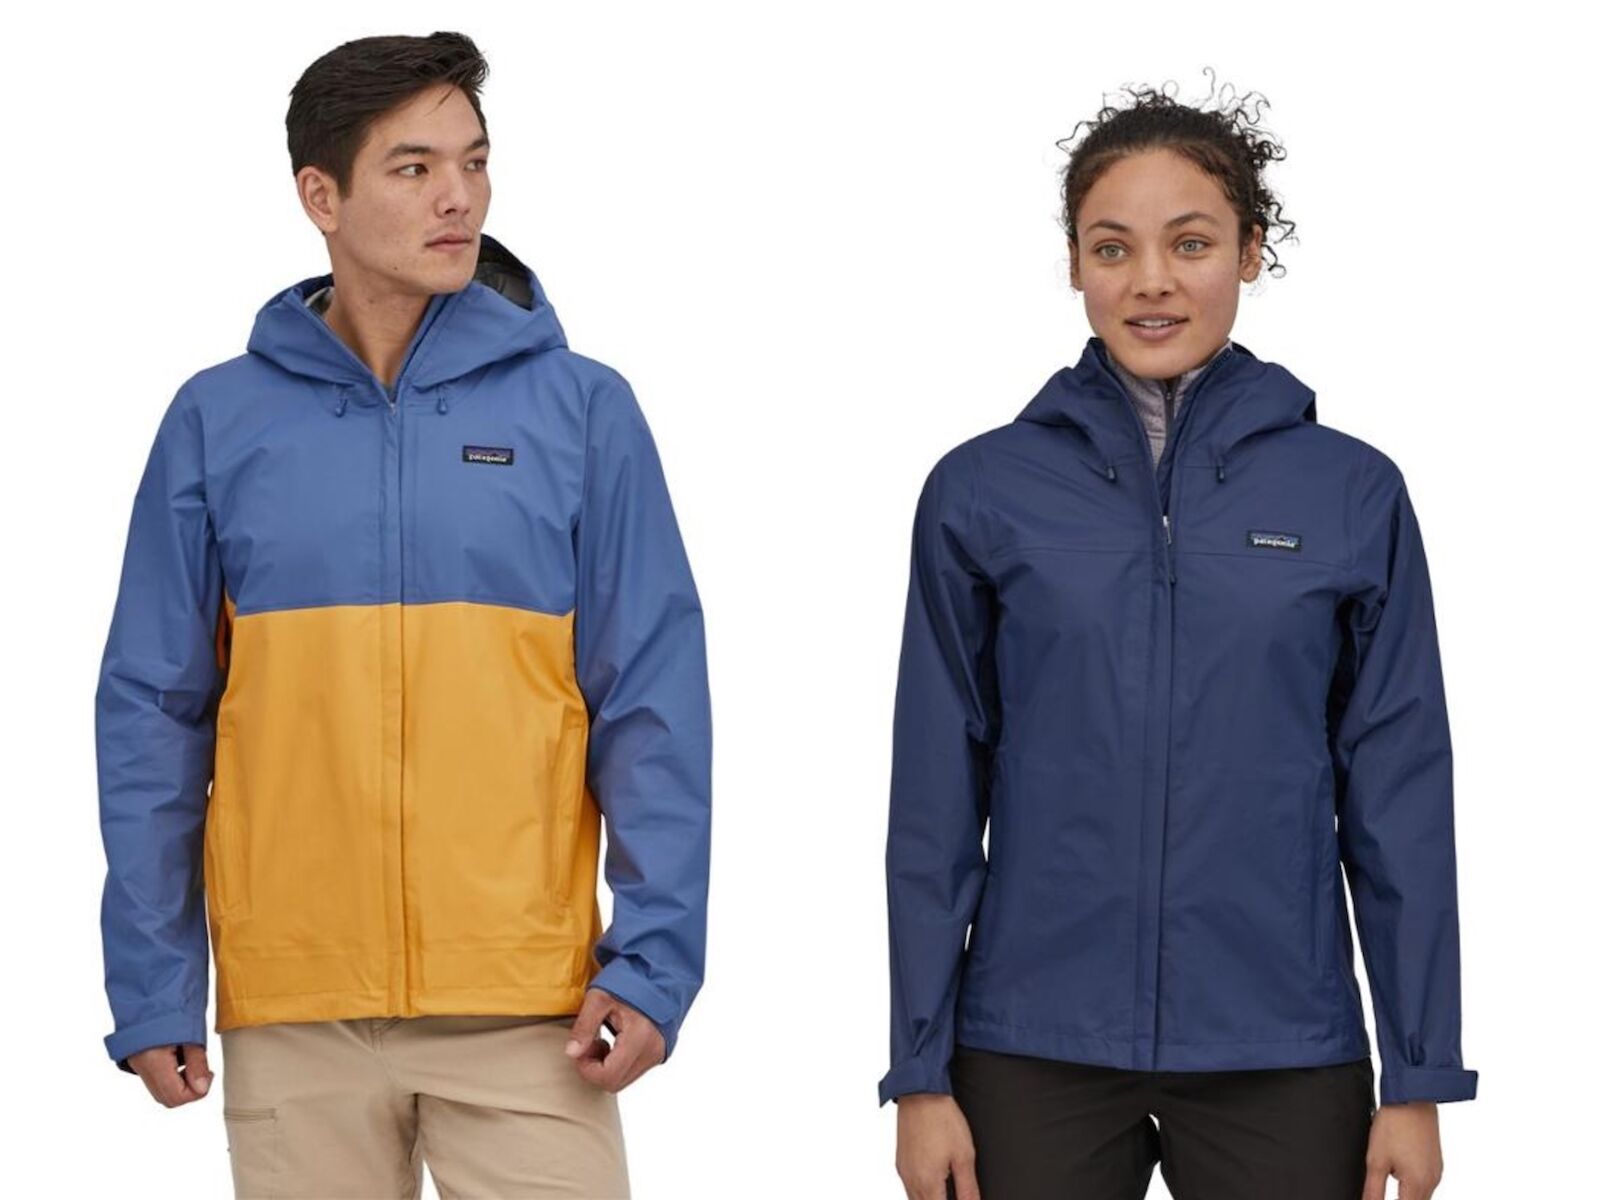
Photo: REI
Cost: $100-$150
When selecting your outer layers, think waterproof and wind resistant. Comfort is also a factor, particularly with boots.
In the high country, weather can turn on a dime, turning a beautiful morning into a drizzly afternoon in what seems like an instant. You’ll be miserable (and soaking wet) if you’re hiking in a sweatshirt. Get yourself a water-repellant shell layer to throw on over your base layer. Patagonia’s Torrentshell is appropriate for most summer backcountry situations.
Hiking boots
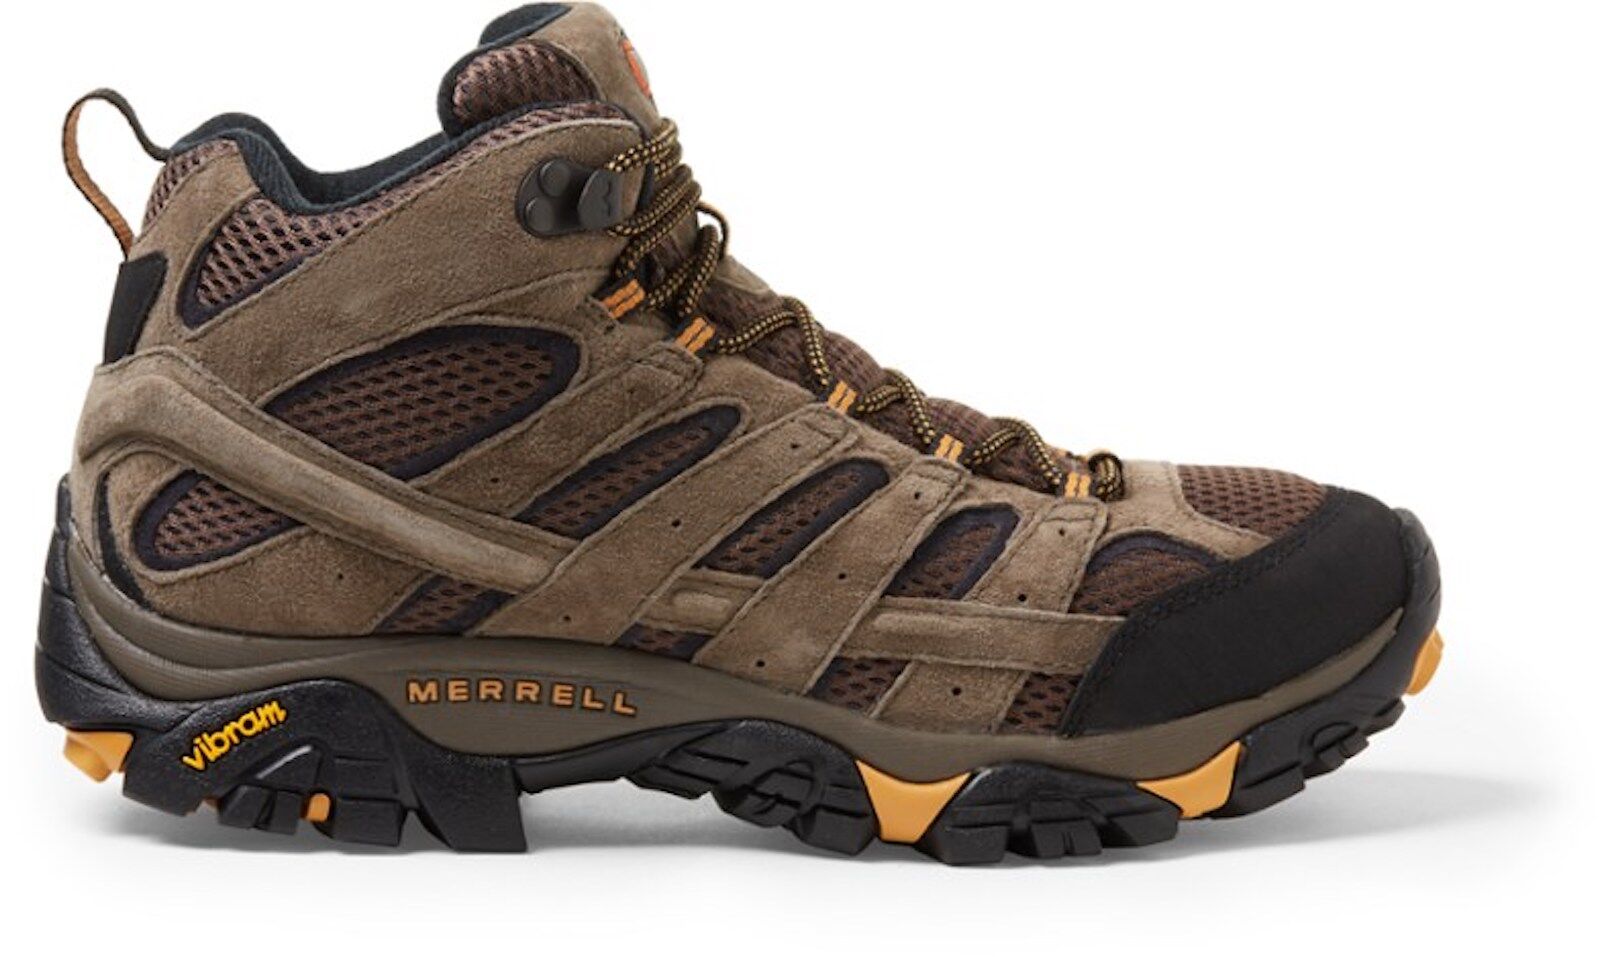
Photo: Merrell
Cost: $100-$150
This is probably the most important summer backpacking gear purchase to make in-store versus online. When buying hiking boots, look for two things: comfort and support (ankle coverage is a must). Read some reviews before making a purchase, because often the best hiking boots are super stiff when you try them on. Boots tend to get more comfortable as you break them in, and over time will conform to your feet. Merrell makes great trail boots in its Moab line. Invest in a quality pair and they’ll reward you with years of heavy use. If you’ve procrastinated and you don’t have time to break a sturdy pair in, opt for a lighter shoe with more flexibility.
While you certainly can go backpacking in a pair of trail shoes, hiking boots are a better option for when you’re carrying the extra weight of a pack. Your feet will thank you.
Trekking pants
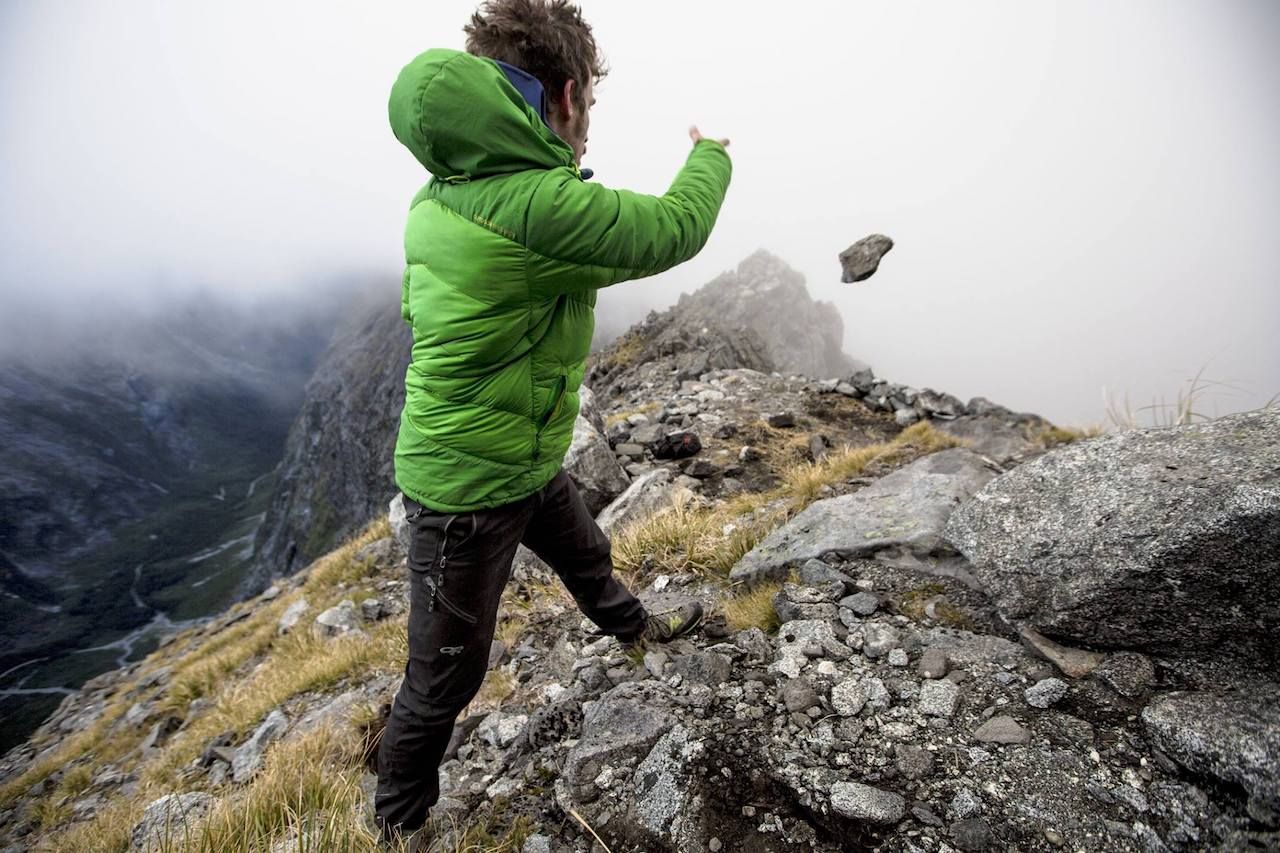
Photo: Outdoor Research
Cost: $60-$130
Depending on altitude, season, and location, pants may be a better option than shorts. That’s partly for the protection they offer from wind and water, and partly because long pants protect your legs from branches and plants. You want something that won’t tear and is wind-resistant, flexible, lightweight, and comfortable. The Cirque III Pants from Outdoor Research are a great option for men. PrAna makes a great pair for women, with options in multiple colors.
Base layers
When selecting base layers, think comfort, flexibility, and thickness. Base layer items are generally divided into three categories: lightweight, midweight, and heavyweight. Midweight is a general best practice for beginners and three-season trekking, particularly if you plan to head above treeline where wind can be quite ferocious. In general, the thicker the layer, the better it protects against cold. If you’re in a place where the temperatures can drop by 50 degrees or more at night, like the Sierra Nevada, you’ll likely want to sleep in your thermals.
Thermal underwear
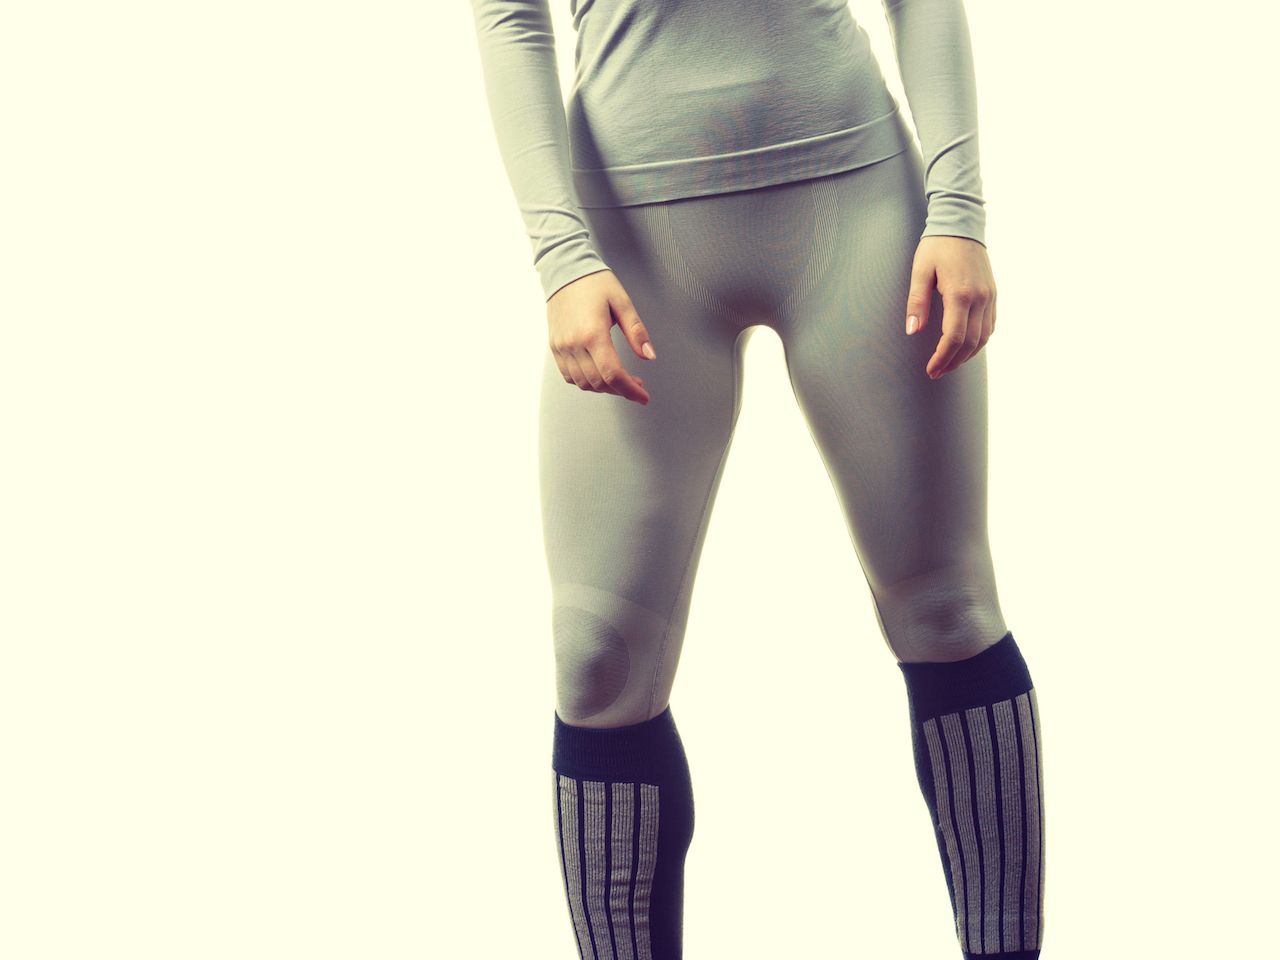
Photo: Voyagerix/Shutterstock
Cost: $10-$50
Thermal underwear wicks moisture and sweat and provides warmth for cold nights and inclement weather. The two most common materials are polyester and Merino wool. Avoid silk underwear as it’s not odor-resistant and doesn’t wick moisture as well. Lightweight options are good for chilly days under your hiking pants. REI offers options for both men and women.
Shop women’s thermal underwear
Base layer top
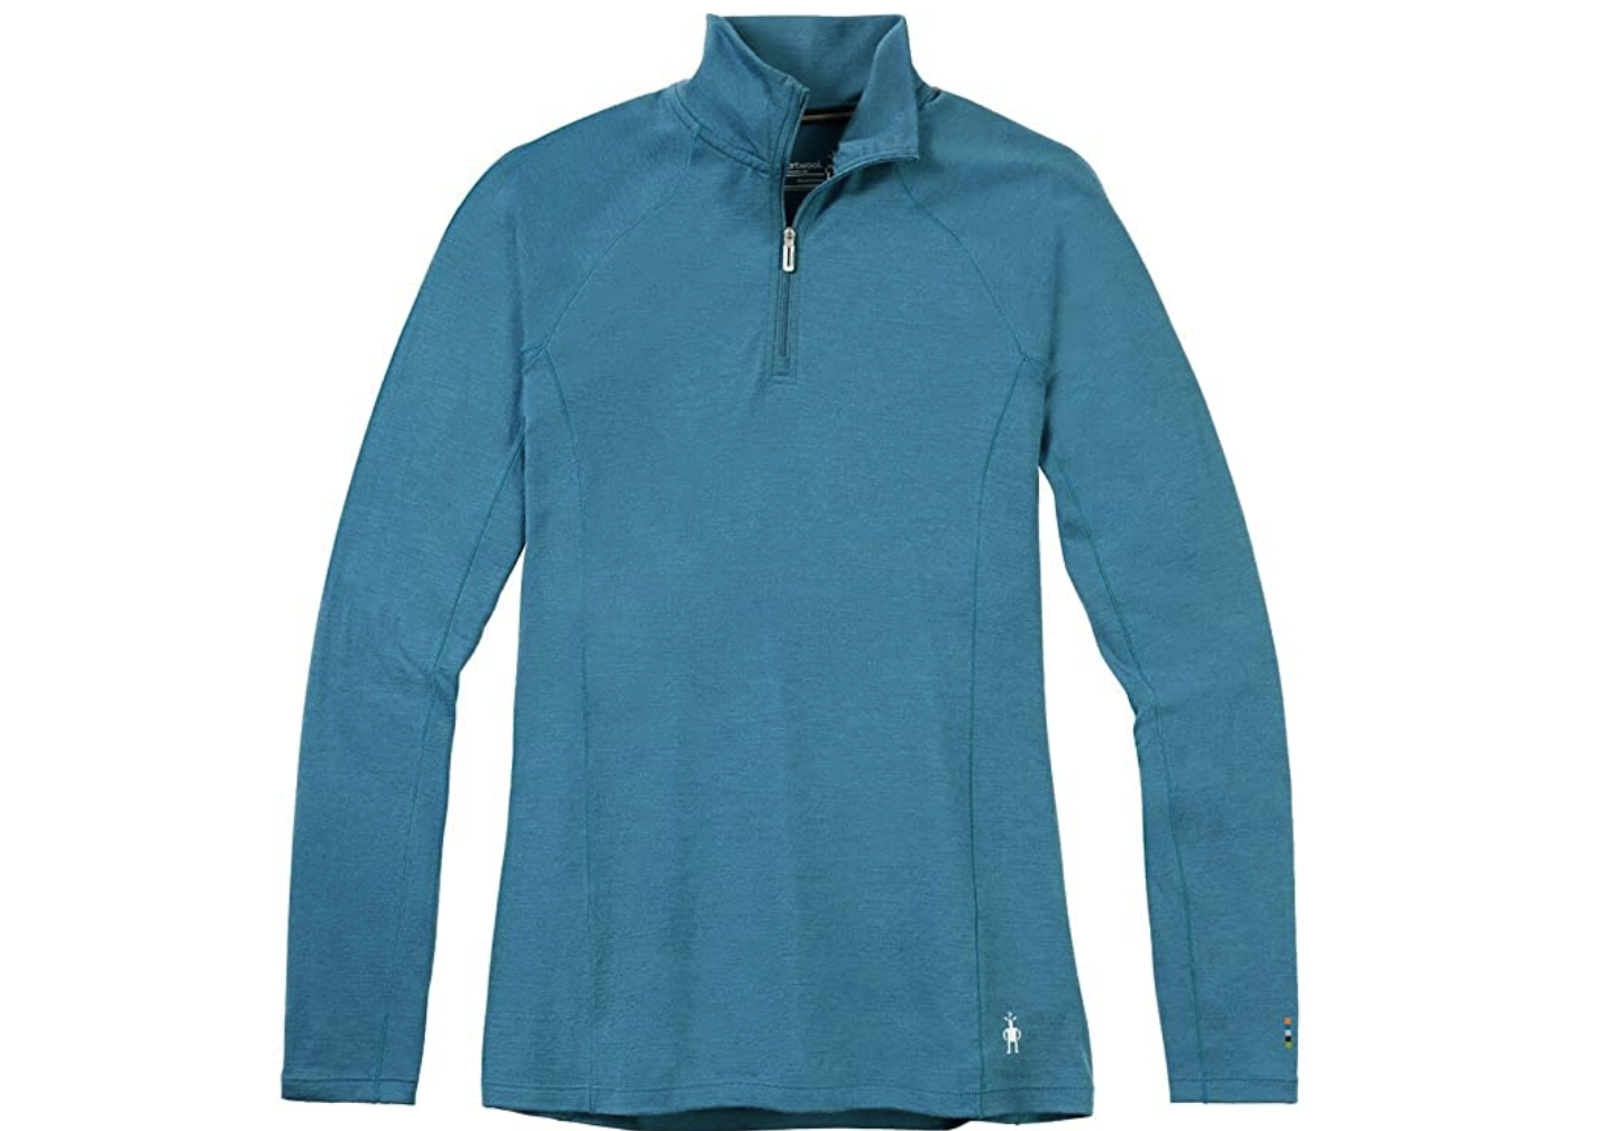
Photo: REI
A thin and soft Merino wool top such as this one from SmartWool is perfect for wearing underneath your jacket or t-shirt. They pull sweat off your skin, provide light protection against wind, and are super flexible and comfortable. You’ll need at least two under layers under your shell when it gets cold and a base layer top should be one of them. A comfortable fleece, like this one from Patagonia, works well as your midlayer (also available in men’s). Base layers usually come in long-sleeve and short-sleeve options.
Hiking socks
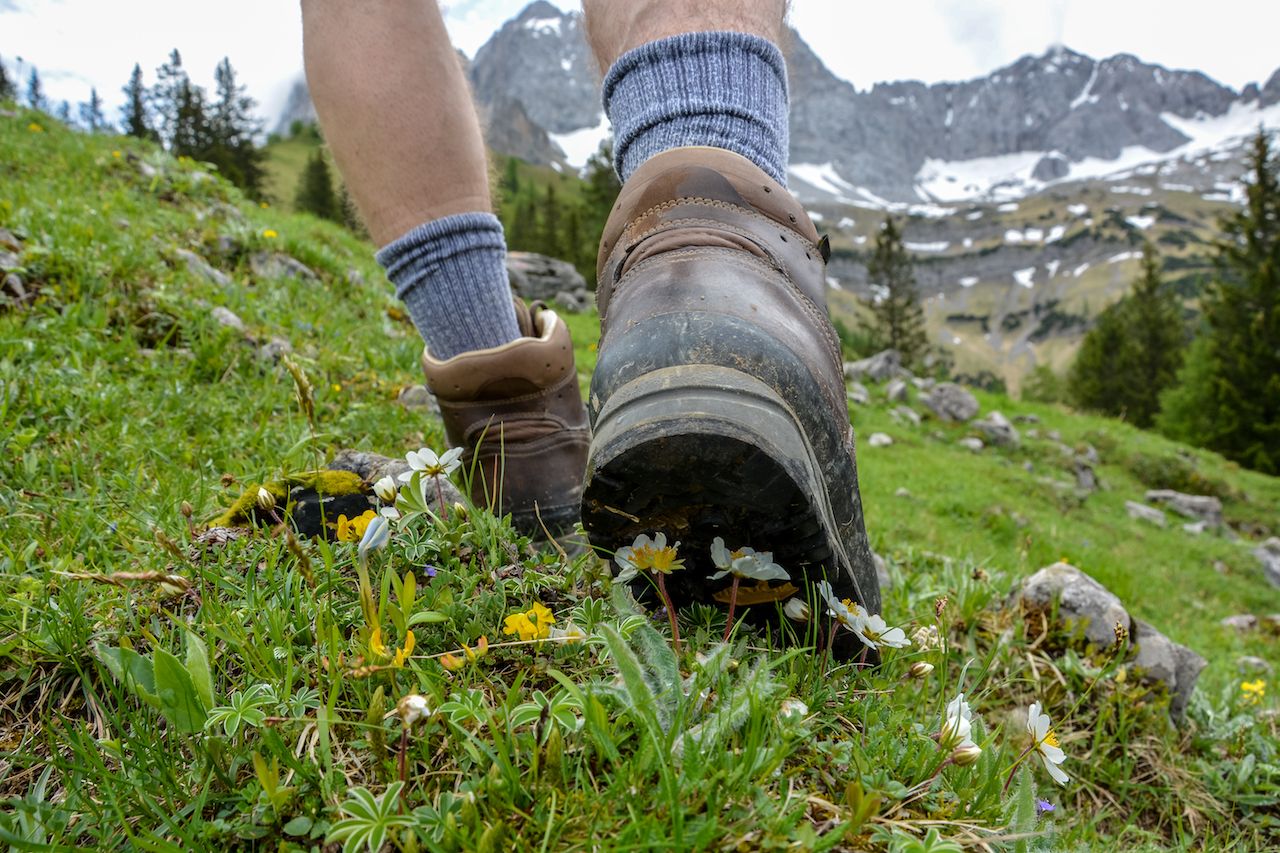
Photo: Asvolas/Shutterstock
Cost: $12-$20
SmartWool makes both men’s and women’s Merino wool socks designed specifically for trail use. There are plenty of other options, but keep in mind that you’ll be wearing hiking boots and need socks that rise up to near or slightly above the top of the boot to prevent rubbing. Socks may not seem like the most important piece of your summer backpacking gear set-up, but you’ll begin to realize how much they matter if you get to camp and realize you have sweaty and blistered feet.
Comfortable campsite clothes and shoes
Cost: Varies
A pair of gym shorts or yoga pants will do the trick for relaxing post-hike and wearing to sleep, unless it’s quite cold (in which case, sleep in those base layers). Taking off your hiking boots at the end of a long day is among the most satisfying experiences involved in backpacking, and you want something comfortable to change into at the campsite or guest house.
You’ll also want a pair of lightweight shoes to wear around the campsite so you don’t have to live in those heavy boots. A good pair of slippers — designed for outdoor use — will do. We love the Teva ReEmber Terrain Slip-Ons and it seems like every other person living in a mountain town has a pair of the cozy Teva Moc Embers. They come in men’s and women’s versions, but they’re basically unisex.
Cost: $59.95
