Camping is the ultimate way to relax in nature. But in order to actually camp, you first have to set up your tent — a process that can be as frustrating to the first-timer as it is second nature to the Eagle Scout. This handy guide to pitching a tent walks you through the steps in detail and, alongside the stick-figure drawings in your tent’s instruction booklet, will get you through the process with both yourself and your tent in one piece. You got this.

Photo: Odua Images/Shutterstock
How to Pitch a Tent Like a Pro on Your First Camping Trip
What to have before leaving home
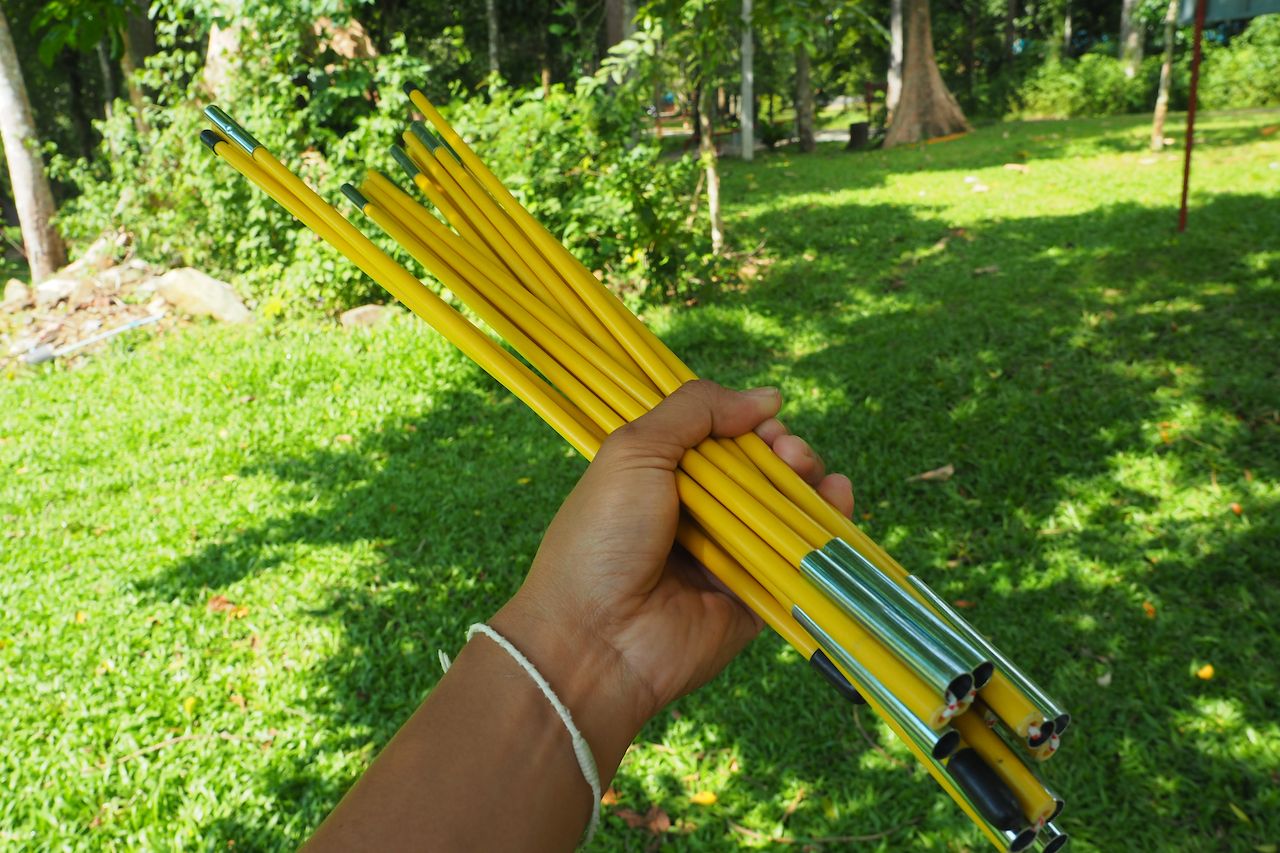
Photo: Sutat Pavilairut/Shutterstock
Before leaving home, you need the right tent for your excursion. If you’re car camping, which means you camp at a campsite or at a “dispersed” camping spot alongside or near your vehicle, you can be less choosy about the type of tent. The biggest priority is that it will accommodate the number of people who need to sleep in it and that at least one person in the group knows how to set it up and take it down. If you plan to backpack, i.e. hike into a campsite not near your vehicle, you’ll want a lighter tent — one that doesn’t weigh more than 2.5 to three pounds per person that will sleep in it.
We recommend practicing setting up your tent in a yard or park first, just to be prepared in case you’re missing a stake or can’t figure something out. Here is what you need to have:
- Your tent and rainfly, and the rucksack they came in
- Tent poles
- One stake for each corner of the tent (four for a typical one- or two-person tent) plus a few extras
- Instructions that came with your tent, if applicable
When you arrive
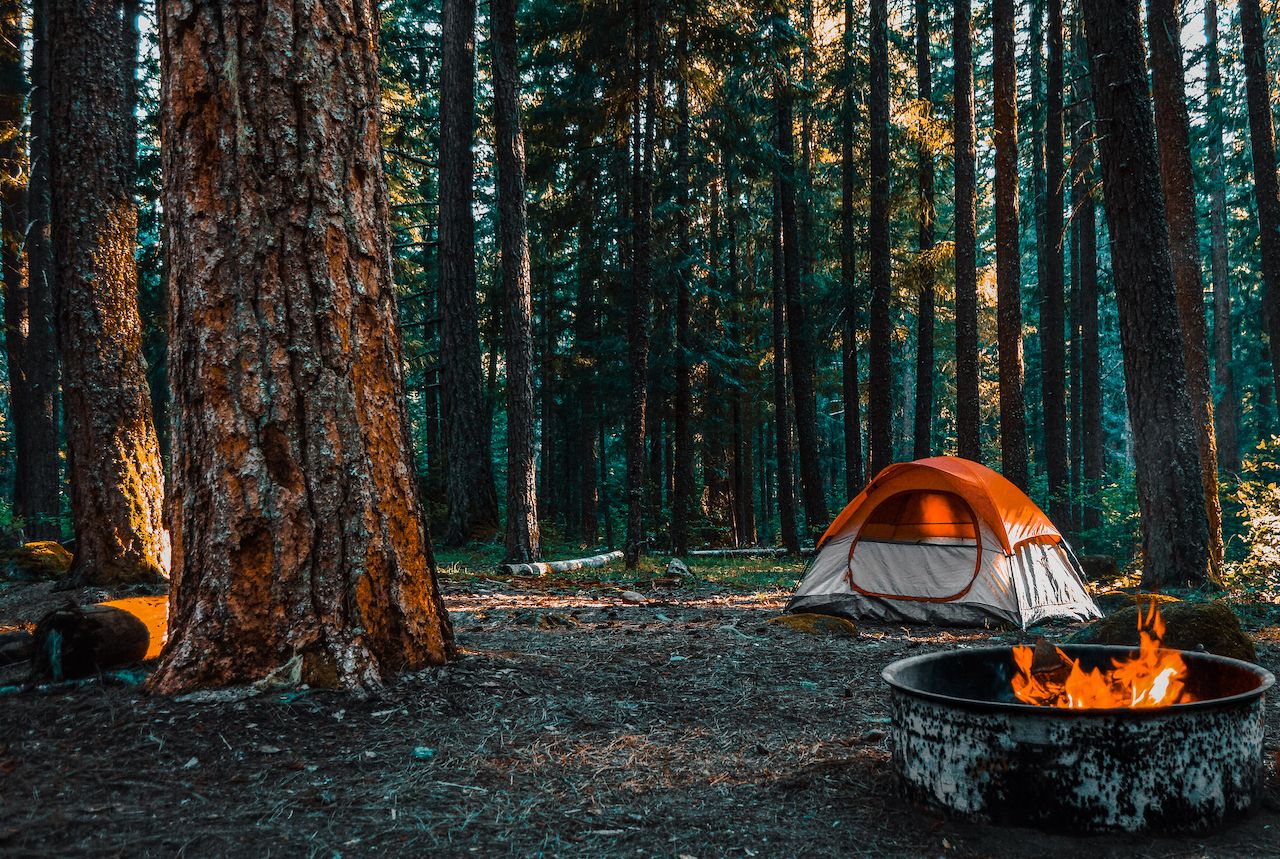
Photo: Kevin Capretti/Shutterstock
If there’s one piece of advice first-time campers should take to heart, it’s this: Set up your tent as soon as you get to camp. For one, it’s much easier to do so while the sun is up. Second, the beer and general lethargy that accompanies an evening around a campfire will just make the process more daunting the longer you wait.
If camping becomes part of your regular weekend plans, the time will come when you head up after work on a Friday afternoon and don’t arrive until after dark. Get a Black Diamond headlamp — one for each person — and keep it with your camping gear. That way you’ll have light to set up the tent with. The Cairn lantern from Lander is an excellent additional light source that doubles as a hanging light for the inside of your tent. It also charges your phone battery simultaneously — making it the smartest $50 you’ll ever spend on camping additions.
Identifying the right spot
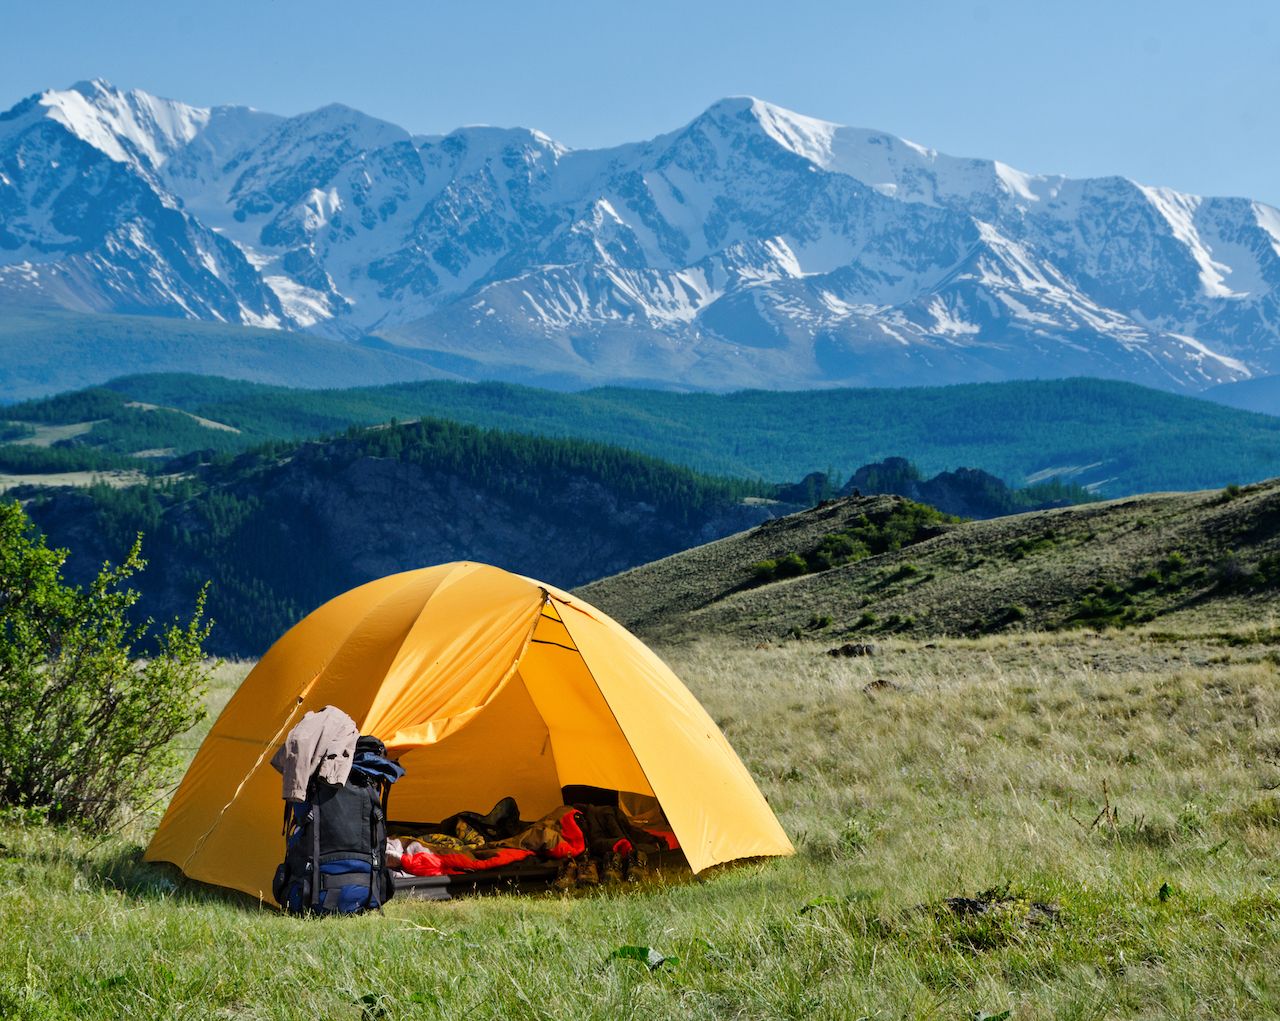
Photo: simoly/Shutterstock
Before you ever take the tent out of the rucksack, ask yourself a few questions about how you sleep normally. Do you need absolute quiet? If so, it might be best to set up farther from the campfire in case you hope to slip off to bed while others are still hanging around. Don’t go too far, though, or you might find yourself kept awake by the wind howling through the branches. Was that a bear? A moose? Probably not, but it can be hard to convince your mind otherwise when the closest accomplice is 100 yards away. If available, the sound of a running stream can do wonders for calming the mind. But don’t camp closer than 200 feet from any water source, particularly if you, or your dog, might wake up in the night to relieve yourself.
Much as a lawn chair needs stable ground to keep all four legs down, a tent needs a flat space for proper setup. You don’t want to be sleeping at an angle, anyway. The first actual step in setting up a tent is to find a flat spot — as flat as possible, at least — that’s free of jagged rocks and branches. Spend a minute or two clearing the area to avoid being jabbed in the back in the middle of the night and potentially poking a hole in the bottom of your tent.
Take advantage of trees, big rocks, and other natural barriers to wind and rain. A cool treat you can often give yourself is to angle the door of your tent towards an amazing view — a towering peak, an expansive valley. When possible, make that view something that the early morning light will illuminate in a colorful hue. That way, you’ll wake to an Insta-worthy photo opp first thing in the morning.
Equally important is not setting up right next to the fire (heat and fire hazard) or near food (which could attract bears). Always leave food in a bear canister or in your vehicle.
The actual labor

Photo: Odua Images/Shutterstock
Now comes the fun part. Pitching a tent becomes habit after you’ve done it a few times, but that first time ever tends to be an exercise in humility. Follow these steps in order to minimize frustration.
Lay the tent out over the spot. Stretch your tent out to cover as much space as you can. If you need to make any adjustments to the spot to accommodate your tent, you can do so now.
Insert the tent poles. This is often the most frustrating part of setting up a tent because it’s easy to skip a hole — so think of the process as putting on a belt. If you don’t keep the belt underneath each loop, it looks funny and doesn’t hold your pants tightly enough. Slide the tent poles into the designated slots on your tent, carefully following the instructions provided. Don’t miss any holes or slots — and especially don’t miss the hole, hook, or groove at the top of the tent — or it will collapse in the middle, the camping equivalent of your pants falling down.
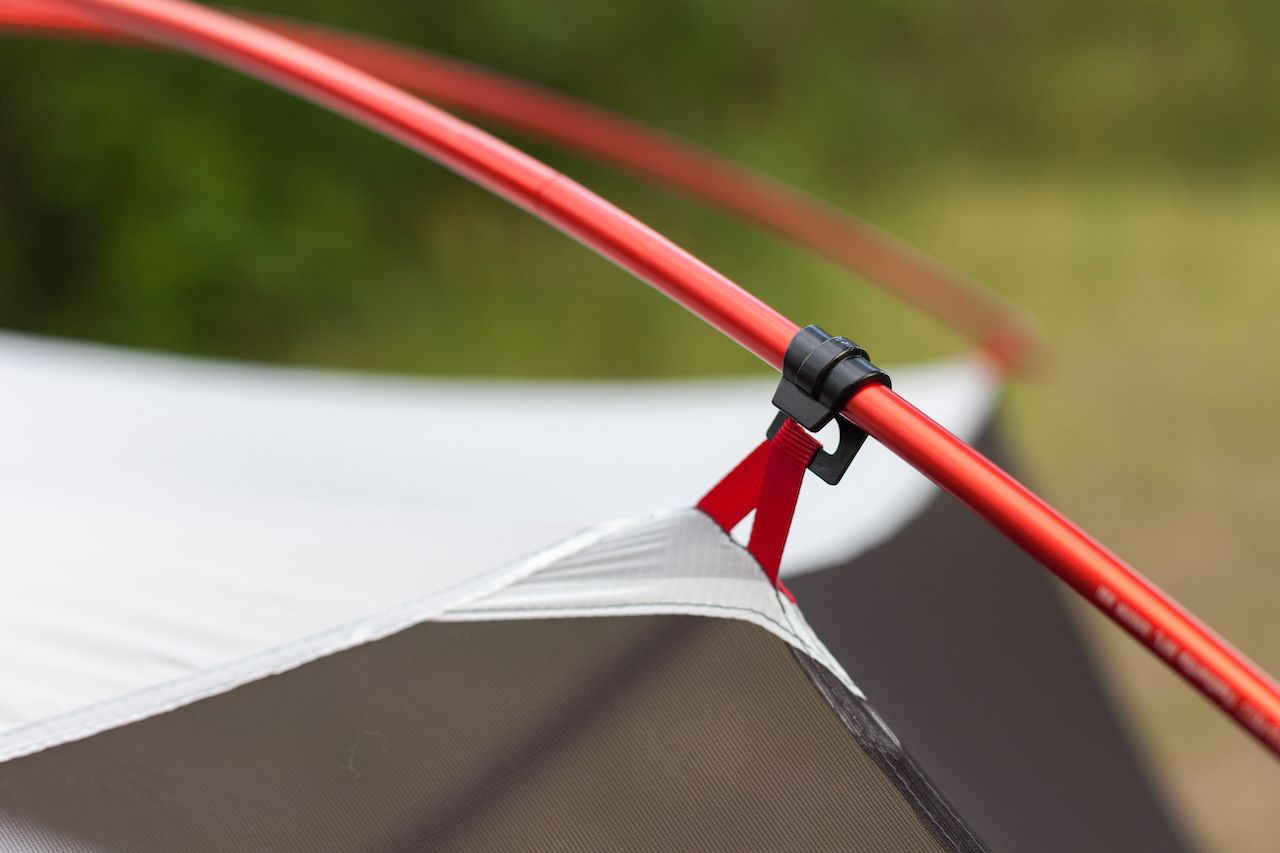
Photo: brizmaker/Shutterstock
Do one pole at a time, even if there are two of you. Have the second person stand on the other side and guide the pole through, securing it in place once it’s ready. Then repeat for the next pole. Once you have passed a pole through to the other side, pull it as tight as possible and insert it into the slot or hole provided. This process will erect your tent. The tighter the pole, the tauter your tent, meaning it’s as sturdy as can be.
Stake the tent. For optimal sturdiness, stretch the stake straps on the corners of the tent out as far as possible before staking. Drive the stakes down with your foot or a hammer, being careful to keep them as close to a 90-degree angle with the ground as possible. Use a rock or other weight to hold a stake down if the ground is fragile. Don’t push the stakes down too far, or else you’ll have a heck of a time pulling the stake out when it’s time to pack up. Stake down extra holes in the tent corners with any extra tent stakes to prevent potential impact from rough winds or other inclement weather.
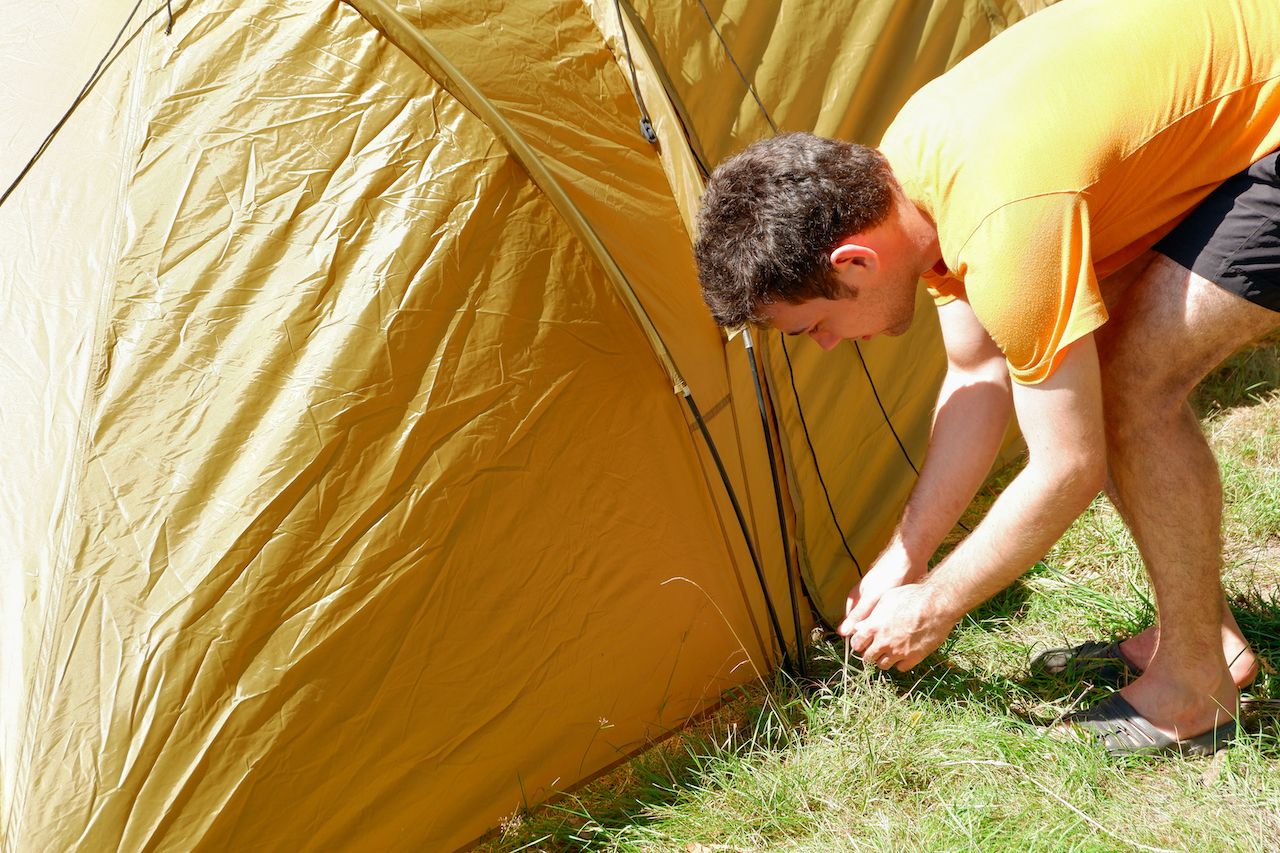
Photo: Elgub/Shutterstock
Attach the rainfly. The rainfly is crucial to staying warm and dry during rain or wind. It slides over the top of the tent and fastens into the same hold as the tent stakes — in many instances, you’ll need tent stakes to secure the rainfly. If your rainfly has cinches, pull them as tight as you can. Also, be sure to line up the rainfly’s zip door with the tent’s door, or else you’ve effectively locked yourself out. If you’ve put the rainfly on the right way, the zippers should line up seamlessly.
If it’s windy, use the guylines. Now that your tent is upright, make it as secure as possible by tying any guylines — those random-seeming thin ropes on the rainfly — to something sturdy. Most tents and rain flies come with small loops on the edges called guy out loops. On the end of the guyline, there is a plastic feeder called a tensioner, which allows you to lengthen the guyline, or pull it taut, as needed. There isn’t a set place that the rope fastens into.
You can tie it around a stump or rock, but the ideal scenario is to pass a bit of extra rope through the tensioner and loop it. This allows you to put a stake through the loop and into the ground. Take the wind into consideration here. The point of guylines is to secure against wind, so you’ll want to tie one guyline on either side of the tent. No need to set the guylines if there’s no wind in the forecast.
Unfold your lawn chair and crack a cold one. The hard work is done. Toss your sleeping bag, ground pad, and any other overnight belongings into the tent, zip the door, and head back to the campfire. It’s time to revel in your outdoorsmanship.
Making your tent comfortable

Photo: Dmitriy Kozhanov/Shutterstock
The best way to sleep in comfort inside your tent is to have a ground pad underneath your sleeping bag. This inflatable pad will act as a body-sized pillow of sorts (though you’ll still want a pillow for your head) that gives you a level sleeping field free of debris that may poke you should you rollover. Also, a groundpad can help keep you warm in instances where coldness is seeping up from the ground itself. You can go anywhere from super cheap and simple, such as the Therm-a-Rest Ridge Rest pad, or opt for a more expensive, elevated platform like the Therm-a-Rest UltraLight Cot.
Camping pillows such as REI’s Trailbreak work well for your head, though they take up pack space and might not be ideal for backpacking. Some opt for a tarp to place underneath all of this, along the floor of the tent, to double-up on padding. ![]()