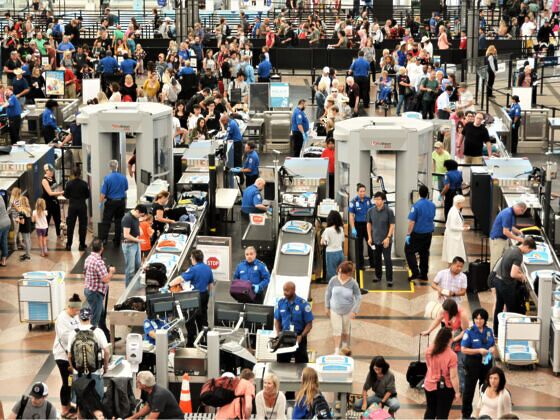
Thanks to recent upgrades in the past few years, standing in line to go through airport security in the US isn’t as much of a gamble as it was a few years ago. With services like TSA PreCheck, travelers can use security lines that require a bit less undressing and unpacking, and there’s even a Transportation Security Administration (TSA) App that can show you how long the TSA wait times are in real-time, effectively helping you plan whether you really need to arrive to the airport two hours early.

9 Tips to Get Through Airport Security Faster Than Everyone Else, Straight From Frequent Fliers
But helpful apps and services aside, facing long TSA wait times is still frustrating and annoying. And at some airports (looking at you, Denver and LAX), the lines always seem to be long, regardless of when you arrive.
So we asked a variety of frequent travelers and travel experts for tips on how to cut down on the TSA wait times and get to the gate faster than everyone else — and no, “get TSA PreCheck” isn’t one of them (although you really should). If we all try to follow a few of these suggestions, we can contribute to the greater good — and that greater good is getting everyone through TSA with time to grab an airport beer before takeoff.
1. Use airline phone apps, not paper tickets (especially with families)
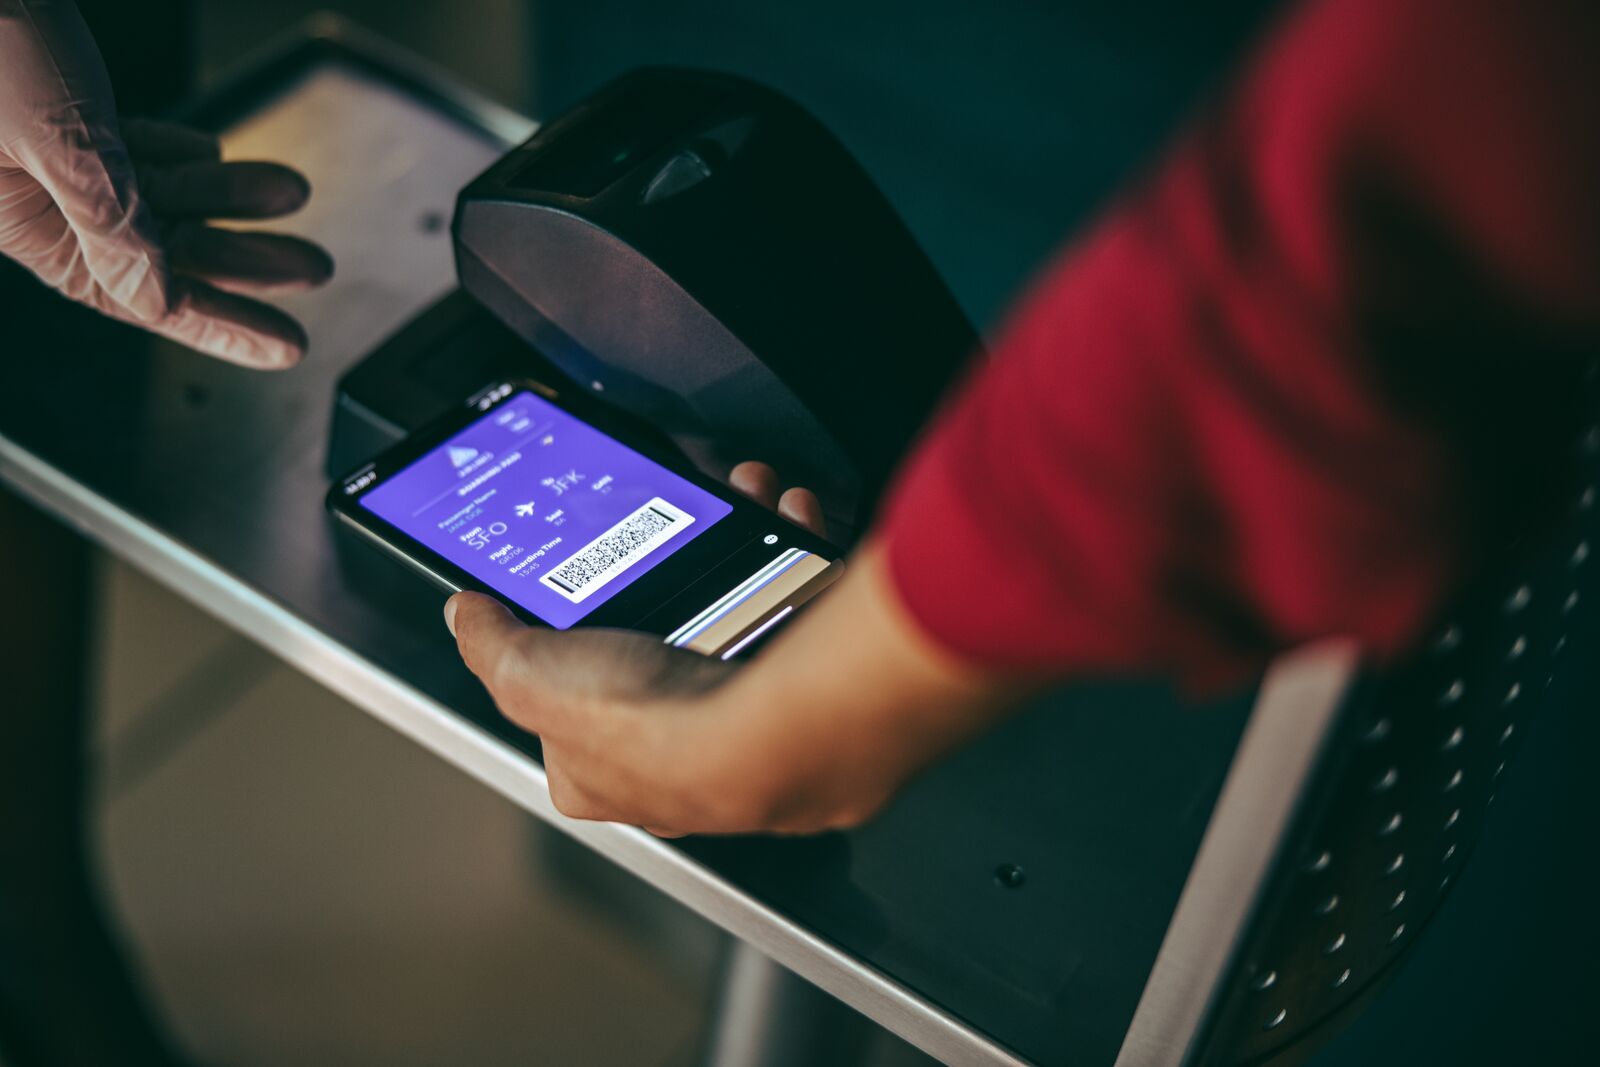
Photo: Jacob Lund/Shutterstock
Crystal Romo is a flight attendant with American Airlines. While she has an employee security entrance she normally uses, she’s occasionally sent through the regular TSA line and subject to random security checks. The one thing she’s noticed that slows down lines are families using paper tickets for each person.
“Every day, I see passengers fumble or fly with different levels of preparedness. My best advice is a simple one: download the app of the airline you are flying with so that you can easily pull up your boarding information. I see so many families scrambling while trying to provide the correct physical boarding passes. Airline apps provide multiple scannable boarding passes and you can have all of them on one phone, as well as the most updated flight and gate information, so it takes the thinking out of it. It might not seem like a huge time-saver, but imagine if every passenger was using the digitized process. Think of the collective hours that would be saved.”
2. Don’t stay in a long line
“Once you pass the TSA agent [who checks your ID], look for nearby shorter and faster-moving lines,” says Will Pattiz, co-founder and videographer for More Than Just Parks. “There’s no official rule that says you have to stay in the lane you’re in once you’re past the TSA ID checkpoint. I even count the number of people in each one to best make my decision.”
3. When in doubt, take it off
Even if you’re 90 percent sure your jewelry or shoes won’t set off the scanners (in the pre-check line or otherwise), just take ’em off. “For PreCheck and non-PreCheck members, ensure nothing is in your pockets when going through the scanner and take off anything in the past that may have triggered an alert such as a watch or necklace,” says Phil Dengler of TheVacationer.com. And it should go without saying that you should remove items like your belt, earrings, and contents of your pockets while waiting in line, not while you’re standing in front of the scanner and delaying everyone else.
4. Pull out any remotely questionable liquids
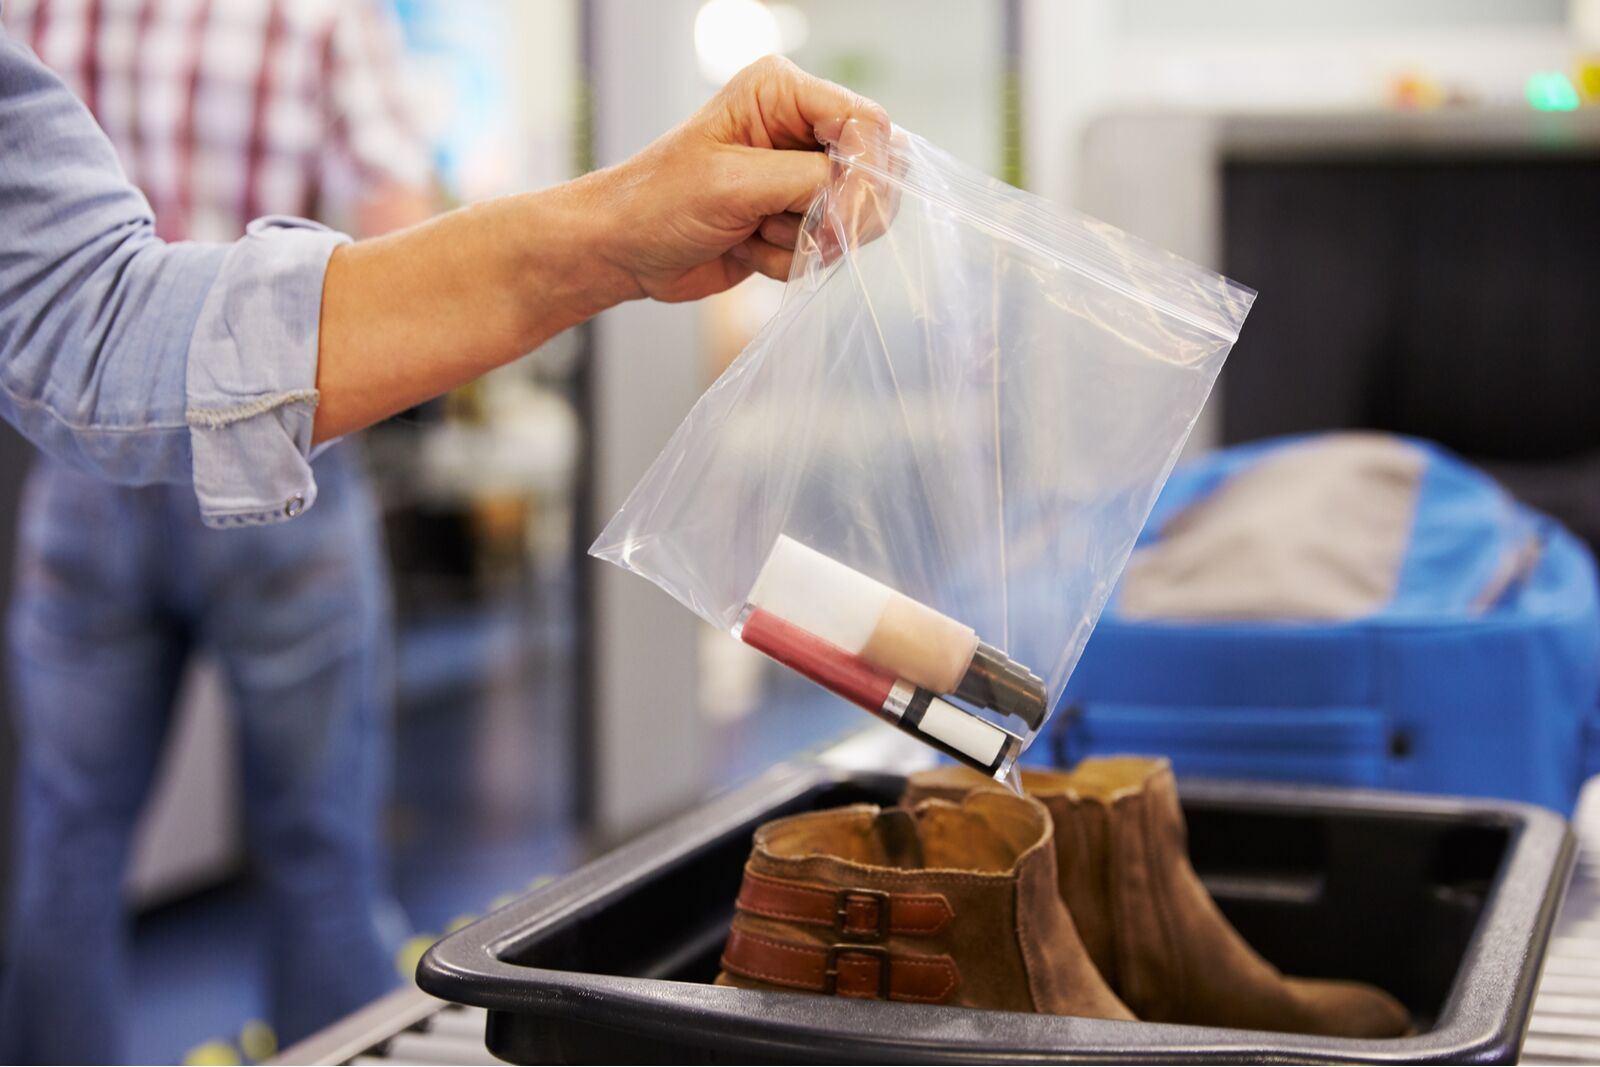
Photo: Monkey Business ImagesShutterstock
Nicole Hunter, travel blogger and founder of Go Far Grow Close, says that if your small liquids look remotely close to the 3.4 oz limit, you should expect TSA to pull them out — so save them the trouble. “Pull out any liquid, lotion, or aerosol cans that look close to 100 ml or 3.4 oz (the maximum amount allowed in your hand luggage) and place them in a separate clear plastic bag at the top of your bag. The security staff will want to confirm that they are all compliant.”
5. Stop using the plastic bins
This tip is simple: “don’t bother with any bins or containers unless required,” says Brendan King, who takes at least 100 flights a year in his role as a live entertainment consultant. If you have pre-check, you probably don’t need to use a bin at all — just put your bag directly on the conveyer belt. You can also put everything you removed from your pockets in your bag; there’s no need to put small coins or phones in their own bin. You can even put your jacket directly on the belt (usually), but be sure to put it in front of your heavier bag to ensure it gets pushed through the flaps of the scanner. If you have to take off your shoes you can also skip the bin. As per the TSA website, “All removed footwear should be placed soles down on the x-ray conveyor belt or in a bin with nothing in, on, or under the footwear.”
Elijah Burton, FedEx Pilot and former Alaska Airlines pilot, offers another tip for skipping the bins: wear a jacket with tons of pockets. “When taking off [items that may set off alarms], stuff them in the pockets before removing your jacket. This will make retrieving your items at the other side of TSA a breeze. You’ll have all your items on you and won’t be that one person holding up the line grabbing all your trinkets and loose items from the bin.”
6. Put your shoes through first
Not an ideal footwear choice. Photo: Daniskim/Shutterstock
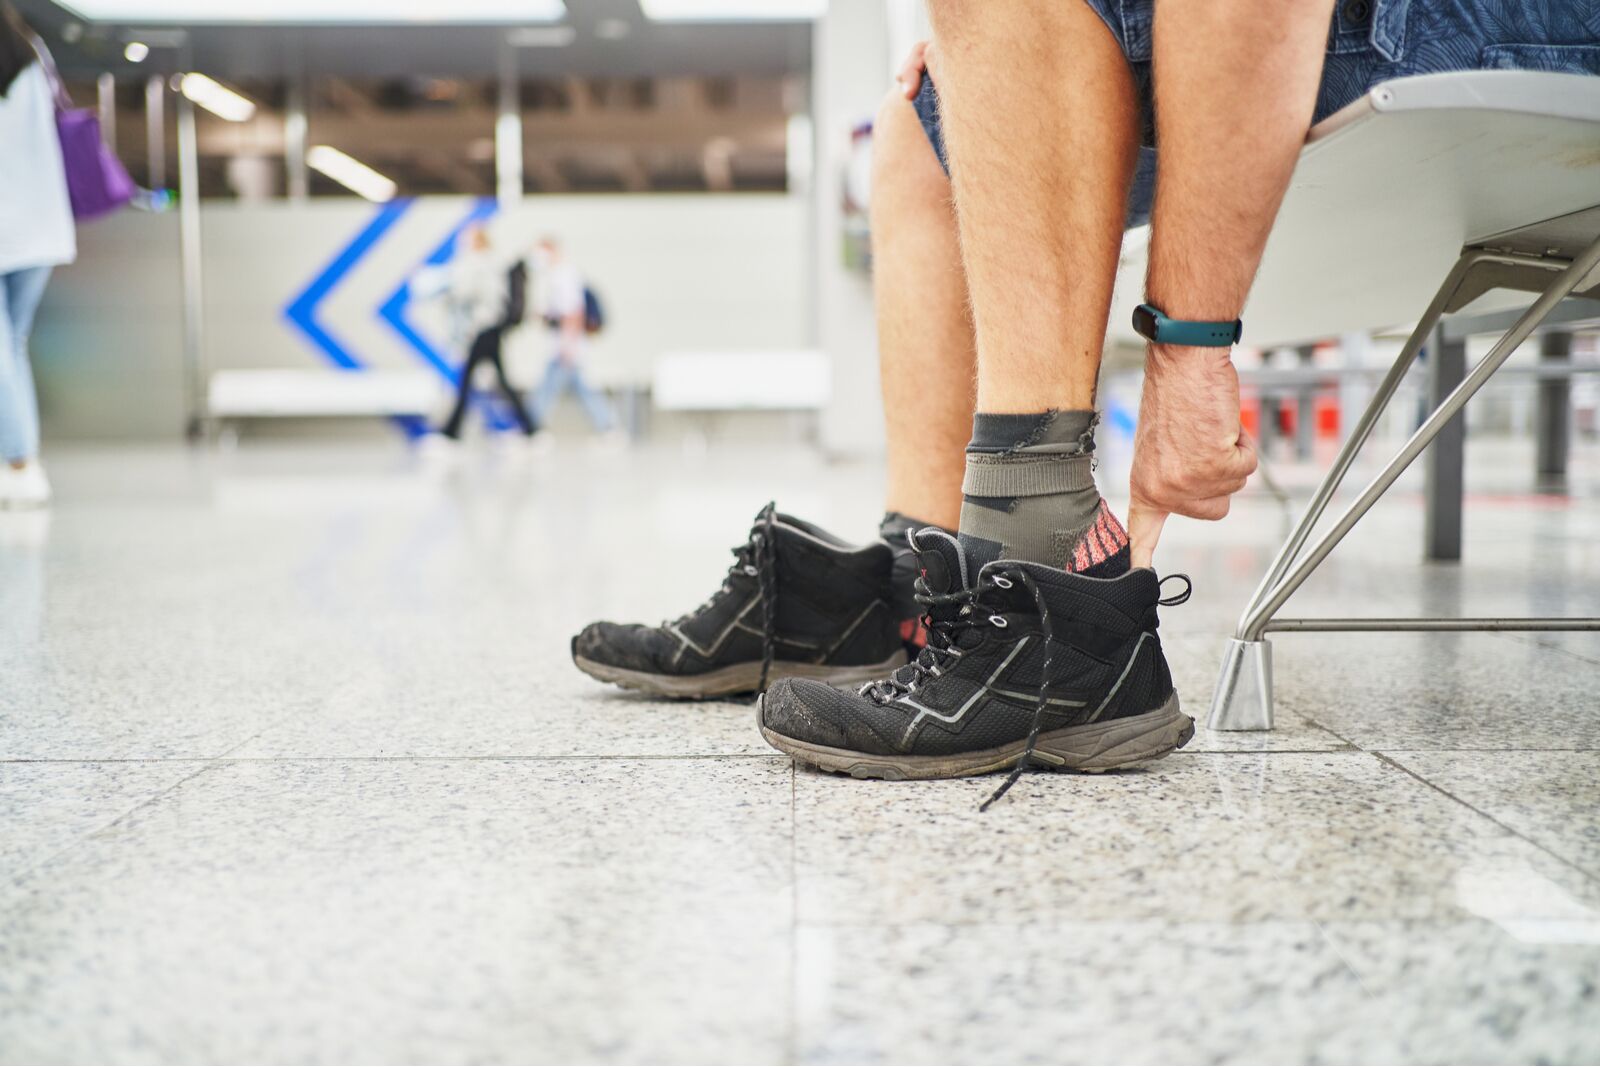
If you have to remove your shoes, putting them through the security scanner has an extra benefit beyond just ensuring they don’t get stuck: it helps you get to your gate faster. “If you are traveling without TSA PreCheck, always put your shoes in a bin on the conveyor first. Since they will come out first, you can put your shoes back on and grab your small bag while you wait for your larger bag to come through the screening machine. This way when your larger bag arrives you’re ready to just grab it and go,” says Christy Clifton, a consultant and owner of FlipFlopsAbroad.com. Oh, and it should go without saying, but don’t wear shoes you have to lace up or otherwise tie.
7. Pack your small tech together in one smaller bag
I travel for work, and pack my computer and quite a few tech accessories,” says Kate McCulley, Travel Publisher at NewHampshireWay.com. “At certain airports, my bag gets pulled aside because of the volume of electronics in it. And because most airports don’t tell you to remove anything beyond your computer, many people get caught waiting for their bag to go through multiple times. To prevent this, I’ve started packing all my electronics, cords, and hard drives into a packing cube and removing it from my bag when going through security. I haven’t had to send it through a second time since, even at Heathrow, the airport that usually gives me the hardest time.”
8. Don’t overpack camera gear
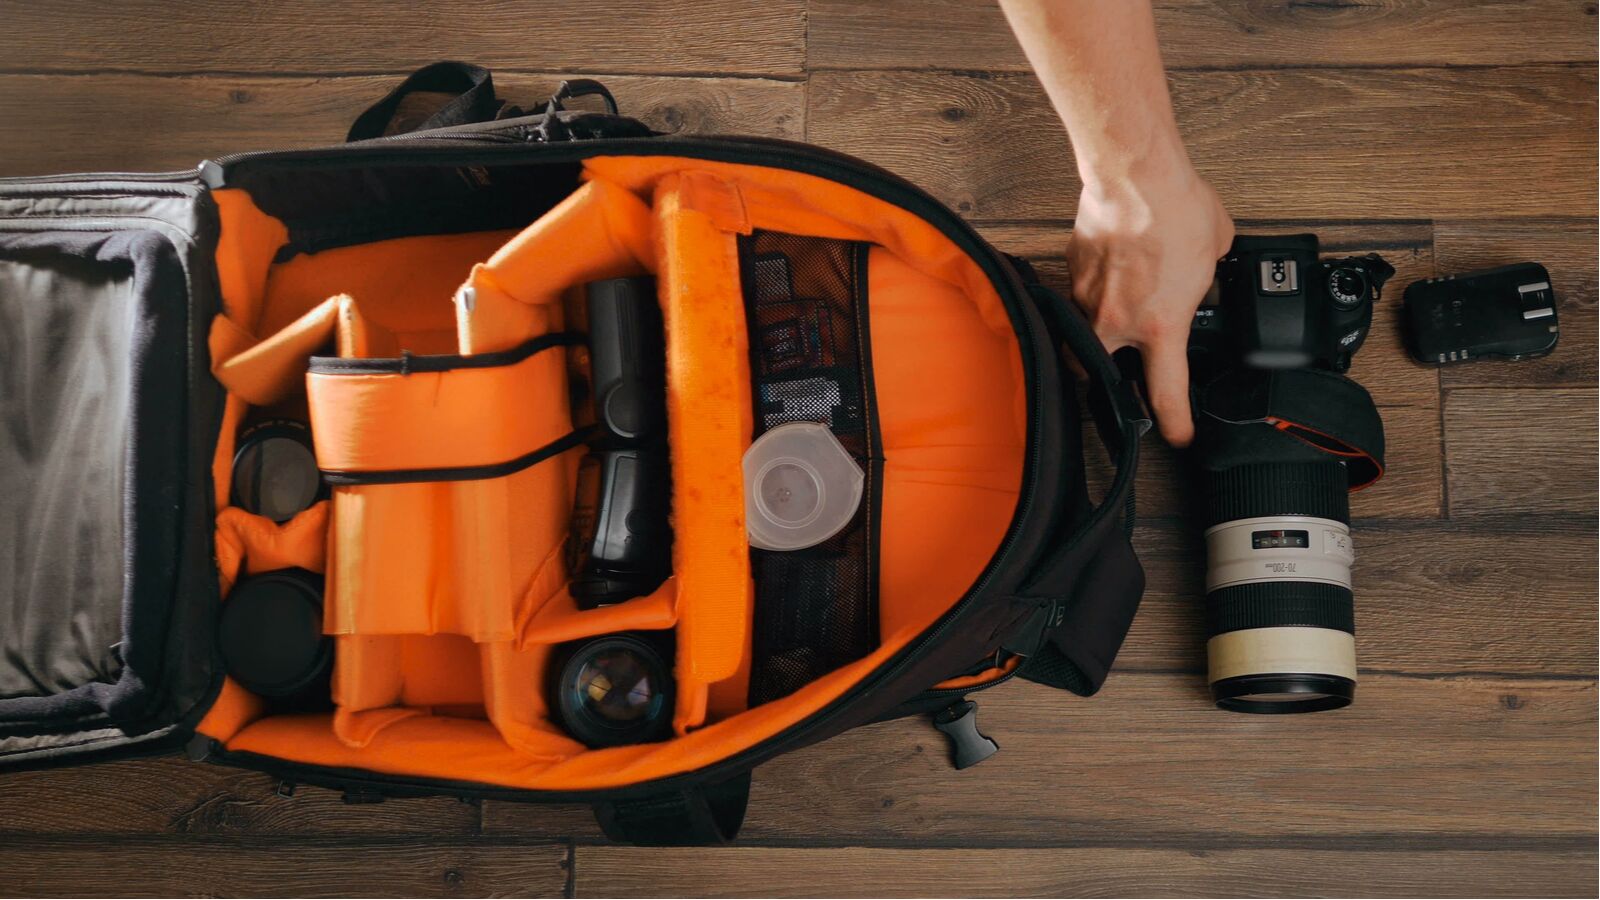
Don’t overpack or layer your camera gear, even if it’s technically allowed. Photo: ElevenStudio/Shutterstock
According to Lauren Breedlove, freelance travel photographer and writer, just because your camera gear fits in your bag doesn’t mean it won’t get stopped — TSA usually doesn’t like electronics stacked atop one another. “Even though I have a lot of camera gear, I try to only bring the necessities and avoid stacking or cramming too much in my carry-on camera bag. If it’s too jam-packed, I’ve found it usually has to go through again or be opened up and looked through. Having your lenses detached from your camera body can sometimes make the process easier as well. ”
9. Check a bag
Checking a bag can be a pain point if your bag comes out last at the baggage carousel, but the trade-off is that it saves you time with TSA. It’s a lot quicker for a TSA agent to scan a small bag with just a tablet, sweater, and cell phone than it is an overstuffed bag with multiple layers of clothing, shoes, and accessories. And if you have any kind of airline status or airline credit card, check the fine print on benefits. You may find that your checked luggage gets marked as “priority,” which generally means it arrives in the luggage carousels before everyone else’s bags.