Photo: Tourism Whistler/Justa Jeskova

8 Hikes in Whistler, BC, for the Best Mountain Views in Canada

British Columbia Whistler Hiking
by Suzie Dundas Jul 2, 2023

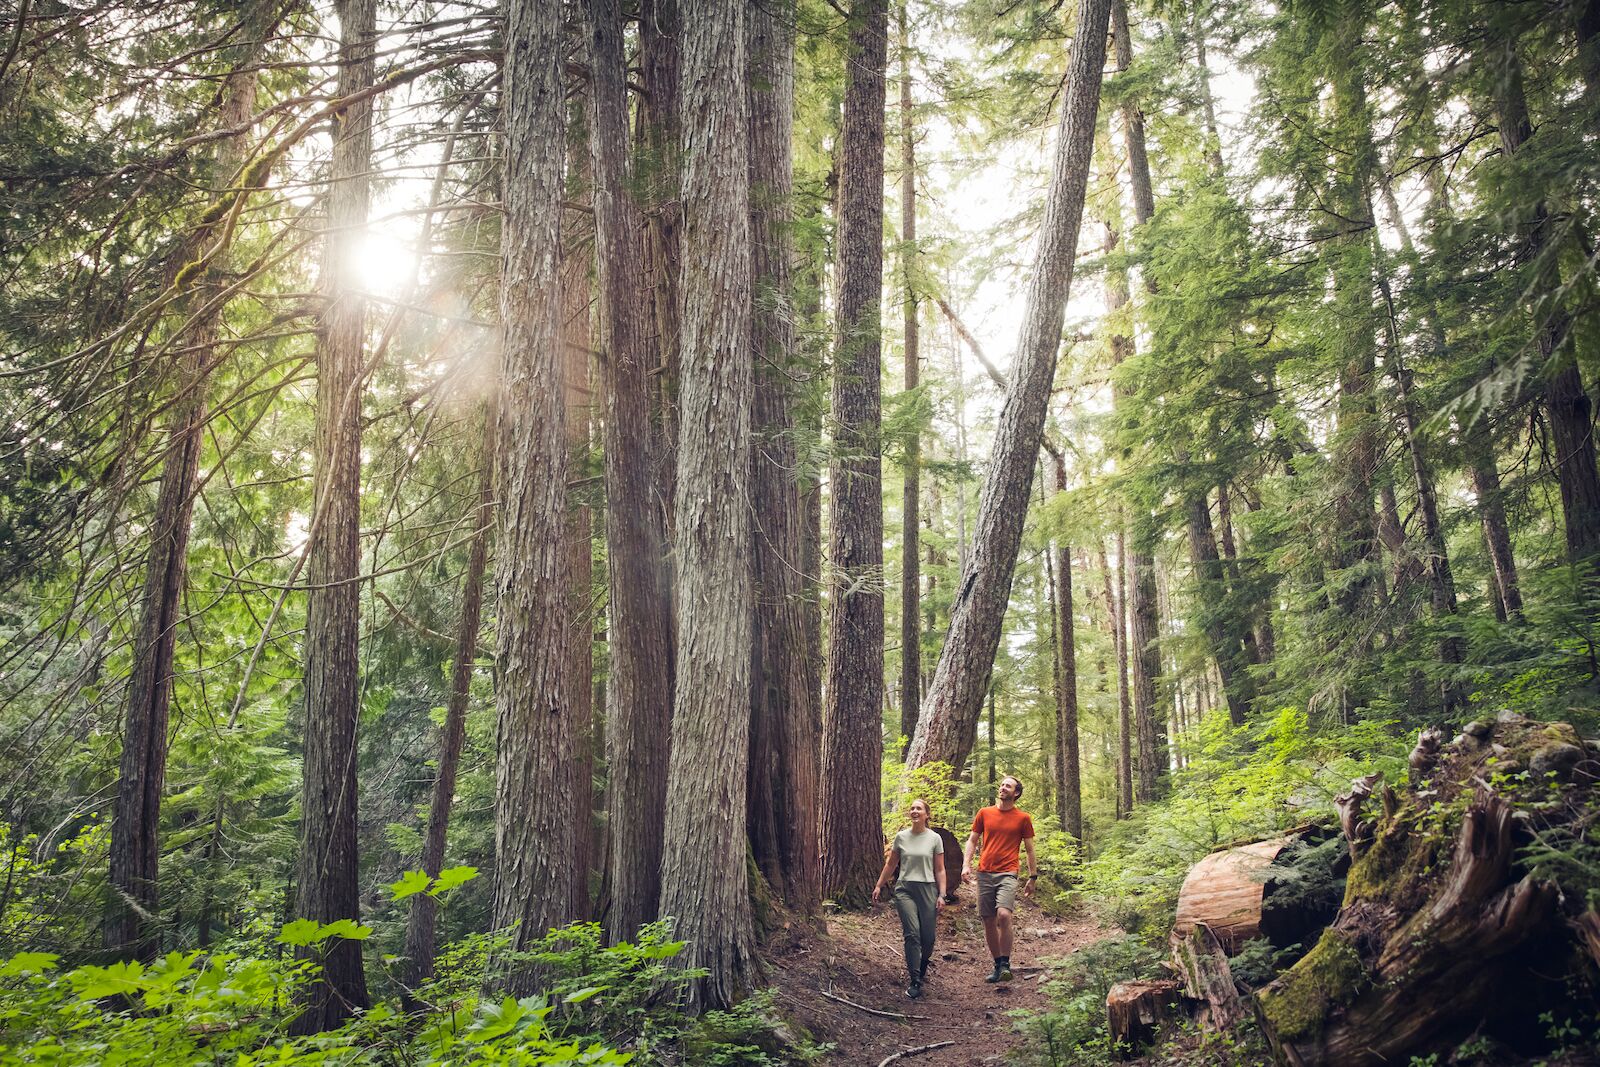
Whistler, BC, may be known for world-class skiing — but it’s just as well-known among hiking (and mountain biking) communities for offering some of the best summer and fall trails in all of Canada.

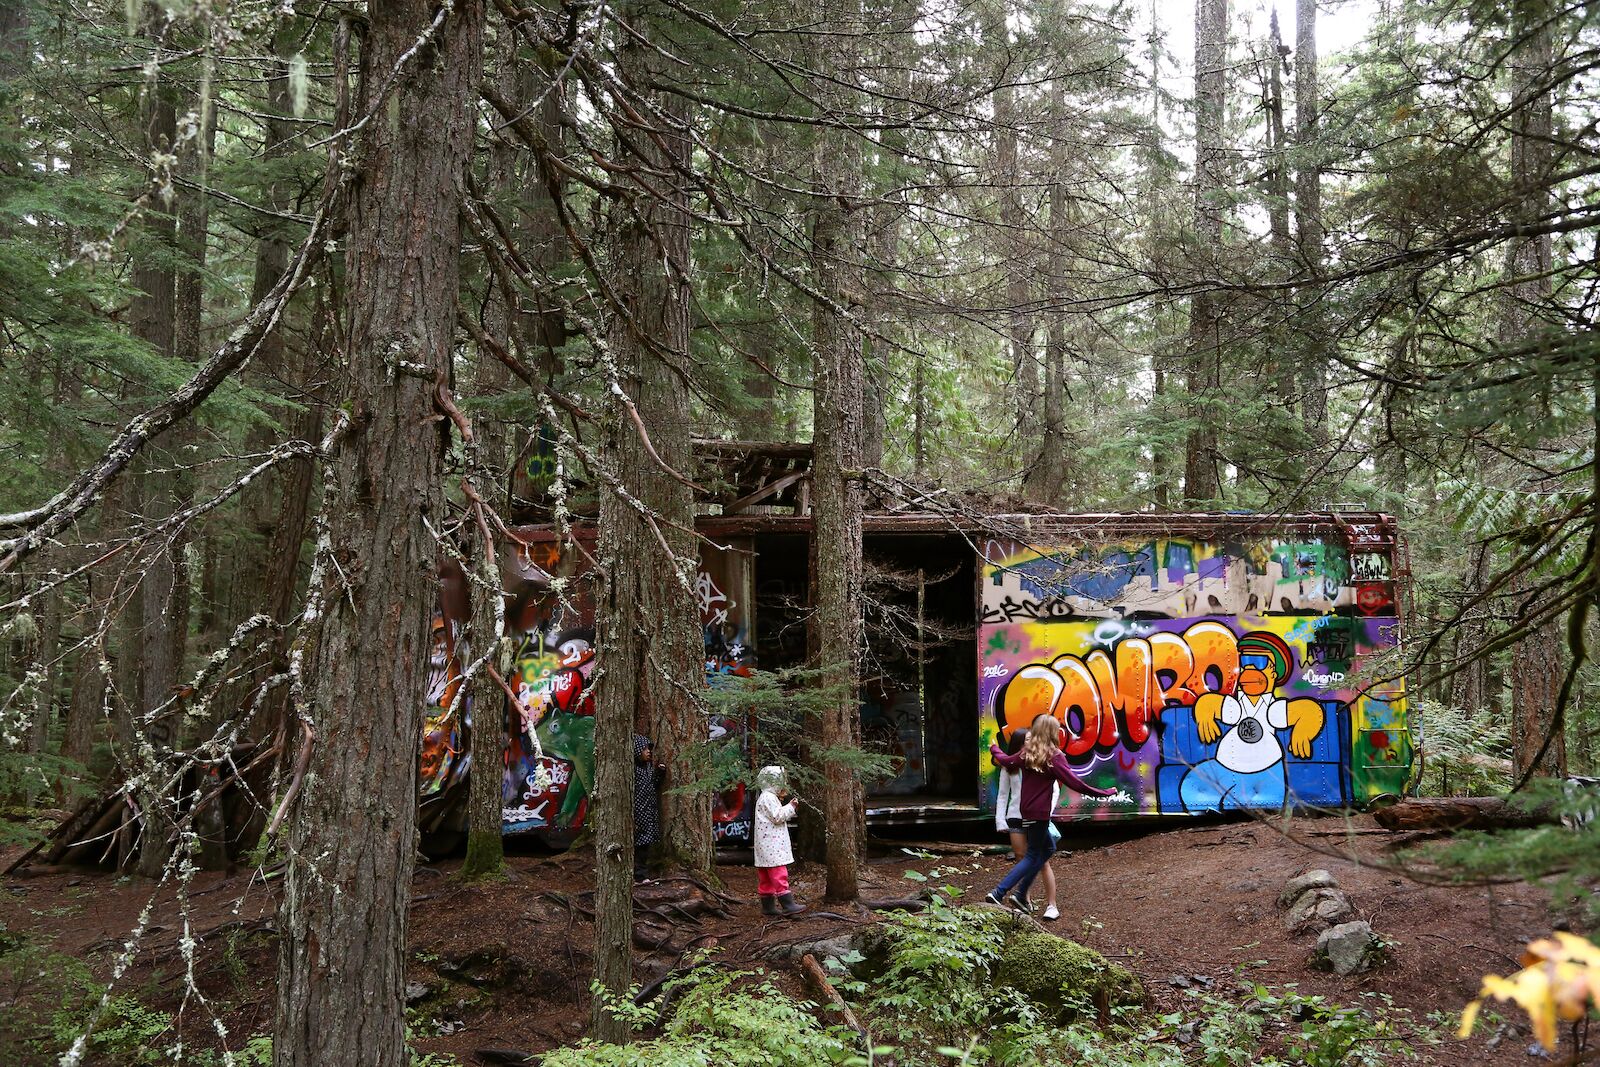
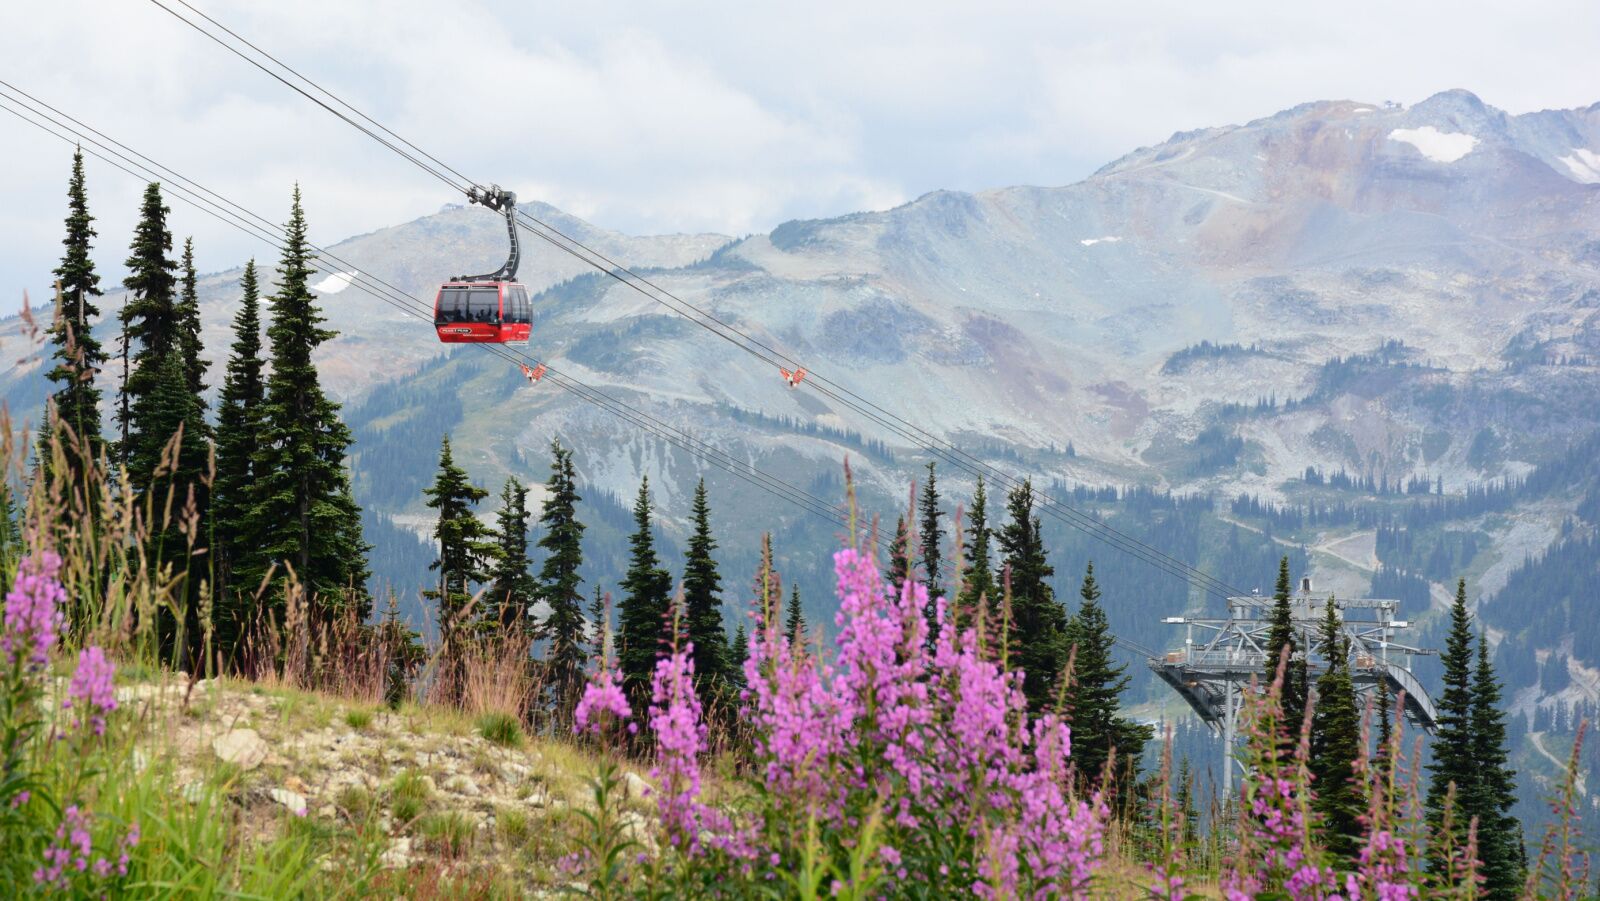
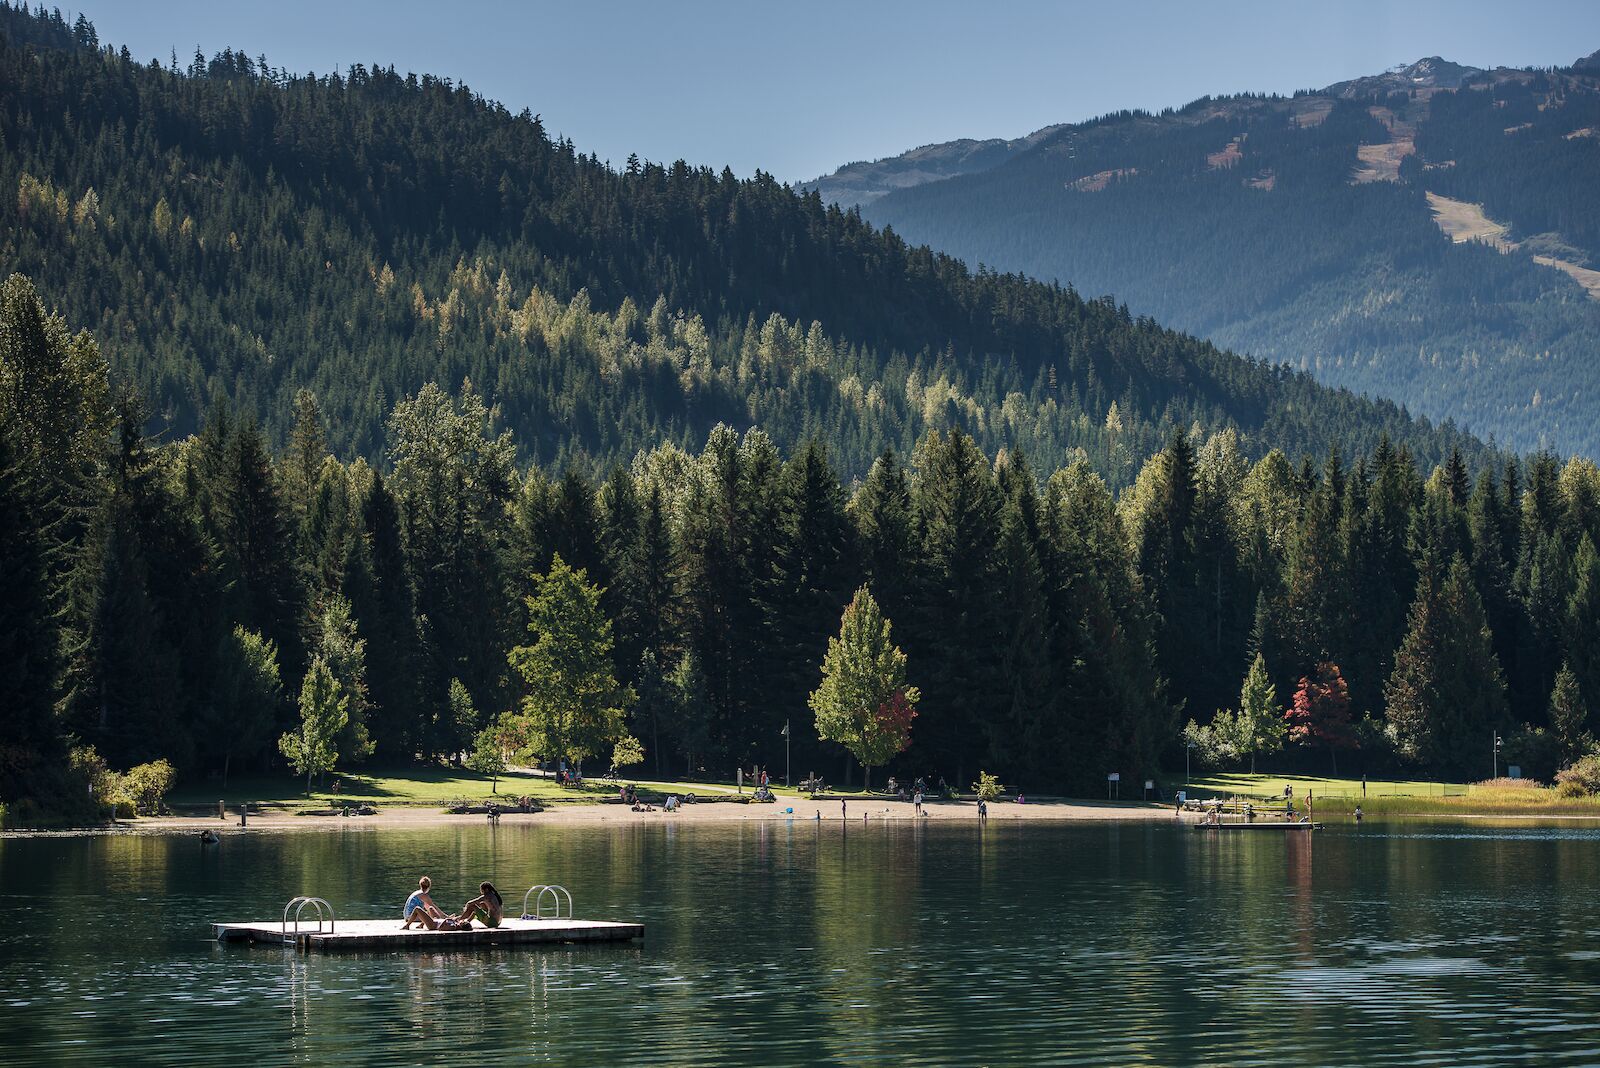
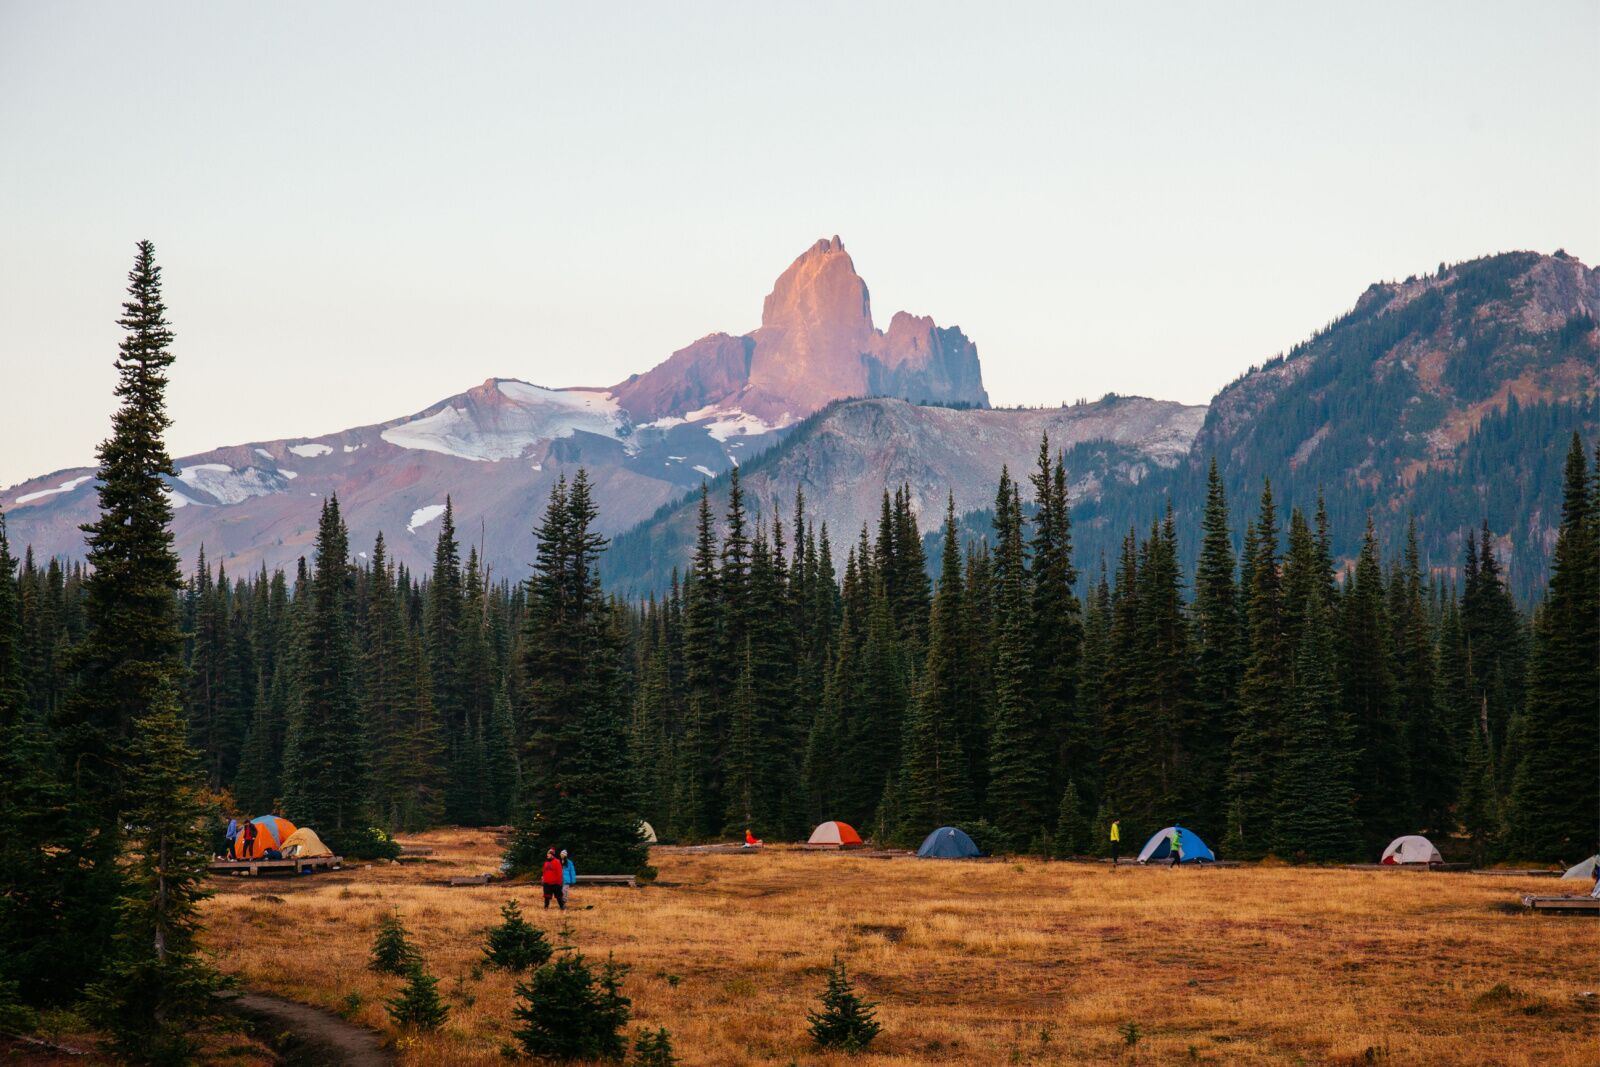
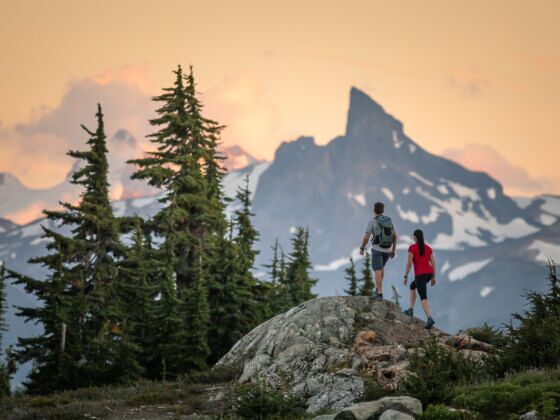
Whistler is roughly two hours north of Vancouver. In the winter, most of the action takes place around the sprawling Whistler Village, but come summer, there are hundreds of miles of fire roads, mountain trails, and backcountry routes that open a world of access to fantastic Whistler hikes. Hikes in Whistler switchback across towering mountains to views of sprawling glacier fields, lead to bright blue alpine likes, and pass through lush, old-growth forests that look like an Ewok village. Add in the fact that the Whistler Village has dozens and dozens of places to sleep, eat, drink — plus more than a few amazing summer and fall festivals — and you can understand why so many people flock to the mountain trails.

Fortunately, because there are so many trails to choose from, so much space, and hundreds of mountain bike-specific trails that keep hikers and bikers (mostly) separated, it never really feels crowded. Sure, you may have a 15-minute wait for dinner in the village, but there’s no “waiting in line at Disney World” type of feeling when you’re hiking. Once you’re beyond the trailhead, you’ll definitely see other people, but it’s not like being in Yosemite National Park.

These are the 8 best hikes in Whistler, from a beginner stroll to a graffiti-covered train car to a massive one-day hike to one of the Sea-to-Sky Highway’s most famous peaks.

Whistler hikes trailhead map


The trailheads for all eight hikes are detailed on the map above. Remember, though, that many hikes have multiple routes and starting points, so these aren’t the only places you can begin most of these hikes. Be sure to research details like the road conditions to reach the trailhead, whether the trails are melted, permits and parking passes, and any wildlife of trail warnings before starting your hike.

Train Wreck Hike

  • Distance: 1.4 miles
  • Elevation gain: 150 feet
  • Trail type: Out and back

If you love quirky sites and local secrets, head to the relatively easy Train Wreck Hike. The train wreck is a collection of a few railway boxcars scattered along the Cheakamus River. It’s like a mix of a public art gallery, a bike playground, and a horror movie, combined into one super-cool hiking destination. It’s a cool spot for photos and a favored spot among graffiti artists. There’s a bridge near the train that connects it to the Sea-to-Sky Trail, so you can make it into a longer hike if 1.4 miles seems a little too short.

Ancient Cedars Trail

whistler hiking ancient cedars trail

Photo: Tourism Whistler/Justa Jeskova

  • Distance: 2.7 miles
  • Elevation gain: 980 feet
  • Trail type: Out and Back

You shouldn’t be surprised about the sights along the Ancient Cedars Trail: they’re cedar trees, and they’re ancient. The trail starts after about a 25-minute drive down a very bumpy forest service road, so make sure you have a high-rise vehicle with good tires.

The hike itself is considered fairly moderate; while it does have steep sections, the hike isn’t very long, distance-wise. It’s about one mile to the grove, which has a small lollypop loop. Some of the trees here are 800-900 years old and have never been logged, making it one of the best examples of an old-growth cedar forest along the Sea-to-Sky Highway. In the fall, this is a popular place for foraging, given the variety of mushrooms that grow in the area. Expect it to be buggy in the summer; sunscreen is recommended. Also note that the road to the trailhead isn’t plowed in the winter.

Parkhurst Ghost Town Loop


View this post on Instagram


A post shared by Thomas Gaffney (@thomasgaffney)

  • Distance: 4.7 miles
  • Elevation gain: 790 feet
  • Trail type: Loop

The shore of Green Lake was once home to the town of Parkhurst, a former logging town. While the forest is quickly reclaiming the site, it wasn’t too long ago the town was active; it was abandoned in 1956. It’s one of the best Whistler hikes if you like abandoned places and history, or if you like not having many people around. It isn’t uncommon to have the trail mostly to yourself (so be sure to be bear aware).

While the Parkhurst hike itself isn’t very challenging, it’s not well-marked, so make sure you have a map to help you find the trailhead and the route itself. It can be very overgrown and buggy in summer. At the former townsite, there are several old pieces of construction equipment, an old car, a still-standing cabin, old train tracks, and a pretty waterfall. There are several different routes to reach the town, so be sure you’re following the correct directions while trying to find your way.

The Blackcomb Ascent Trails

whistler hikes blackcomb gondola

Photo: Jing Zhong/Shutterstock

  • Distance: 4.2 miles
  • Elevation gain: 3,770 feet
  • Trail type: Point to point (if you take the gondola down)

The Ascent Trails start at the base of Blackcomb Mountain and deliver you to the top of the Blackcomb Gondola after some serious sweat equity. It’s for hikers who want to feel the burn in their legs almost immediately, and don’t mind if it continues for the next three hours. The trail is broken into three sections (Little Burn, Big Burn, and Heart Burn), so there are options to do parts of the trail without committing to the whole hike.

However, the reward if you finish beautiful views of all of Whistler Resort at the top (plus a beer and a snack, if you take advantage of the Rendezvous Lodge at the top). The trail on the way up is also quite lovely, especially if you like lush forests with moss-covered trees. This is a good hike if you’re keen to see black bears. If you are lucky enough to see one, just consider it a special sighting, and make a little noise if you feel the bear is getting too close. Black bears are general pretty docile and will almost always run away when they see you.

If you have a sightseeing lift ticket or ski pass for the following winter, you can ride the gondola back down the mountain. You also buy a $15 download pass at the bottom — but not at the top. So if you want to ride the gondola down, plan in advance.

Due to wildlife, no dogs are allowed on hikes at Whistler Blackcomb (except service dogs).

Lost Lake Loop

whistler hikes - easy lost lake loop

Photo: Destination BC/Blake Jorgenson/Shutterstock

  • Distance: 4 miles
  • Elevation gain: 670 feet
  • Trail type: Loop

Just a short walk from the Whistler Village is Lost Lake, with a relatively flat nature walk that hugs the lake’s shoreline. If you go clockwise, you’ll end near the main grassy beach area, where you’ll find people lounging in the sun and swimming in the lake (or relaxing on a few floating docks). Dogs are welcome, and there are restrooms near Lost Lake Park beach and the PassivHaus trailhead. There’s also a popular mountain biking trail system around the lake with relatively easy trails, making this one of the best Whistler hikes if some in your group want to hike while others give mountain biking a try.

You can make this loop as long or short as you’d like, either by starting closer to the beach or doing an out-and-back instead of a full loop.

The Brandywine Trail

brandywine trail whistler hikes

Photo: ppa/Shutterstock

  • Distance: 3.6 miles
  • Elevation gain: 500 feet
  • Trail type: Out and back

The Brandywine Trail is a great bang-for-your-buck option in Whistler, with a relatively easy route that passes a gorgeous waterfall before leading to a stunning viewpoint looking out on the mountains. It starts through a peaceful forested area and reaches the falls viewpoint in less than half a mile. This is a good turn-around spot for little kids or anyone with limited mobility. But if you keep going, you’ll meander past several lakes before arriving at a viewpoint (and bungee bridge) over the Cheakamus River.

This is one of the  more popular Whistler hikes, so parking can get a bit tricky midday on the weekends. Dogs are allowed on leashes, parking is free, and there are restrooms at the trailhead.

Iceberg Lake (via 19-Mile Creek)

  • Distance: 12.1 miles
  • Elevation gain: 3,300 feet
  • Trail type: Out and back

One of the best Whistler hikes for smack in the middle of summer is the challenging hike to Iceberg Lake (and yes, it usually has some floating icebergs). It’s a tough hike, with a consistently steady elevation gain. The route starts through a forested area, crossing several bridges over 19 Mile Creek and passing several waterfalls. From there, it opens to a section of hiking through meadows, usually populated by beautiful wildflowers. Then, it’s a steep few miles of hiking up a rocky ridgeline before reaching Iceberg Lake.

Fortunately, the lake is just as pretty as the name would imply, bearing that bright blue color of alpine lakes usually associated with Lake Louise and Moraine Lake. It’s usually still partially frozen in the summer, and between the difficulty of the hike and the rock piles around the shoreline, you can always find a spot to chill out and have lunch without feeling crowded.

Iceberg Lake is one of a few areas in Whistler with a known grizzly population, so pay attention to trail closures and warnings, and make sure you’re bear aware. You should make noise while hiking (especially around tight sections of trail), be able to identify a black bear vs. a grizzly bear, and know how to react if either gets too close. Bears don’t want to hurt you, and it’s unfair and harmful to treat them like an enemy — they live there, too. So just know how to be a safe visitor to bear country, and you’ll have a great time.

Black Tusk Trail

blask tusk at sunset with campers

Photo: Bronwyn Davies/Shutterstock

  • Distance: 16.1 miles
  • Elevation gain: 5,780 feet
  • Trail type: Out and back

Reaching the base of Black Tusk is one of the hardest Whistler hikes, and while it can be done in a single day, most people find it better suited to an overnight trip. You’ll need a day use pass if you want to park at the trailhead, which you should buy two days in advance online. You can start from a few different places, but the most popular is probably the Rubble Creek Trailhead, though Cheakamus Lake is also a good starting point if you’re doing it as an overnight.

The hike is in Garibaldi Provincial park and starts near Whistler, but takes travelers deep into the backcountry. Expect backcountry and potentially snowy conditions year-round, as well as some scrambles and risky sections of exposure. Don’t begin the hike unless you’re confident you can finish — it’s one of the more challenging Whistler hikes you’ll find. However, if you are an experienced hiker with the skills to do it, you’ll find it worth the effort. There’s not much you won’t find along the route when it comes to views, from lush forest to wildflower fields to dramatic cliff lines and ridgeline singletrack that affords views of the many glaciers of the Sea-to-Sky region.

Discover Matador