Photo: Maxim Petrichuk/Shutterstock

How to Cross a Backcountry River

Hiking
by Anna Jedrzejczyk Jul 30, 2012
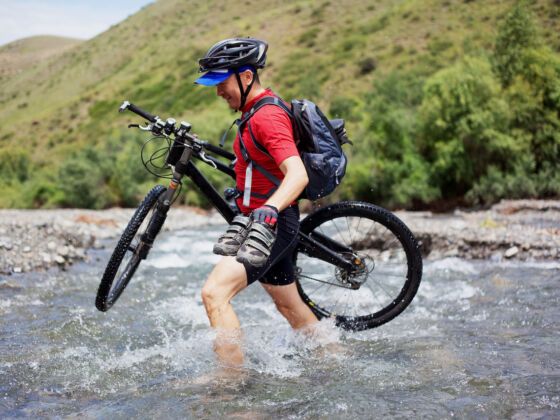
Tips for successfully crossing backcountry rivers on foot, alone, or in a group.
Before you cross

Think about weather conditions. If it’s rained during the past few days, the water level may be higher than usual, and it may be a good idea to wait for it to drop before you cross.

Otherwise, it starts with scouting. Crossing a river takes time, and searching for a good place to ford will make things immensely easier…and could save your life.

The ideal place to cross a river is shallow, wide, and with good visibility both up- and downstream. Look for the widest part of the river, which is likely to be the most shallow.

Both the entry to the river (where you’re standing now) and the point of exit should be clear, with no tree branches overhead and no high river banks to climb up. There should also be no overhanging branches downstream from your crossing spot — these are especially dangerous if you’re carrying a big backpack as they can, in the event of a fall, push you underwater.

To measure the depth of the water, use a hiking pole or tree branch. Don’t test with your feet, as the current can sweep you away. After you’ve found a good place to cross, look at the footing and choose the path with the least amount of big, uneven rocks.

When you’re ready

Undo any backpack straps, including the hip belt — this will give you a way to get the pack off quickly if you are to fall into the river.

It’s better to cross all major rivers with boots on (yes, your feet will get wet and probably feel like icicles for the next 15 minutes) because sharp, jagged rocks can cut your feet (and the last thing you want on a backpacking trip is not to be able to walk) — or, worst-case scenario, you can slip, fall, and twist / break your ankle.

Face upstream when you cross, carefully finding your footing with each step and using a hiking pole / branch for support.

Solo crossings aren’t advised, as there’s no one to spot you or save you if you fall. The advantages of crossing a river in a group are that, as you cross, one or two of your friends can be standing downstream with their hiking poles out (or large branches of some sort) ready to give you a hand if you do fall in.

For small / slow rivers: Cross in a pair, holding hands by grasping the wrist of the other person in a locking position. Any remaining people should act as spotters and stand downstream with their hiking poles out.

For large / swift-flowing rivers: These should only be crossed in a group using the ‘eddy method’ that’s taught by the National Outdoor Leadership School.

The strongest or tallest group members are placed in the front and back of a line, with the front person leaning on their hiking pole with both hands for support. Each person behind the leader puts their hands on the backpack of the person in front of them.

The whole line should move in unison, so that while yelling “Step!” everyone in line takes a step at the same time. The line should face upstream so the people in the middle are shielded form the current.

Worst-case scenario

You fall into the river. First and foremost, remove your backpack; it will only drag you down.

Don’t stand. To reach the shore, it’s much better to swim. If the river is very fast, or if you’re caught in rapids, get into a position where you’re floating on your back with your knees bent while keeping your feet high so they don’t get caught between rocks.

Discover Matador