For the upper half of the world, it’s summer, and that means basking in the sunshine at pristine beaches, or seeking solace from the heat in the sparkling ocean. We often take a camera along, whether a proper, professional one or just our smartphones, in order to capture the perfect beach snap that’ll have everyone jealous on Instagram. But if you’re just clicking the shutter without a second’s thought, it’s no wonder why your basic pictures haven’t cracked the double digits on “likes.” Step up your photo game this summer by following these 13 tips from a professional photographer on how to make those ocean snapshots more powerful — while having fun, and getting a little wet in the process. ![]()
Straight horizon
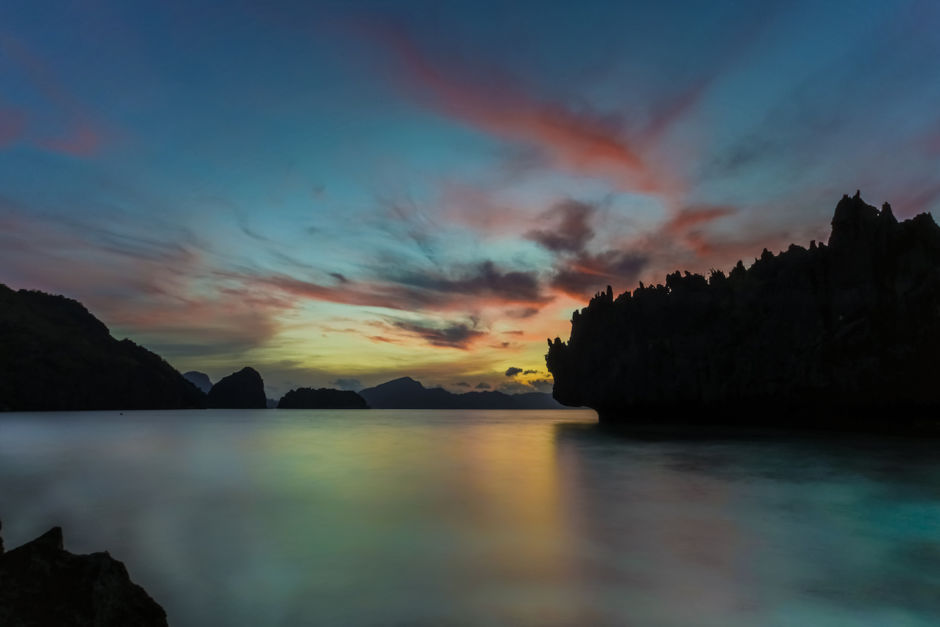
Always, always straighten that horizon. A tilty ocean photo makes your viewer feel wonky and is the first amateur red flag. If there is no horizon, you’ll have to eyeball it for a sense of feeling upright. This scene in the Philippines was a bit tricky to get perfectly straight with so many craggy cliffs dotting the horizon, but I focused on the little bit of horizon showing, and eyeballed the cliffs for when they felt straight up in the frame. You can correct the horizon after the fact, but you might end up cropping out something important; it’s way better to do it from the get-go. Chances are your phone and camera have a “grid” overlay to help with this, and composing in general.

Avoid high noon
Harsh sunset casts a bright white reflection on the ocean and typically dulls the true color. High noon or the brightest daytime hours also make it pretty much impossible to take a long exposure (more to come on that). Yet another side effect of high noon is parts of the scene will be very, very bright, and any shadows will be extremely dark, and your camera will struggle to balance that. So instead, sunbathe and nap during the bright daytime and take photos either in soft morning light or the approaching sunset. Even if not true sunset, light will soften as the sun goes behind the horizon.
Keep the sun to your back
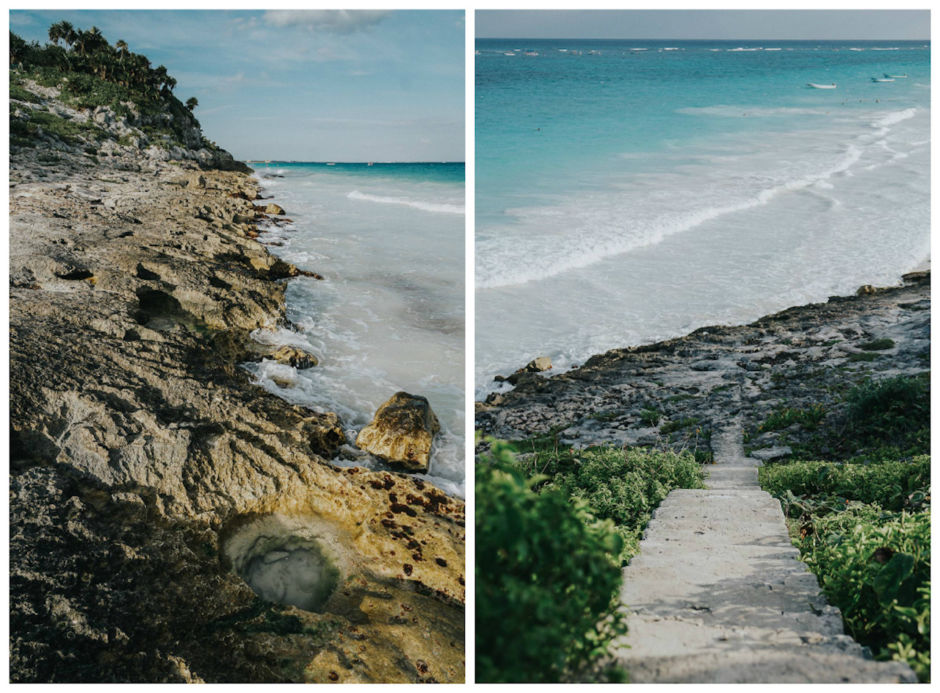
Put the sun at your back and photograph the elements the sun is lighting up. This is not the only way to photograph a scene, but it is the easiest way to balance the light and avoid harsh shadows for beginners. At sunset or sunrise, the scene you’re facing may glow orange. At high noon, it will at least be well lit - just avoid including your own shadow. Shooting into the sun is a more advanced move as it requires experience with balancing the exposure. For example, in this diptych from Mexico, while it still looks pretty bright, it was actually taken at 5:00 PM - you can imagine how intense it was at noon.
Intermission
Follow the clouds
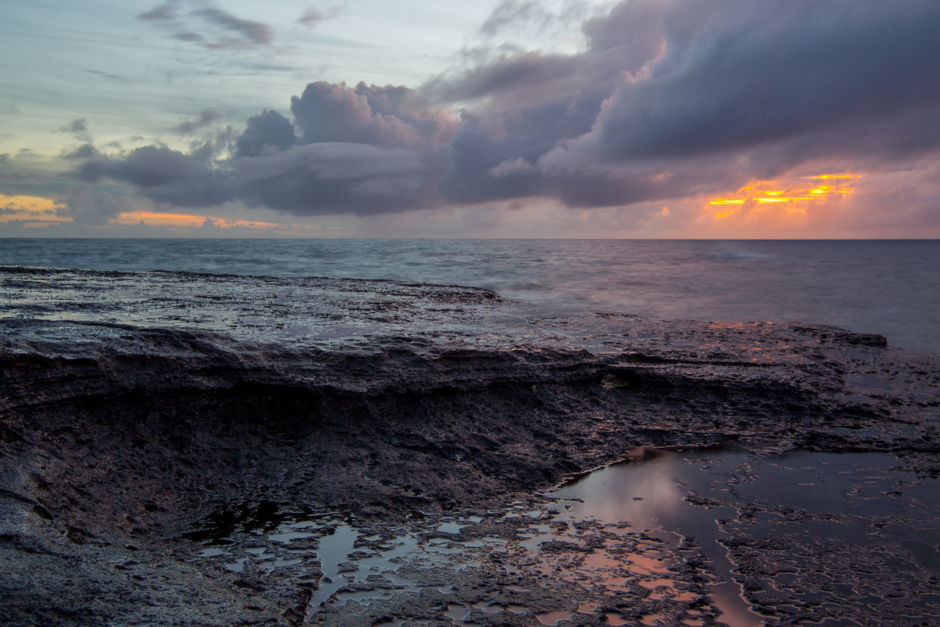
If you get a cloudy day, all the usual rules go out the window, including shooting at noon. Clouds block the harsh sun and soften the light, so while you may lose a bit of the ocean’s color, you should gain balance in your light. You can shoot in nearly any direction when the sun is blocked. Even better if you get stormy clouds rolling in. Bonus tip: When the sun is setting or the light is just really good, find a puddle and get low. See if you can double down the light or reflect something cool like clouds or a bird by getting it just right in the puddle. Circular polarizers can help with this too, as was the case with this photo in Hawaii.
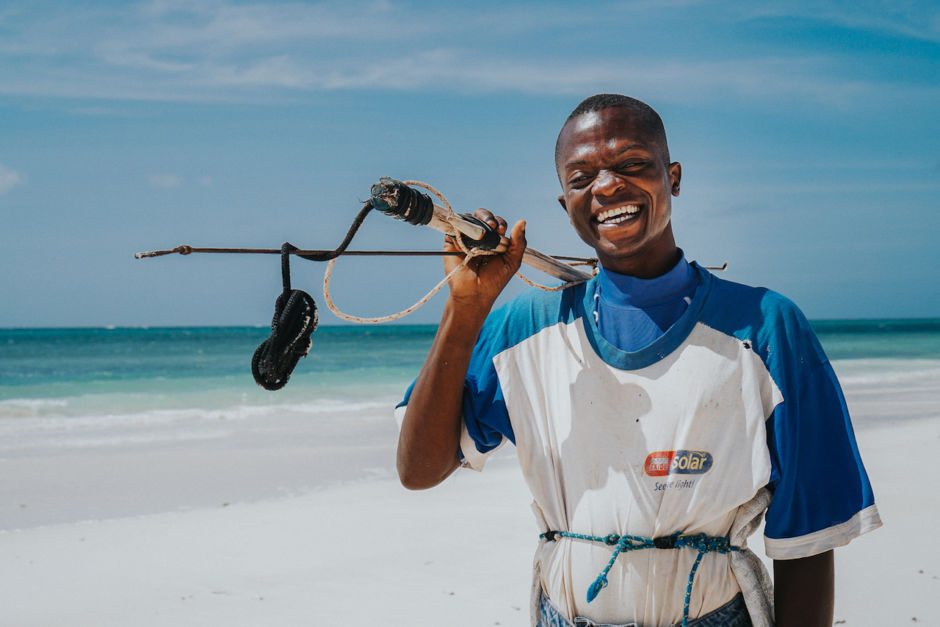
Shoot in RAW
Your smartphone probably can’t do this one, though that is changing with new technology. Your camera, though, has a few file formats. Most common is JPEG. While JPEGs are smaller in size, they also toss aside a lot of extra information about the image, which you could use later to make more powerful edits. If you’re shooting in fantastic light and loving the results, you could stay in JPEG and be stoked, or you could switch to RAW at any time if you wanted to play with post-production. Shooting in RAW is especially useful when you’re working with harsh light of any kind. It will give you a lot more wiggle room to adjust the light, colors, tones, sharpness, etc. In post-production, though, you will need a program that can open RAW files to begin. When you finish editing and export, it’ll export as a JPEG that you can upload anywhere.
So for example, this young man I met on a Kenyan beach was standing in super harsh, high noon light, so I quickly switched to RAW to give me a fighting chance at balancing the shadows later. It’s not perfect, but it helped me save a shot that otherwise might have been a completely lost cause. Is this an ocean photograph, by the way? I say yes. The ocean is the second major element in this frame, after the man himself, and adds to the story of the fisherman.
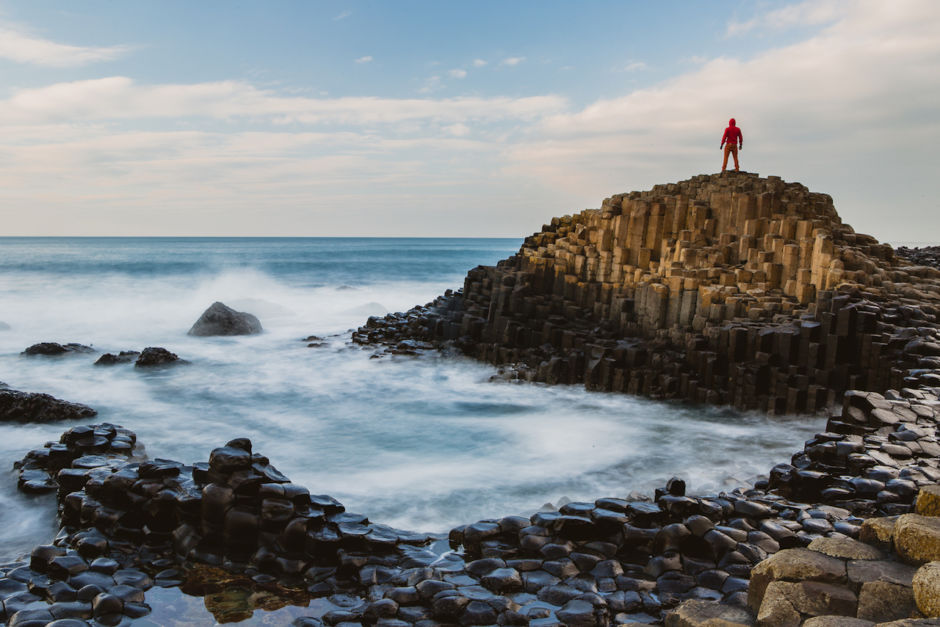
Add a human element
The human eye is totally biased and loves to see other humans. In an entire image complete with lots of cool stuff to look at, like this one, chances are your eyes will immediately check out the human figure first and then the rest of the scene. So, it’s a powerful way to add layers to an image. It also adds a sense of scale, as seen here at Giant’s Causeway in Northern Ireland.
Use a polarizing filter
If you’re working with a legit camera (sorry, no smartphones), a circular polarizer filter cuts through reflections and adds depth to the colors of the water. There’s a catch: to really work, the sun needs to be about a 90 degree angle from your camera. So, essentially, on your right or left. It won’t work shooting into the sun or if the sun is behind you. You spin your CP on the front of your lens until the scene lights up with color and the reflection is gone. Or, if you’re like me, you accidently buy the wrong size and just hold it in front of your lens as you go - watch out for those fingers sneaking into your scene.
Intermission
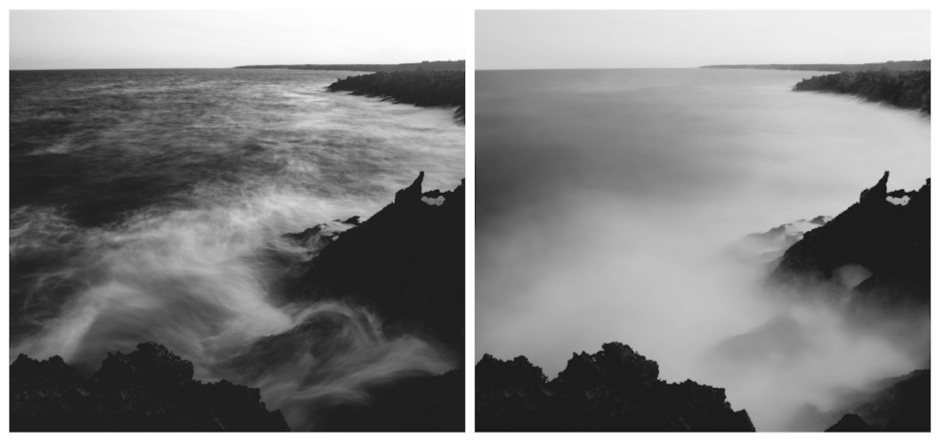
Play with long exposure
There’s a dozen different ways to arrive at a long exposure, but you definitely need: low light, or a filter that blocks light (Neutral Density); a tripod (in a pinch you can use a sweater, picnic table, or anything flat; additionally, you can get small travel tripods that aren’t cumbersome); a two second delay or a trigger; low ISO (ISO often works against long exposures but there are exceptions); and above all else, a slow shutter speed. Shutter speeds show up as fractions: 1/60, 1/500, 1/4000. The higher the lower number, the faster the shutter speed, and the more action in your scene is frozen. If you want blur or motion, you need a lower fraction like 1/20, 1/10, 1/2, or even into full numbers like 1”, 5”, or 30”, which indicate full seconds. Most cameras cap out at 30 full seconds. Just how long you are able to get exposure depends on how much light; the more light, the shorter the shutter speed. So this is best for very cloudy days, sunsets, sunrises, etc. My suggested shortcut is to go T or Tv or S, on your camera which means either Time or Shutter Speed, and tell your camera 1/20 or lower. See what you get and play with the fraction as you go.
What will happen is the ocean keeps moving while your shutter speed is “open,” allowing motion to be captured. It can smooth the ocean out entirely so it looks like silk, or just add flowy texture vs harsh droplets (fast shutter speed for that). And yes, chances are your smartphone can do this one too, you just need to toggle from Auto to “Advanced” or “Manual” or some similar kind of name in your settings, and use a tripod just for phones.
This diptych from Kenya shows the difference between two seconds and 30 seconds. One has a bit of motion and the other looks like fog, not even like water anymore. Cool, no?
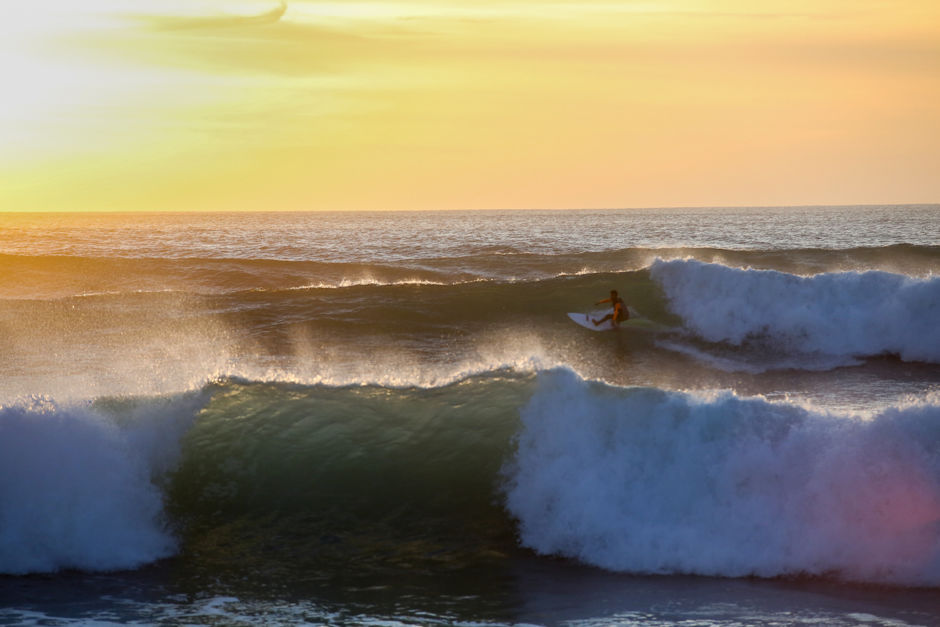
Capture action
The opposite of a long exposure. Just flip everything I said above and try to get a very high fraction like 1/500th or 1/4000th, and set your ISO to auto so it can keep up accordingly. As a general rule, objects that move along the horizon (from your right to left, for example) are easier to freeze than anything moving towards you. I was sitting on the beach in Portugal waiting for just the right surfer to zip through my scene and fired away.
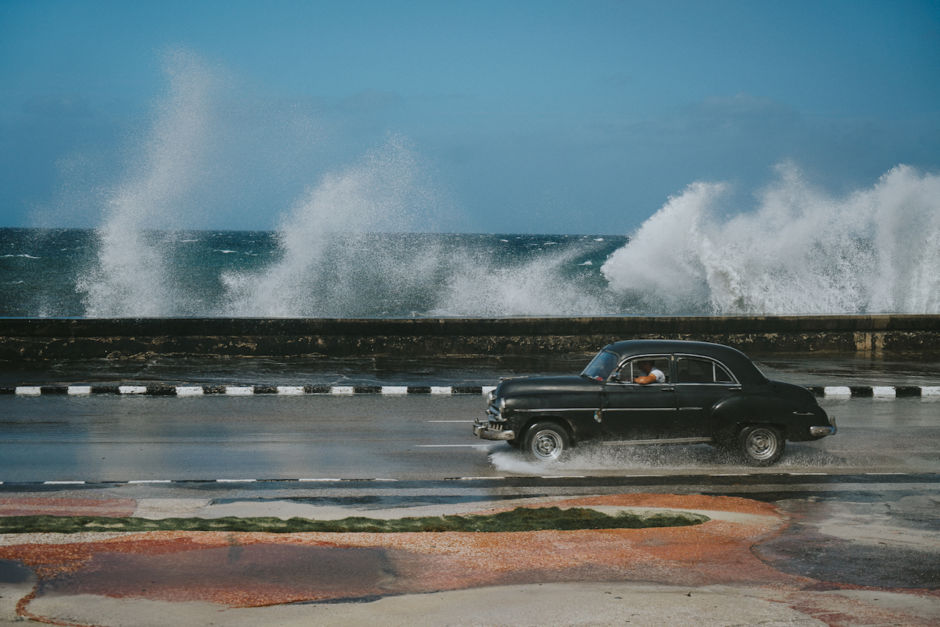
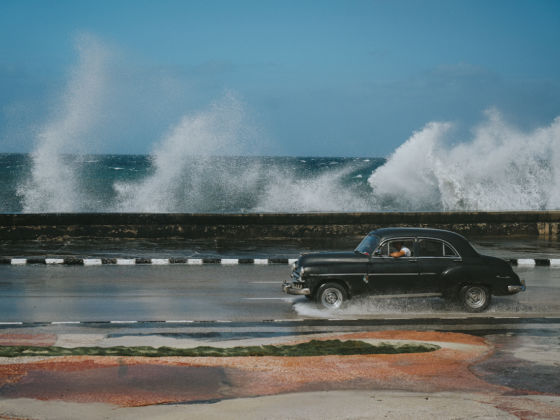
Let the ocean be the subject
It depends where you go, but having something else going on and the ocean as a backdrop turns a photo of the ocean into an ocean scene. A palm tree, beers in the sand, a person, a pile of rocks, a crab, or, maybe, an old car in Havana just trying to get through the waves coming up and over the Malecon - all can work well.
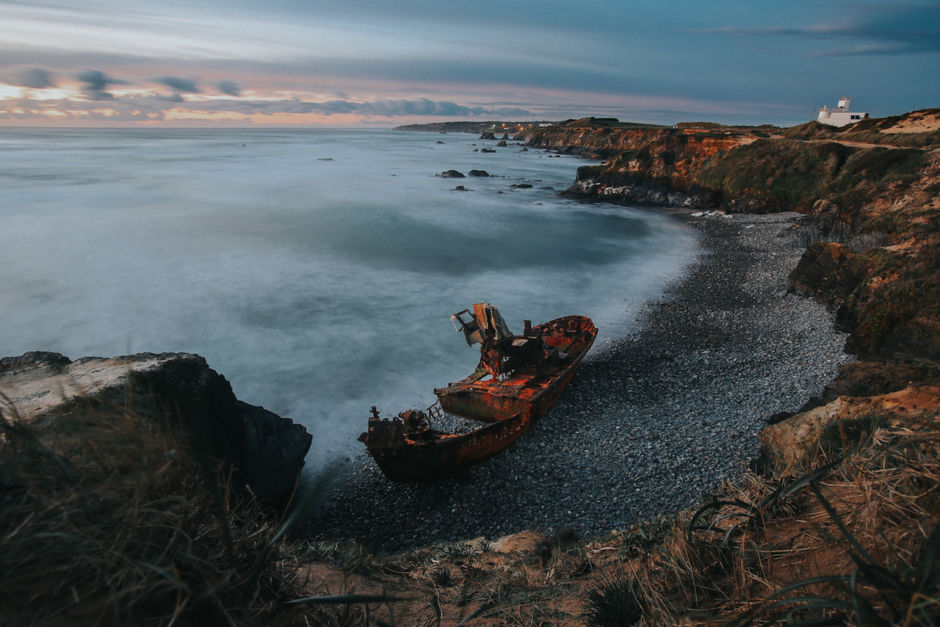
Get above
We go to the beach generally to be on the beach. But ask yourself if there is anything to climb and look down from, to give yourself a different viewpoint. In the case of this photo, being on the beach just didn’t do justice to the solitude and eeriness of this shipwreck in Portugal, so I scaled my way up a clayish wall and tried this little composition. On the flipside, don’t be afraid to get really low either, like a bug’s view of the ocean, as that can also add interest to the scene.
Intermission
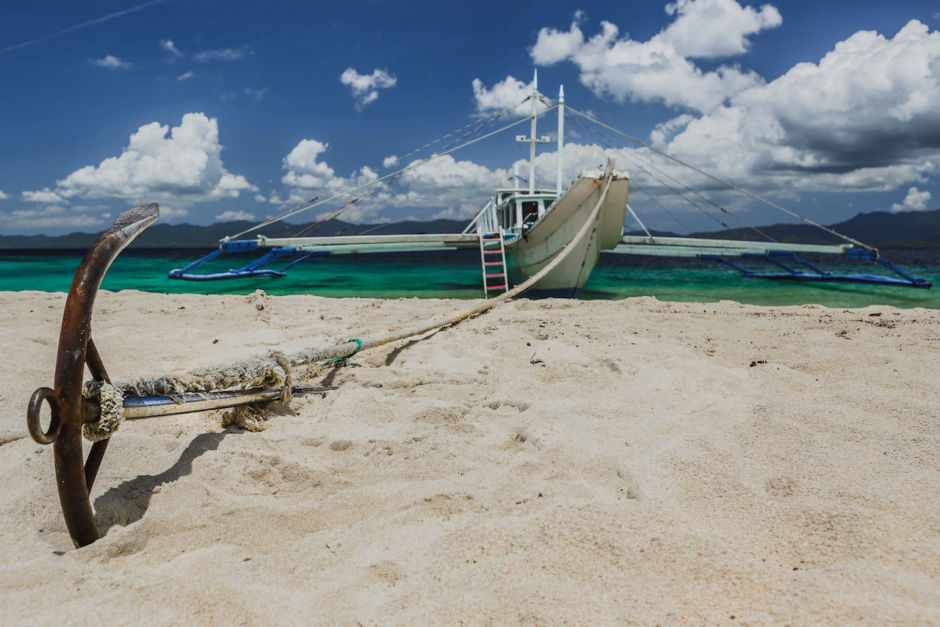
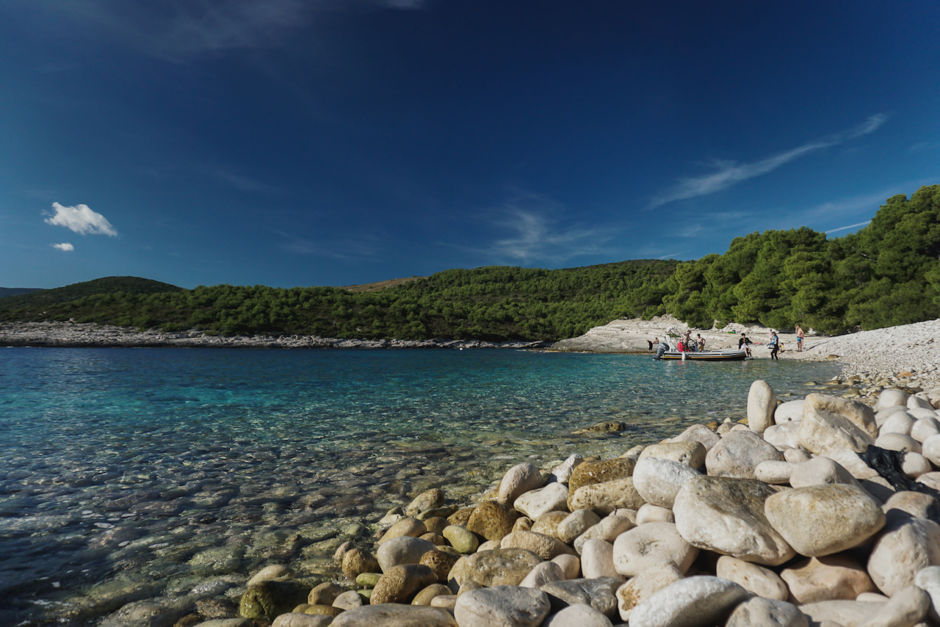
Anchor your shot
Having a strong foreground is usually recommended. There are exceptions, of course, but when you’re just beginning, it’s good to have something of interest near, mid, and far in a proper seascape image. Your foreground doesn’t always have to be your subject, so much as lead you into the photo. In this case, the boat is clearly the subject but the anchor leads the way and draws us in.
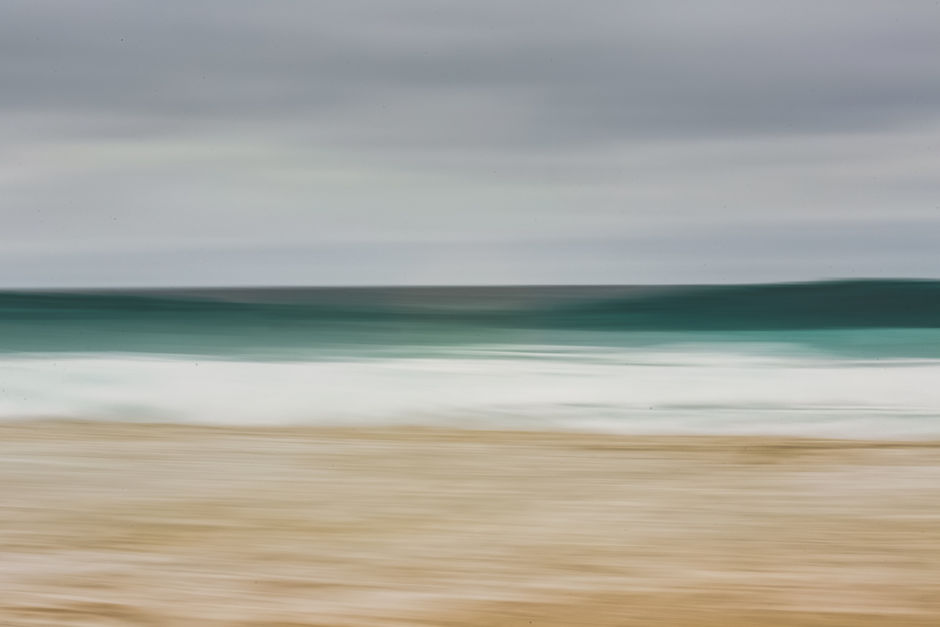
Play
Just play. Crack some beers and play around in the sand and waves. Watch the light change. Play with your settings. Play with where you stand. Sit back and look around. For me, I love to play with panning - a long exposure where I whip the camera from right to left. There’s no one perfect way to take a photo of the ocean, so make it your own.