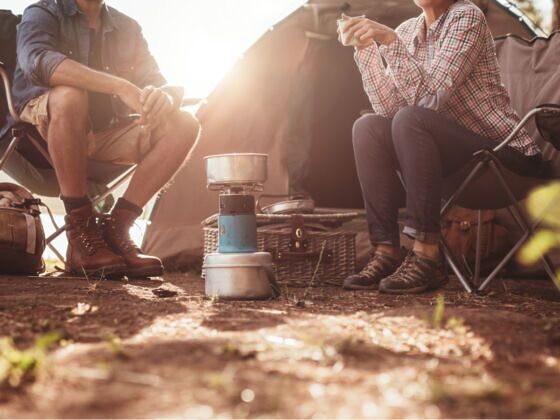
BEING A CHEF AND LIVING IN MY ’71 VW van on the road has pushed me to be more creative when it comes to dinner around the campfire. Don’t get me wrong — I love a good hot dog on a stick or a gooey s’more as much as the next person, but sometimes I feel like getting fancy.
The next time you go camping, try one or more of the following ideas to impress your friends around that fire with some of these creative campfire cooking techniques.
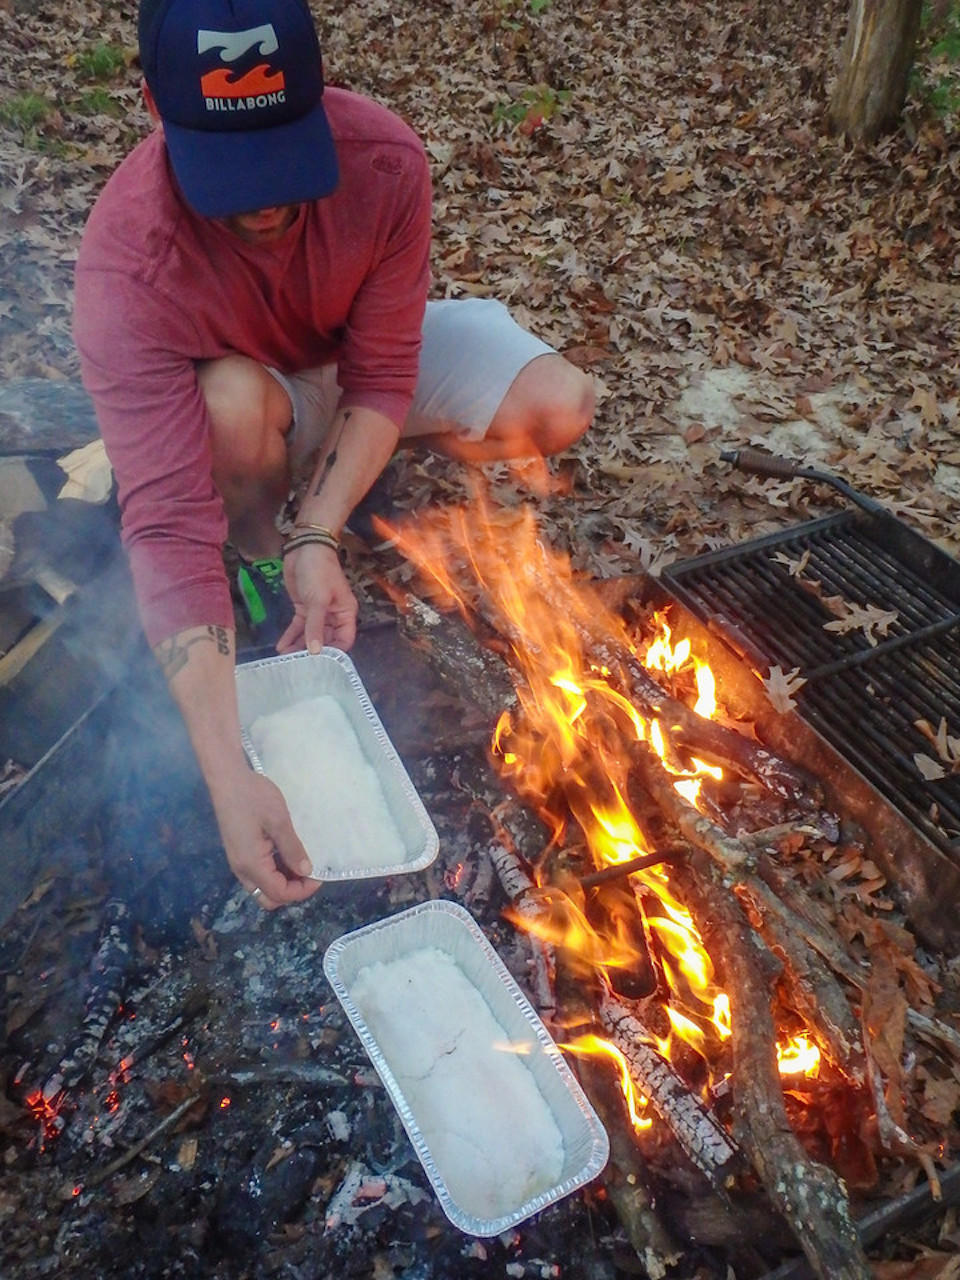
1. Salt-crust your dinner
Photo: Ray and Alyssa Wyatt
This method involves cooking your fish or meat entirely in salt. If you’re thinking that the end result would taste like a salt lick and make you guzzle a gallon of water at each bite, you couldn’t be more wrong. Cooking in salt is an age-old technique that locks in flavor and moisture.
Here’s what you’ll need:
A LOT of kosher salt (about 8-10 cups for a 2lb fish or joint of meat)
Egg whites (one per every two cups of salt)
A whole fish, pork loin, chicken breast, etc.
A heat-proof baking dish or pot
Heavy-duty foil
A digital thermometer
A big fire
How to: Mix the salt with the egg whites until a wet, sand-like consistency is formed. Lay about an inch of salt mix in the bottom of your dish, and place your fish or meat on top of that. Smother that with another one-inch layer of salt (you should be able to form it around the food).
Push a big pile of the fire to one side and place your dish in the now-empty hot spot, next to the fire. Turn the dish every five minutes. After 20 minutes, cover the dish with foil, and pile on a bunch of hot coals. Leave for 10 minutes and then you should be good to go, but always check the temperature with the thermometer before you crack the crust.
Now it’s time to enjoy. Take a knife and cut all the way around, lift off the lid, and brush the excess salt off your meat or fish before digging in.
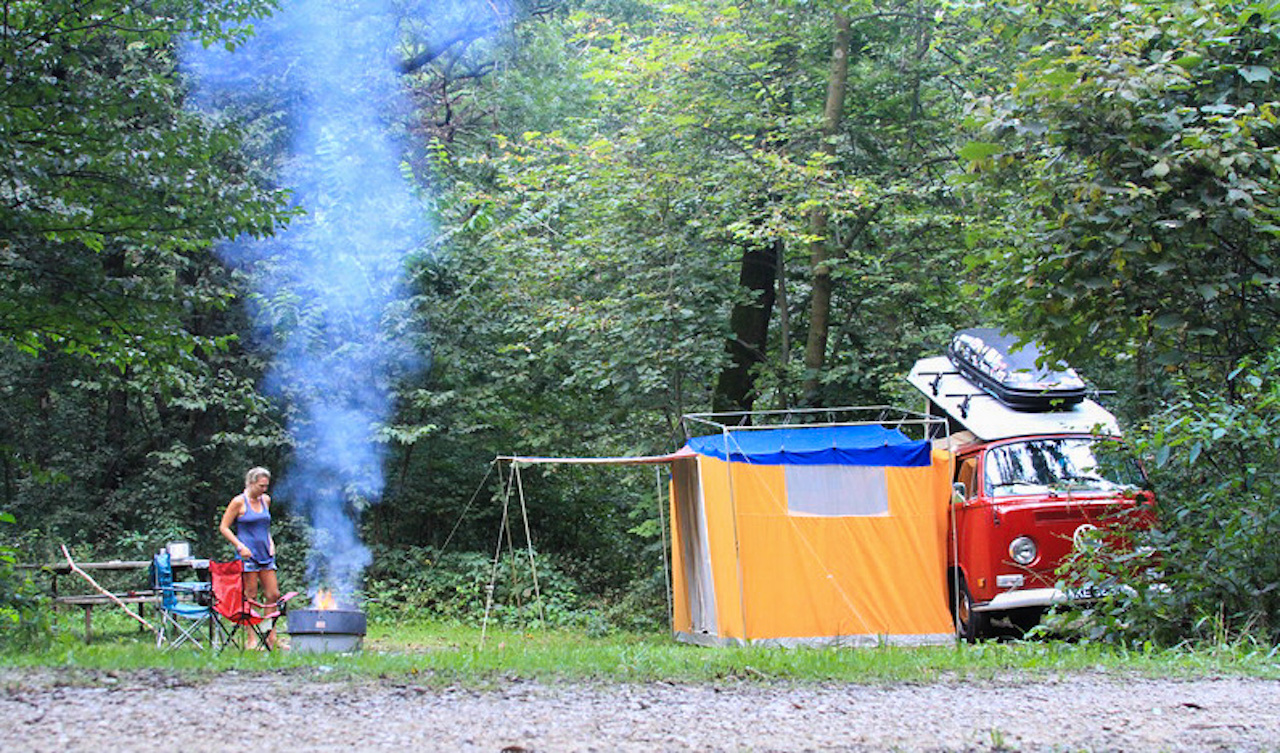
2. Cook underground
Cooking food that is buried under a fire is another ancient technique — one that is still used in traditional Hawaiian and Maori Cooking. Best of all, it’s dead easy.
Here’s what you’ll need:
A shovel
Lots of rocks
Lots of firewood
Heavy-duty foil
Corn husks, piles of pine needles, etc.
Wet newspaper
A big tarp
Your food (I suggest whole corn, baby potatoes, pork tenderloins, beef tenderloins, and chicken legs)
How to: At least four hours before dinner, dig a pit big enough to house all of the food. It should be about a 1 ½ feet deep. Line the bottom of the pit with rocks and get the fire started. You want to keep this fire going for at least 2 hours and then let it burn so you have a decent pile of white hot embers. While the fire is burning, season your meat and vegetables, then wrap in a double layer of the foil.
Cover the embers with the corn husk or pine needles and then dump a good amount of water all over so that you start the rocks steaming (this is where you will have to work fast as it’s going to get real smoky real quick). Now place all your food packets in one layer. Cover them with the wet newspaper, followed by the tarp. Dump some of the soil from the pit on top to weigh it down and then relax for a few hours. All that is left is to dig up your steamed dinner and chow down.
We all know that cooking in foil packets is typical and a great way to have individual servings and save on dishes. Mix it up with these ideas next time you reach for that foil.
Orange cakes: Cut oranges in half and scoop out the flesh so that you’re left with just the skins. Fill one half with your favorite muffin mix and put the empty half on top. Double wrap in foil and throw the balls directly in the coals of your fire. Turn every minute for about 10 minutes and voila! Orange muffin balls.
‘Nana Boats: Cut a slit down the length of a banana and carefully scoop a little trench inside. Fill this trench with crushed graham crackers, chocolate chip,s and mini marshmallows. Double wrap them in heavy foil and throw them in the fire, turn them a few times, and after eight minutes or so, open them and serve with whipped cream cheese for an oozy banana and chocolate cheesecake treat.
Cheater’s fondue: Grab a whole brie or camembert and cut off the top. Scoop about 1/3rd out and enjoy another time. Fill the dented wheel with diced emmentaler/gouda and sharp cheddar, drizzle with some beer or brandy, and pop the top back on. Double-wrap in foil and cook the whole thing on a grate over some hot embers for 15 minutes or until nice and melty. Serve with a baguette.
Now we’re getting fancy. “Sous vide” literally means “under vacuum” and, without getting all science-y on you, it’s a method of cooking a product in a vacuum-sealed bag at a specific temperature for a long period of time. It is almost impossible to actually do real sous vide cooking over a campfire (because the temperature changes so much), but as with anything camping-related, these are all hacks to make do in a pinch. And this method is especially great for avoiding dirty dishes. Do the prep work at home before you leave, and you’re set.
Here’s what you’ll need:
A digital thermometer
A big, heavy-duty dutch oven or pot
Good quality zip-up/sealable plastic bags
Chicken breasts or skinless 6 ounce pieces of salmon
Fresh herbs (such as tarragon, thyme, and rosemary)
1 tbsp of butter per person
Olive oil
Additional sides (whatever you want)
How to: Before you head out camping, place a seasoned chicken breast or salmon piece in one of the sealable plastic bags. Give it a little drizzle of olive oil, a knob of butter, and then a stem of each herb you are using. Squeeze out as much air as you possibly can and place in a cooler with some ice packs.
When it comes to cooking, place a pot of water over the fire, and bring it up to the desired temperature using your thermometer to guide you (120°F for the fish and 150°F for the chicken). Pop the bags in the water and that’s all for now.
The hardest part is keeping the temperature how you need it — I advise having the fire to the side and the coals under the pot and, when the temperature starts to drop, push some embers under the pot. If it gets too hot, just add some cold water. Cook your chicken for 2-4 hours and your fish for 45 minutes to an hour. After cooking you can just serve them up or, if you like, color your chicken — simply sear it on a hot pan.
One time while wild camping in New Zealand on a dry river bed, we found loads of flat river rocks that were great for preparing our dinner. If you run into some at any point on your trip, grab them for later. Get some thick, round, flat stones and some small round stones that can fit in your fist.
When you’re ready, get a fire going. Throw your stones in and heat them up for about an hour. Then carefully give each of your friends a couple of flat, hot rocks so they can cook their steaks ishi-yaki style — this way they can have it exactly how they like it.
While they labor over their meat, grab a large, heatproof bowl. Throw in some of your favorite cut-up veggies with some olive oil and seasoning. Grab 2 or 3 stones with some tongs and quickly rinse them to get the ash off, put them in your bowl with your veggies and rotate the rocks continuously until the veggies are done — rock stir fry!
And after all of this cooking, fill a large pot with water, throw in some rocks…and treat yourself to a much-deserved hot shower.