WHEN I WAS a kid, my parents didn’t have the money to take us to Disney World, let alone on far-flung European tours. But I didn’t care — I had the best childhood adventures riding along in our family’s RV.
We started out exploring the Pacific Northwest in our 1960s Ford truck with a truck camper. My younger brother and I shared the table-converted bed — which always tilted just enough to the right that I had to shove him away from me all night. My parents eventually upgraded to a motorhome with separate twin beds for my brother and me, and an over-the-cab double for the adults. More luxurious for sure, but the views and the fun we had as a family were all the same. We camped by rivers, we camped in the desert of Eastern Washington, we camped where I could hear the Pacific Ocean right outside my window. We didn’t even have to travel very far; our family days on the road were magical.
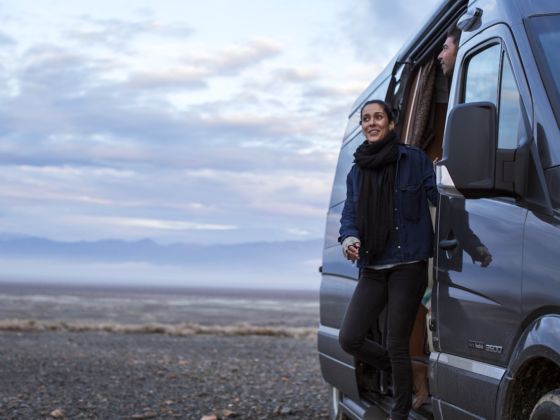
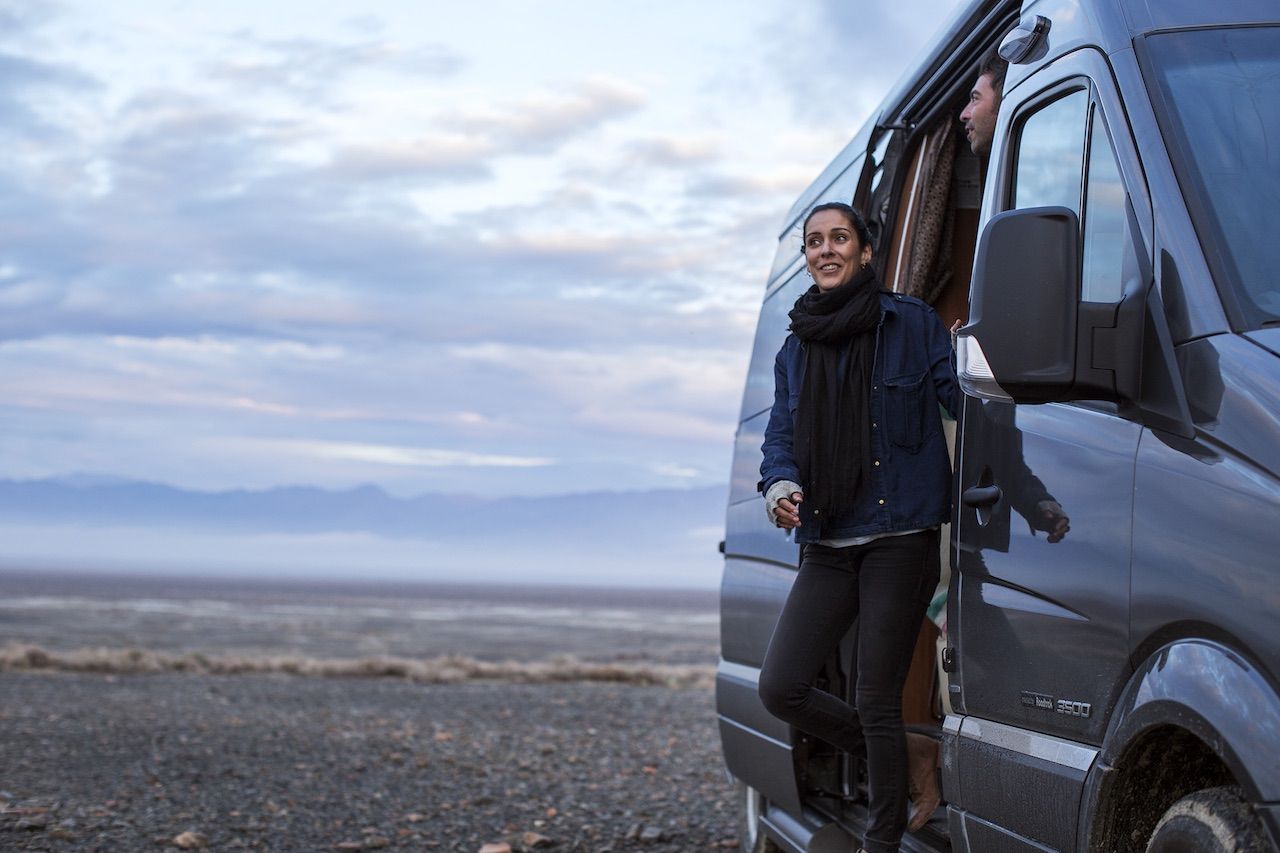
It might come as no surprise that now, as an adult, I’ve spent a fair bit of time living the RV life with my own kids in tow. Most recently, our family of four spent over six months exploring New Zealand in an 18-foot motorhome. We visited all the nooks and crannies we could find on the North and South Islands, and we spent hardly any money, other than on fuel and food (okay, and wine).
But owning my own RV was a totally different experience from riding along with my parents. My husband and I bought our motorhome the day after we landed at the Auckland airport and found ourselves on an RVing crash-course. It actually turned out to be easier than we thought it would be. Here’s what you need to know to get on the road.
Step 1: Choose your RV.
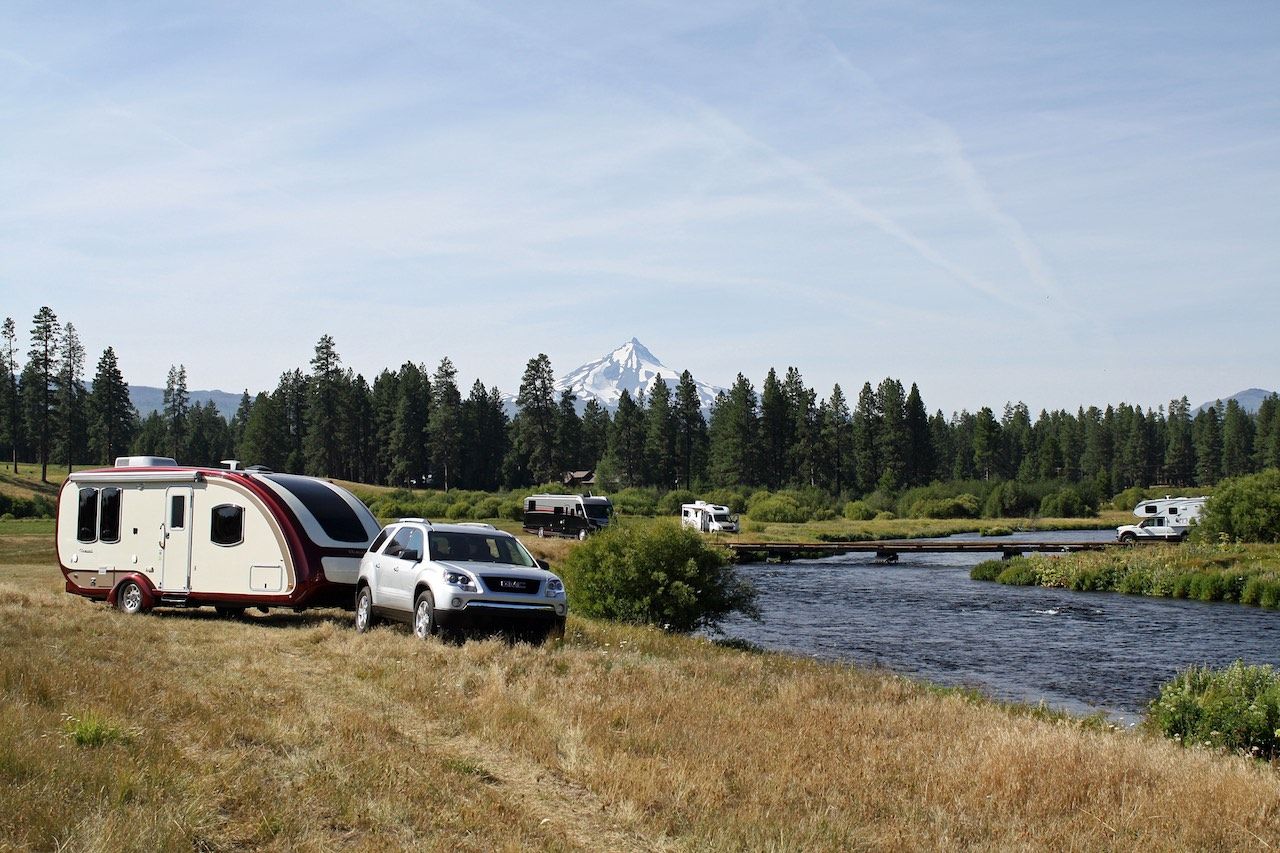
Before you even start looking for RVs at dealerships, RV shows, or through private sellers, you’ll need to narrow down what kind you’re after. There are essentially two main types of RVs: towable and motorized.
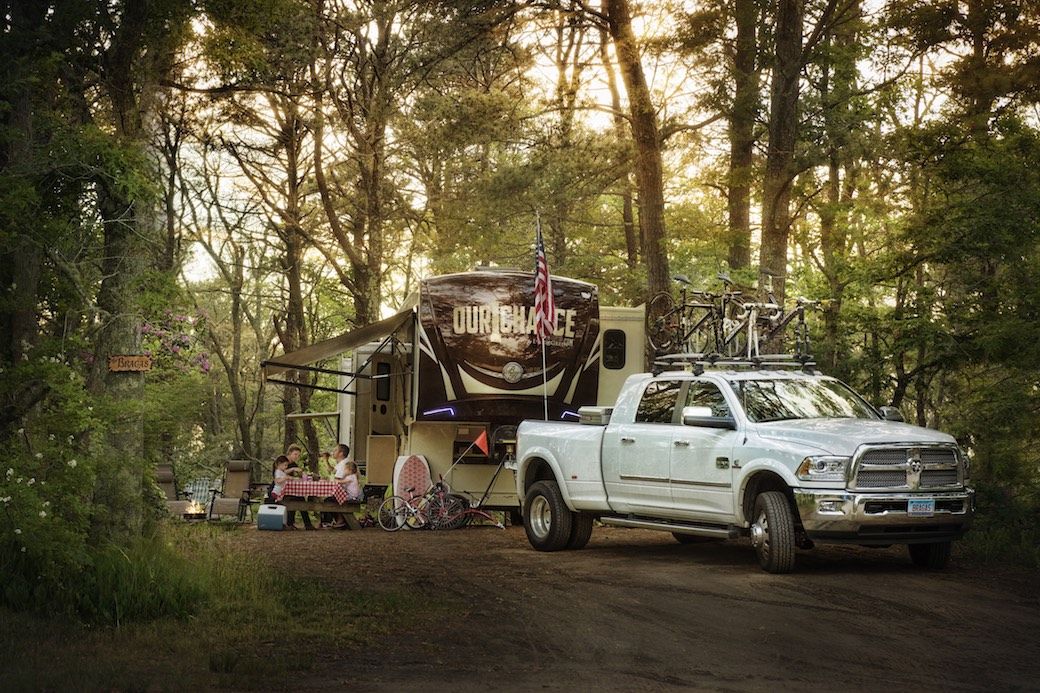
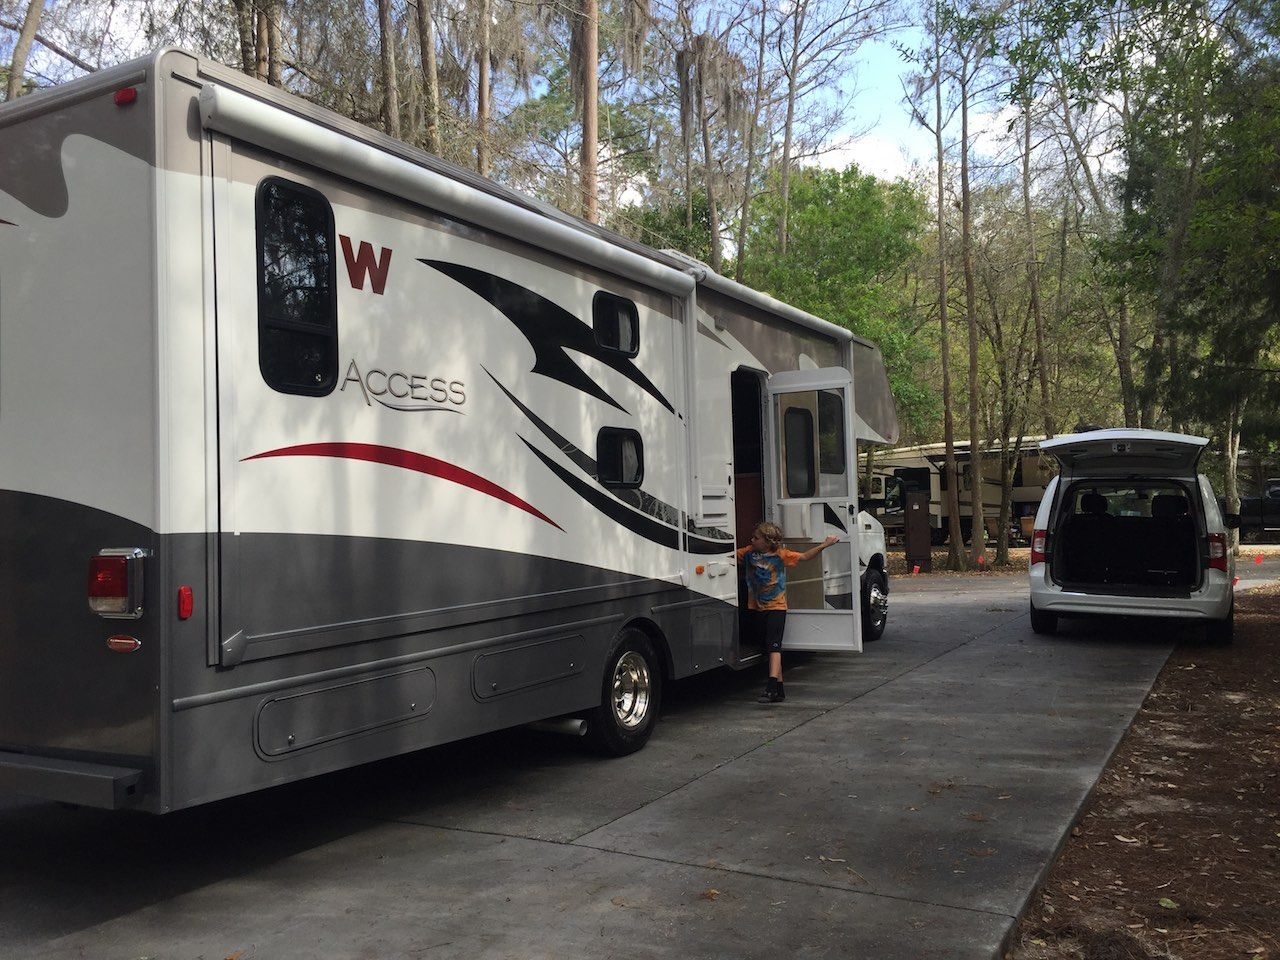
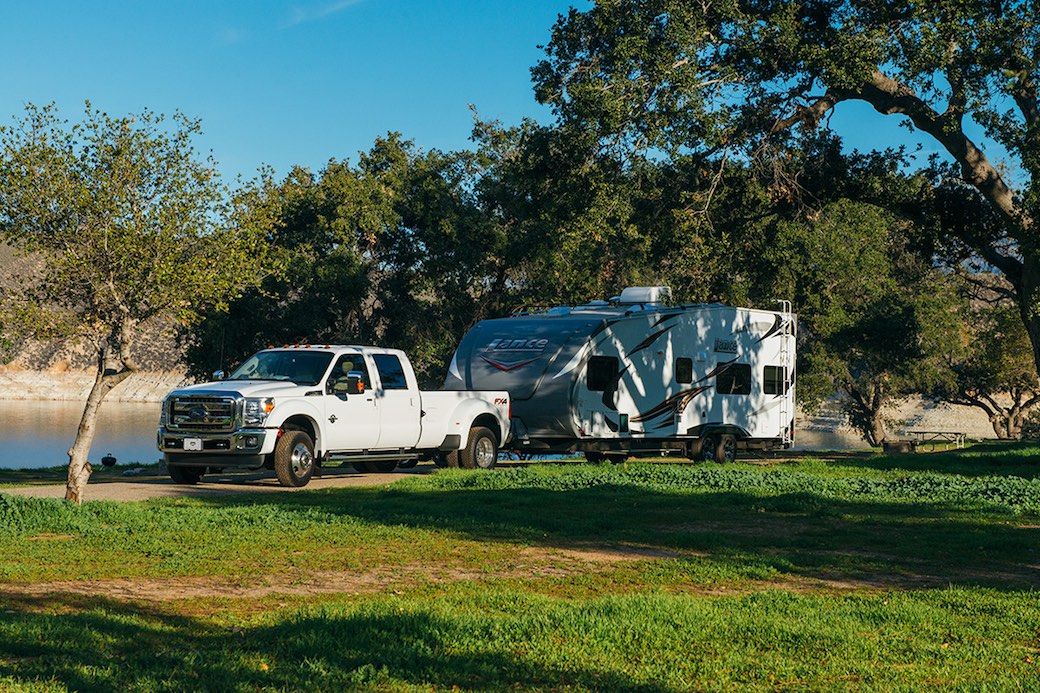
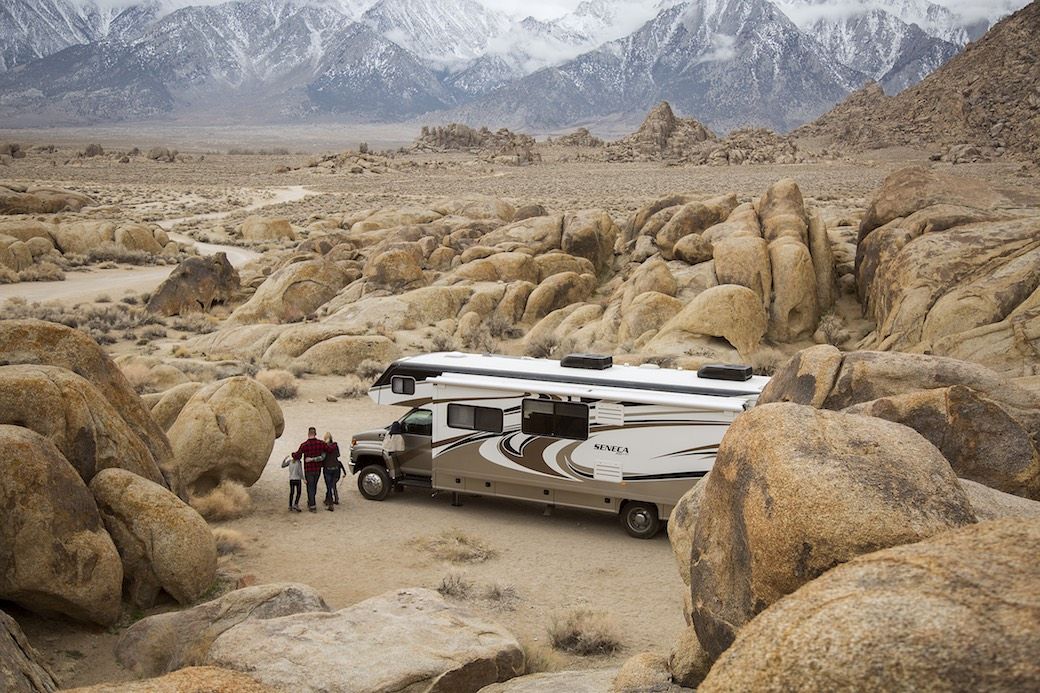
Towable RVs include truck campers, travel trailers, and fifth-wheel trailers (these are the ones that connect to a special hitch in the bed of a pickup truck). Motorized RVs include Type A, Type B (van style), and Type C (with bed over the cab). To eliminate the confusion, there’s a helpful tool to find which RV is just right for you at Go RVing.
But what if you just want to try out the RV life before committing to buying one? There are hundreds of outlets and dealerships that rent RVs for a few days or longer. Many come complete with dishes and bed linens, so all you have to do is show up with your food and clothing and get on the road. Go RVing has an RV rental locator on their site to get you started.
Step 2: Practice driving.
You don’t need a special driver’s license to operate an RV, but it’s a little different than driving a car. Practice in quiet environments, working your way up to busier highways. Be sure to practice backing up — your mirrors are your friend! Even better, make use of the backup cam if your RV is equipped with one. Hint: Get one installed if it’s not!
And, yes, it’ll start out being really intimidating. But just like riding a bike when you were a kid, that goes away after a few hours of practice. And unlike riding a bike, you already know how to drive a car — so you’re more than halfway there.
Step 3: Get familiar with your power systems.
If you’re wondering how you’re going to make toast and keep your laptop charged, read on. Most RVs are equipped with two power systems: a 120-volt system (like you have in your house) and a 12-volt battery system (like in your car). The 120-volt system — the one that powers the household-type plug for your toaster — is available when you physically plug your RV into a land-based power outlet, like at a campsite. This will enable you to run just about everything you’d have in a house: an electric heater, a hairdryer, a TV, whatever. If you’re camping in a remote area where land-based power isn’t available, you’ll be using the onboard 12-volt system via the RV’s batteries. These are charged up using the vehicle’s engine (and possibly solar panels).
A 12-volt system won’t run high-powered electrical items (like your toaster), but it will be enough to keep the lights on, water pump running, and — most importantly — your music going.
Step 4: Join a club.
Keen to meet other RVers, get discounts, trip planning services, lower-cost insurance, and emergency assistance? Join an RV club like Family Motor Coach Association or Escapees RV Club. We joined the New Zealand Motor Caravan Association and found the benefits and camaraderie well worth the yearly fee.
Of course, this step is optional. But trust me — it’ll make many things infinitely easier.
Step 5: Plan your trip.
Wondering where you can go in your RV? A better question would be where you can’t go. You can stay at RV resorts, campgrounds, or park for free (also known as “boondocking”). Plenty of businesses, like many Walmarts and casinos, will let you dry camp right in their parking lots if you need a quick and easy place to sleep.
If you’re planning on exploring US national parks, pick up an America the Beautiful pass, which covers entry to all national parks and wildlife refuges. Last but not least, check out Go RVing for a huge database of places to camp in your RV in the US.
Step 6: Fill the RV with food and fuel.

You’re nearly ready to go! First, fill up your fresh water tank, but more on that in step 8. Then, you’ll need to stock your RV with food. Your RV might be equipped with a gourmet galley, or you might just have a double-burner cooktop to work with. Either way, you’ll probably find the refrigerator to be much smaller than the one in your house, so it’s a good idea to plan meals with lots of ingredients that don’t need to be refrigerated. It helps to keep an extra cooler with drinks on ice, leaving precious fridge space for things like meat and dairy.
Your stove will likely use propane for cooking, so make sure your LPG tank(s) are topped up before you leave. Finally, you’ll need to fill up with fuel for your engine — either diesel or gas. (By the way, if fuel economy is a concern, diesel motors typically get far more miles per gallon than gas. Also, a smaller RV will get better mileage, but so might a newer, larger RV, as modern ones are designed with aerodynamics in mind for improved fuel efficiency.) More ideas for saving at the fuel pump can be found online.
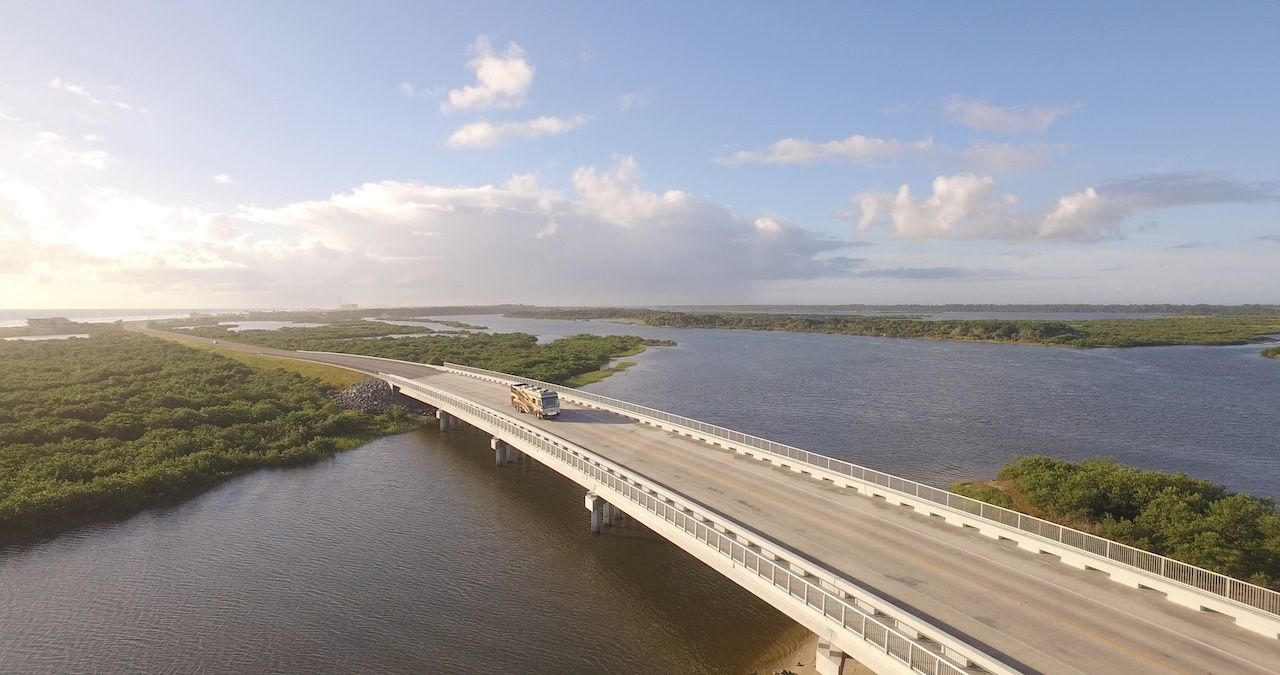
Step 7: Go. Do. Set up. Have fun.
You’re on the road now. You’re doing it. Easier than you thought, huh? Now it’s just the little things: Don’t expect your RV to act like a Mini Cooper in the mountains. Make sure you have RV-friendly directions. Use your mirrors. The simple stuff.
In terms of practicality, you’re still operating a motor vehicle, so it’s a good idea to carry some basic tools with you. Jumper cables, flashlight, maybe an extra fuse — anything you’d imagine you might want if you were living fully dependent on your car.
In terms of setting up shop in your camping spot, investigate beforehand. Check if there’s enough space and what the best angle might be — are there low-hanging branches that need clearing? Where are the electrical, water, and sewage hook-ups? This might sound like a lot of variables, but most sites are designed for RVs to set up one very specific way — you just have to follow suit.
Once you’re in, every RV requires a different kind of set-up — which type you have will determine your steps. You might need to chock the wheels, level it with blocks, switch your appliances back to the 120-volt source, attach your sewer hose, etc. For others, all you may need to do is push a button to roll out your awning. All this will be in your manual, and it’ll become old hat in no time.
Step 8: Dump and fill your tanks.
While a few RVs are outfitted with composting toilets, the majority carry a “blackwater” tank, which collects waste. When it’s full, you’ll need to find an RV dump station to empty it, typically every few days, depending on how big it is and how many people are sharing it. Find a dump station at sanidumps.com — there’s even an app!
Some blackwater tanks are built right into the RV and can be emptied with a special hose; others are removable so you simply wheel the tank over to the drain. You’ll also have a tank for “greywater” (used sink and shower water). Dump the greywater at the same time as the black. Then, fill up your fresh water tank (making sure the tap water is potable) and start all over again.
No, this isn’t the fun part — but it’s another thing that’ll seem like no big deal after a few tries. And really, it’s the only thing you’ll have to “deal with” while traveling by RV.
Step 9: When cold strikes, tuck it away for the winter.

Once you’re done traveling for the year, and if you live in a cold climate, you’ll need to protect your RV’s plumbing systems from freezing temperatures. If the water inside pipes and tanks freezes, the pipes could burst — meaning expensive repairs. Your RV’s user manual should have a guide on how to prepare it for the winter. If you’ve misplaced yours, you can find good ones online.
There’s really nothing to hitting the road in your very own traveling home. Whether your destination is an hour away or across the country, an RV is the perfect platform for adventure. And if you don’t want to bother tucking it away for the winter, just keep driving — there’s always the option of heading south. ![]()