With nearly three million annual visitors, Glacier National Park is the 10th most-visited national park in the country. Yet, very few of these visitors leave the roadways, campgrounds, and hotels that are easy to access and, when the rain comes in, easy to leave. Covering over a thousand acres of pristine Rocky Mountain wilderness, this park in the northwest corner of Montana just south of the border with Canada is a diverse ecosystem with hundreds of lakes, hundreds of animal species, and thousands of plants. The park’s iconic ridgelines and 25 active glaciers are stark and foreboding, not to mention the large mammals like grizzlies, moose, mountain goats, wolverines, and lynxes that roam the interior. The Jefferson Pass Traverse is the ultimate way to break from the usual park routine and experience this wilderness. Here’s how to hike and camp the traverse.
How to Hike the Jefferson Pass Traverse in Glacier National Park
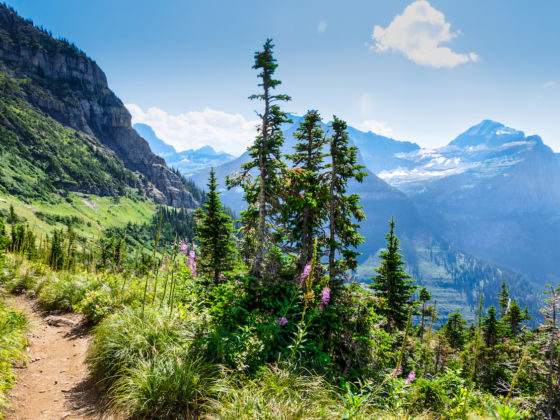
Advance preparation for the trek

Photo: Pung/Shutterstock
If you’re looking to get away from crowds in any national park, the answer is to head off the main roads and the heavily photographed sites you see in gift shop brochures. Find the adjacent trails that lead into the backcountry, of which Glacier offers hundreds of miles leading to dozens of designated and non-designated campsites that are well kept and stunningly beautiful to stay at. Ninety-three percent of the park is managed as a wilderness, though it doesn’t have the full designation, which is relatively uncommon. In order to camp on this trek, you’ll need a “non-designated sites” camping permit from the National Park Service. Obtain this at the on-site permit office and expect to pay $7 per night.
The legal grey area surrounding the wilderness designation allows for some unique trips, including the Jefferson Pass Traverse. Jefferson Pass itself is just south of the Canadian border in the north of the park. You’ll camp in non-designated campsites along the way. If you’re in search of real solitude and true adventure, the Jefferson Pass Traverse might be right up your alley.
Planning and routing your hike over the Traverse
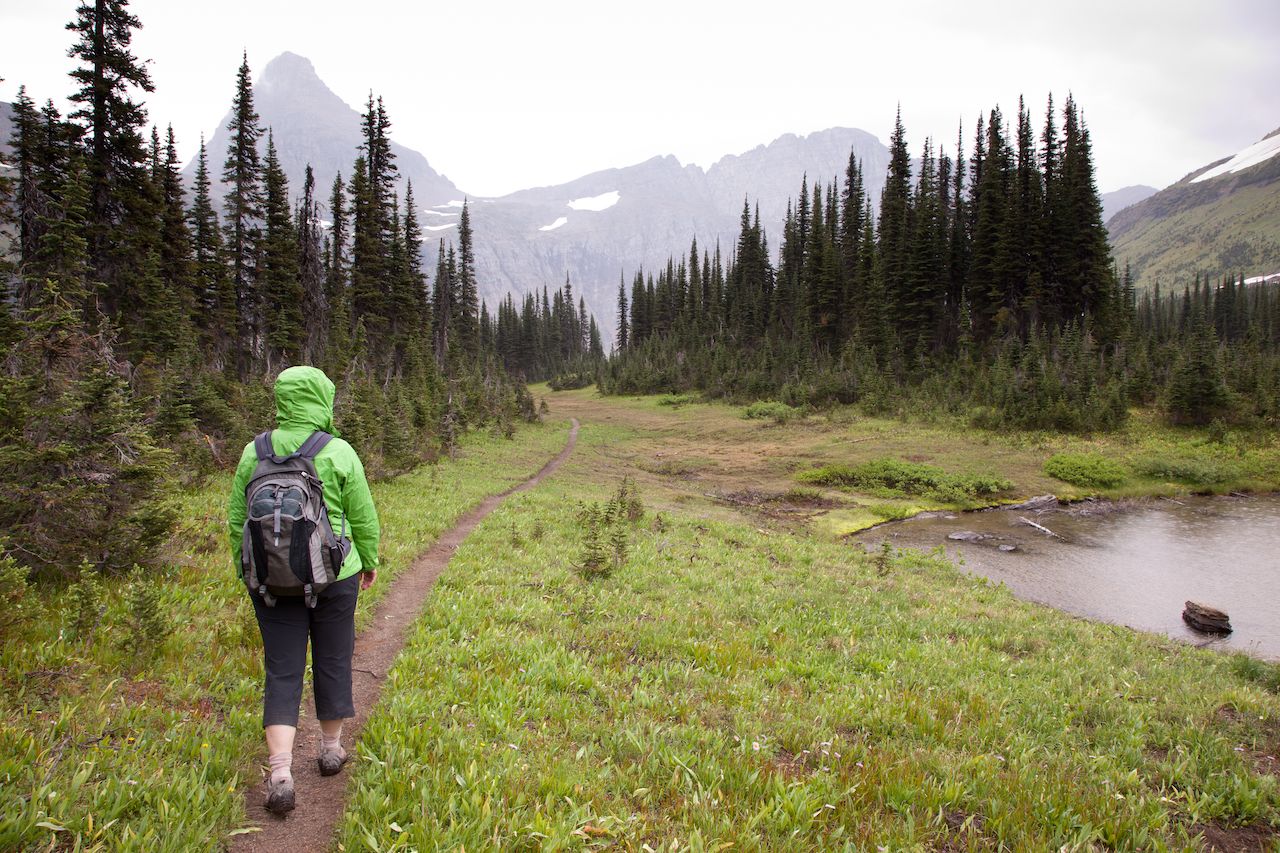
Photo: Jim David/Shutterstock
From start to finish, the trip takes four days, with three nights of camping along the way. You’ll cover roughly 45 miles, much of which is off-trail but easily navigable with proper planning and equipment. The best window for hiking the Jefferson Pass Traverse is late July, August, or early September, after the snowpack has melted out of the more technical gullies. Other considerations include weather, bears (Glacier occasionally shuts down trails and routes due to aggressive activity), bugs, and rutting season, during which moose and elk are more territorial. But barring extenuating circumstances, a trip planned during this time should leave the terrain in passable condition.
Because of its off-trail sections, your primary resource for routing the trip is the book Climbers Guide to Glacier National Park by Gordon Edwards, a title that Glacier rangers unironically call “the bible.” This bestseller offers maps and important info on how to find and access the most challenging and hidden cruxes in the route. With the book, you can find your way from the point where you leave the Old McDonald Creek Trail until you exit on the other side of the traverse. The routes closely follow the northernmost reach of the Continental Divide in the US, along steep ridgelines and small goat trails. Another handy resource is CalTopo, which allows you to download topographic maps of the area and mark your specific route.
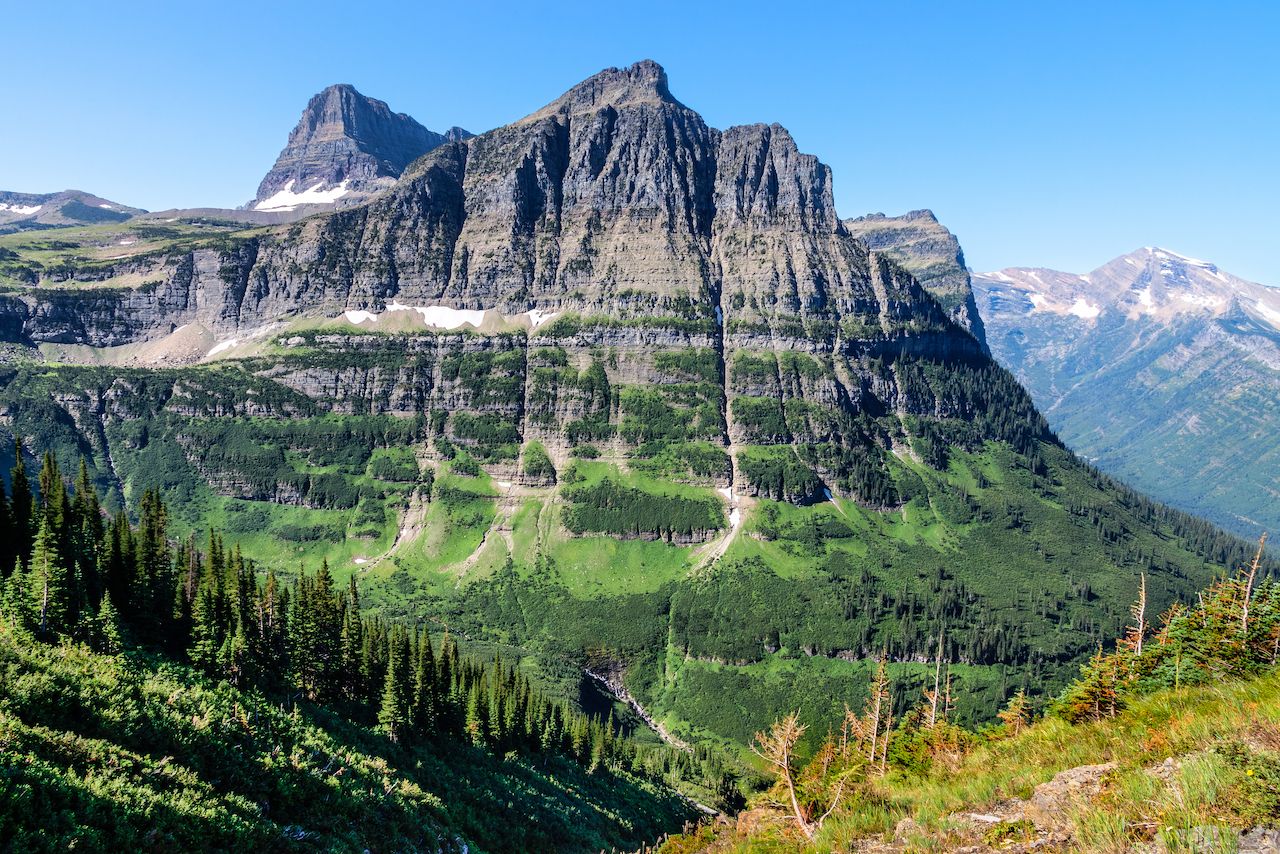
Photo: Arlene Waller/Shutterstock
Jefferson Pass is a point-to-point route that begins at The Loop on the iconic Going-To-The-Sun Road. The first few miles are on the Granite Park Trail, which starts uphill to meet up with the Highline Trail. When the Highline intersects the Waterton Valley Trail, the route heads west, descending into a dense valley and loosely following the old McDonald Creek Trail. The next three days are all off-trail, and navigation and route finding skills are critical. A very small goat trail provides access to the ridge past Thunderbird Peak, to Thunderbird Glacier, and back to the trail on Brown Pass. From there, the hike is roughly 10 miles on Bowman Lake Trail to the ranger station and campground at the west end of the lake. There are ample camping options along the way, arguably some of the prettiest places in the park and free from the hordes of RV-driving tourists back on the main routes.
The majority of the traverse is above treeline, only occasionally dipping into valleys along the way. You’ll have to bushwack a bit, the most challenging of which is the first — fighting through an old burn with a thick understory, the route heads west from the trail up Trapper Peak. From there, you head to West Flattop Mountain towards Vulture Peak and summit Nahsukin Mountain. Then, carefully walk northwest along the alpine ledge to Redhorn Peak and down to the namesake Jefferson Pass. From this lookout, there’s a clear view of the next five miles, and at this point the scree slopes get steep, traversing past a peak called The Guardhouse to Sentinel Mountain, which is often full of snow and quite steep.
What to pack for the trip
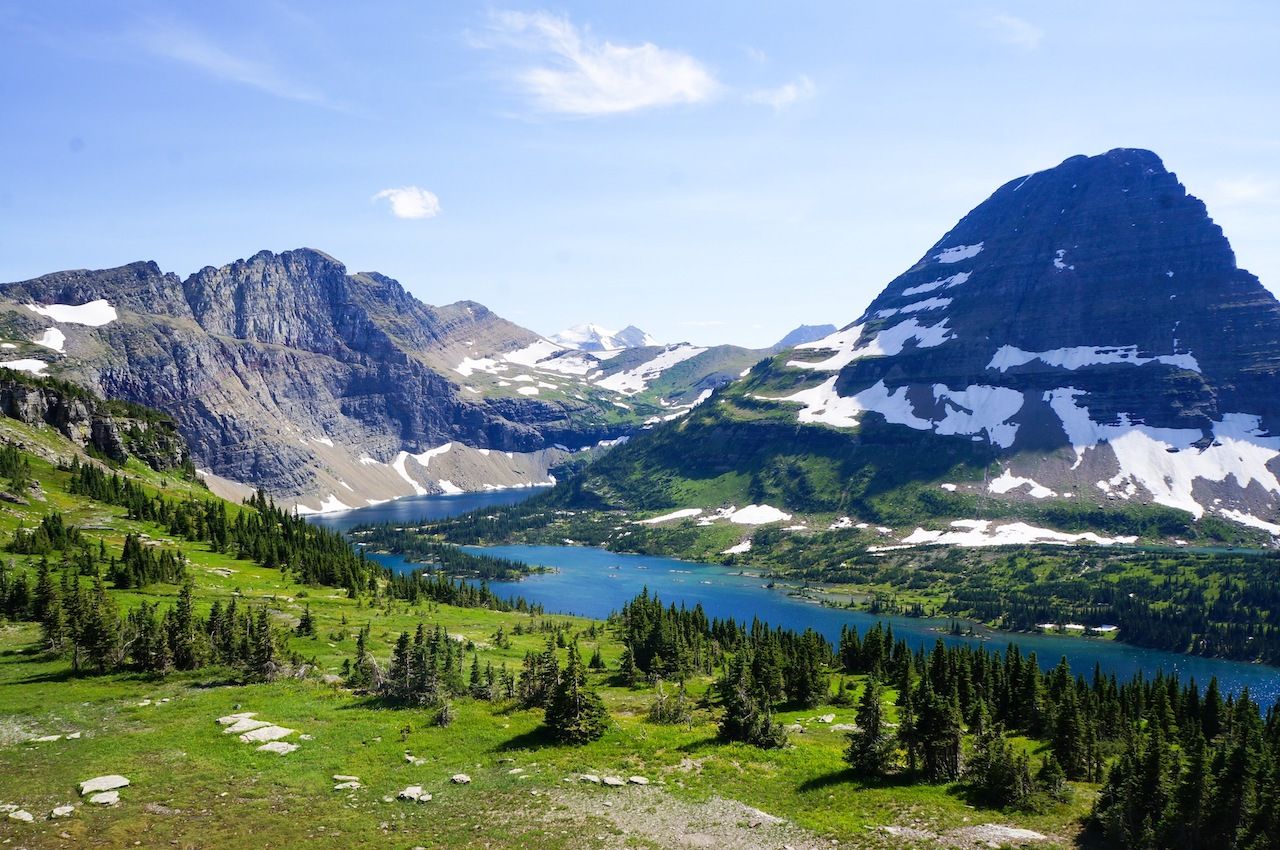
Photo: Kelsey Thomas/Shutterstock
Hiking off-trail requires all of the key backpacking gear necessary for any multi-day jaunt into the wilderness, including good sleeping bags, tents, stoves, a water filter, food, first-aid supplies, navigation equipment including a routed map and a compass, and a headlamp. The unique and necessary gear for the Jefferson Pass Traverse includes basic trail crampons, an ice axe, hiking poles, stiff boots with high ankles, and a few extra snacks (I prefer Apple-O’s) that can turn the mood in a pinch.
I try to pack light, limiting myself to a 50L pack at most. To do this, versatility in layers and gear is key, particularly because you still must prepare for any storms in the forecast. I packed my three-season Trango tent and Phantom Alpine sleeping bag, both from Mountain Hardwear. I’ve trusted these to keep me dry and warm on month-long backcountry trips, so I knew they’d work for this shorter excursion. Packing everything in dry bags, I also brought my thicker Gore-tex shell, in case the winds and rain took a turn for the worse. With our group of five, I opted for a 2.5L Windburner Group Stove System and 10L Gravity Filter, both made by MSR, making water fill-ups and food preparation much faster. Because Glacier is home to many bears and pesky rodents, it’s also required to bring a bear barrel for storing food, bear spray in case of a close encounter, and it’s always worthwhile to bring some bug spray for your own sanity’s sake.
Hiking off-trail on mellow and open alpine meadows is pretty easy, but don’t expect that for most of this traverse. Glacier is true wilderness and if you come in without the right preparation, things will likely go wrong. With the advancement of GPS and app-based mapping, phones have nearly replaced their paper predecessor but shouldn’t be the only navigation resource you bring along. The ability to read topo maps is something I can’t stress enough. The same goes with your ability to negotiate weather systems, proactively prevent dangerous animal encounters, manage food, some training in first aid and, importantly, your ability to find safe routes in challenging terrain. These are all surefire prerequisites to make the Jefferson Pass Traverse a fun and safe adventure. ![]()