As a travel editor, my road gear gets a lot of use. I recently donated a travel backpack I’d traveled with for six years solid because it was fraying at the seams and completely tattered, despite being a product that’s guaranteed for life. Because I heavily use my luggage and backpacks, I’ve become a fan of cleaning them occasionally both for aesthetic purposes and because it helps them maintain proper function for longer. Here I’ll detail how I clean my soft-sided luggage and backpacks along with the products I use. The bonus is that through this process your gear also becomes water-resistant and UV-resistant, both of which will help it last longer and be more effective for adventure travel.

For cleaning products, I’m a fan of Nikwax because I spend a lot of time outdoors, and much of the travel I do is to pursue outdoor activities. Its products are formulated for outdoor gear. Regardless of whether you do the same, the brand’s Tent and Gear Solarwash can work on your soft-sided luggage and with the solar and waterproofing add-on, it will become more resistant to damage while you’re on the road. Other products like Muc-Off Waterless Wash can do the cleaning trick as well, without the added water- and sun-proofing.
The wash and sunproof processes demonstrated here take about 10 to 15 minutes in total, not including drying. I used a Patagonia Refugio backpack for this demo because I travel with it regularly and also use it as my daily commuter pack for biking into my coworking space and around town on errands. Cleaning your luggage is important to prevent not just dirt and stains but also bed bugs, especially if you spend a lot of time in hotels. I also recommend santiziing your luggage more frequently if you travel a lot.
These are the products I used:
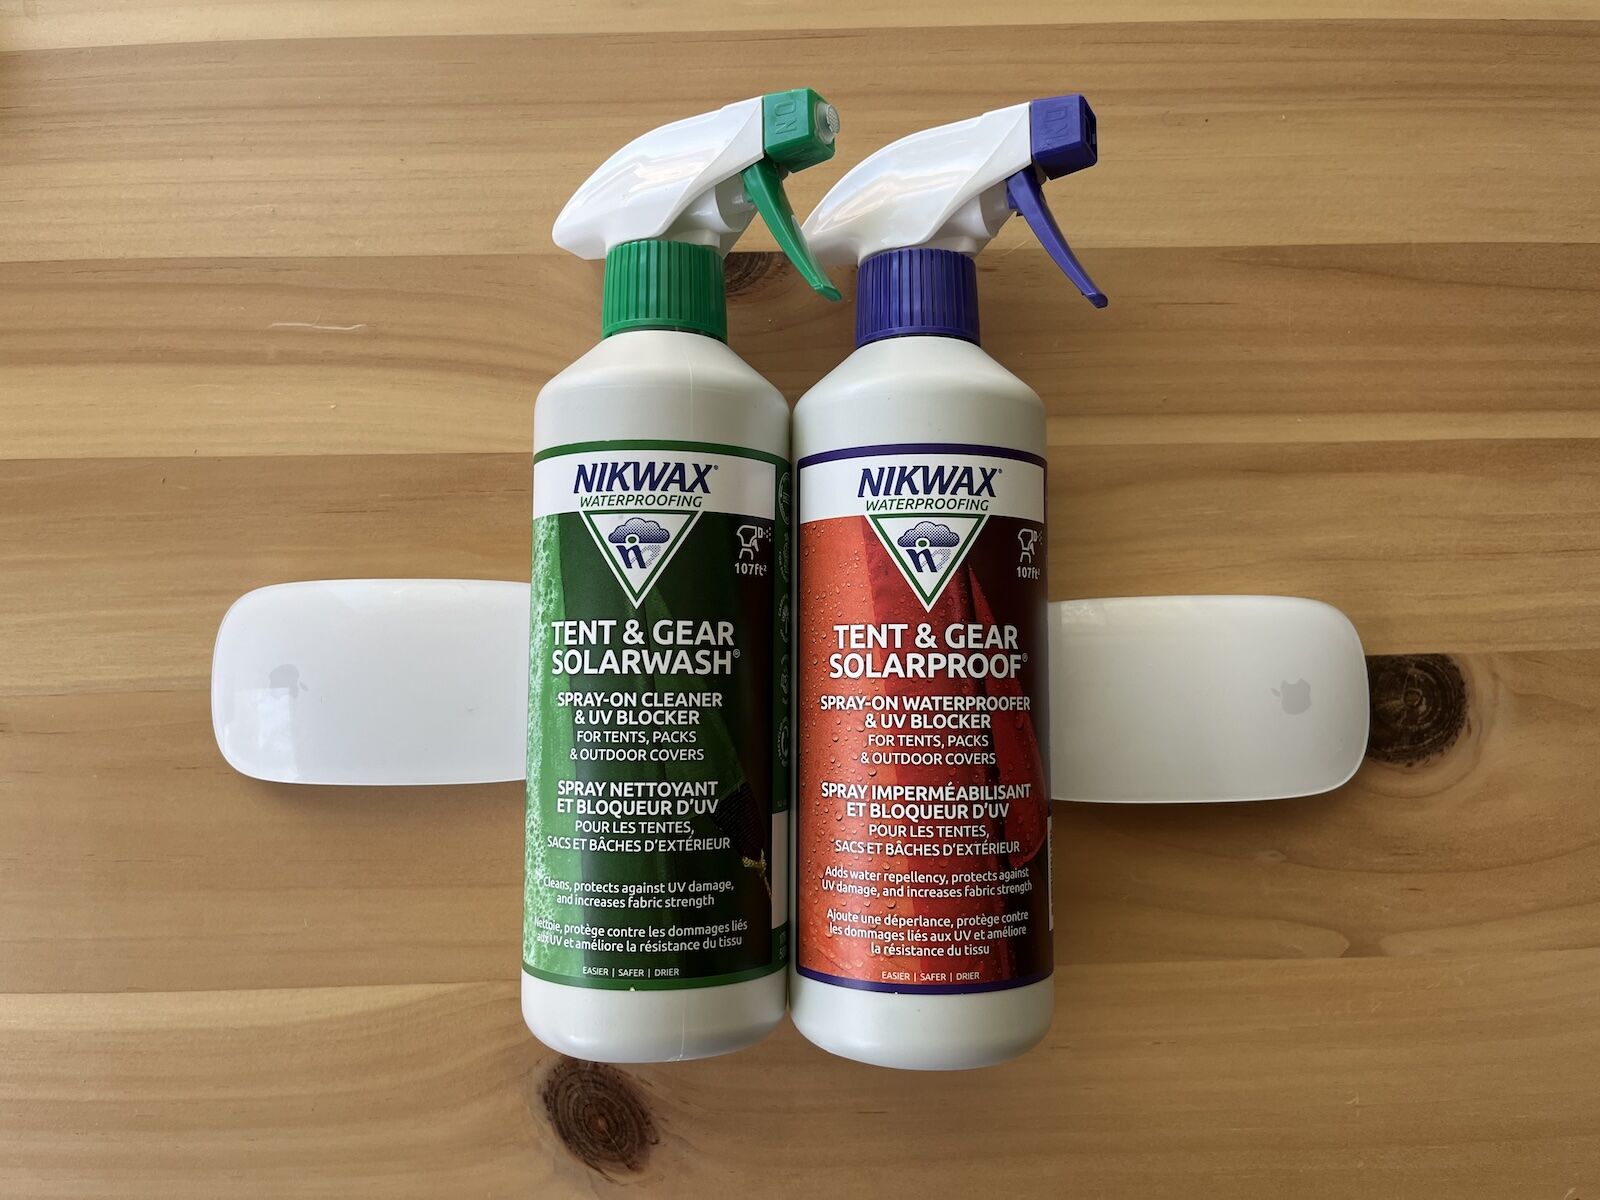
Photo: Tim Wenger
Buy Nikwax Tent & Gear Solarwash
Buy Nikwax Tent & Gear Solarproof Concentrate
Both are available as a package, which I recommend because they’re in spray bottles ready to go, as opposed to a concentrate that you have to mix with water:
Buy Nikwax Tent & Gear Solarwash and Solarproof
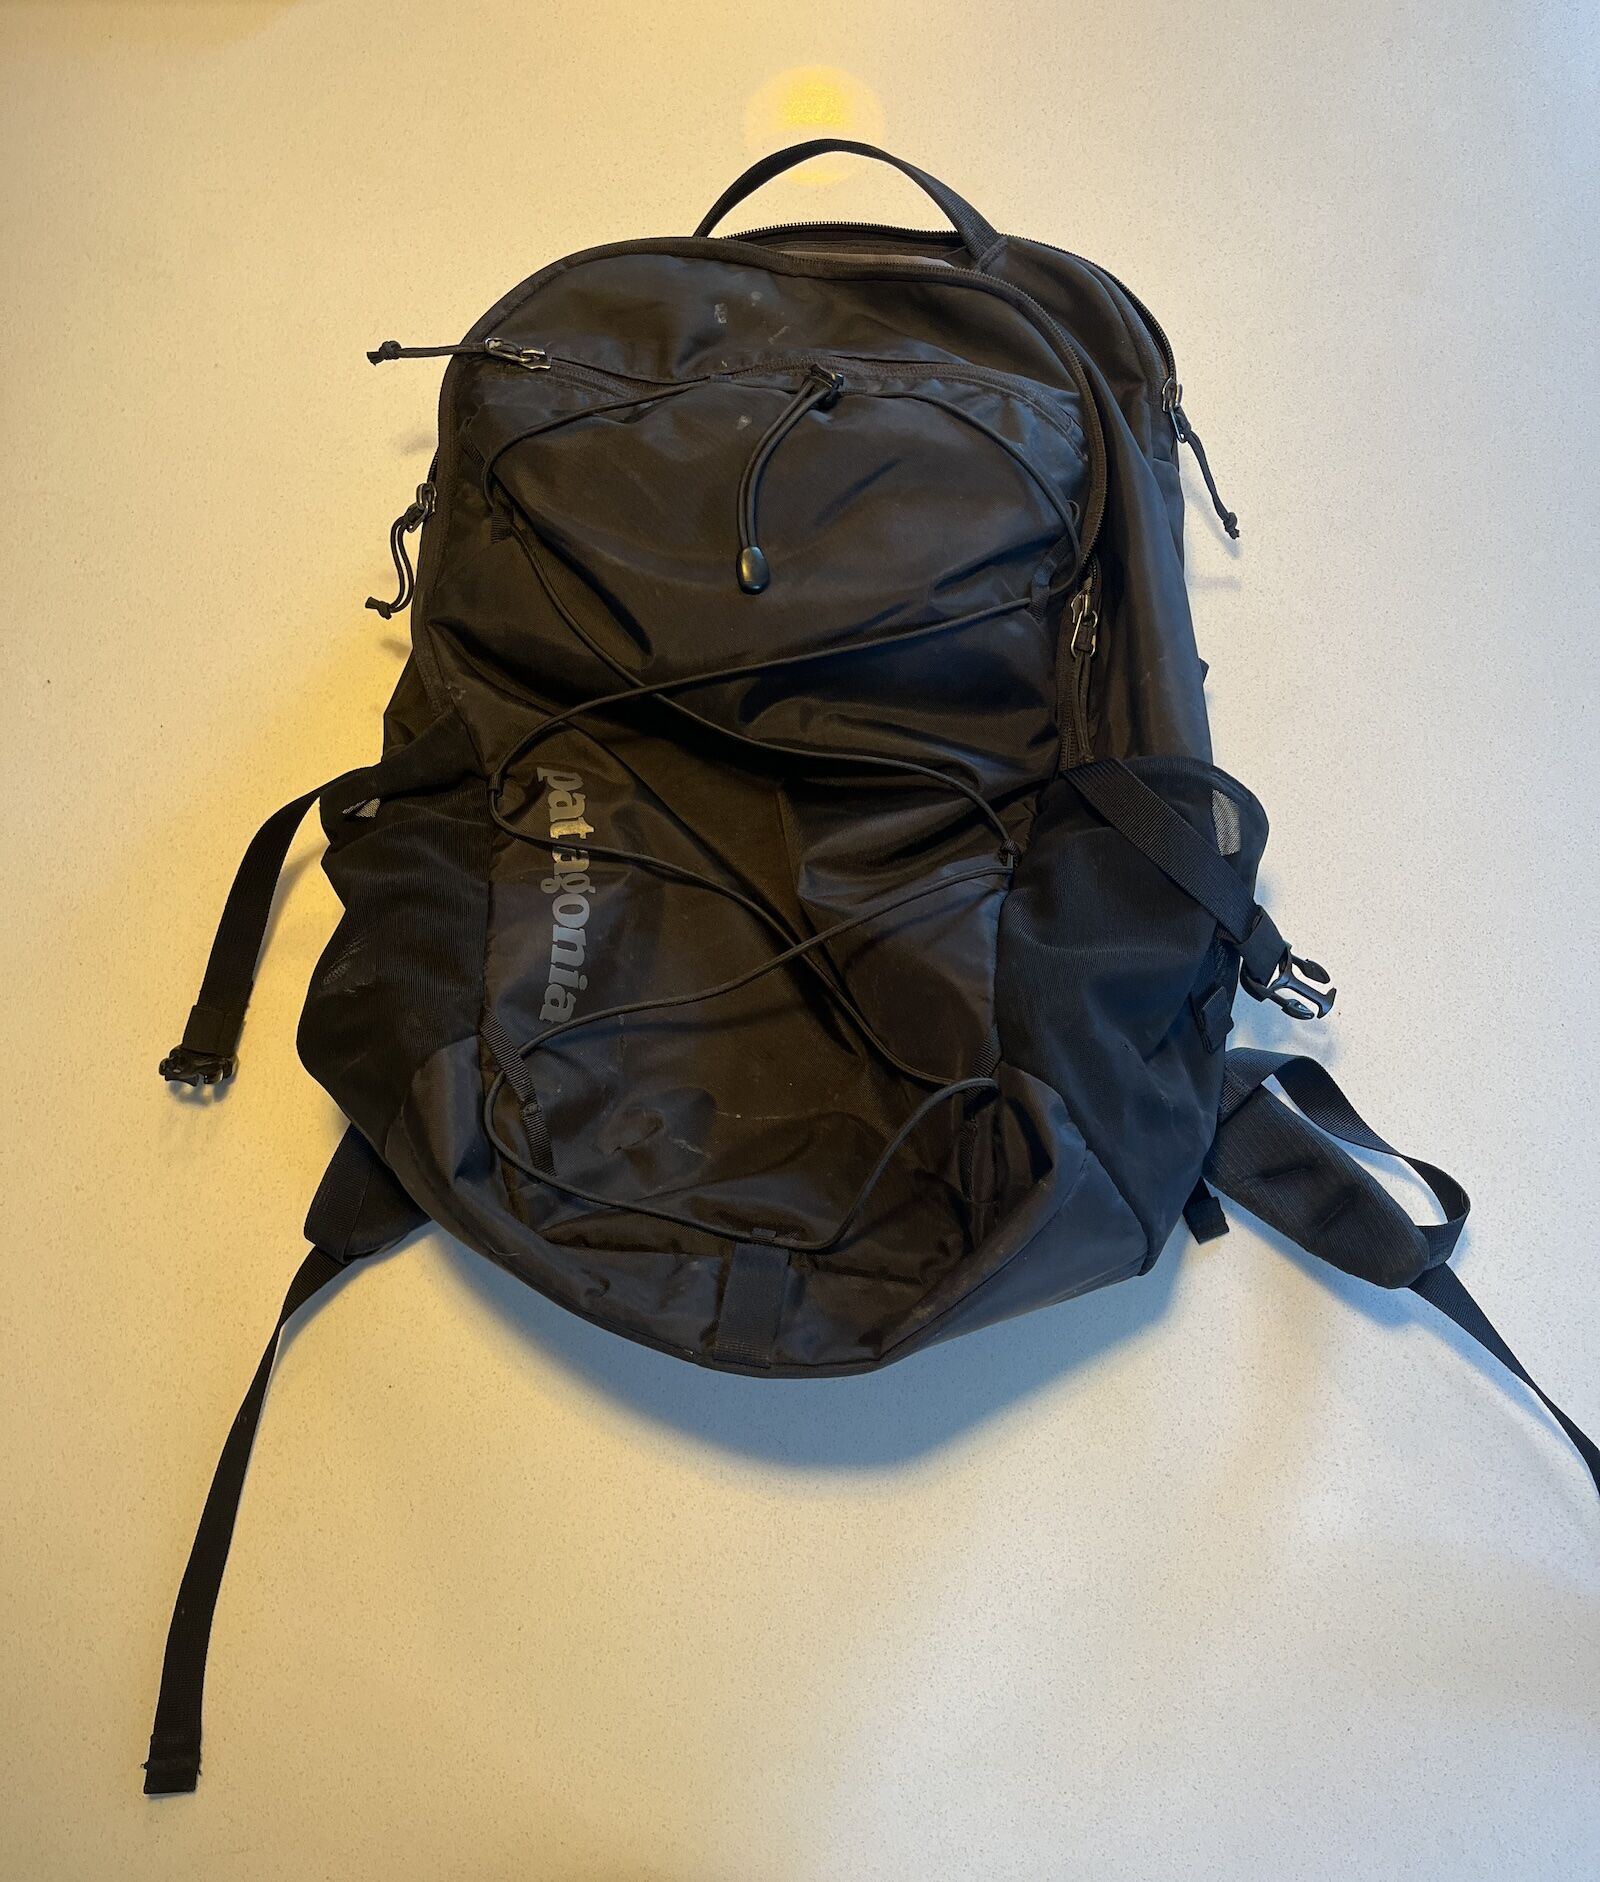
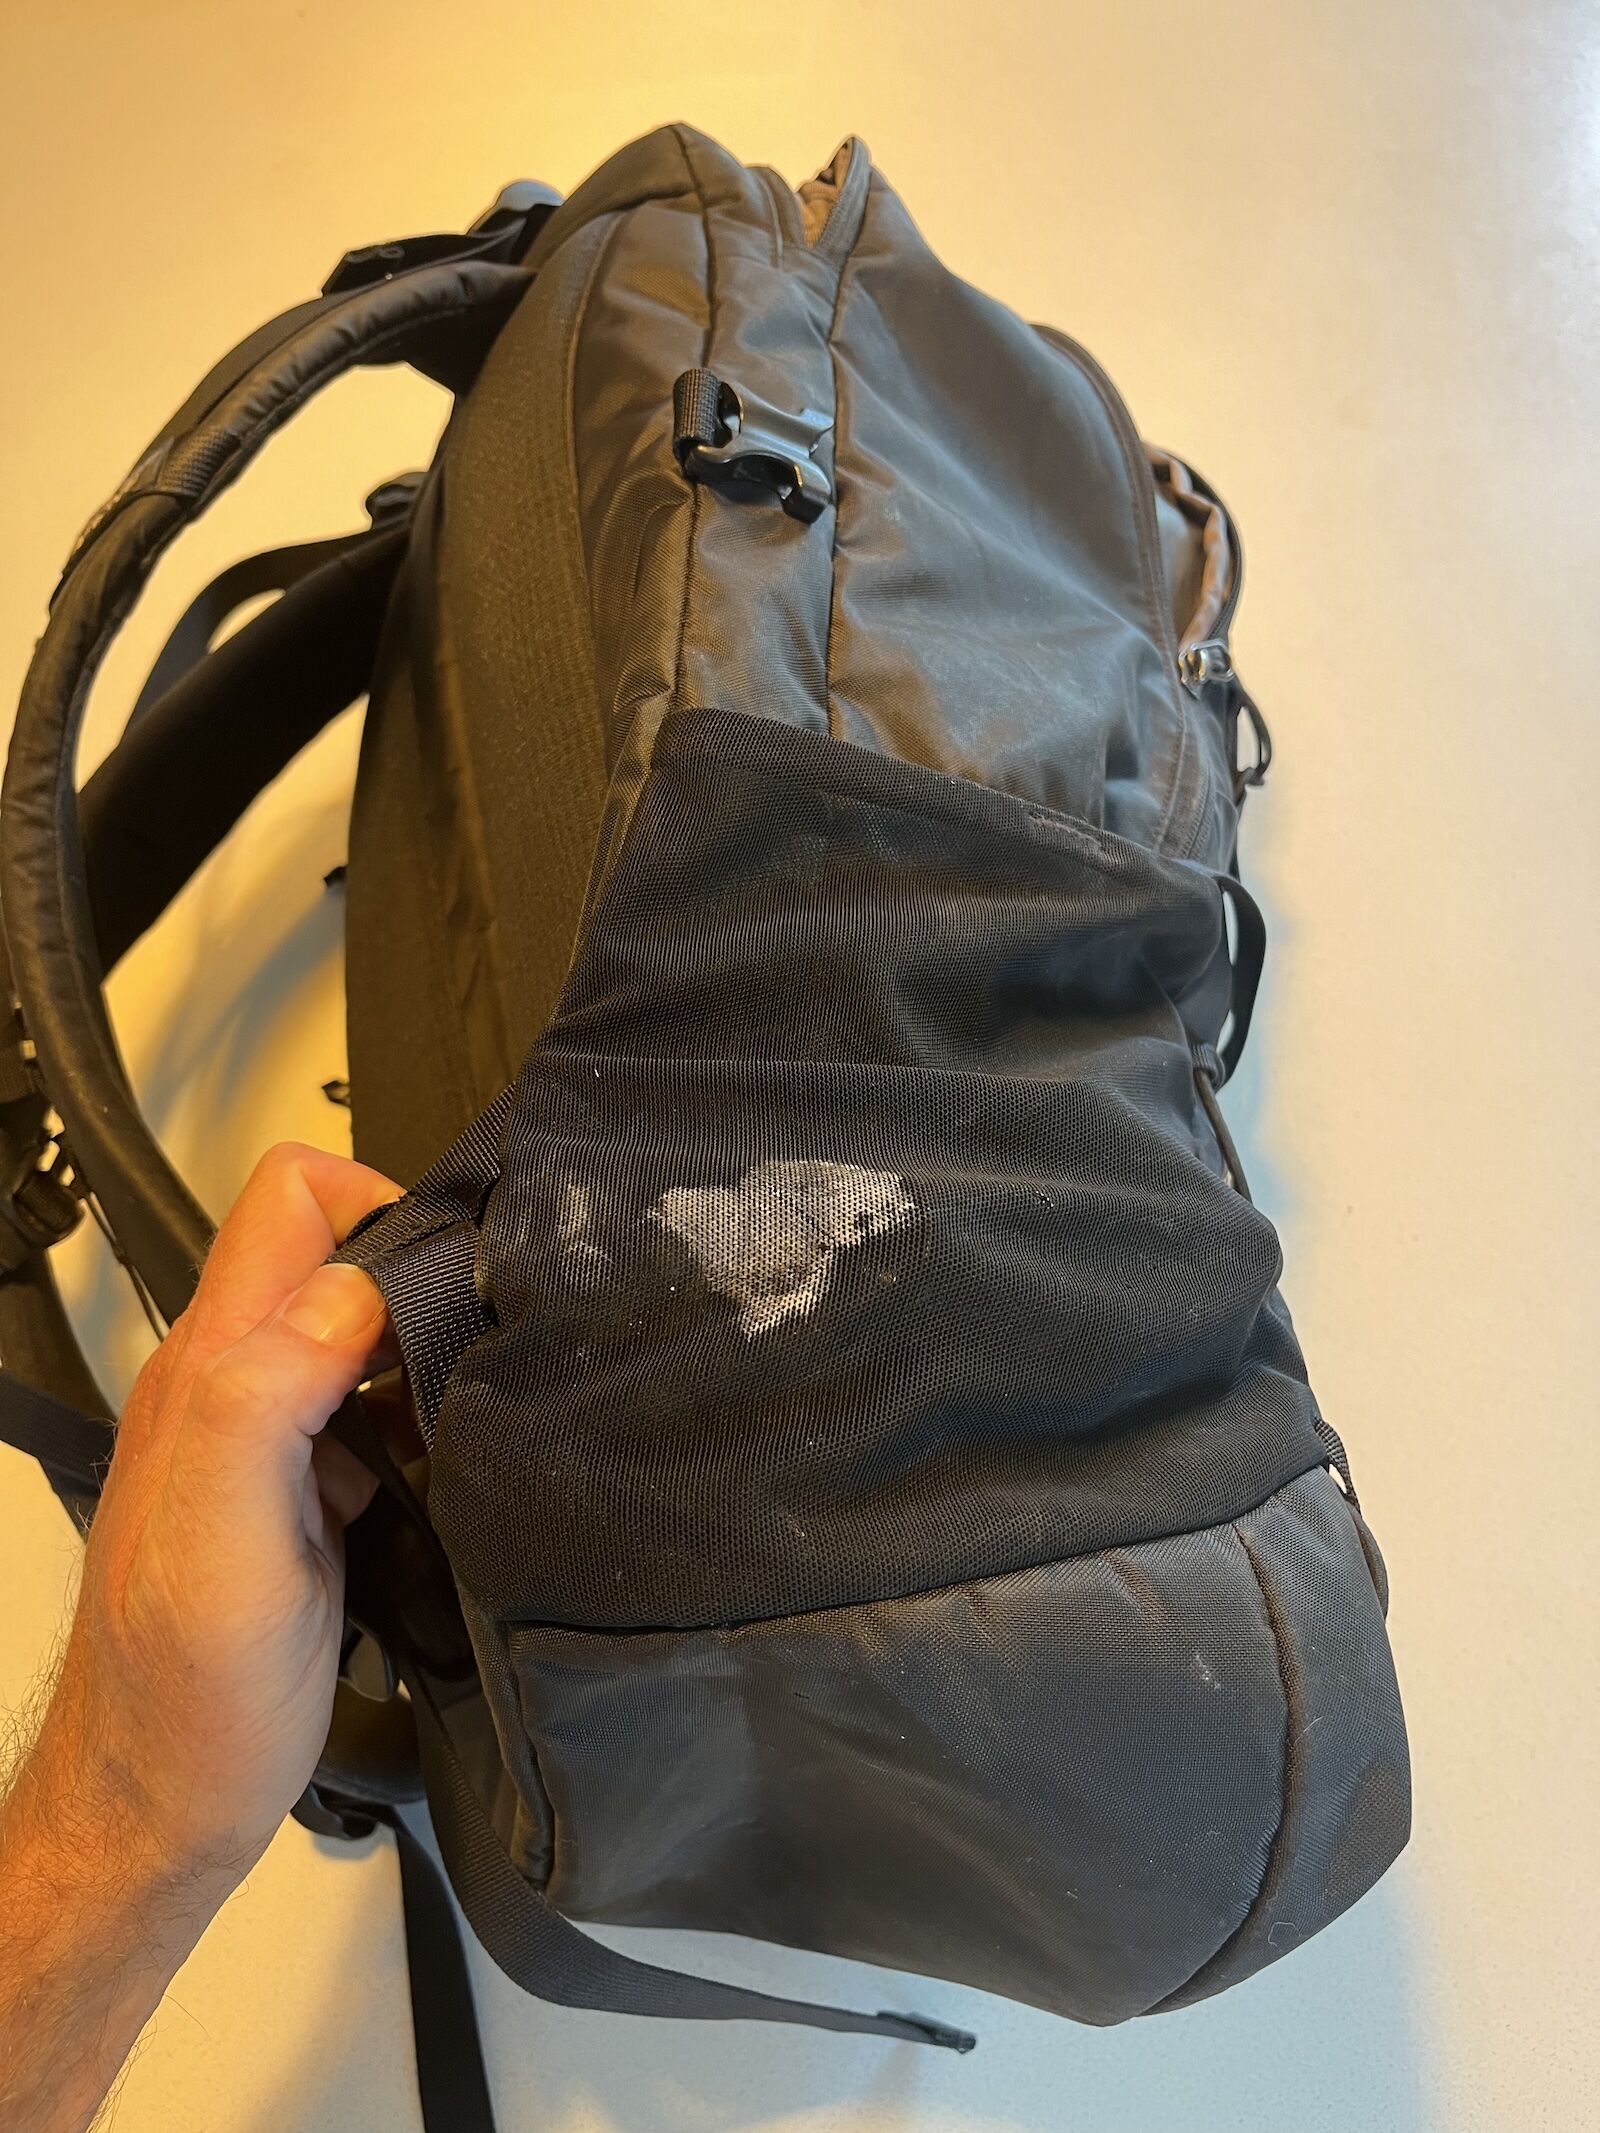
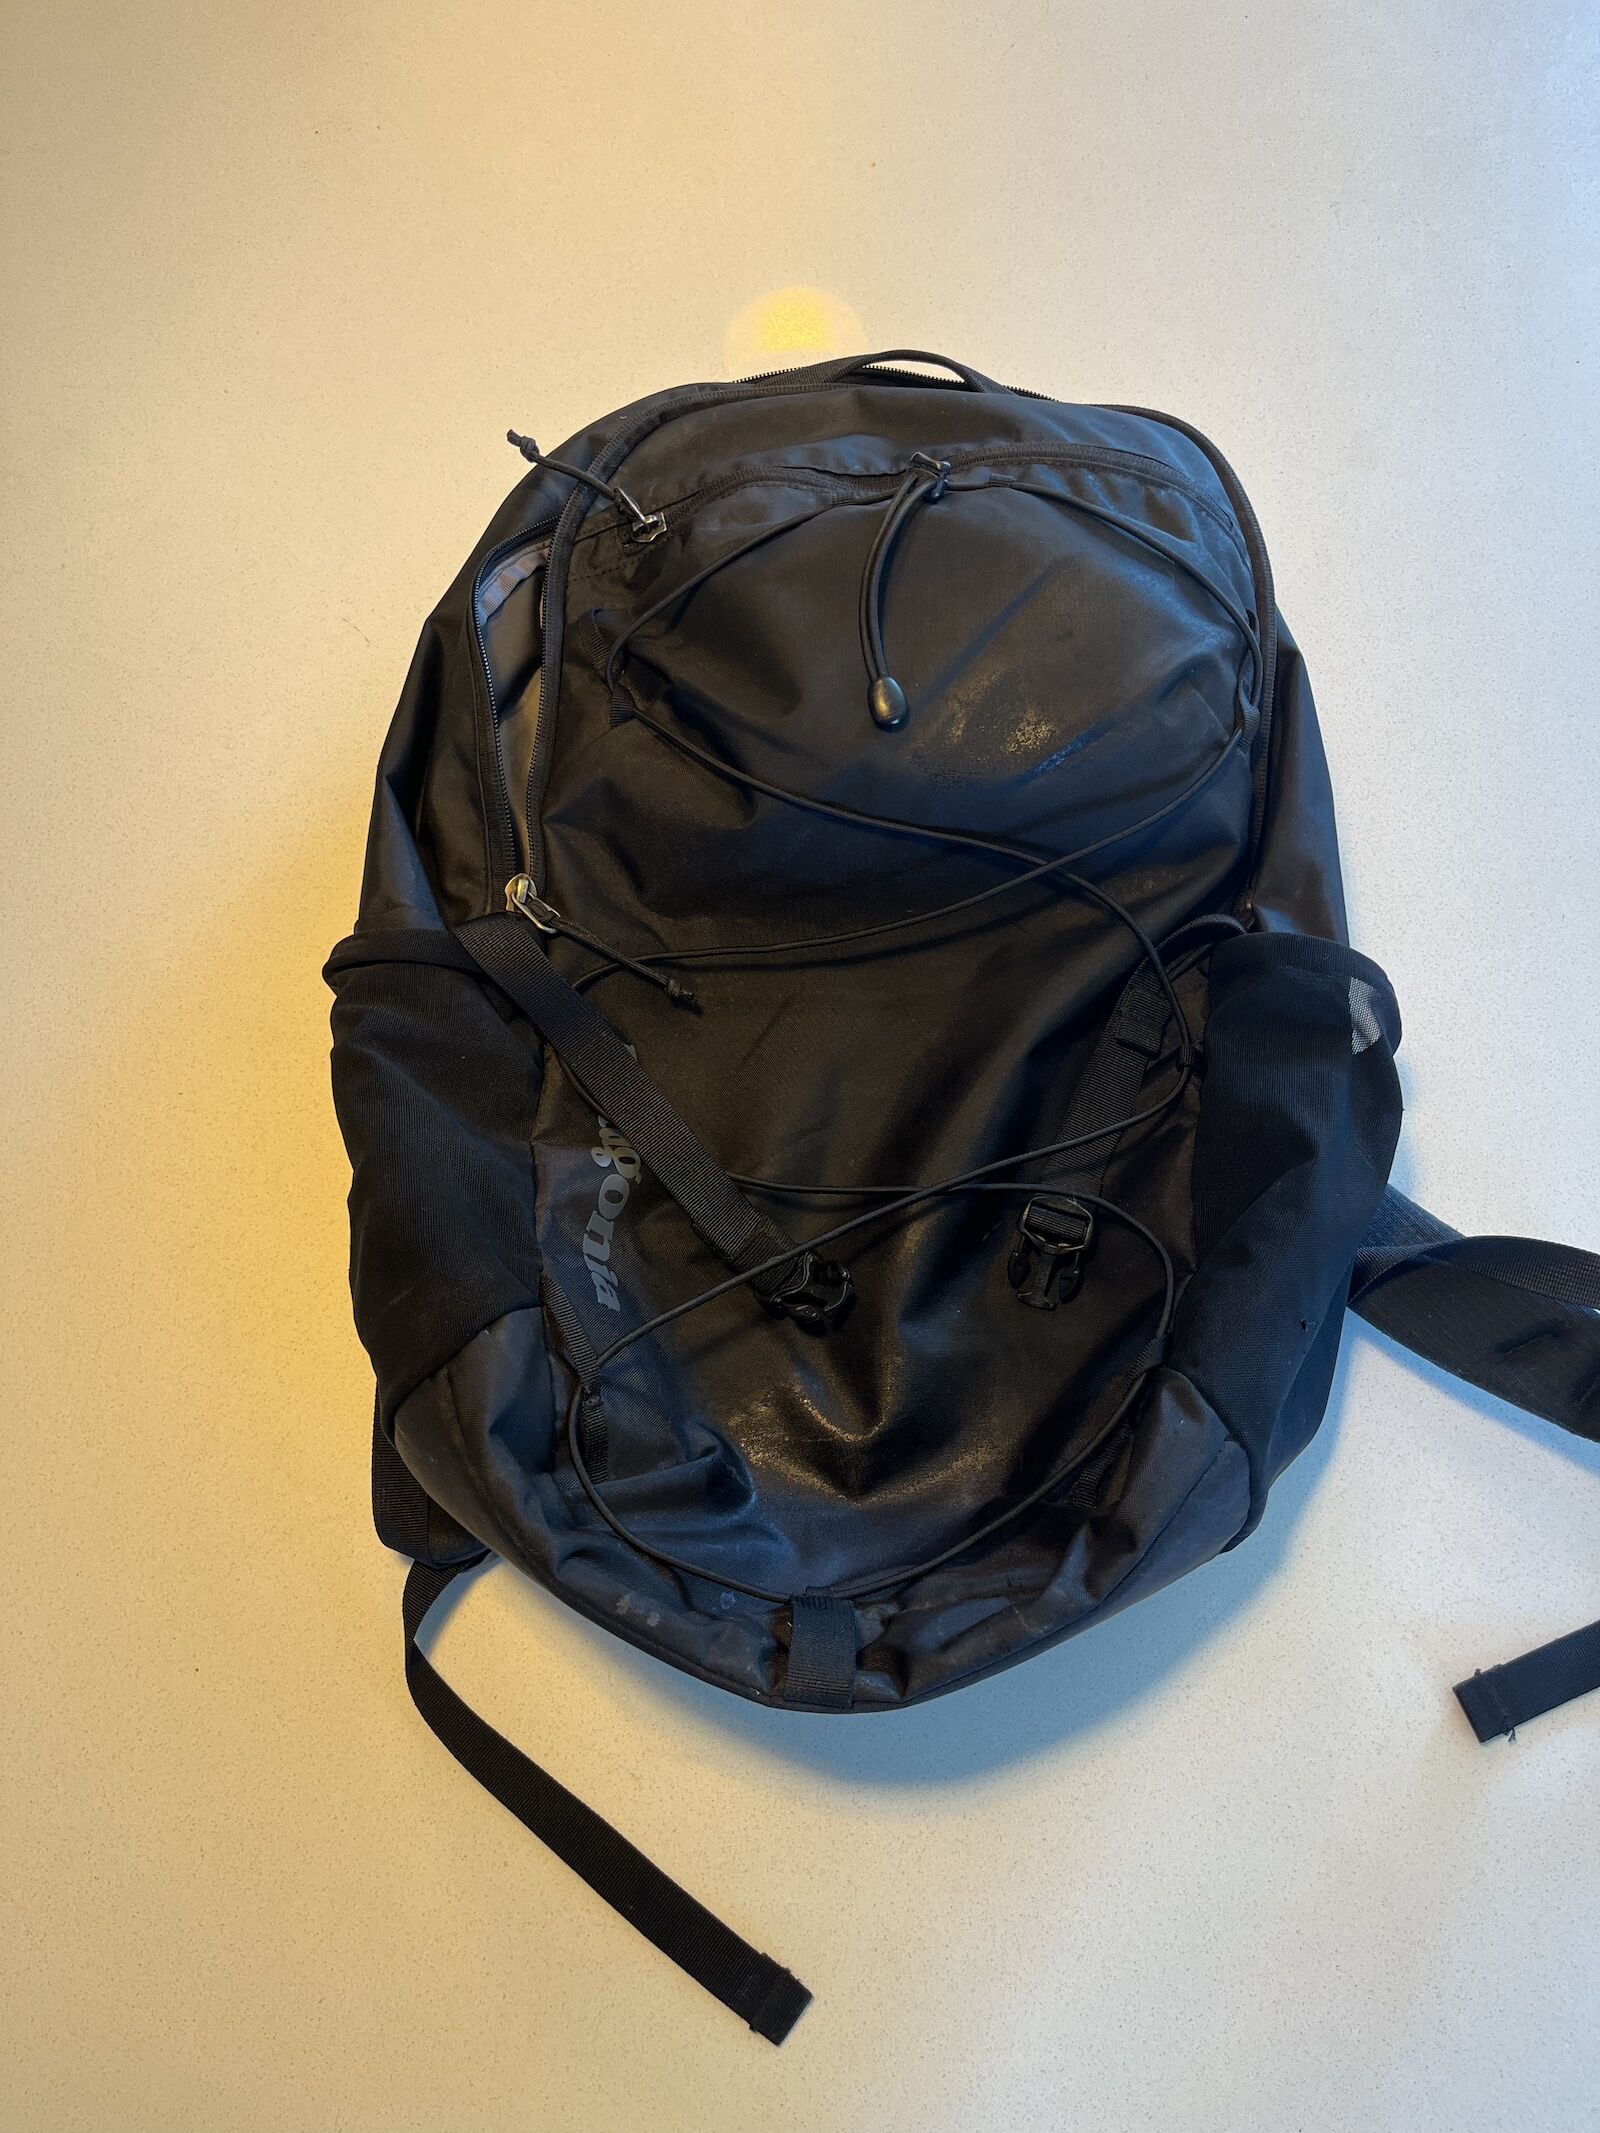
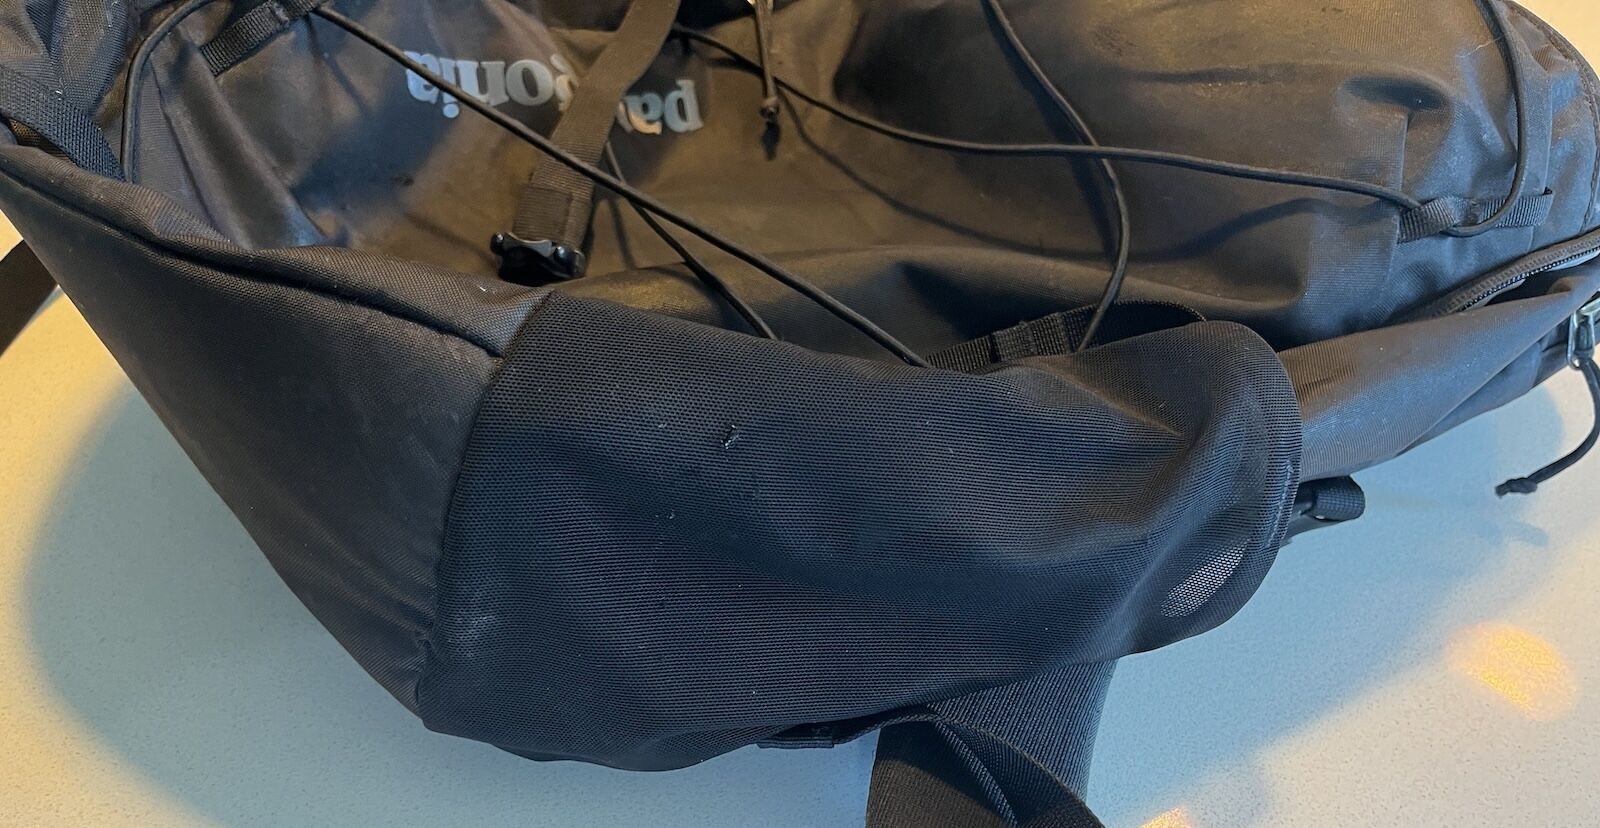
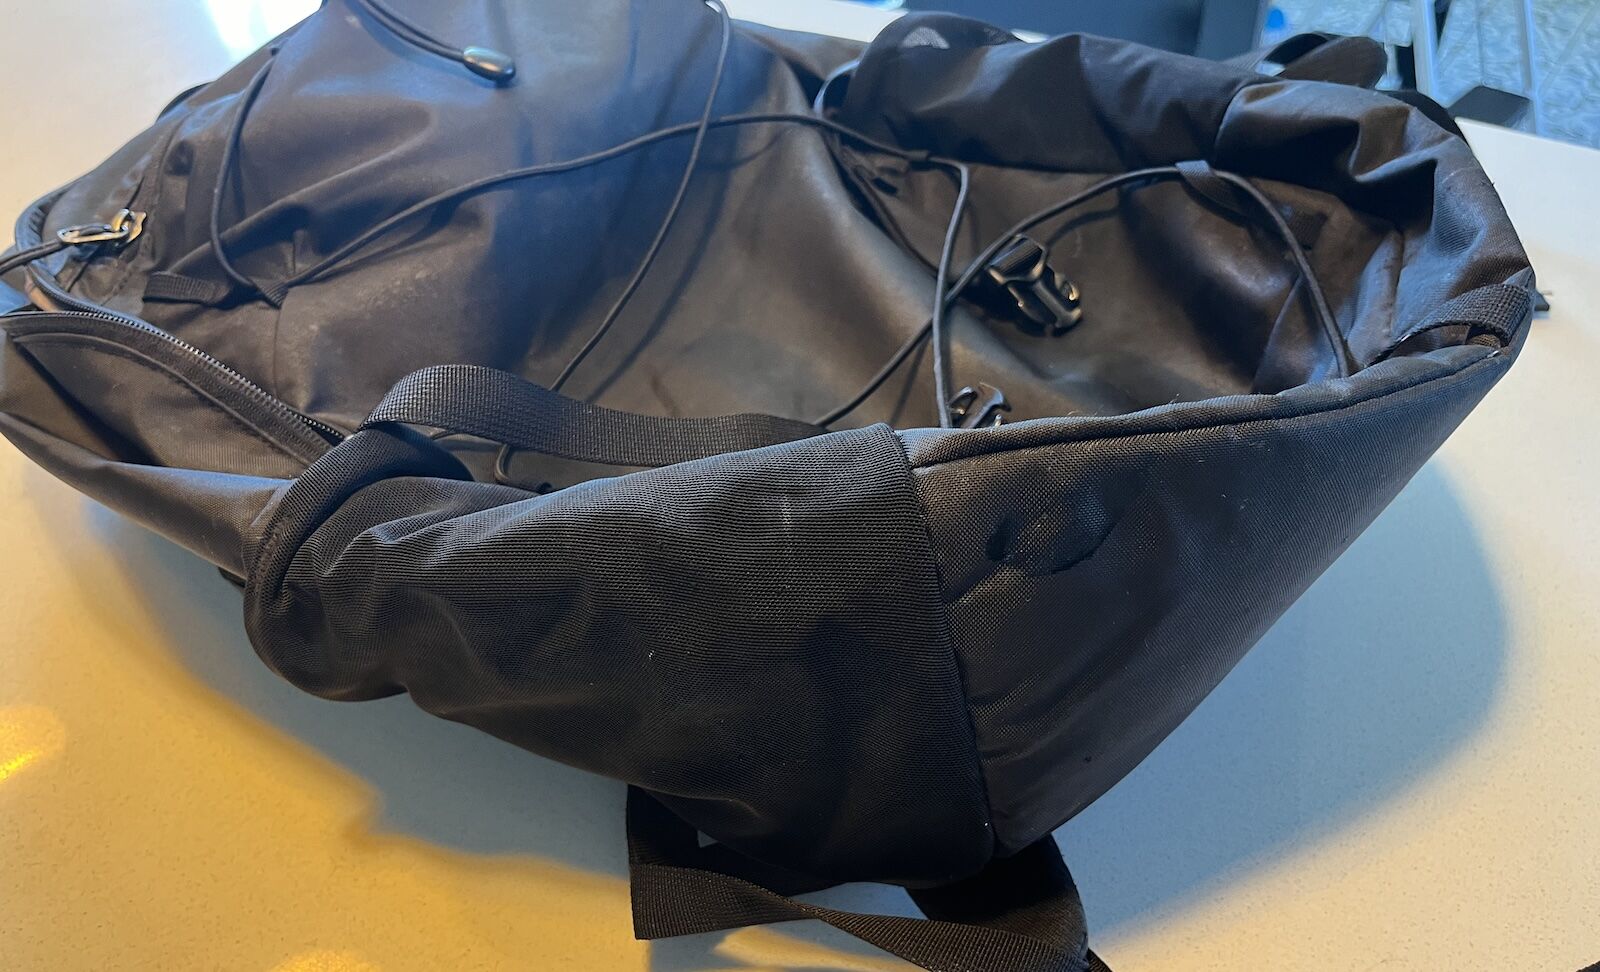
Here’s what my pack looked like before I cleaned it (scroll through the gallery for more angles). Notice the large splotches on near the top, on one water bottle holder, and elsewhere on the pack. Generally, it was filthy after a year of daily use:
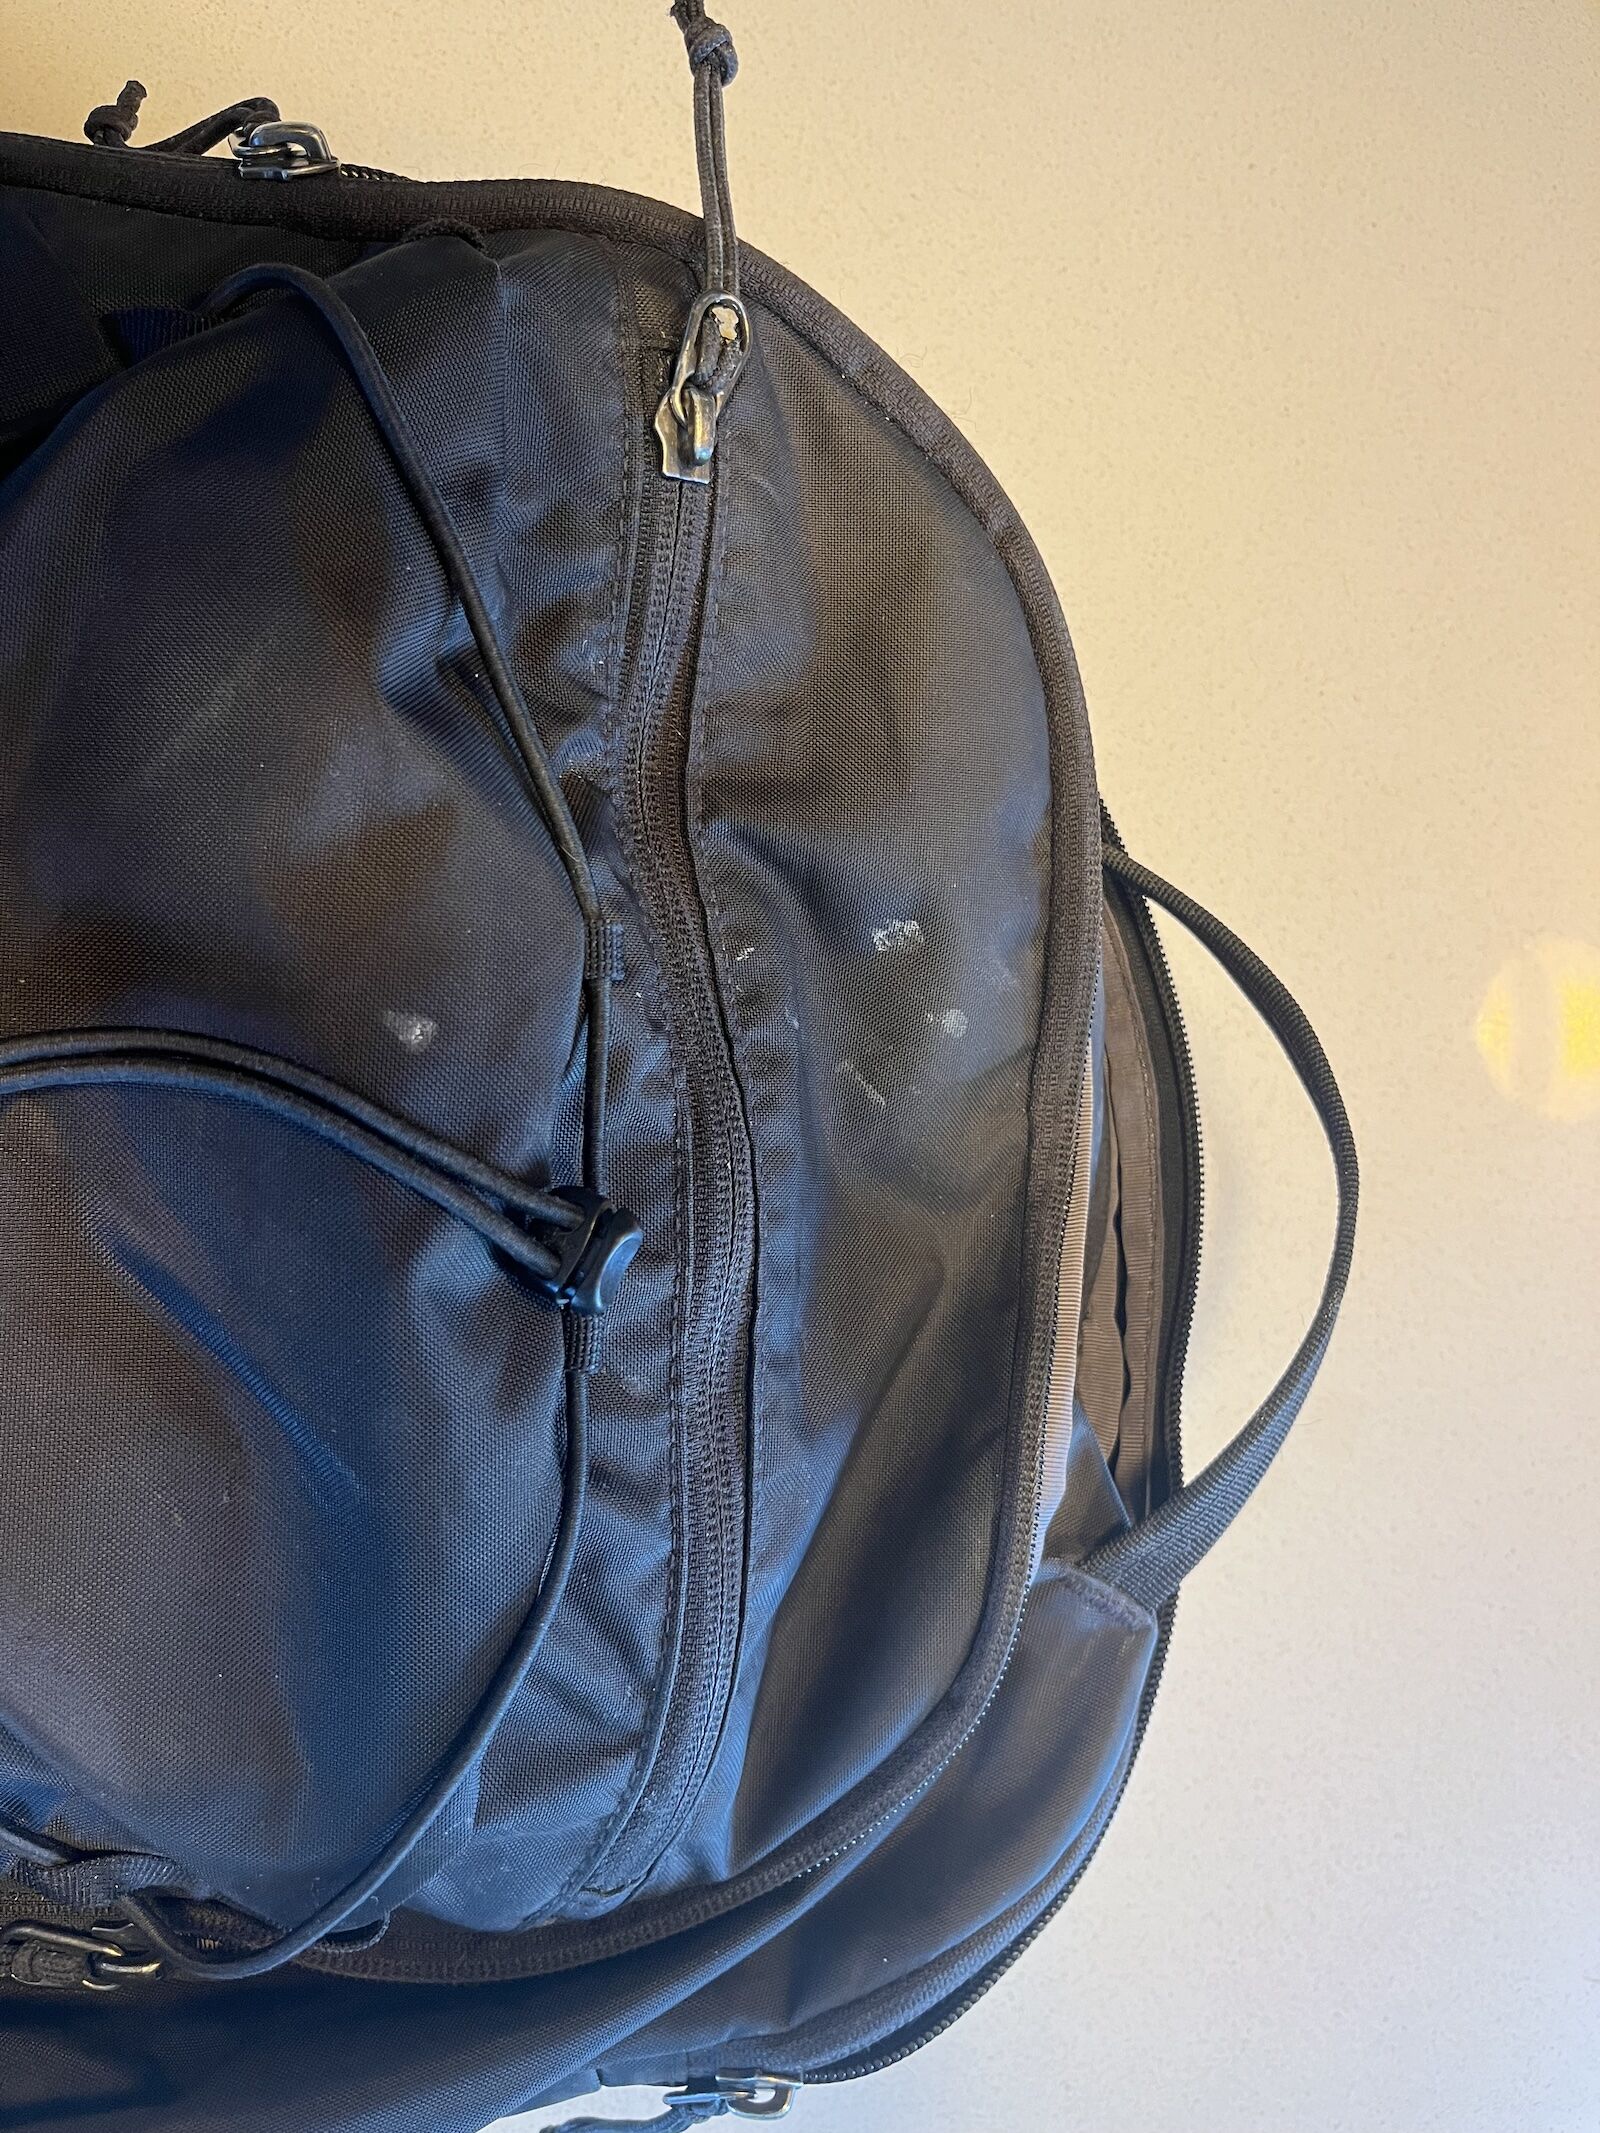
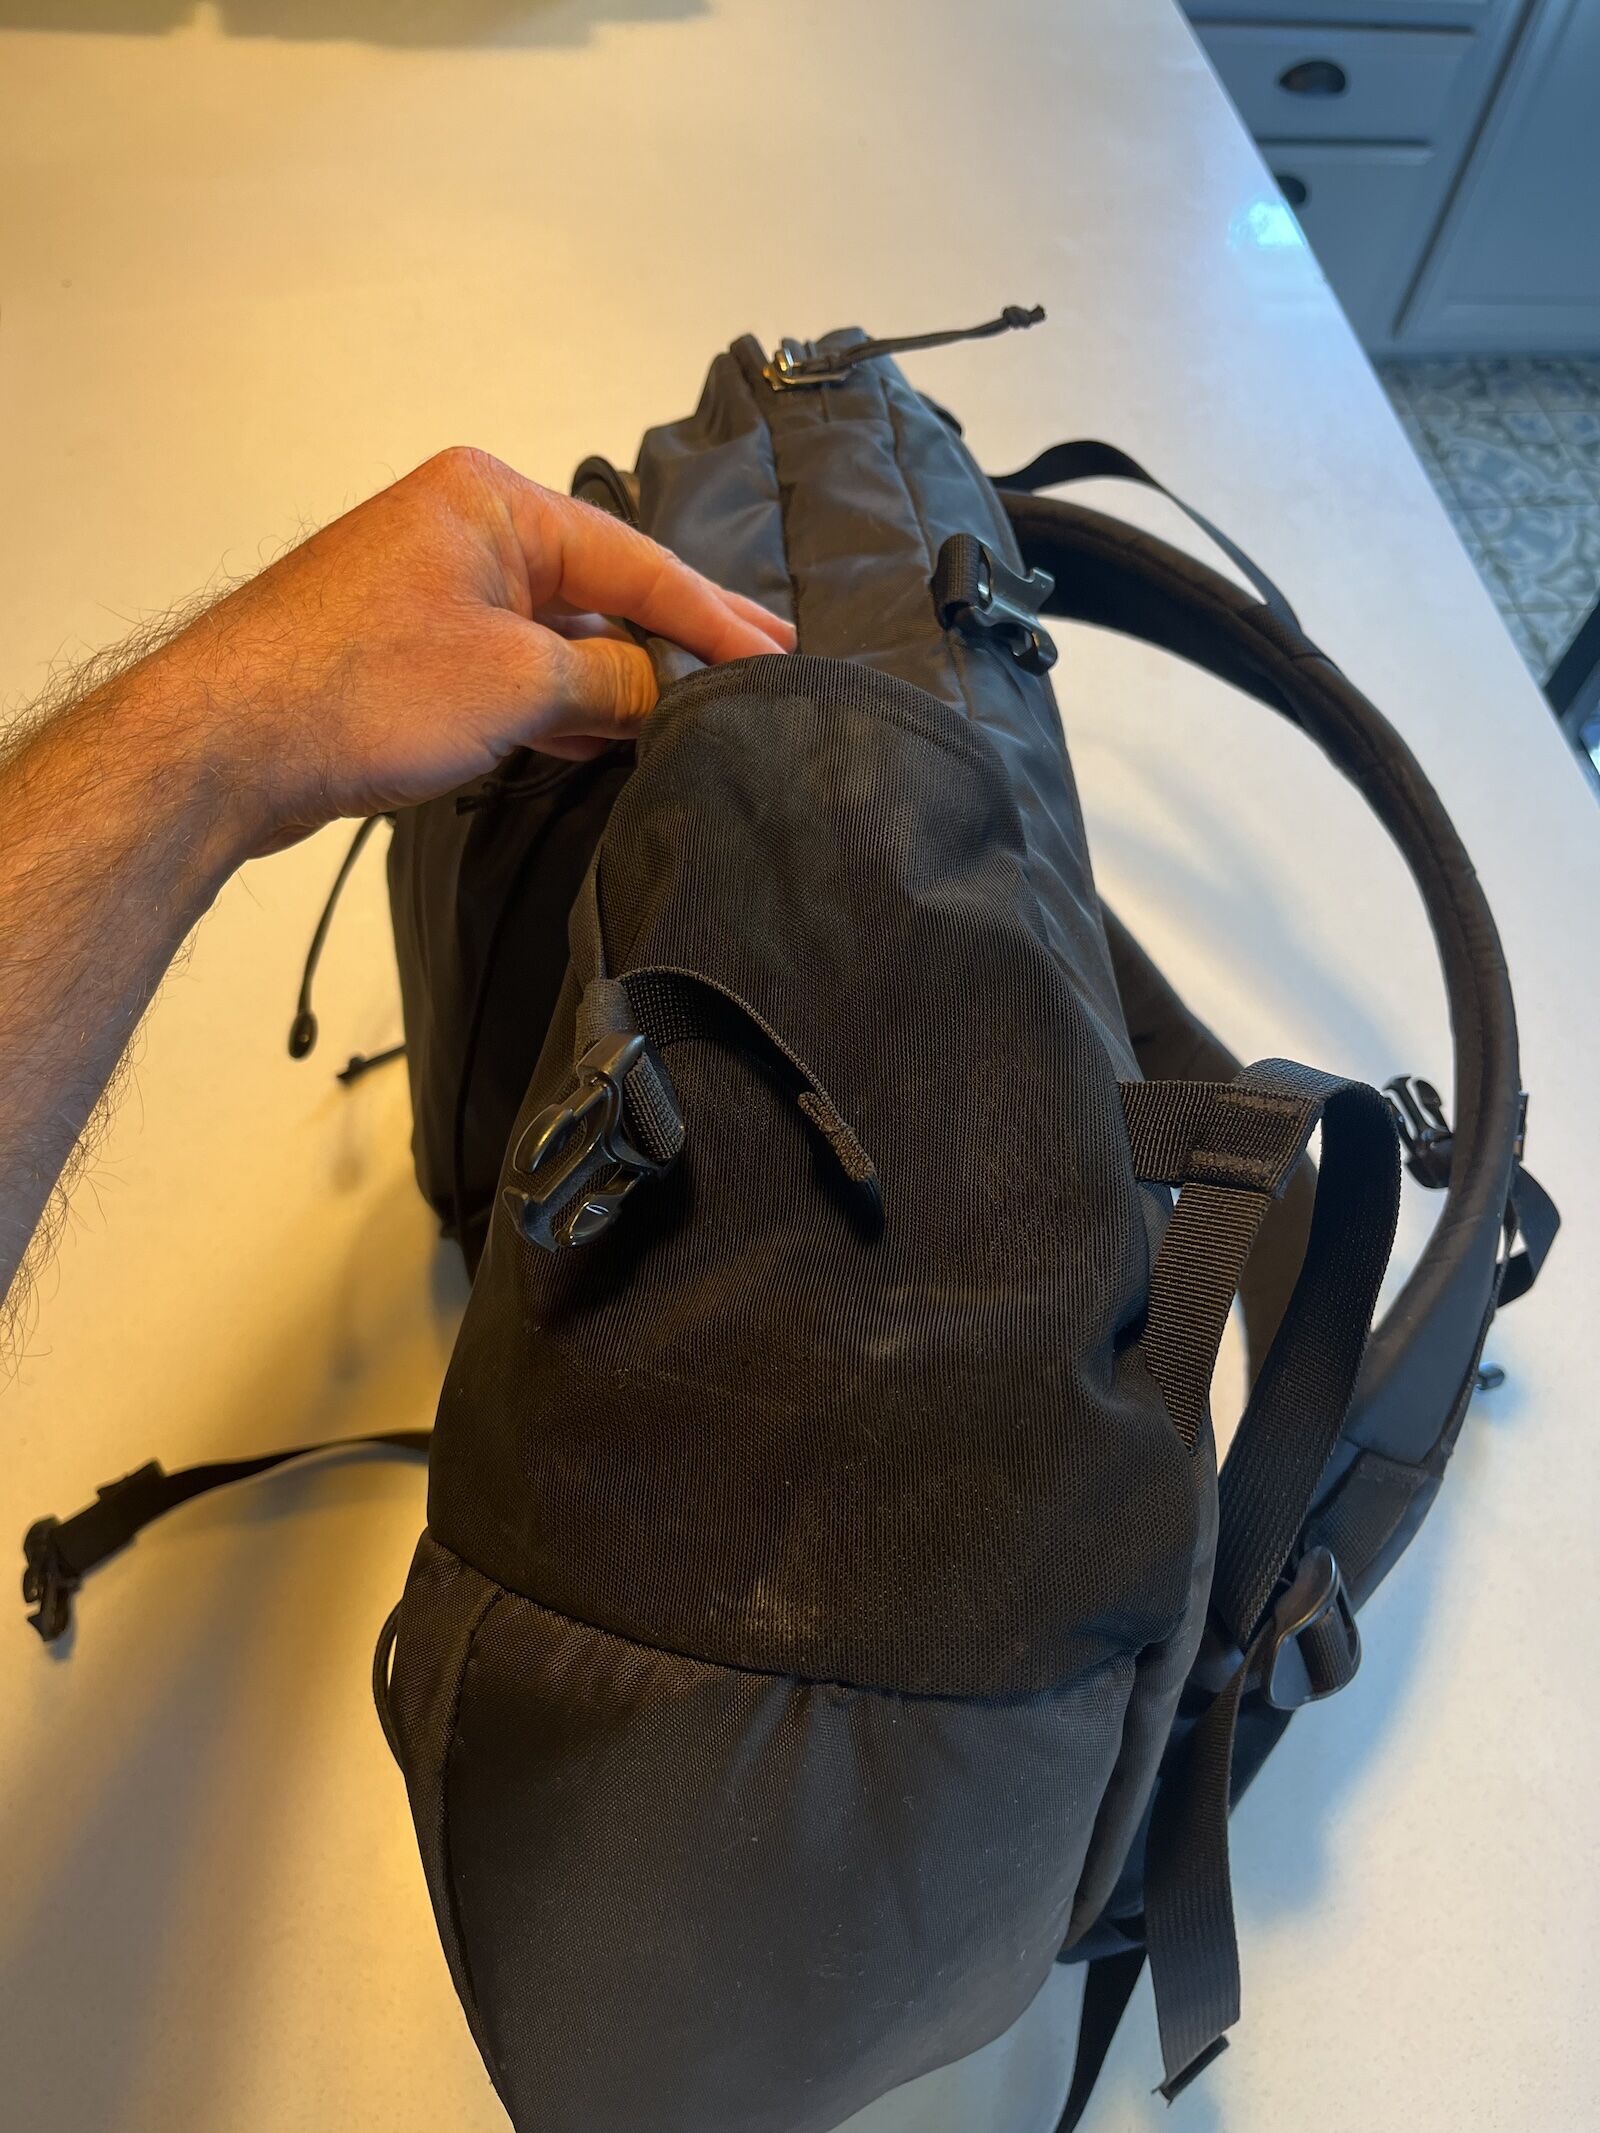
We hope you love the products we recommend! Just so you know, Matador may collect a small commission from the links on this page if you decide to make a purchase..
Step 1: Set up your workspace
You’ll want to wash your pack or luggage outside, in a garage, or in an area that you’ve proofed for damage. I recommend not doing this in your living room unless you can put a plastic mat or some other protective layer down between your gear and the floor, and preferably something around the sides of the gear as well. If you have a grassy or rock-covered area to use, that’s perfect.
Step 2: Spray and clean your luggage
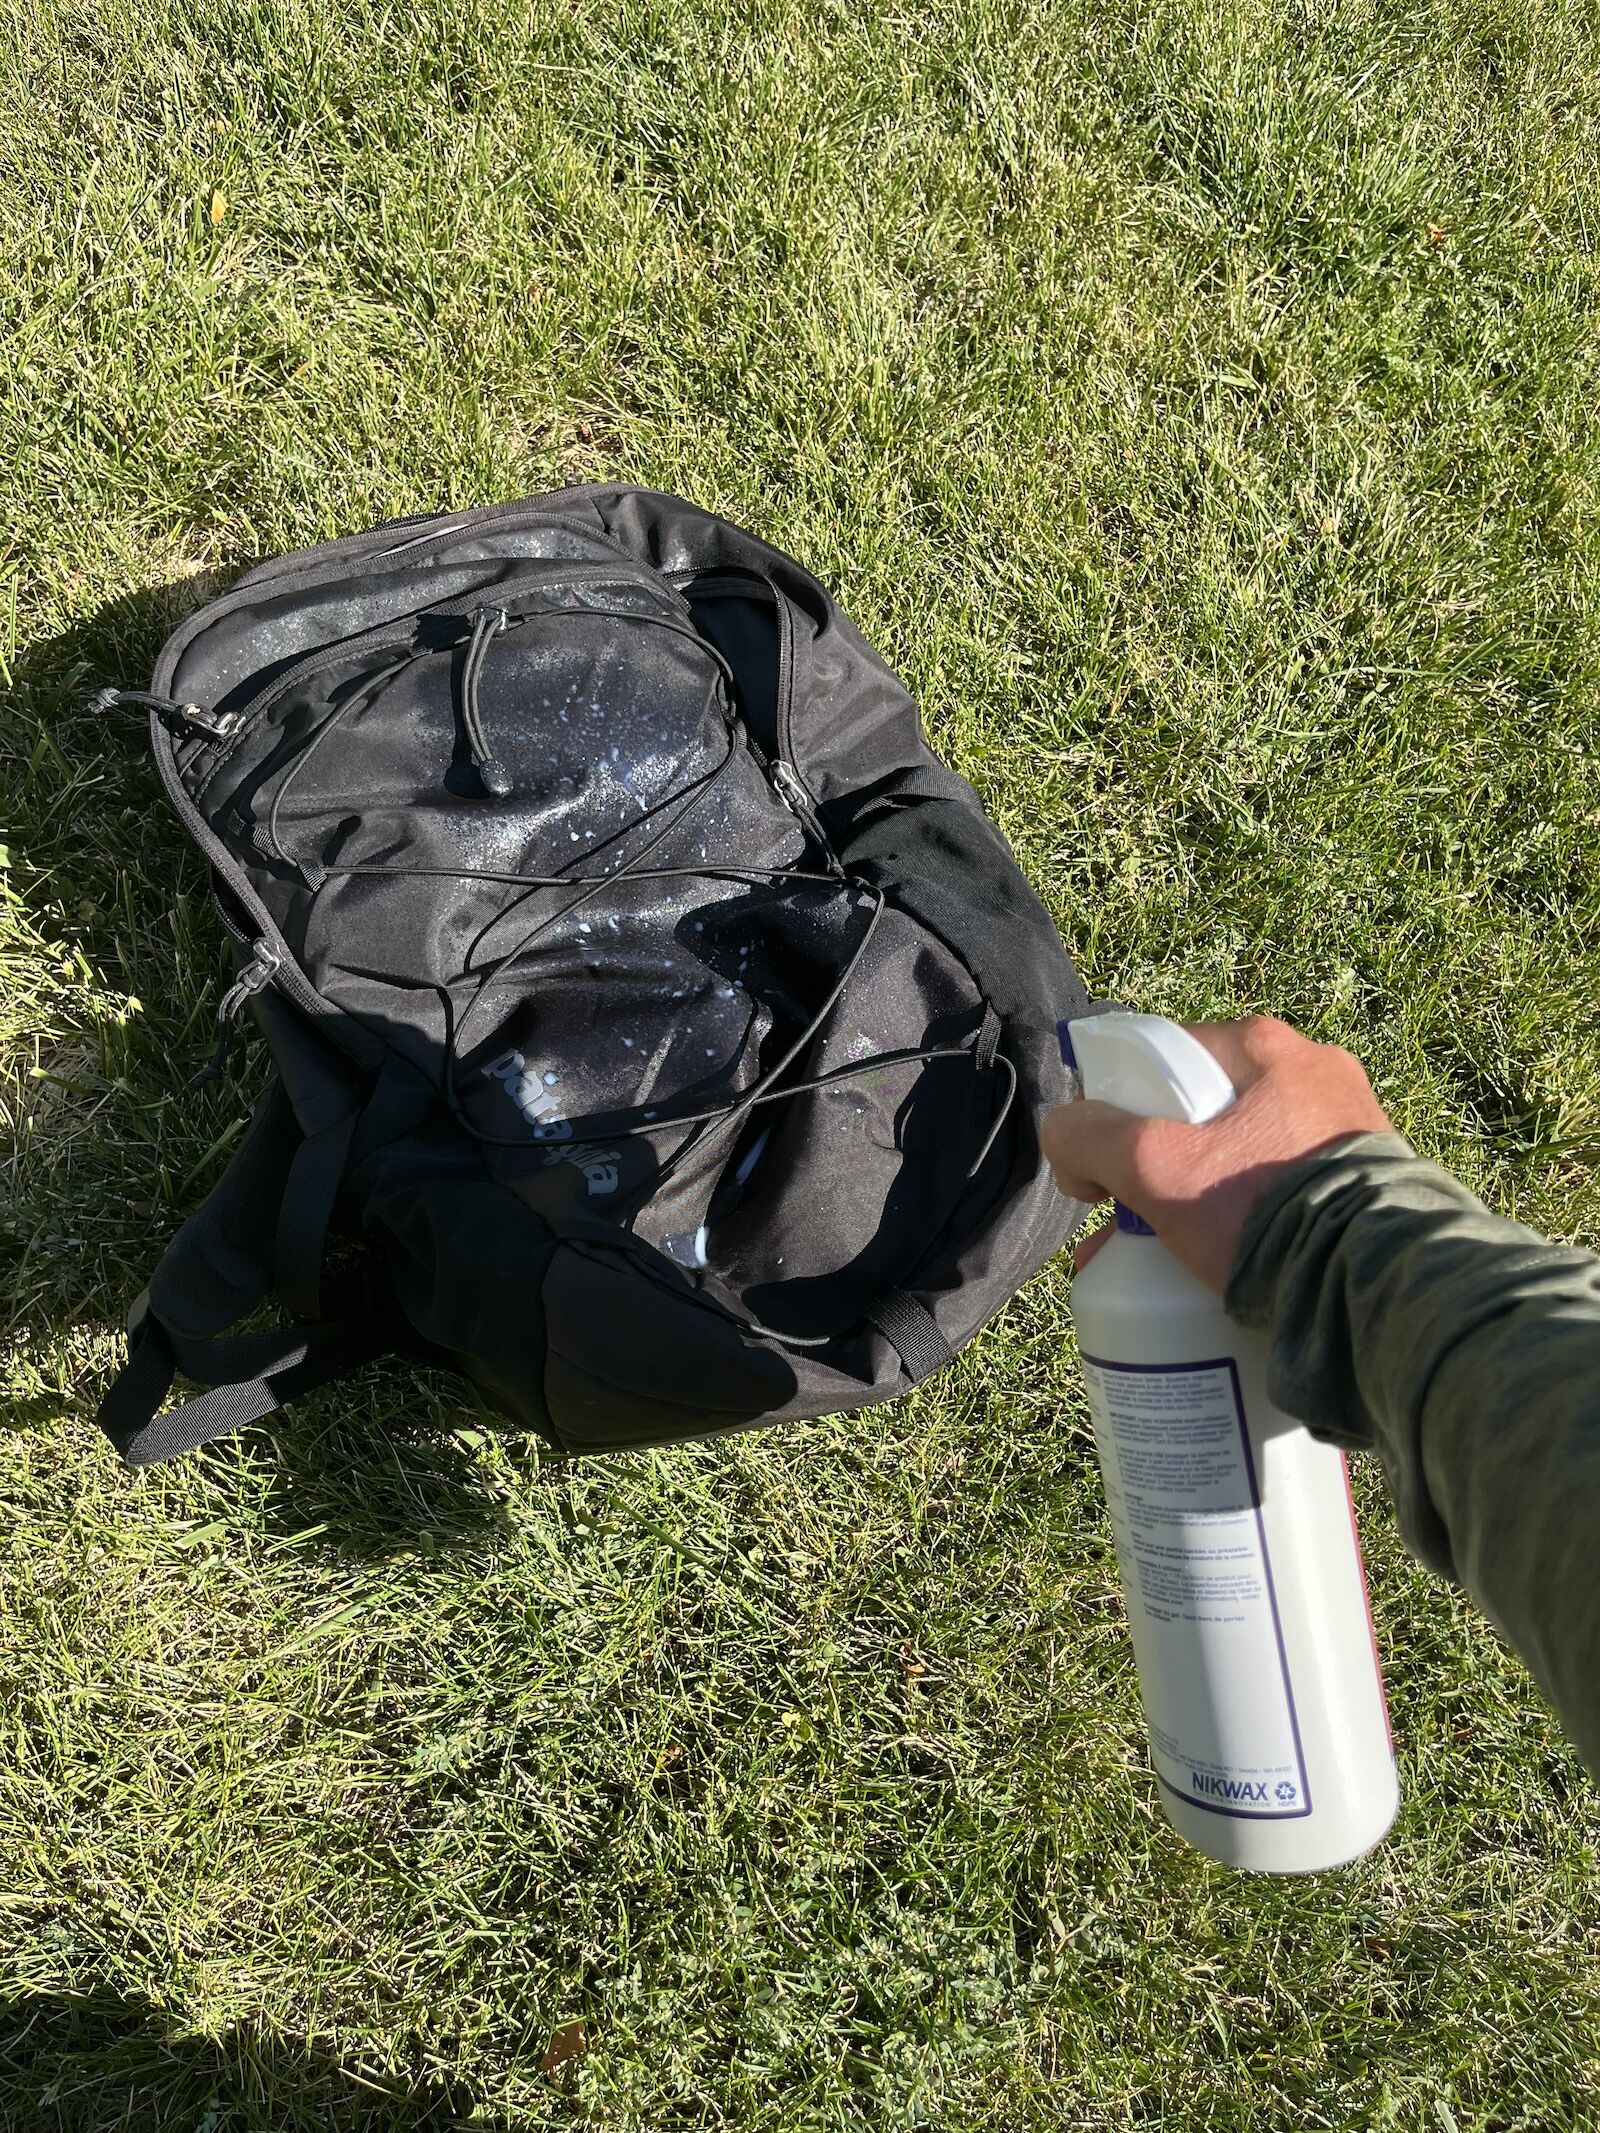
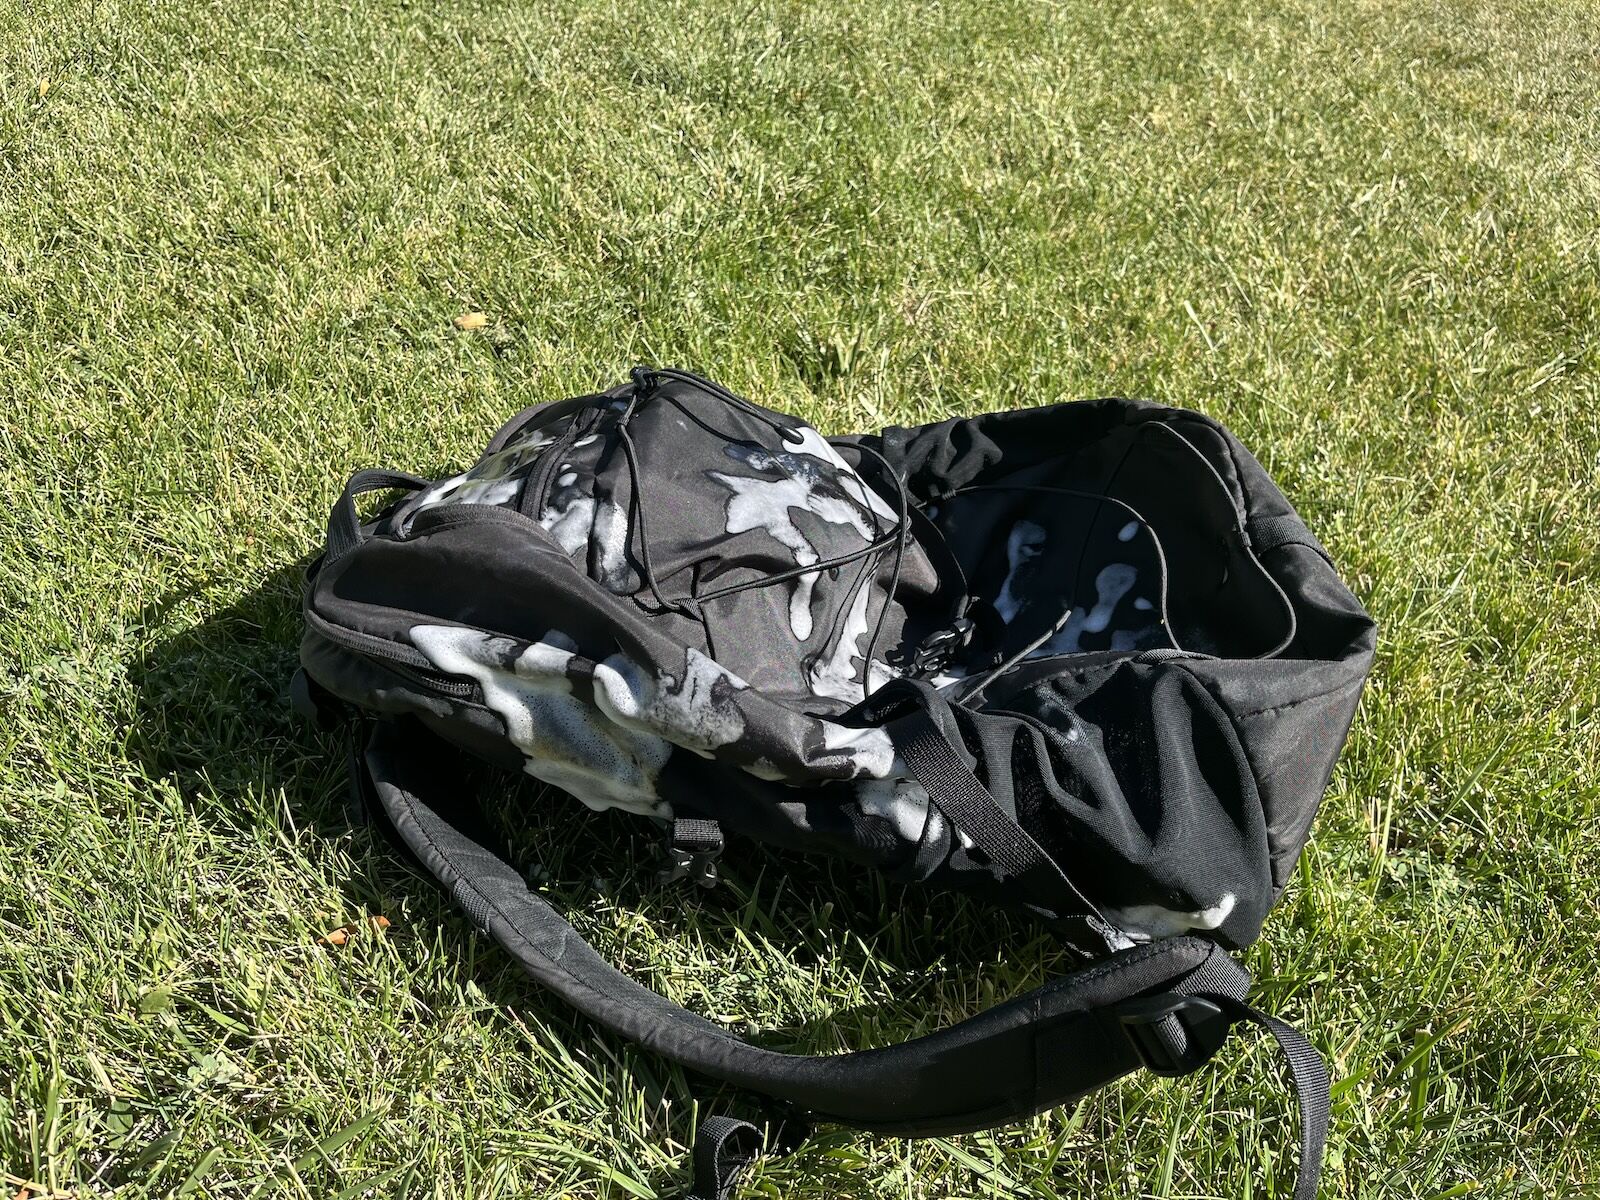
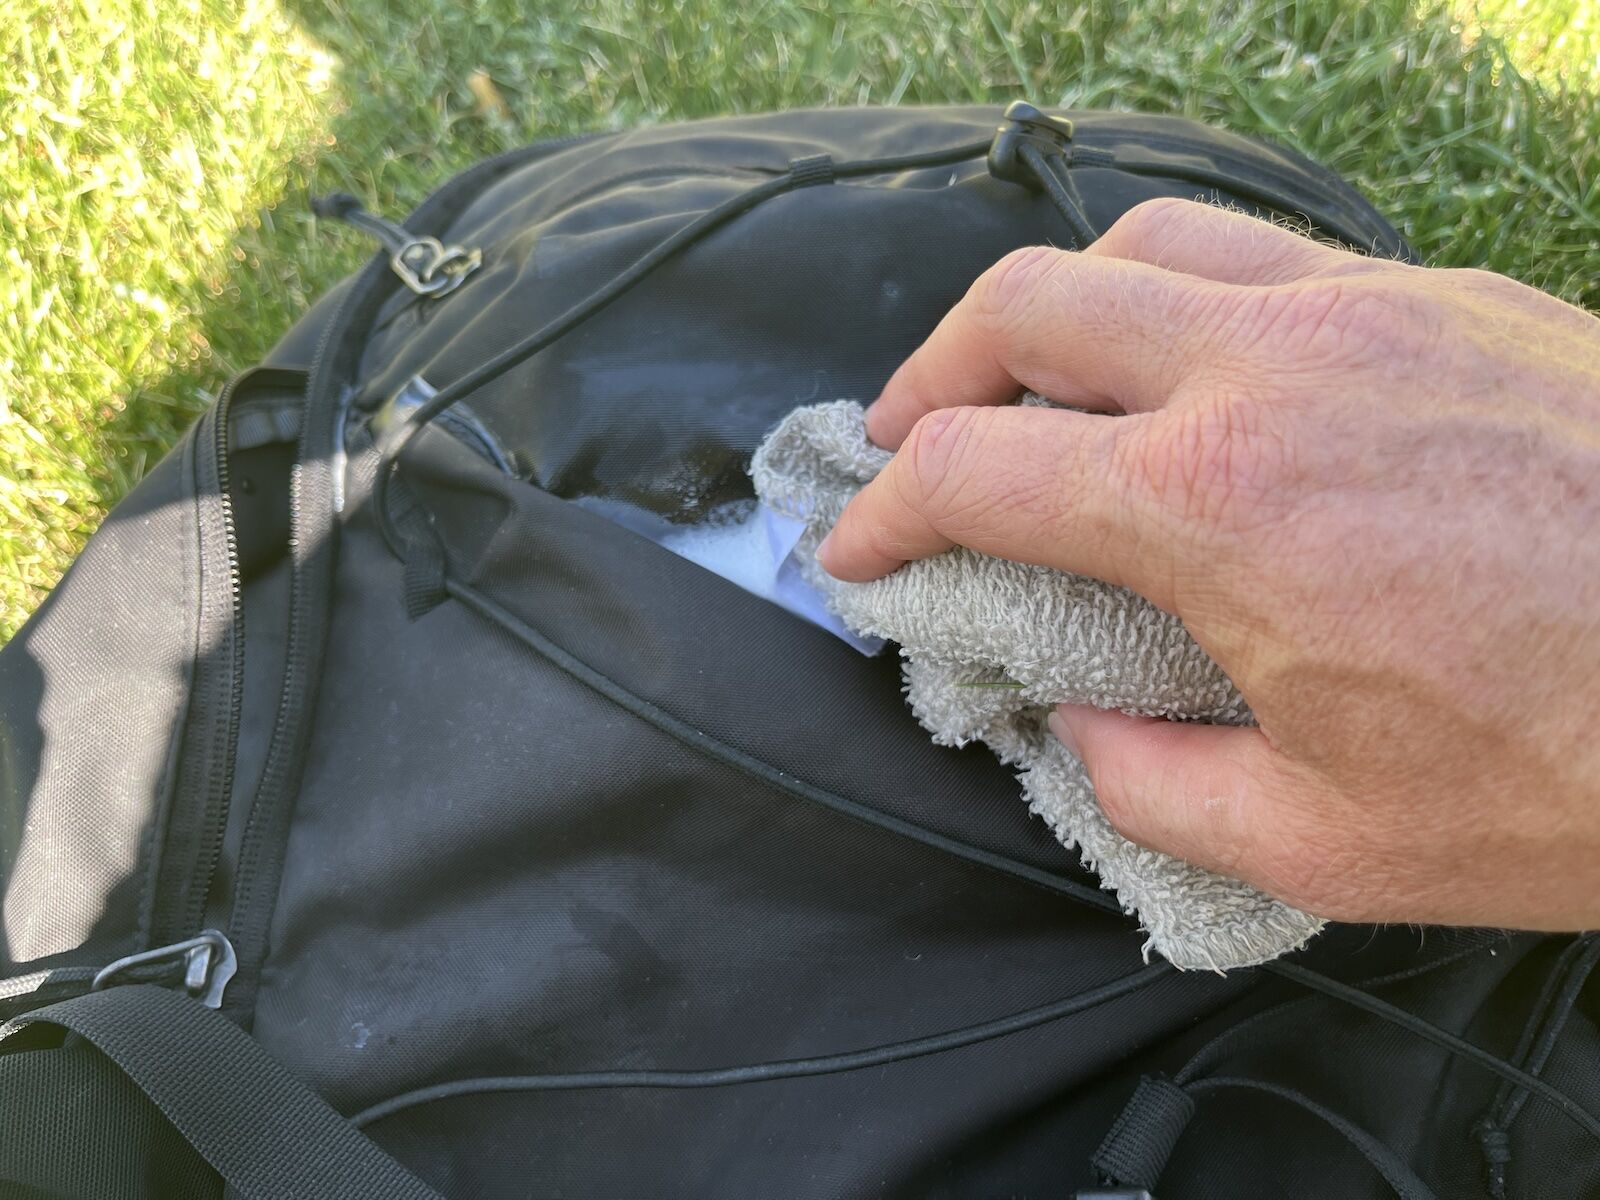
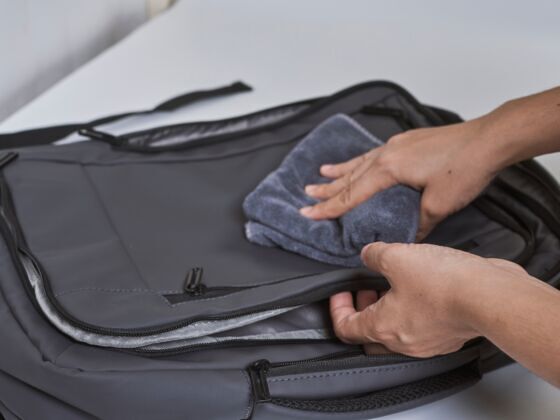
Before spraying the cleaner onto your pack or luggage, grab a damp towel and wipe it down. This does two things – first, it removes and loose debris or dirt. Second, it makes the surface area moist and better area to absorb the cleaning material.
Once you’ve done this, hold the spray bottle about six inches above the surface and spray consistently and thoroughly until the surface is covered. Rotate the luggage or pack and repeat the process until you’ve hit all sides. Then, take a damp towel and rub the cleaner in across all sides. You can use a discarded brush or sponge for extra-dirty areas or hard-to-clean spots. What I learned the first time I did this was to use the cleaner liberally – you can’t make something too clean, and the products are designed to not cause notable harm to gear. It also takes a bit of elbow grease to get spots that are real dirty to come clean. I found this to be particularly true on the top and back of my soft-sided roller case, as these spots most frequently come into contact with surfaces in hotel rooms and planes, and I’m known to rest my laptop on top of the bag while working at the gate in airports.
Step 3: Wipe it clean, add the solar and waterproofing, and let it dry
If you have a waterproofer like the Nikwax Solarproof, add it now and then wipe any excess off with a dry towel. After you’ve cleaned the piece (and added the waterproofer), take another towel and a spritz bottle and repeat the process with cool water. This way you’re getting all the cleaner off once its done the job. Then, let the gear dry – preferably in the sun.
Here’s what the finished product looks like. It certainly doesn’t look like it did when I first got the pack, but there’s no way to fully undo a year’s worth of road marks. Overall, I’m happy with it. My only complaint is that after the pack dried, there are a few noticeable blotches of cleaner that I can’t get out, but they aren’t visible unless you really hold the pack up close.
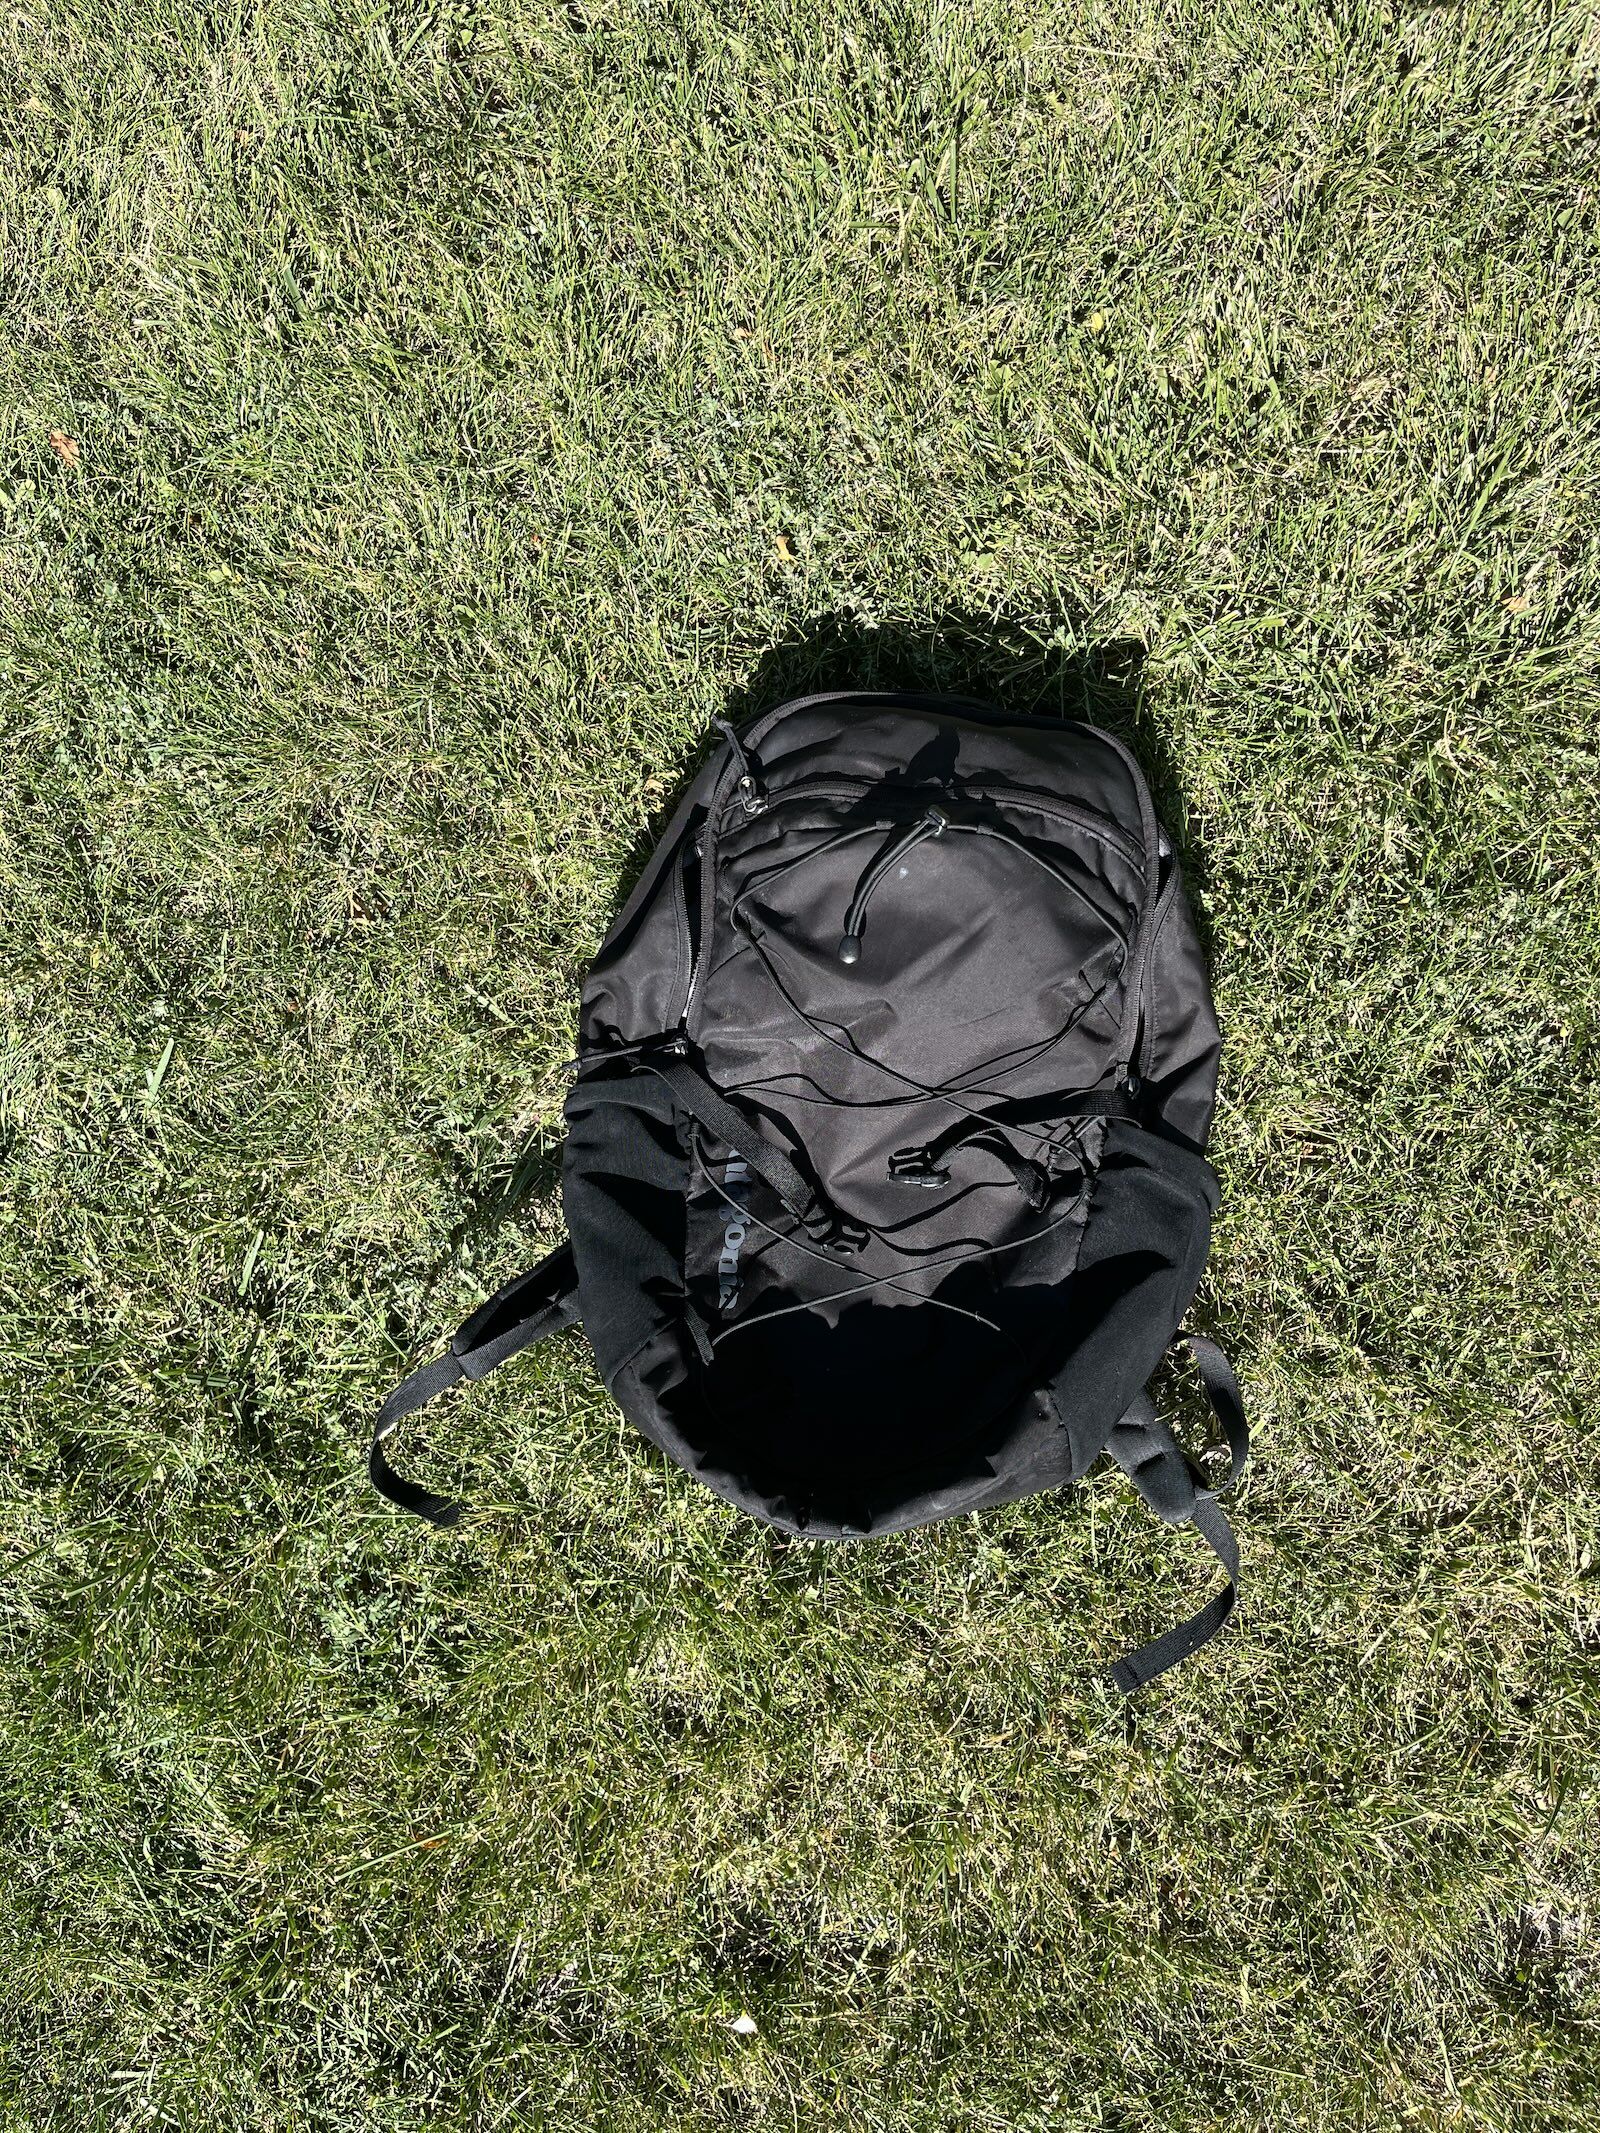
After finishing the wiping. Photo: Tim Wenger
Notable digressions from the package instructions
If you use the Nikwax Tent & Gear Solarwash as I did, you’ll need to make a couple changes to the instructions on the side of the spray bottle. Most notably to the step following the rubbing in of the cleaner. The bottle instructions advise to wash the item off with cold water, and upon first reading, I took this to mean spray it down – this can work if you’re washing a tent or outdoor gear, but you don’t want to take a hose to a soft-sided suitcase. Instead, use either a clean damp towel to wipe thoroughly, or a spritz bottle filled with cool water and a towel. I chose the latter option, and it worked just fine.