Grab a seat at the bar in a locals’ hangout in any ski town the world over and you’ll encounter long, eloquent, and often exaggerated tales of life-changing backcountry trips. The storyteller, perhaps a rugged local with chunks of icicle still clinging to the lower tentacles of his disheveled beard, seems so cunning, so brave, and accomplished, that it’s near impossible not to desire a story of conquest to bring home to your local pub.
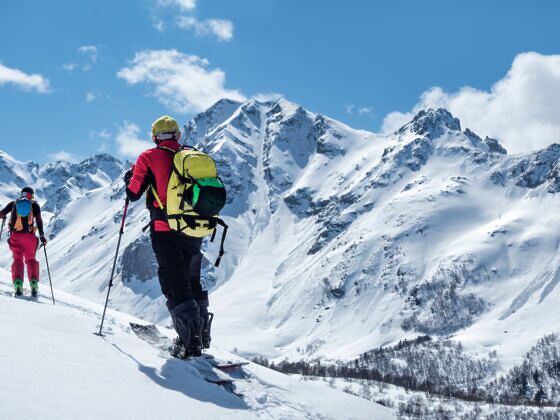
Photo: Lilkin/Shutterstock
Here's All the Gear and Resources You Need to Plan a Splitboarding Trip
Backcountry touring isn’t all about steep lines and tall tales, though. It’s about thorough trip planning and constant progression. It’s about having proper backcountry snowboarding gear, being able to read an avalanche forecast, and not being too macho to pull the plug and head back to the trailhead when conditions look sketchy.
I’ve been riding in the backcountry for more than 20 years, embarking along the way on splitboard expeditions in Kyrgyzstan, northern British Columbia, and throughout my home state of Colorado. The more experience I gain, the more I appreciate the entire process — including the times when weather and conditions get in the way. Routing a backcountry tour is actually fun when everyone is on the same page. Planning for the trip is the perfect opportunity to get everyone together the night before, sip a hot toddy or two, and get organized.
First, you need the right splitboarding and backcountry snowboarding gear in order to get out in the backcountry safely and have a good time while you’re at it.
We hope you love the splitboarding and backcountry snowboarding gear we recommend! Just so you know, Matador may collect a small commission from the links on this page if you decide to book a stay. Listed prices are accurate as of the time of publication.
How to plan a splitboarding trip:
- Splitboarding and backcountry snowboarding gear
- Level up your splitboarding into entry-level mountaineering
- How to prepare for a splitboarding trip
- Splitboarding and backcountry snowboarding gear in the field
- Splitboarding gear and trip preparation
Splitboarding and backcountry snowboarding gear
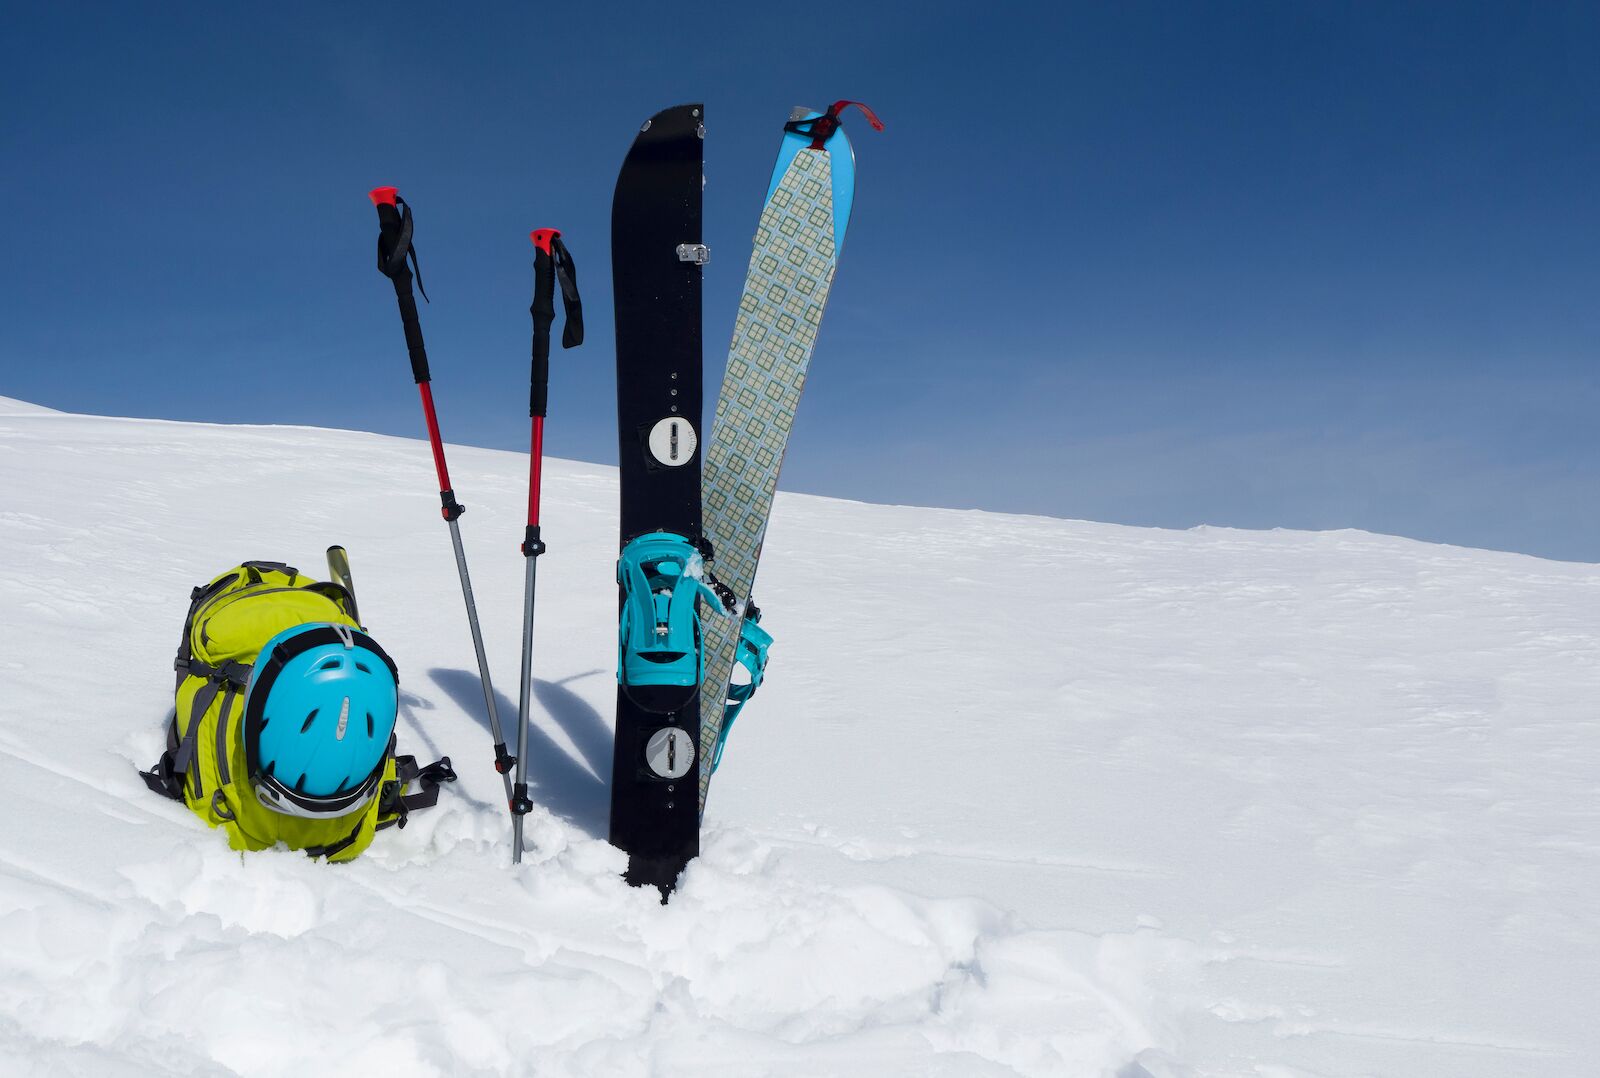
Photo: lilking/Shutterstock
Touring on a snowboard requires a lot of specific backcountry snowboarding gear to help you both perform well and stay safe in the high country. Here’s all the splitboarding gear you need for a successful day in the backcountry.
- Splitboard or skis, of course. I ride the Arbor Landmark Camber because I’ve long been a fan of the brand’s eco-first mantra and top-tier snowboards. The board is designed to both float well in backcountry powder and carve tight turns. I use a hardboot setup on it (more on this below) which means that when ascending, all I’m lifting is this ultra-light splitboard and a pair of Spark R&D Tech Toes (similar to what skiers use to climb) rather than clunky bindings and more weight. The board features an EcoPlastic top sheet and due to its unique camber design, more touch points to the snow than any other splitboard I’ve ridden. This means sharp-cut turns and quick maneuvers are easier than ever. The edges are made of recycled steel, it’s lined with eco-friendly resin and wax, and the board is built in a facility powered by 100 percent renewable energy. I’ve never found a more values-aligned snowboard, and it performs just as epically.
- Loose-heel bindings. For the softboot splitboarders, I recommend the Burton Hitchhiker splitboard bindings. They are as lightweight as splitboard bindings can be and transition very well with a simple snap-lock piece instead of the traditional pin. The sidewall grants leeway for wide turns without sacrificing the snugness you need during the ascent. It’s easy to transition from ascending to descending in just a couple minutes by unclipping the front latch and pulling the binding backward off the board, and reversing the process once you’ve connected or disconnected your splitboard. Hardbooters should go with the Spark R&D Dyno DH Splitboard Bindings, an ultra-lightweight option that clips to your boots without any straps, meaning you will most certainly be the first one done during transitions.
- Skins. I use the basic Spark R&D Summit skins. I’ve gone through a couple pairs over the years and have come to trust them. You’ll need to cut the skins to fit your splitboard, and this video from the brand shows you exactly how to do so.
- Winter-specific backpack. The Osprey Soelden 32 gives you enough space for a water bladder, a beacon/shovel/probe, lunch, a first aid kit, and binding tools. If heading out for a full day, packs smaller than 25L can be too small, as it’s important to remember that you must be able to fit your skins in the pack when you transition to snowboard mode before dropping in.
- For adventures into avalanche terrain, it’s best to have a backpack with a deployable airbag. I’ve used the Deuter Alproof 42 and, fortunately, haven’t had to pull it in an emergency. I tested the system on a recent tour and found the airbag quick to deploy and easy to pack back up. An airbag helps you “float” in an avalanche, which increases the likelihood of survival because it keeps you closer to the surface. The bag runs about $1,100, but when it’s your life at stake, that’s a small price tag. See the photos below.
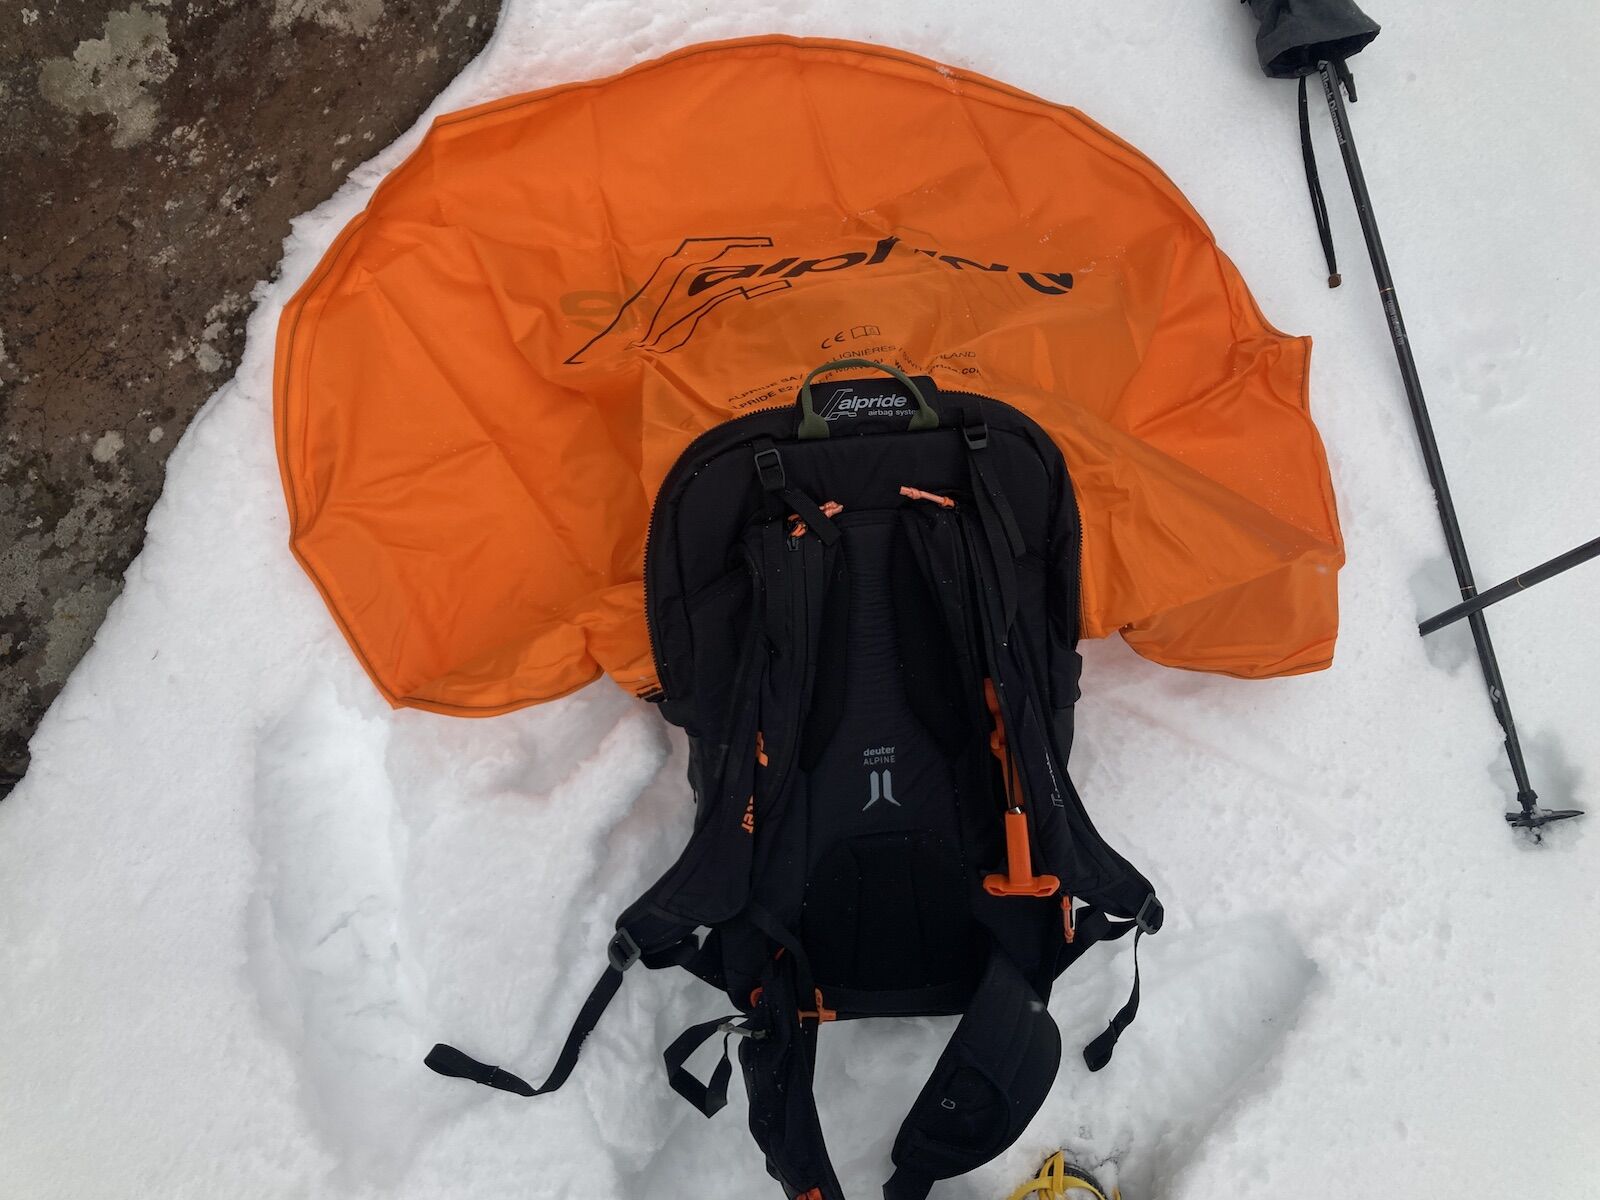
Deployed. Photo: Tim Wenger
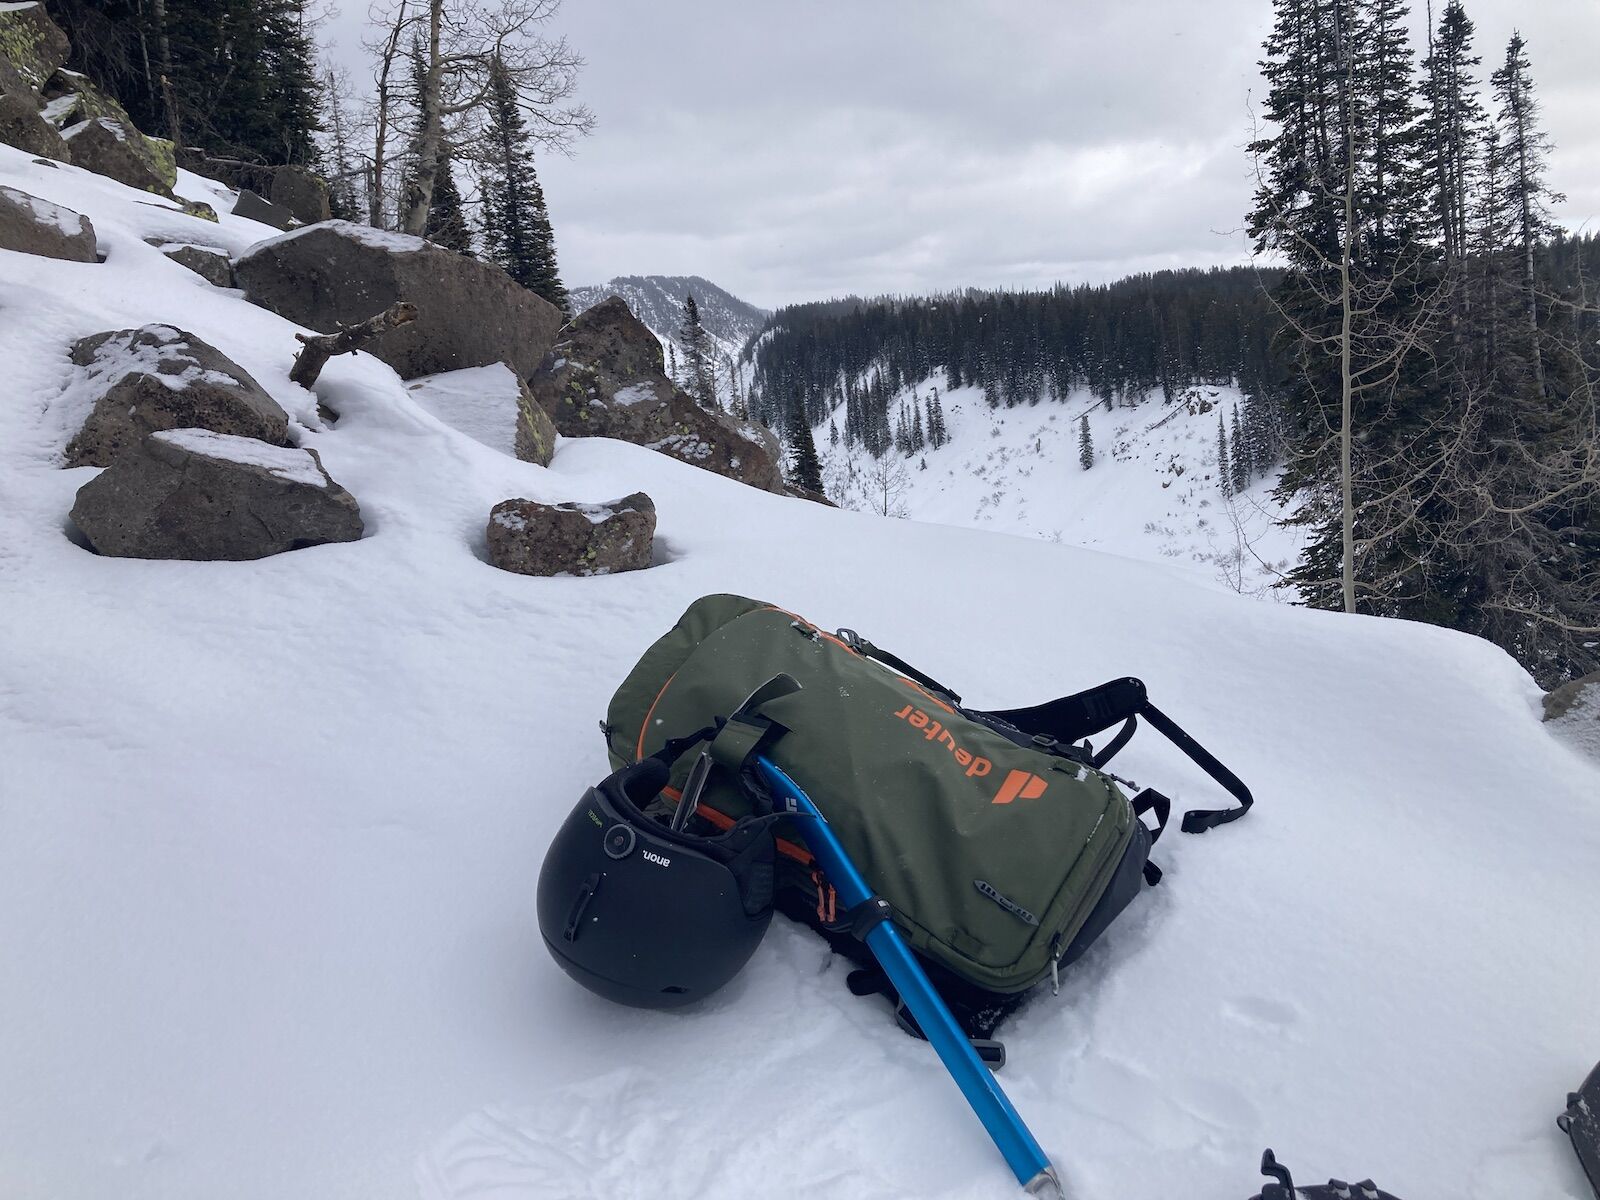
Packed and ready. Photo: Tim Wenger
- Trekking poles or ski poles, even for the snowboarders! Preferably collapsible trekking poles that fit into your pack, such as the Black Diamond Distance Z trekking poles. Keep the baskets on the bottom of the poles, as this helps them stay afloat when stuck into soft powder.
- Beacon, shovel, and probe. Absolutely never enter the backcountry without this lifesaving gear, and double-check to make sure everyone in your group has this gear and knows how to use it. If not, they’re staying at the trailhead. No exceptions.
- At $349, the Backcountry Access Tracker 3 beacon gives you a dependable triple-antenna beacon without having to drop $500.
- The Backcountry Access Dozer 1T shovel collapses nicely to fit into your pack. The primary reason I recommend this over the more heavy-duty Dozer 2T is because of the T-shaped handle on the former as opposed to the D-shaped handle on the latter. A T-shaped handle is easier to grasp from the different angles you will need to shovel from during an avalanche emergency.
- The Backcountry Access 300mm probe is long enough to probe into most piles of snow debris and is easy to toss into its put-together form from its collapsed and stored state.
- Splitboard-friendly boots. Many dedicated splitboarders opt for hard boots that more closely resemble ski boots, however, to get accustomed to splitboarding I recommend the Burton Tourist boots. They’re pricey – $549 — but you can also wear them with your resort board, so there’s no need to buy a second pair of boots.
- If you opt for a hard-boot setup, like I do, go with the K2 Mindbender BOA alpine touring boots. These boots are specifically designed with a BOA system that can loosen for the uphill and tighten for the downhill. If you’re balking at the idea of wearing hard boots to snowboard, know this — a pound in the bag is worth three pounds underfoot, and extra weight what you’re saving by not having bindings on your board during the uphill. Once you get used to making turns in the hard boots, you’ll be glad you made the switch.
-
This season I’ve made the switch to bibs from traditional ski pants. I opted for the Outdoor Research Hemispheres bibs. The bibs are lighter and more agile for ascending. I especially noticed increased flexibility at the waistline and appreciated not having to wear a belt or deal with saggy pants.
- Outdoor Research also makes an incredible shell to pair with the bibs. The Hemispheres II shell is lightweight and waterproof, very flexible, and rolls up to fit in my backpack handily for the climbs.
- The POC Devour Glacial Sunglasses have, for me, replaced the use of goggles on touring days when the sun is out. They wear like glasses but cover your eyes entirely and offer a much wider range of view than standard shades. This saves the need to stash a pair of goggles in your pack on the ascent, freeing up more room for snacks (or safety gear).
- The M4S snapback google is new for this season and brings easy-to-change magnetic lenses to a mid-tier price point. The goggles come with lenses to swap in to optimize your day no matter the visibility.
- Helmet. The brand new Anon Oslo WaveCel helmet is available for less than $200, and is often on sale for less. Featuring a magnetic buckle that removes the frustration of struggling to fasten your helmet in the cold, along with Anon’s signature WaveCel shock absorption technology, there is no better helmet to transition into at the top of the mountain. I tested one last year and was hooked immediately.
- Tour-ready gloves. I am all about the Sencho Gore-Tex Mittens from Oyuki because they fit snug against the fingers despite being mittens, keeping them warm and allowing for increased flexibility (and better grabs, in the instance that I catch some air). The other thing I love about these gloves is that they’re quite breathable, which minimizes sweat on warmer days and means I can wear them on the uphill tour without making my hands uncomfortable. I also have a pair of Oyuki Sencho Gloves, which are the same model but with fingers, which I sometimes use on spring days even though I’m partial to mittens for snowboarding.
- Ski gear — helmet, outer layer (shell, ski pants), inner layer (preferably no cotton).
- AIARE field book. The American Institute for Avalanche Research and Education (AIARE) sells trip planning guidebooks that walk users through the process of planning their tour. The books also come with info on assessing snowpack and other risks of backcountry travel.
- Unlderlayers. I’ve become a fan of Corbeaux, an Aspen-based clothing brand that crafts sustainably-made outdoor clothing including the Centennial Boot Top bottom and Respire long-sleeve top. Each is warm, comfortable, and moves with my body as I climb the mountain, rather than bunching up or itching as some underlayers I’ve worn in the past do.
Level up your splitboarding to entry-level mountaineering
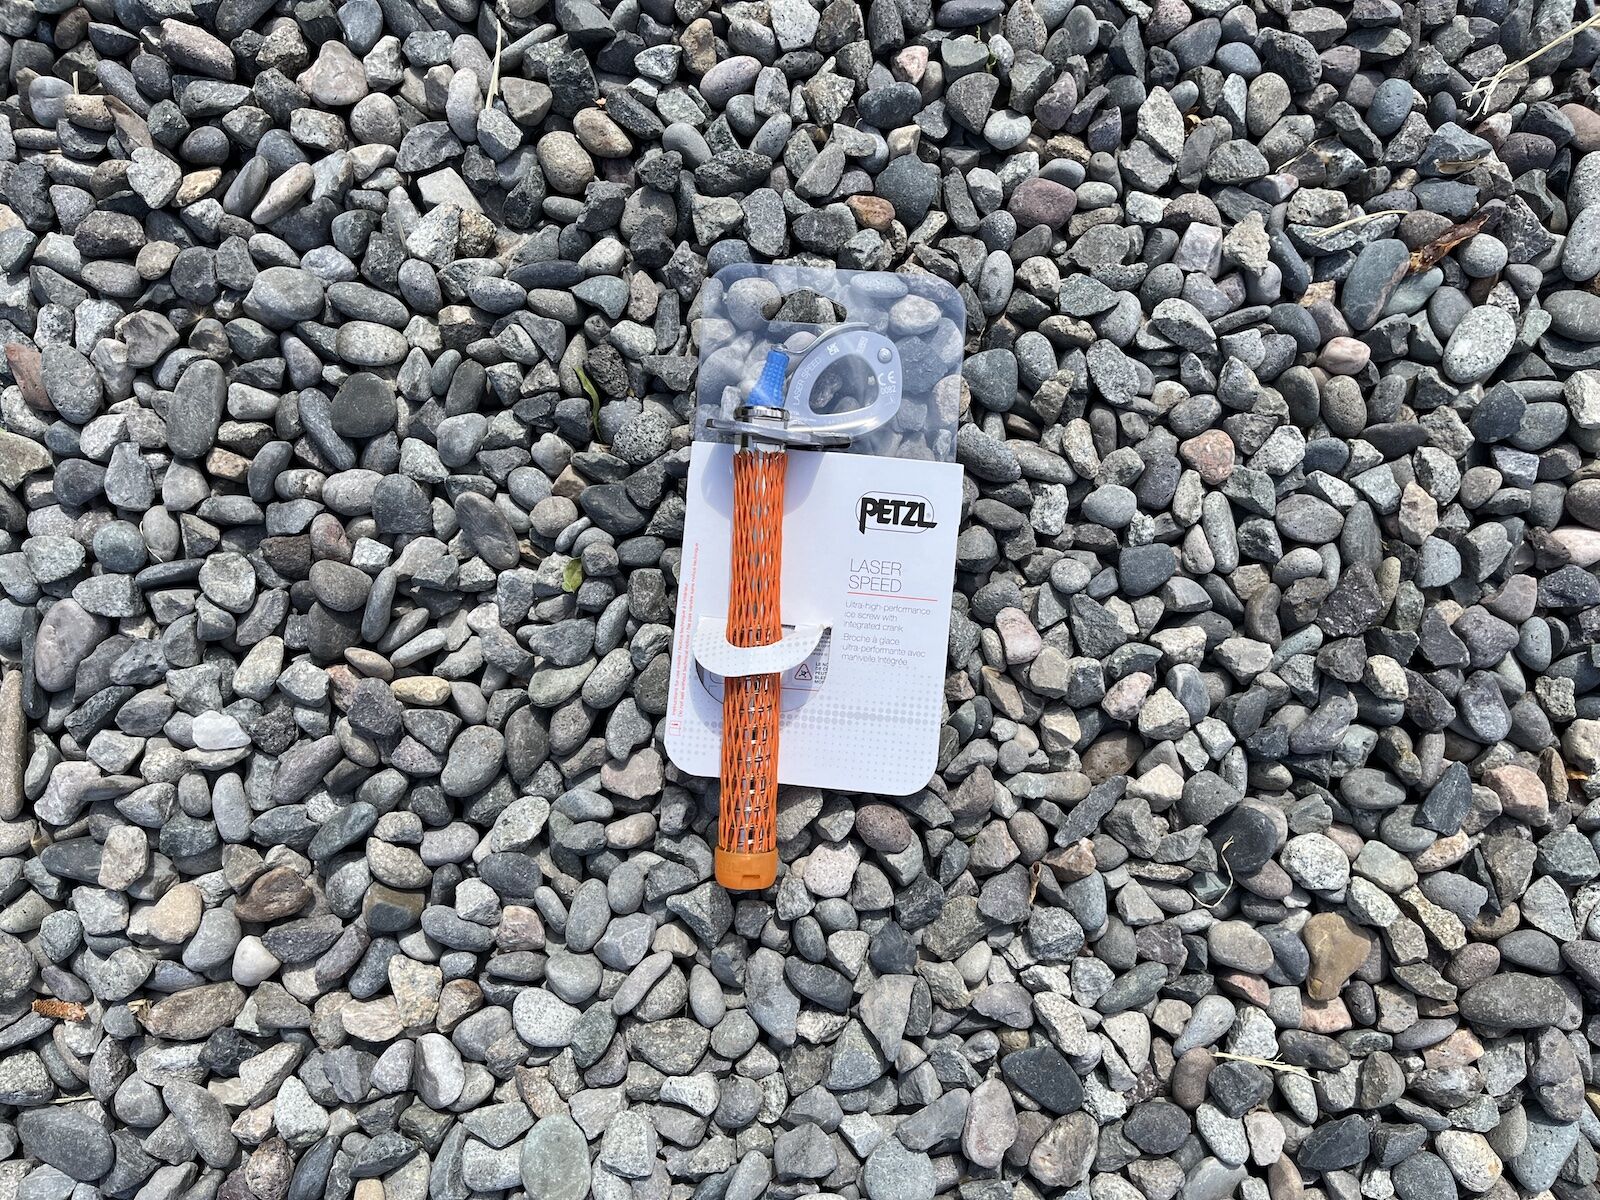
I bought two Petzl Ice Screws. Photo: Tim Wenger
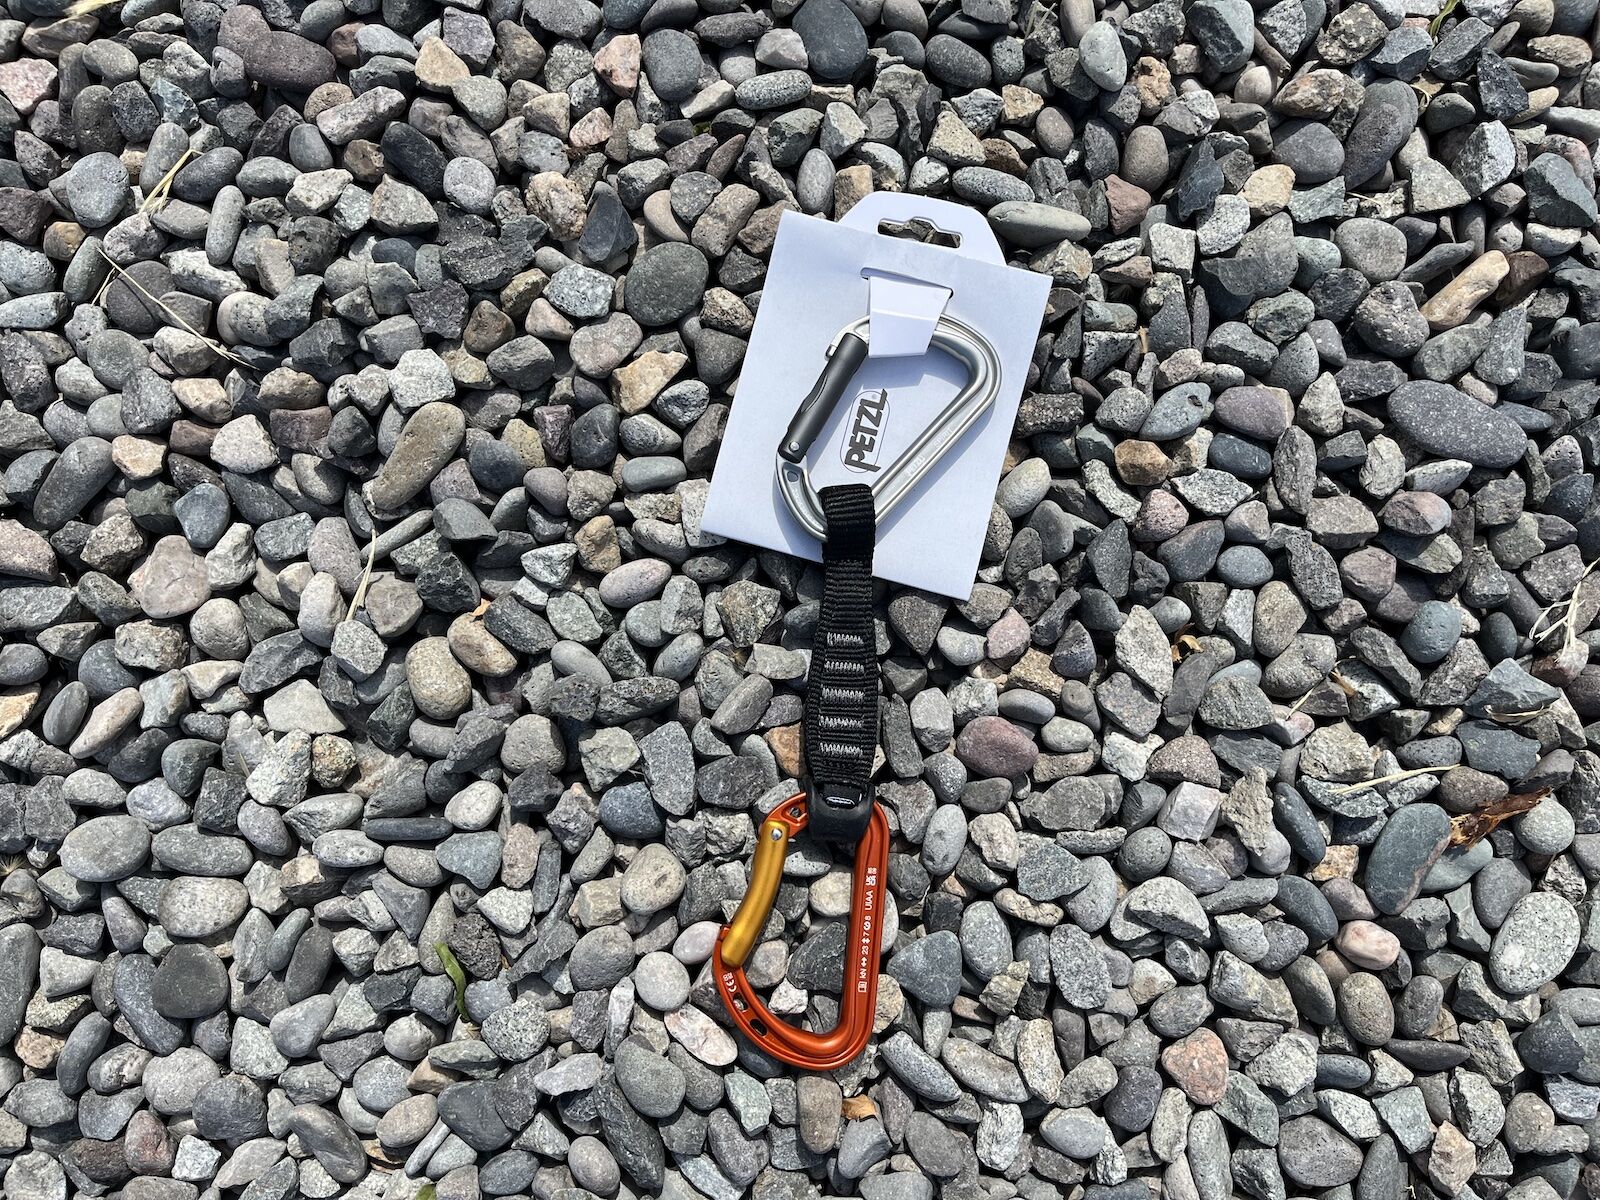
The 10-cm carabiner. Photo: Tim Wenger
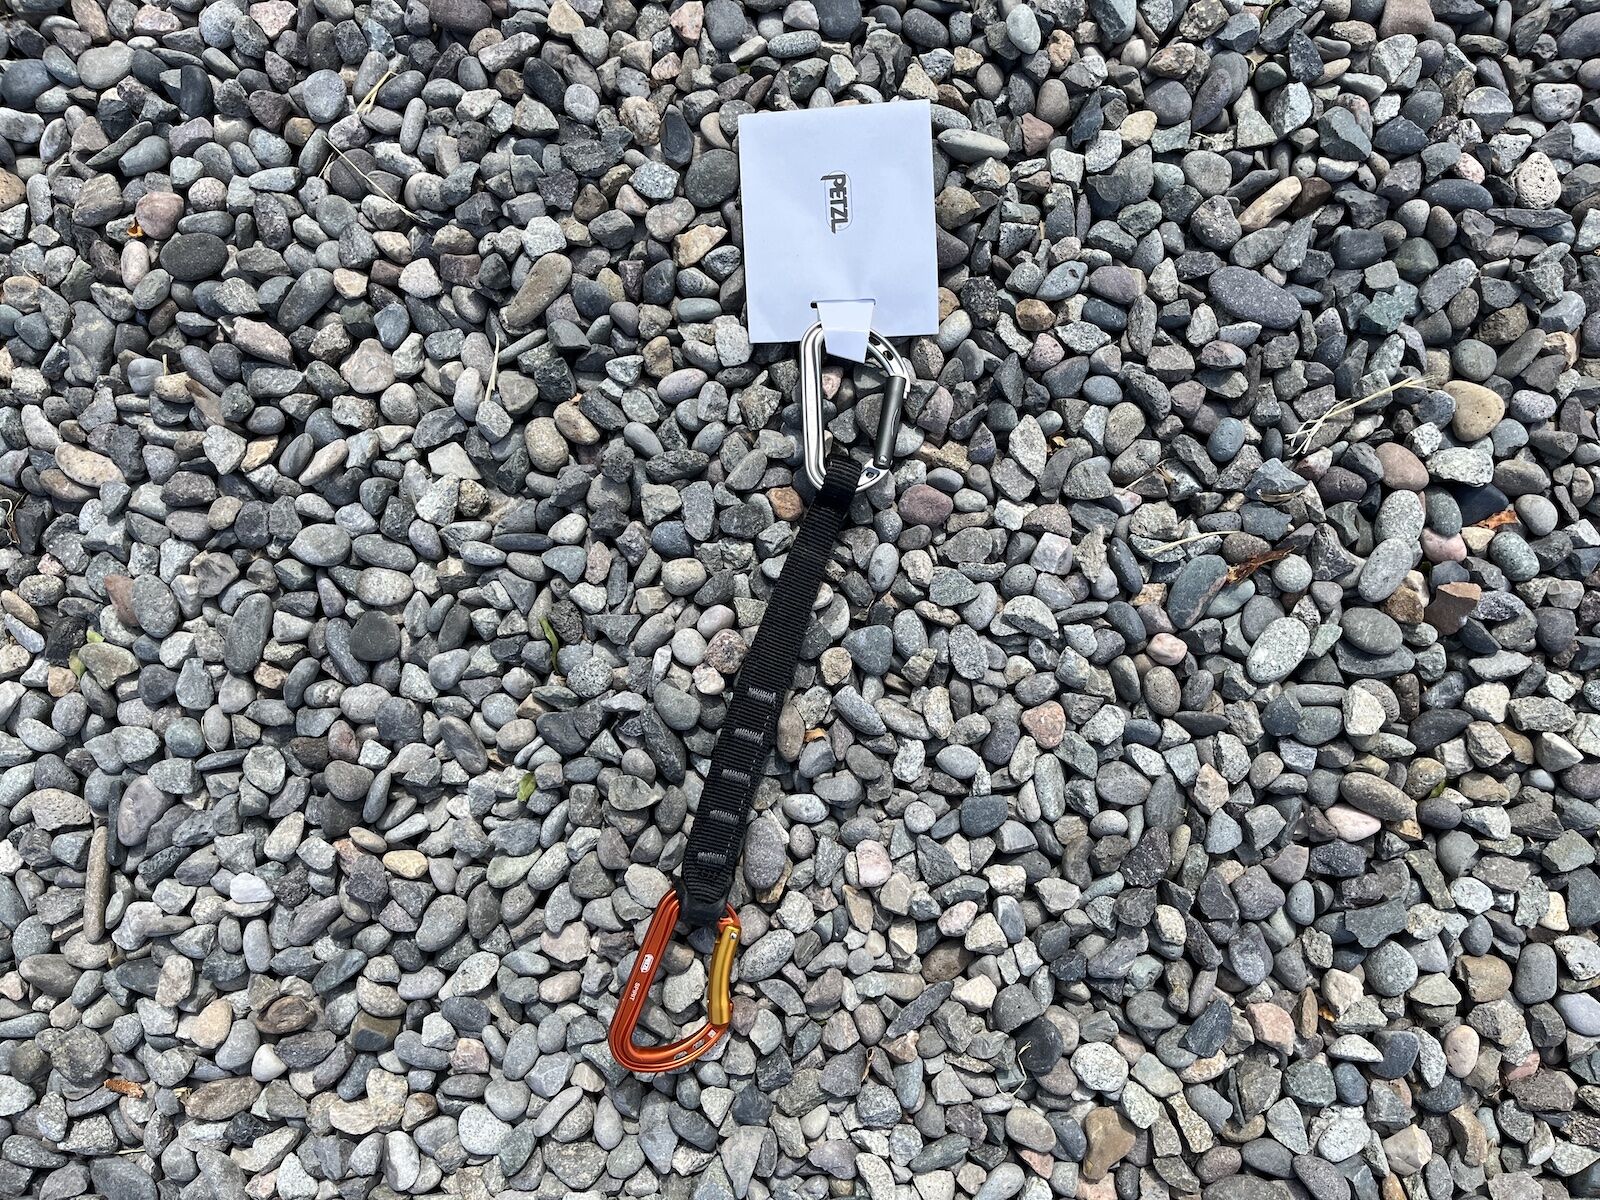
The 25-cm carabiner. Photo: Tim Wenger
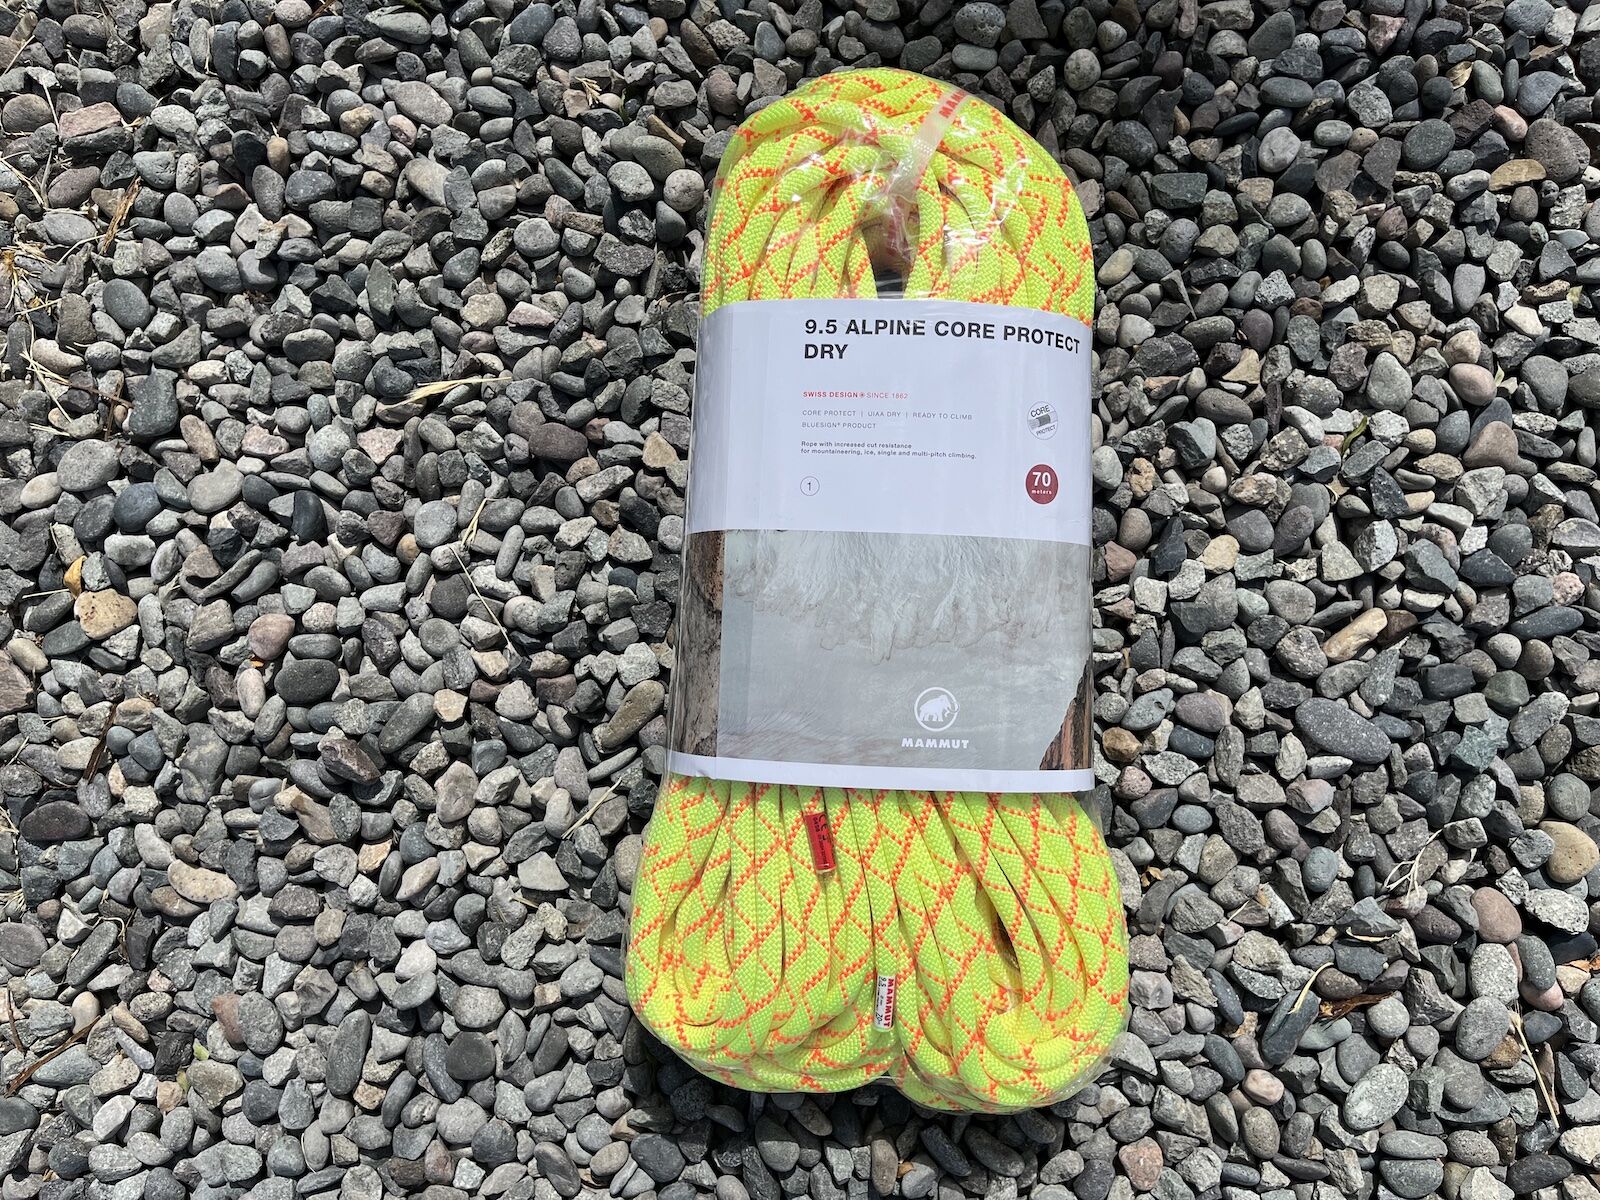
Mammut 9.5 Alpine Core Protect Dry Rope. Photo: Tim Wenger
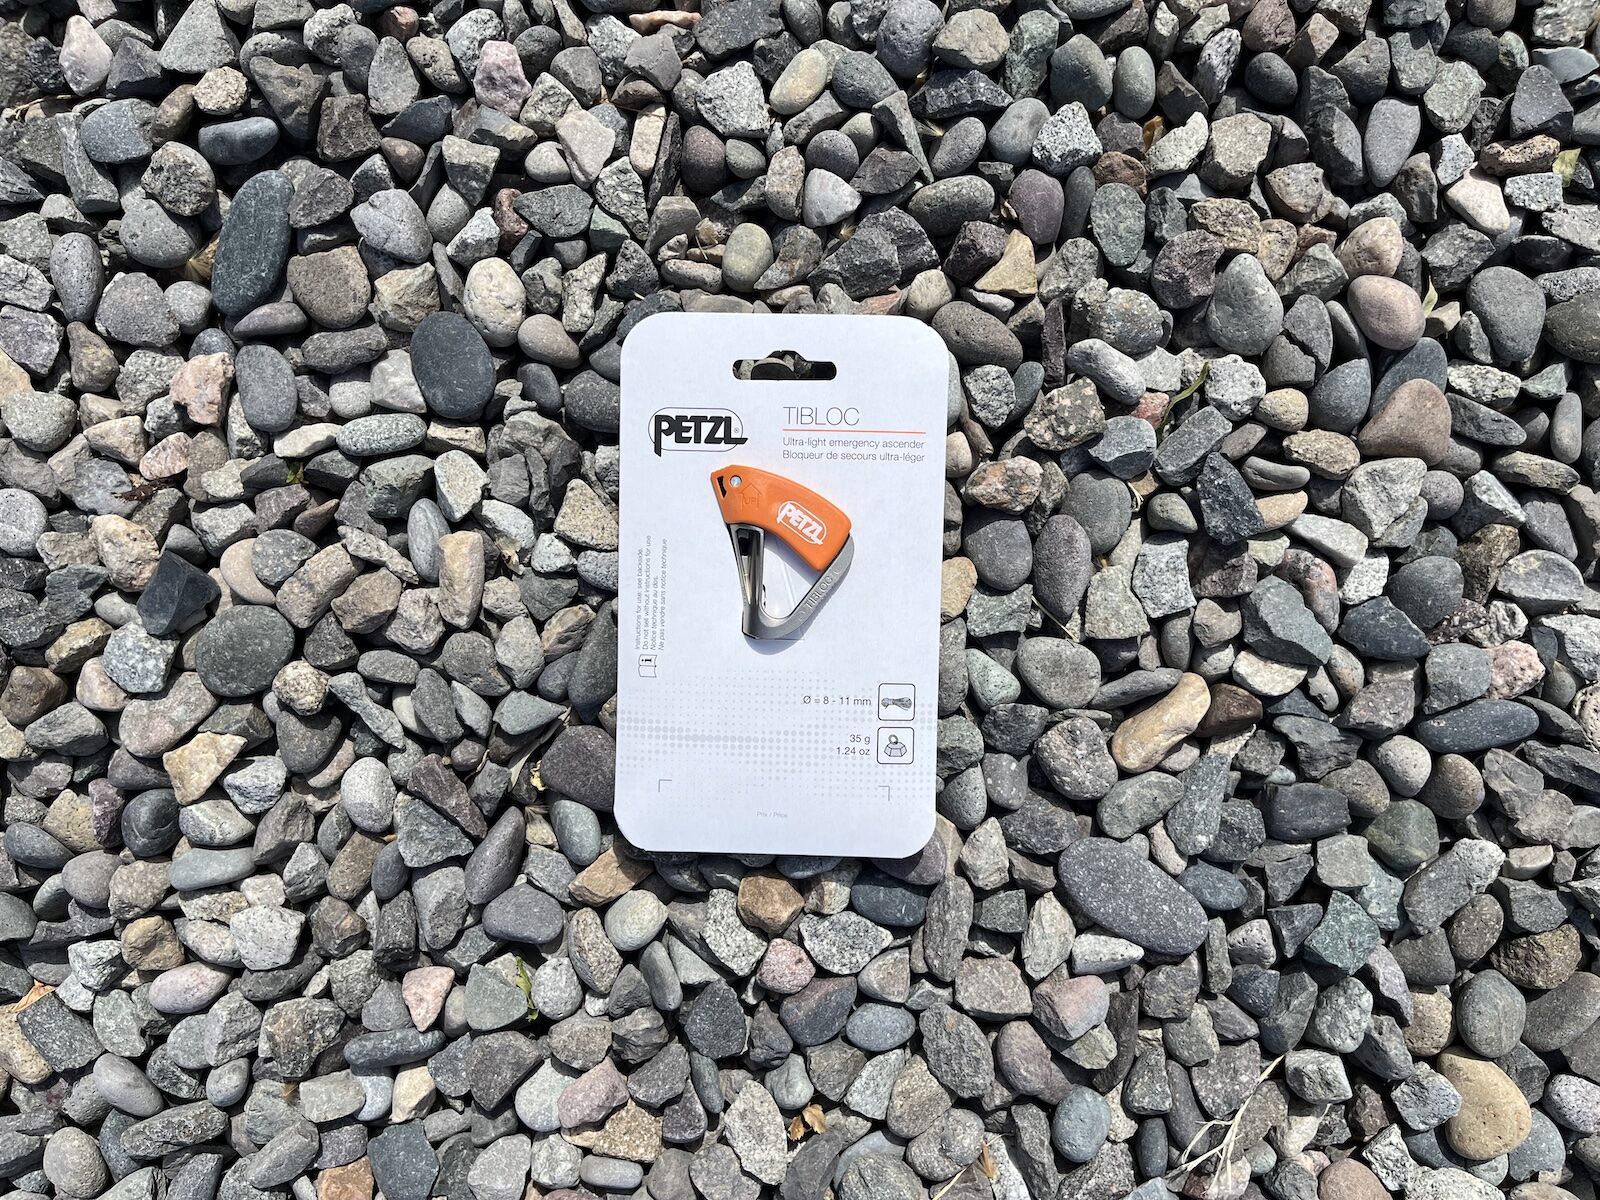
Petzl Tibloc. Photo: Tim Wenger
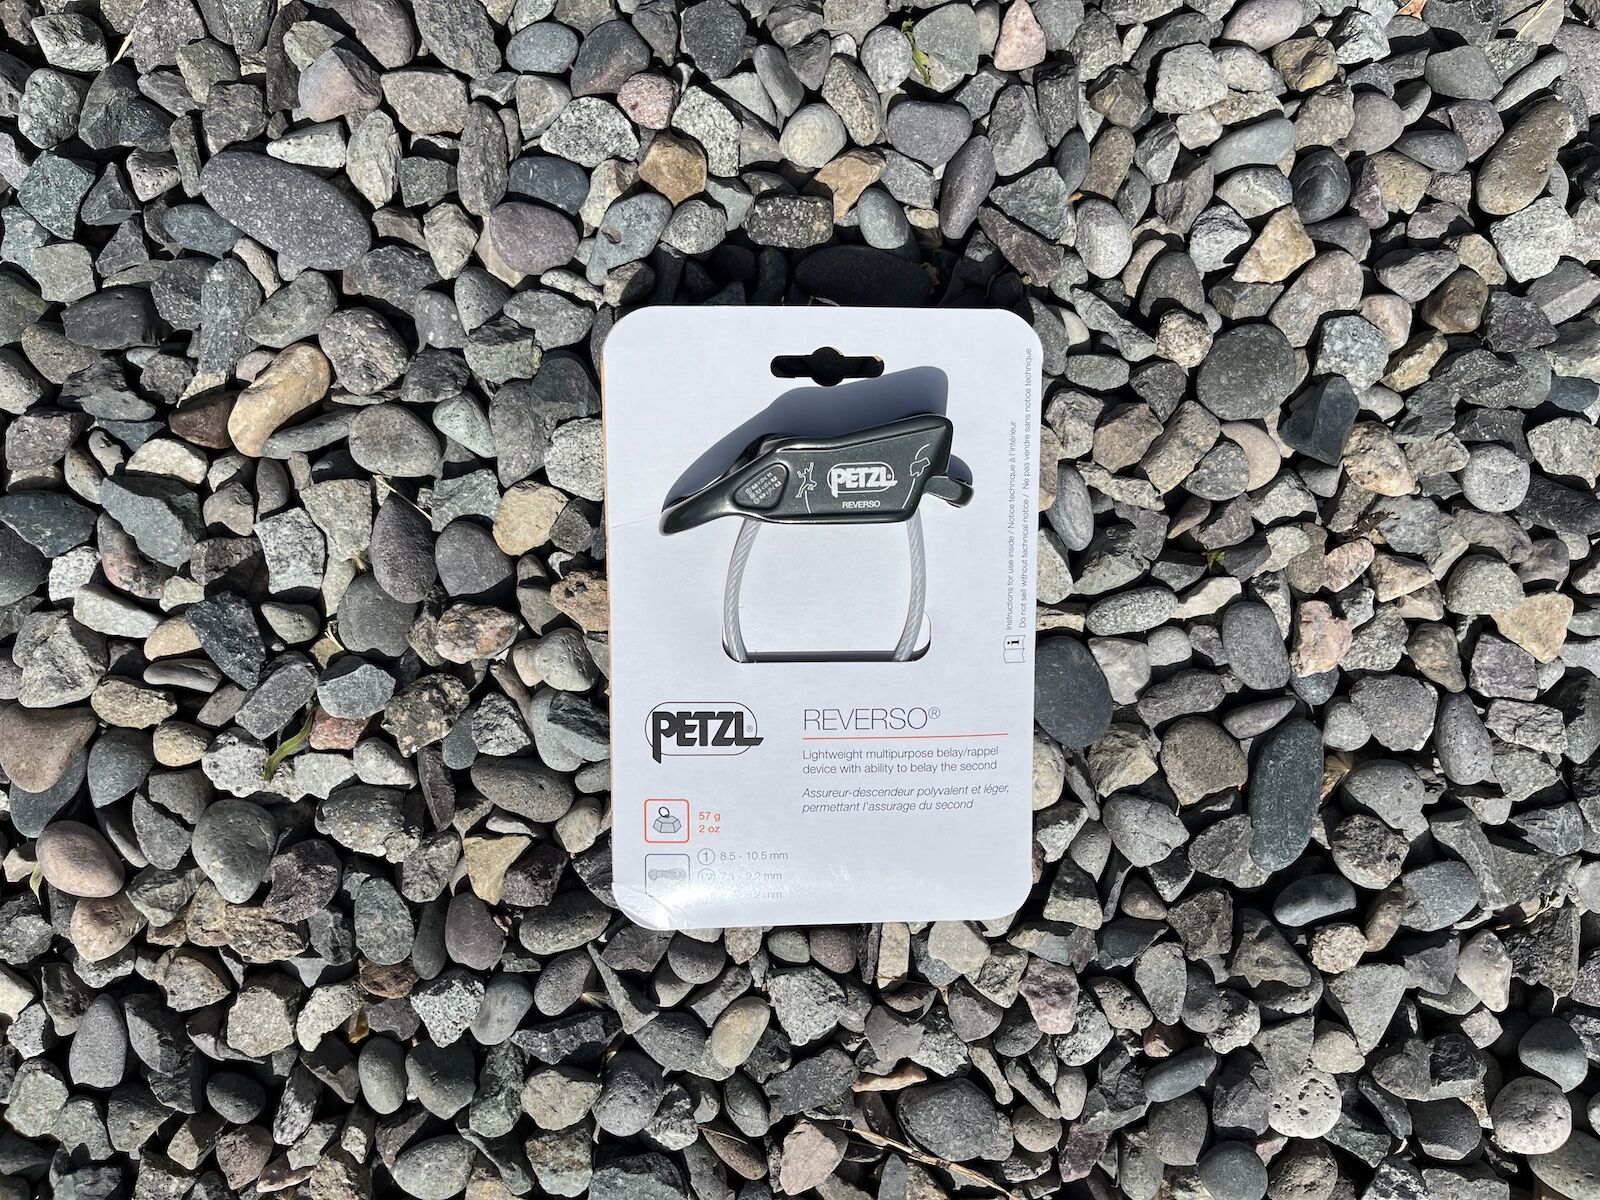
Petzl Reverso. Photo: Tim Wenger
Over the past few seasons I’ve felt confident enough in my splitboarding ability and backcountry instincts to begin taking on bigger lines that I’d done before. These include steep couloirs, 14,000-foot peaks, and other areas where crossing rock outcroppings or traversing near to hazards like cornices, crevasses, and seracs, or moving up areas that are simply to steep to skin and therefore require bootpacking with mountaineering gear. If you’re ready to level up your splitboarding game, the below gear will be required for safety and proper execution. Scroll through the photo gallery above to get a feel for what much of this gear looks like. Remember the “P’s” – proper planning prevents piss-poor performance.
- Arc’teryx Rope Gloves. When ascending via harness and ropes, you don’t want to wear your ski gloves thin. Swap them for these handy mitts that are designed for mountaineering. I keep them in my pack at all times and have found them useful for eating cold summit snacks as well, when ski gloves are too clunky.
- Black Diamond Momentum Harness. A harness is necessary anytime technical mountaineering comes into play. You’ll need it to tie onto a fixed line, ascend or descend using rope and tools, and for crevasse travel. Available in both men’s and women’s options.
- Spark R&D splitboard crampons. I bought a pair of these splitboard crampons last season after a high-alpine tour in which I struggled to skin cross a patch of ice on a slight incline. I’ve since used them in similar situations and keep them in my touring pack at all times so that I can strap them on preemptively if I think they may be necessary. All it takes is unstrapping from the board and placing the crampons on top of the bindings — on that note, make sure you get crampons that fit your board and bindings.
- Grivel Ski Tour Evo Crampon. Boot crampons are necessary any time you’ll be bootpacking a steep or rocky face. I’ve used these Grivels in a variety of such settings and although I found them awkward to put on at first, I realized it was because I was making the process harder than it needed to be — pull down the toe clip, strap the rope through, and strap on the back. Easy.
- Black Diamond Venom Light Ice Axe. I use my axes when bootpacking up steep faces, and have used them on occasion for climbing up a waterfall. I have two, and feel much more comfortable about self-arrest if I fall in a very steep area having these in my hands instead of poles. Therefore, when descending very steep pitches, I tend to carry at least one in hand.
- Ortovox Punta Berrino pants. Using the above gear requires feeling loose, flexible, and comfortable. On big days I strap on these Ortovox pants over long-john and, as it can be quite cold in the early morn’, fleece underlayers (sans-bibs). The pants are designed to function when climbing as well as when moving downhill, in any manner that you’re pushing forward.
- Mammut 9.5 Alpine Core Protect Rope. It’s better to tie onto a line or to a partner than to take a risk when climbing or moving across sketchy terrain. I used to only carry a thin climbing rope in my pack but have upped to the Mammut Core Protect over the last year because I feel much more confident in its versatility and durability. It’s water-repellent, abrasion-resistant, and certified as a single rope, providing the absolute strongest single rope on the market. It’s a heavy add, and I only carry it when I’m likely to need it, but I’ve never regretted bringing it along.
- Petzl Spirit Express Quick-Draw carabiners. I bought 11 cm and 25 cm carabiners of this variety to use for clipping onto fixed lines or otherwise when I need clip carabiners in a pinch. I don’t carry a full rack around my waist, just my harness, but keep these in the side pouch on my pack.
- Petzl Laser Speed Ice Screw. I grabbed a couple ice screws in case I run into the need to climb up ice. I used these recently during a tour on Fremont Pass in Colorado to fix my progress up a 15-foot waterfall. Think of ice screws as an anchor that goes into the ice, rather than into rock.
- Petzl Reverso. A belay device is needed to belay down faces that are too steep to ski or otherwise manevuer. I use this with my rope, harness, and other equipment as needed.
- Petzl Tibloc. A rope clamp is used to capture progress when moving uphill on a rope. Not needed for most of the light mountaineering that I’m doing but I keep this on-hand just in case. It’s needed primarily for crevasse rescue.
-
Lowa Alpine Evo GTX Mountaineering Boot. For ridged or rocky ascents, I don’t like to wear snowboard boots and am sure as hell not wearing my hardshells. I got a pair of Lowa mountaineering boots for situations like these that, while they aren’t necessary for every trip, can be a day-saver when they are. Bonus, they fit into strap-in splitboard bindings for riding down, so you don’t have to carry an extra pair of boots with you if you don’t want to.
How to prepare for a splitboarding trip
A successful backcountry tour requires much more planning than a typical day at the ski hill. It’s important to know the terrain and any risks you may encounter. Avalanches can be deadly — if the group plans to hit terrain steeper than 30 degrees, be sure to check the avalanche forecast and avoid hazardous areas.
The more experienced you are in trip planning, the easier it becomes to avoid avalanche terrain altogether. Check the snow and avalanche forecast beginning a few days before you plan to head out via one of the following sites (or Google avalanche conditions in your area):
- Colorado Avalanche Information Center
- Utah Avalanche Center
- Sierra Avalanche Center
- Northwest Avalanche Center
- Find others at Avalanche.org
Before leaving the house, familiarize yourself with the terrain in your zone of choice. Topographic maps and Google are great places to start. Identify where the group plans to head, and look at the avalanche and weather forecasts to figure out the best time to leave, when you need to be off the summit, and any weather hazards that could come into play.
Have a plan A and plan B route solidified before heading out. Depending on the weather and snow conditions, it may or may not be safe to access certain areas of the mountain (conditions vary by aspect, recent snowfall, elevation, and other factors). Also, be malleable! You may encounter unfriendly weather or terrain that didn’t appear in the forecast or maps.
- Study the weather in the area. Look for patterns in snowfall, wind, and avalanche hazards.
- Plan your point of attack. Know where to park, where to enter the backcountry, and the route you plan to take to your desired drop-in point. Also, have regrouping points planned along the way to stop and assess conditions.
- Have a backup route and an emergency exit noted. Often, this exit will be the same way you came up — is it safe for traversing down as well?
- Know the ability and backcountry knowledge of each person in the group. How much experience does each have? Are they able to operate their beacon, shovel, and probe in case of an emergency? The skill level of the least experienced member will determine where the group can go.
- Avalanche.org — Connects visitors to all US-based avalanche reports.
- AIARE — The American Institute for Avalanche Research and Education. I cannot recommend signing up for the AIARE Level 1 course highly enough.
Splitboarding and backcountry snowboarding gear in the field
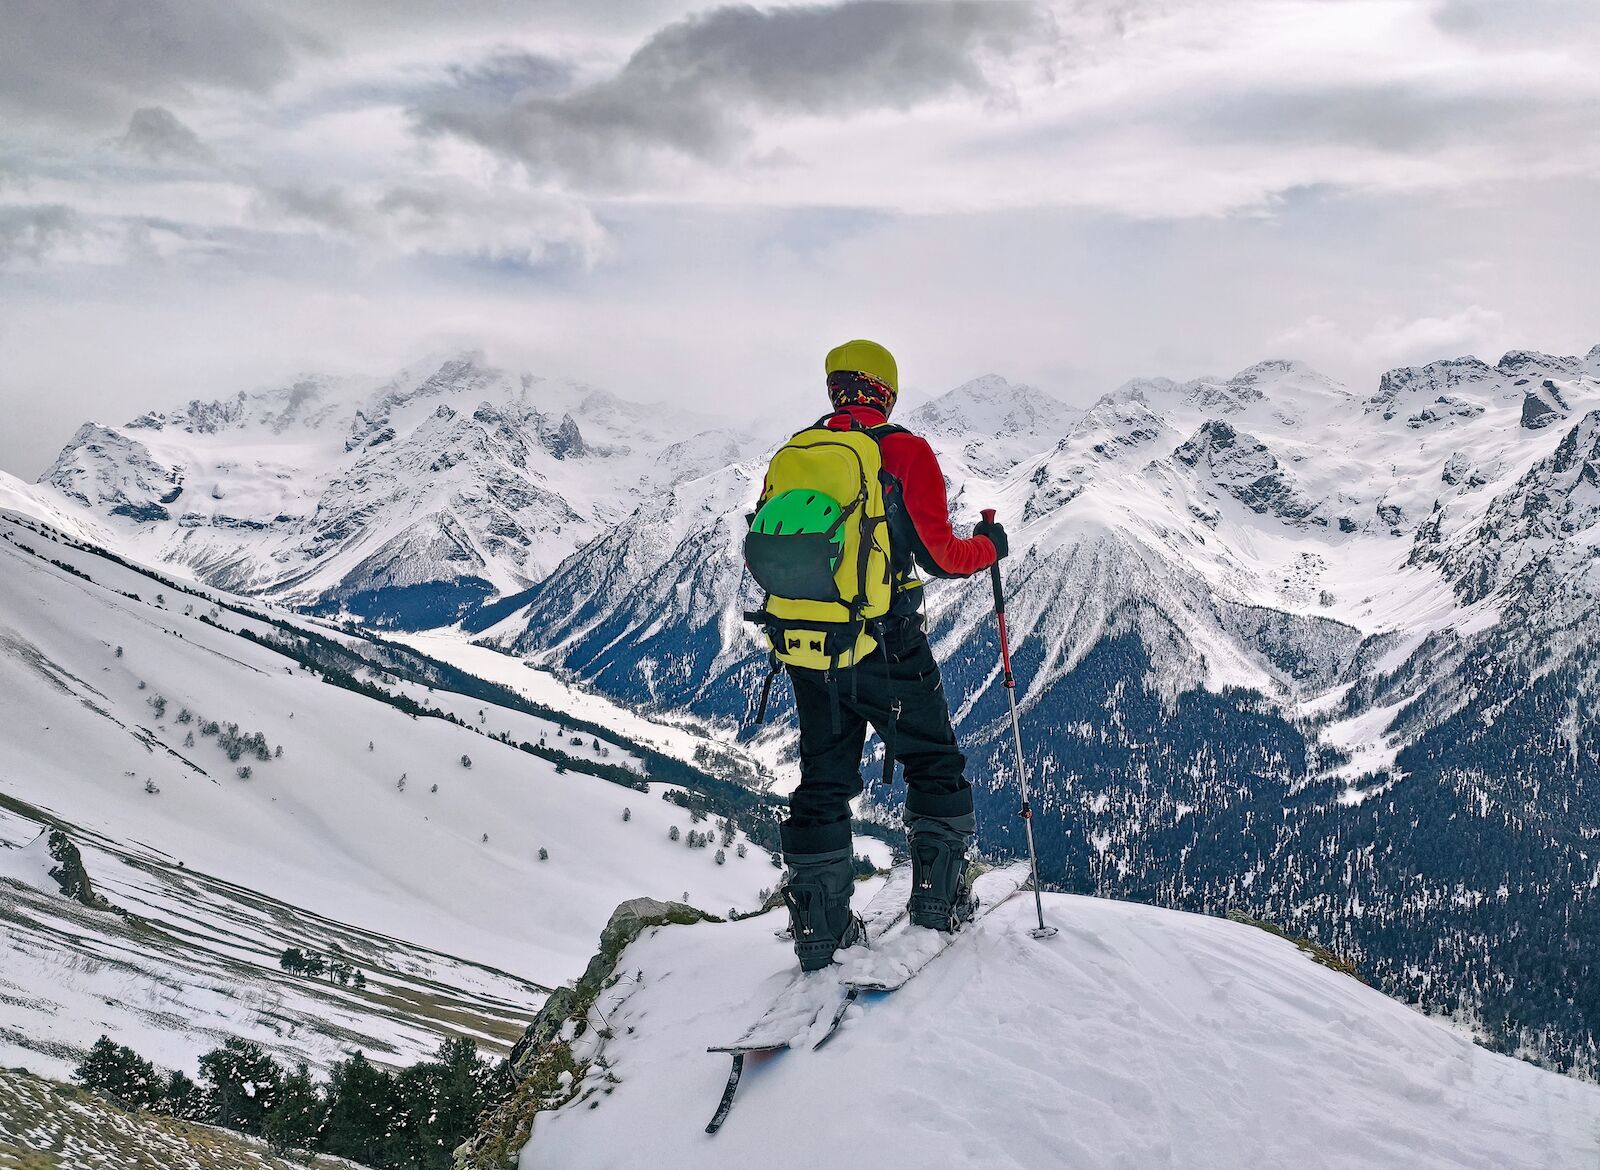
Photo: Lilkin/Shutterstock
Upon arrival at the trailhead, allow ample prep time. You’re the one reading this guide — therefore you’re in the perfect place to take charge. Start by making sure everyone has their beacon on with plenty of battery life (at least 80%) for the trip. Each person should have food, water, and an extra top layer in case it gets cold or windy.
The next step is to double-check that everyone is on board with the trip plan. Now is the time to voice concerns and offer ideas or that bit of insider knowledge picked up from late-night forum reading.
Do a beacon check to make sure each person’s beacon is on and functioning properly.
Then it’s time to strap those skins on and hit the trail!
Stuff to keep in mind during the tour:
If an individual in the group is not comfortable with a decision in the field, that decision becomes the unanimous voice. Make decisions as a group. Each person has equal say. When discussing whether to proceed further, turn back, or move to plan B at the regrouping point, one person’s “no” vote is the entire group’s “no” vote. There is no leaving someone behind or heading back to the car alone.
When dropping in, proceed one at a time. The other members of the group should be watching and ready to react in case of an avalanche or accident.
Splitboarding, backcountry snowboarding gear, and trip preparation: bringing it all together
Adequate backcountry prep work includes stocking cold beers for the parking lot celebration of the successful trip. This is the time to reflect. I like to take notes, even if only mental, about conditions and any surprise encountered. As everyone shares laughs and stories of rollers dropped and powder slashed, pick out information that could prove useful for next time.
Did anyone hear a “whumph” along the skinning route? Any other signs of an unstable snowpack that should be noted for future trips this time of year? Who took the best line down and were there any points of avalanche concern along the way?
For the past five seasons I’ve used GPS tracker apps religiously when in the backcountry. OnX is by far the best for backcountry touring. This allows me to track everywhere I go and save that data on the map, so I can look at exactly where I was. Every tour I’ve done since 2020 is saved on the app, and I can reference these trips for future trip planning purposes or just to relive the stoke. The service includes an avalanche layer that shows avalanche conditions anywhere, likely trigger points and runout zones, and allows you to route your tour around these places. It also has imported hundreds of backcountry lines across the United States due to a partnership with Beacon Guidebooks, the premiere backcountry guidebook company. I recommend opting for the Elite service at $99.99 per year to take advantage of all the safety and routing options, though a more affordable $29.99-per-year tier is available.
Backcountry touring is a cyclical experience. Knowledge gained from one trip can help plan the next one. I encourage new backcountry travelers to head out with more experienced groups first. Be open and honest about your experience and comfort level — backcountry skiing and snowboarding works best when everyone has a voice. With proper planning and communication, those pub-worthy stories will come — and you’ll be around to tell them. ![]()