Bike parks are a great place to practice skills over and over without exhausting yourself on an uphill pedal. Photo: Ramon CliffShutterstock

Lift-Serviced Bike Parks: What to Know Before Your First Visit

Cycling
by Suzie Dundas May 26, 2024

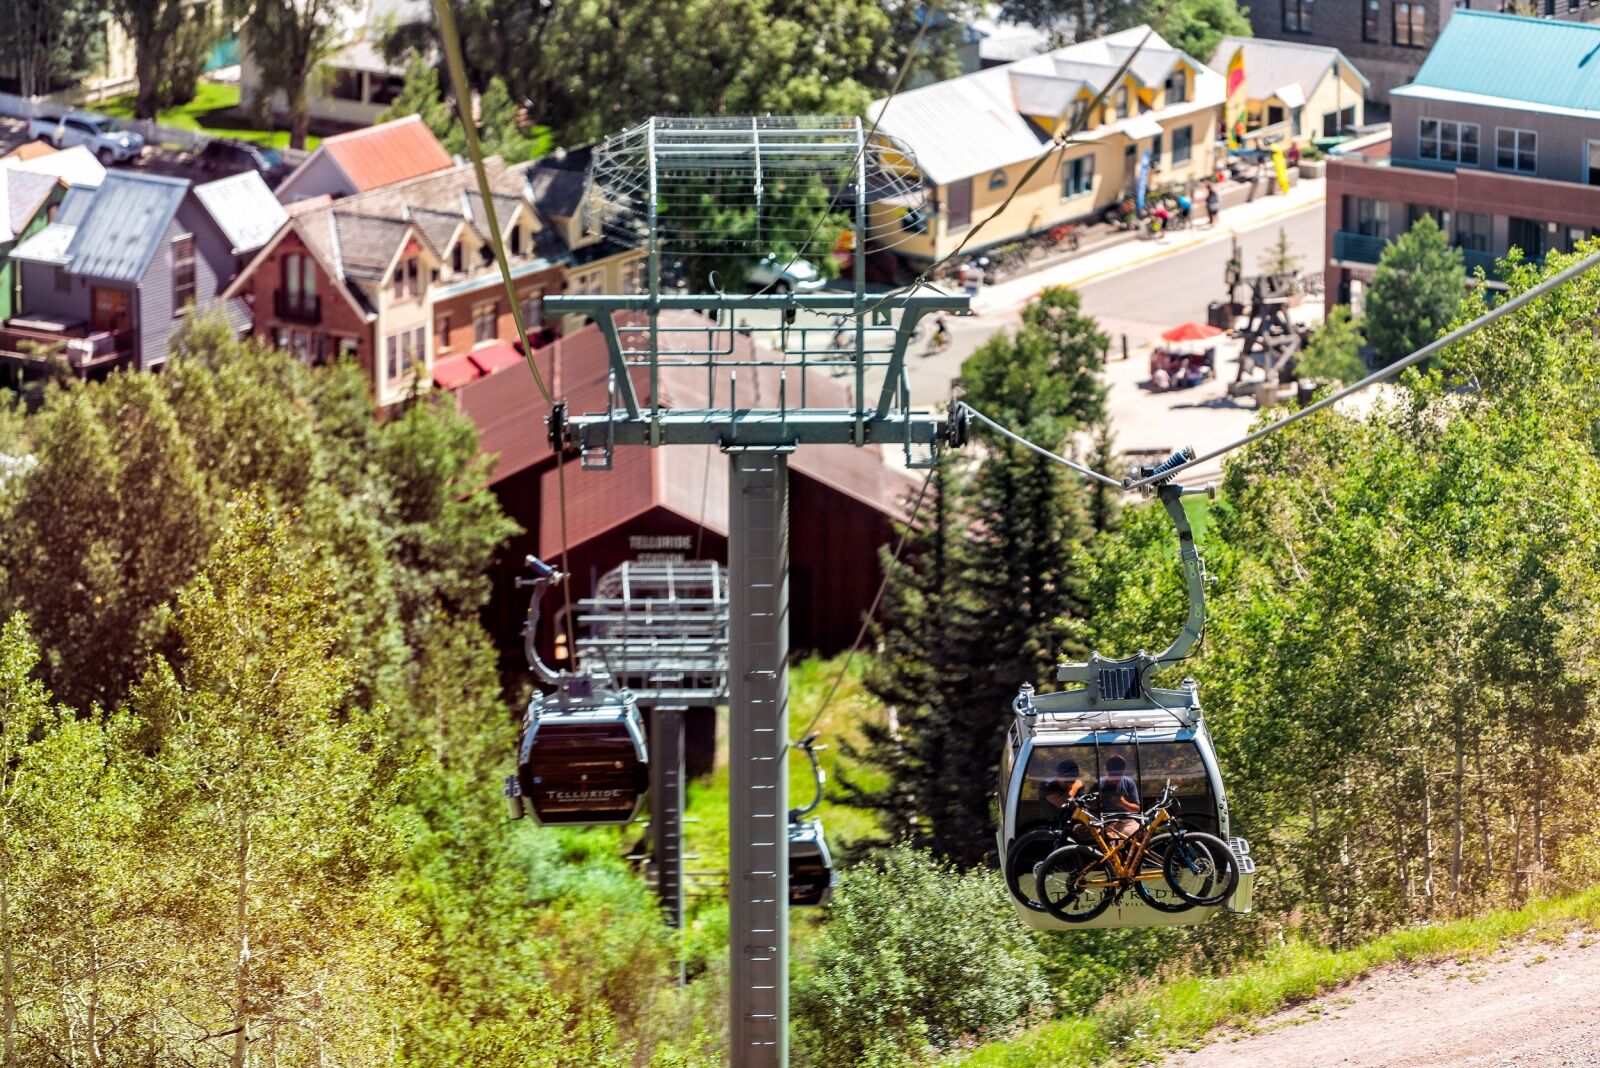
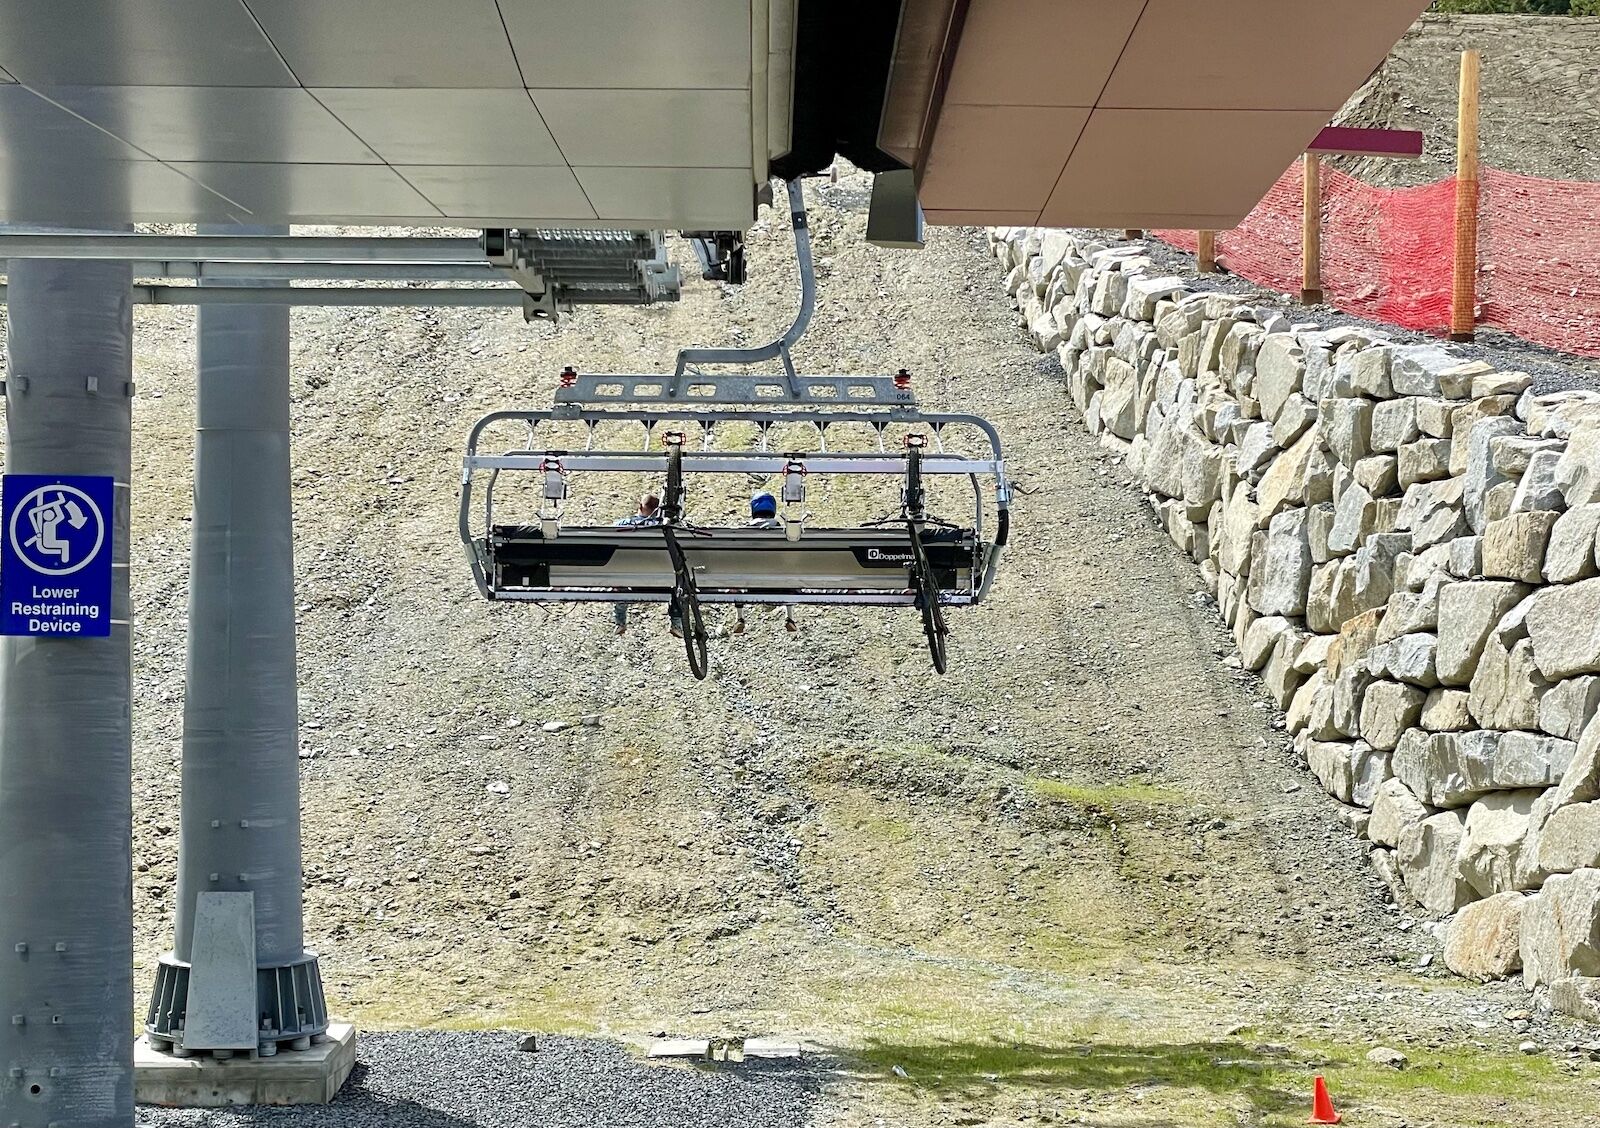
Mountain biking has long been growing in popularity — and ski resorts have long been trying to find ways to stay busy in the warmer summer months. So it’s a natural fit to combine the two, creating mountain bike parks at ski resorts, using the ski lifts to carry riders (and their bikes) to the top.

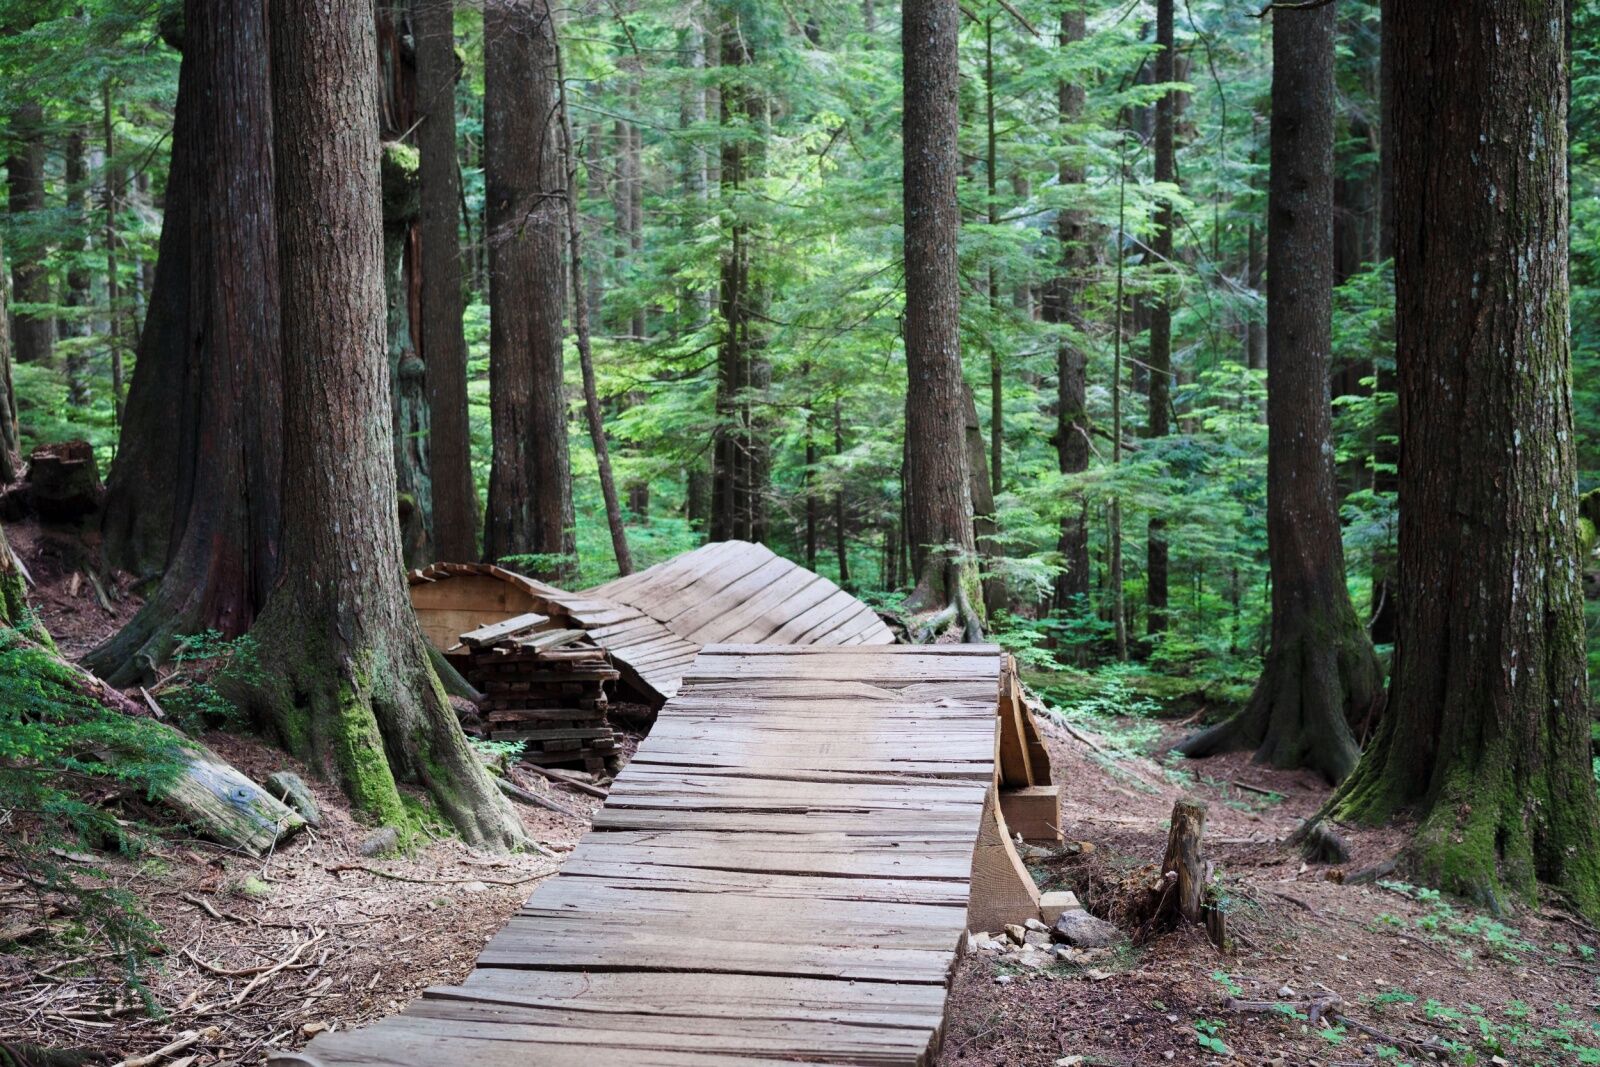
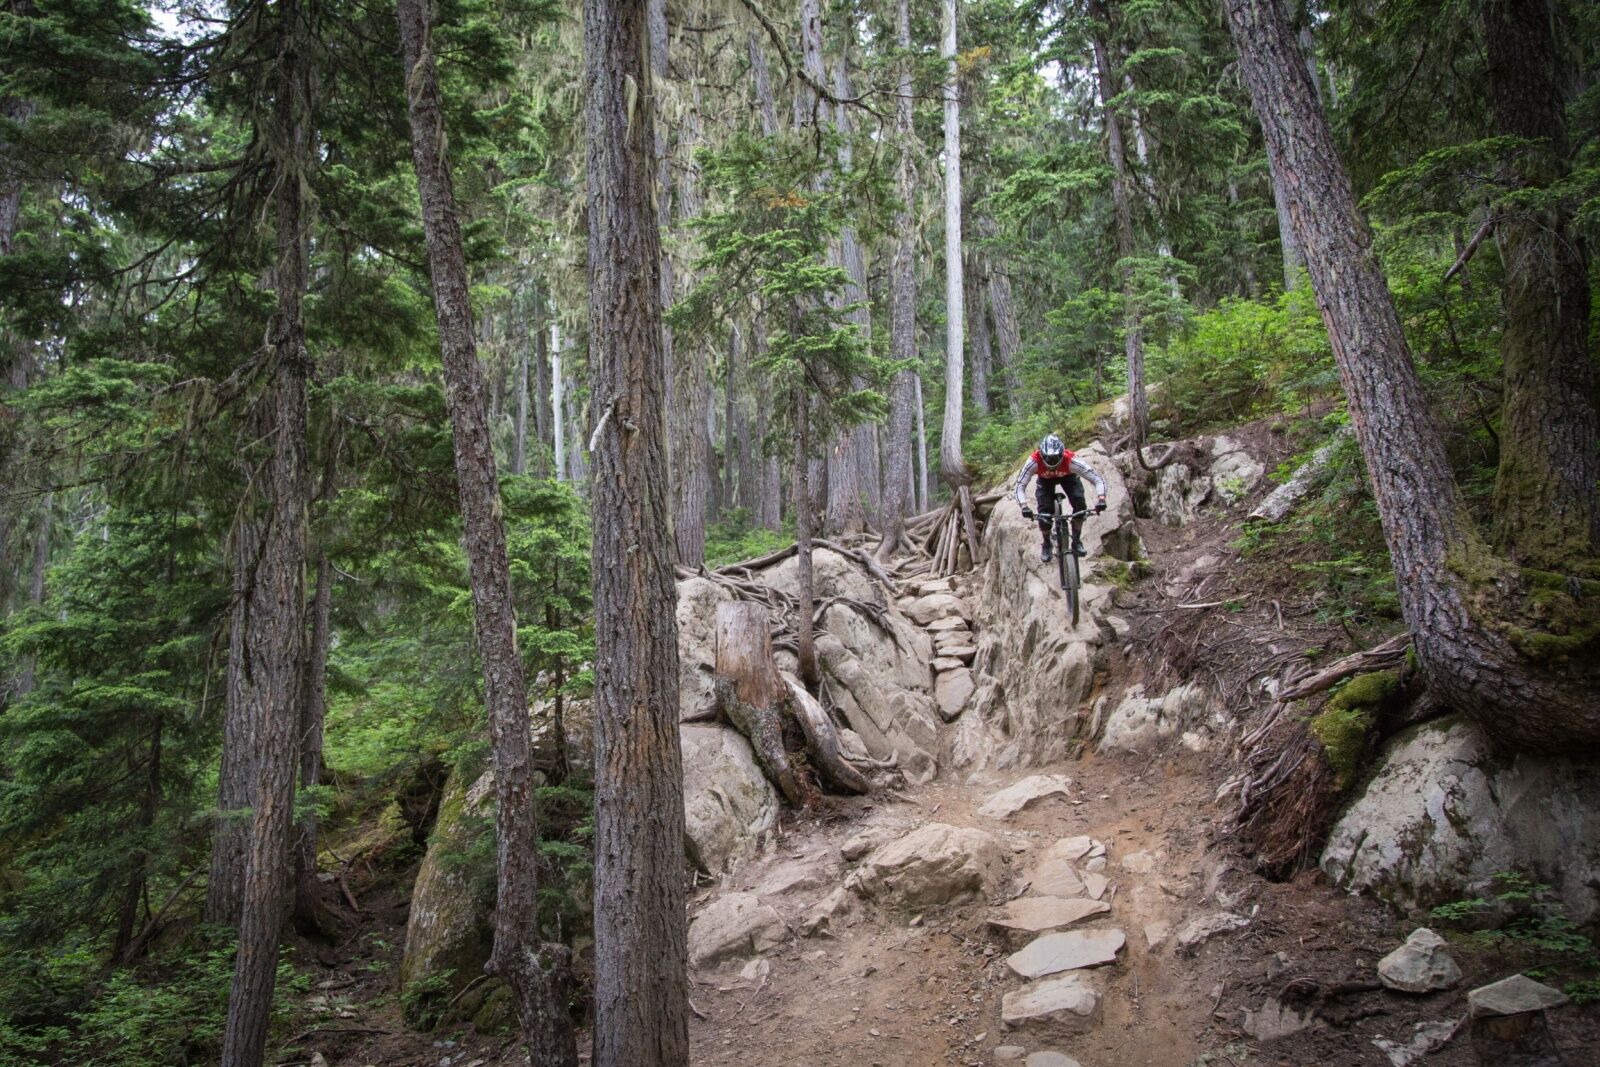
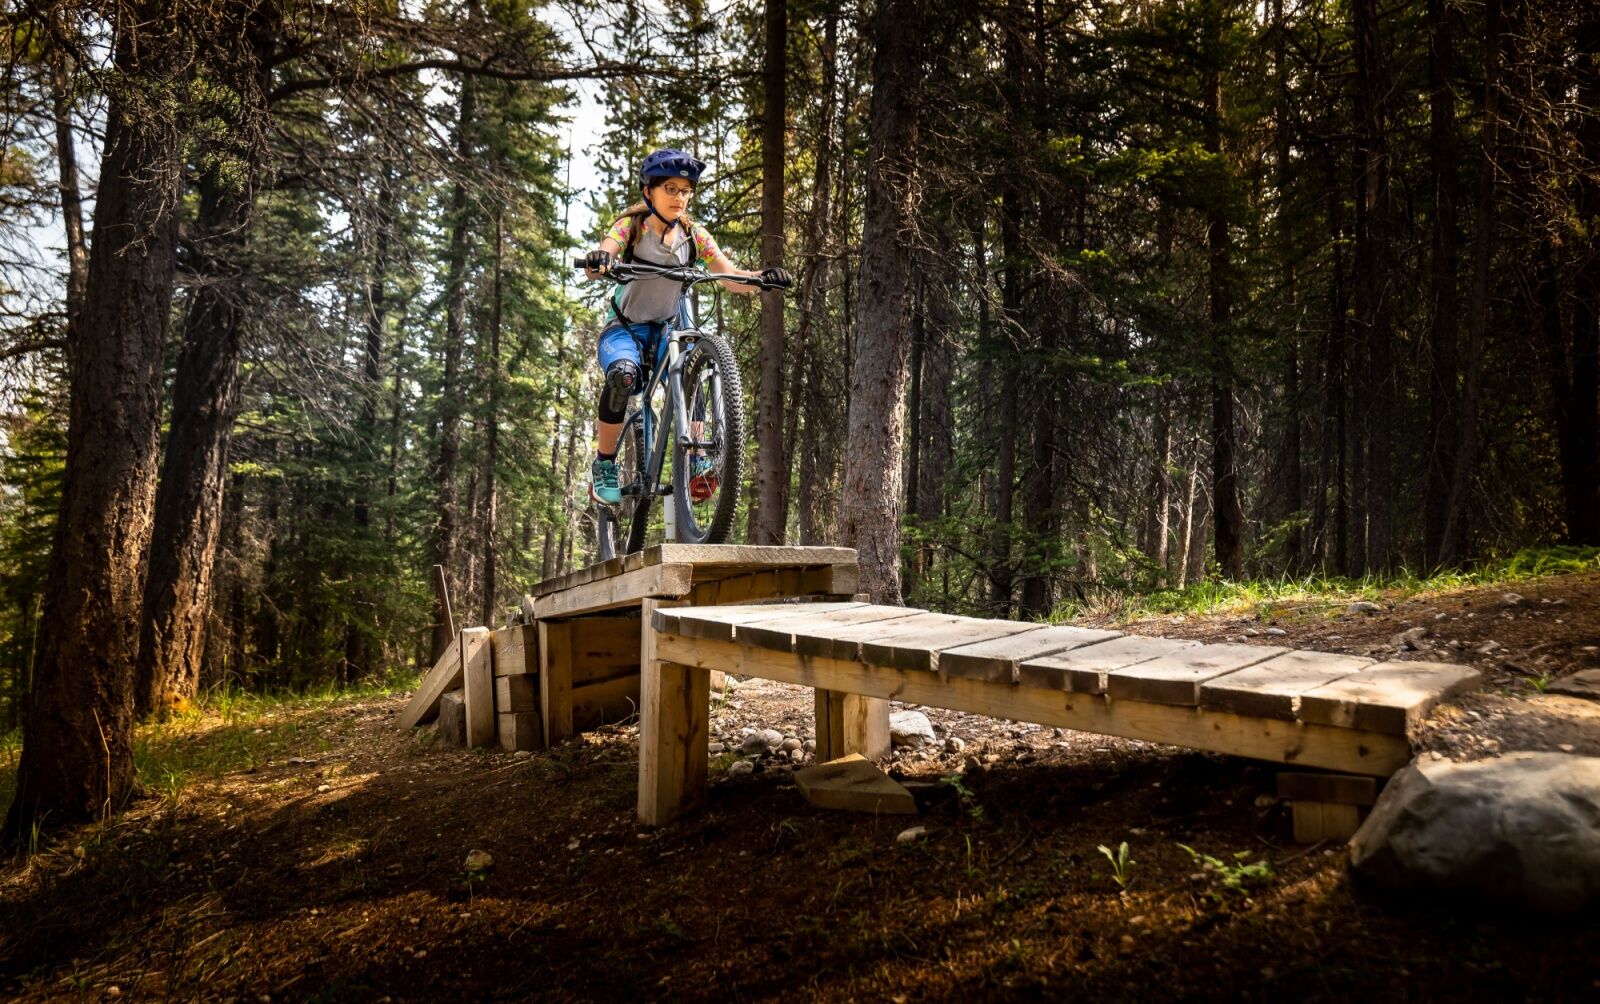
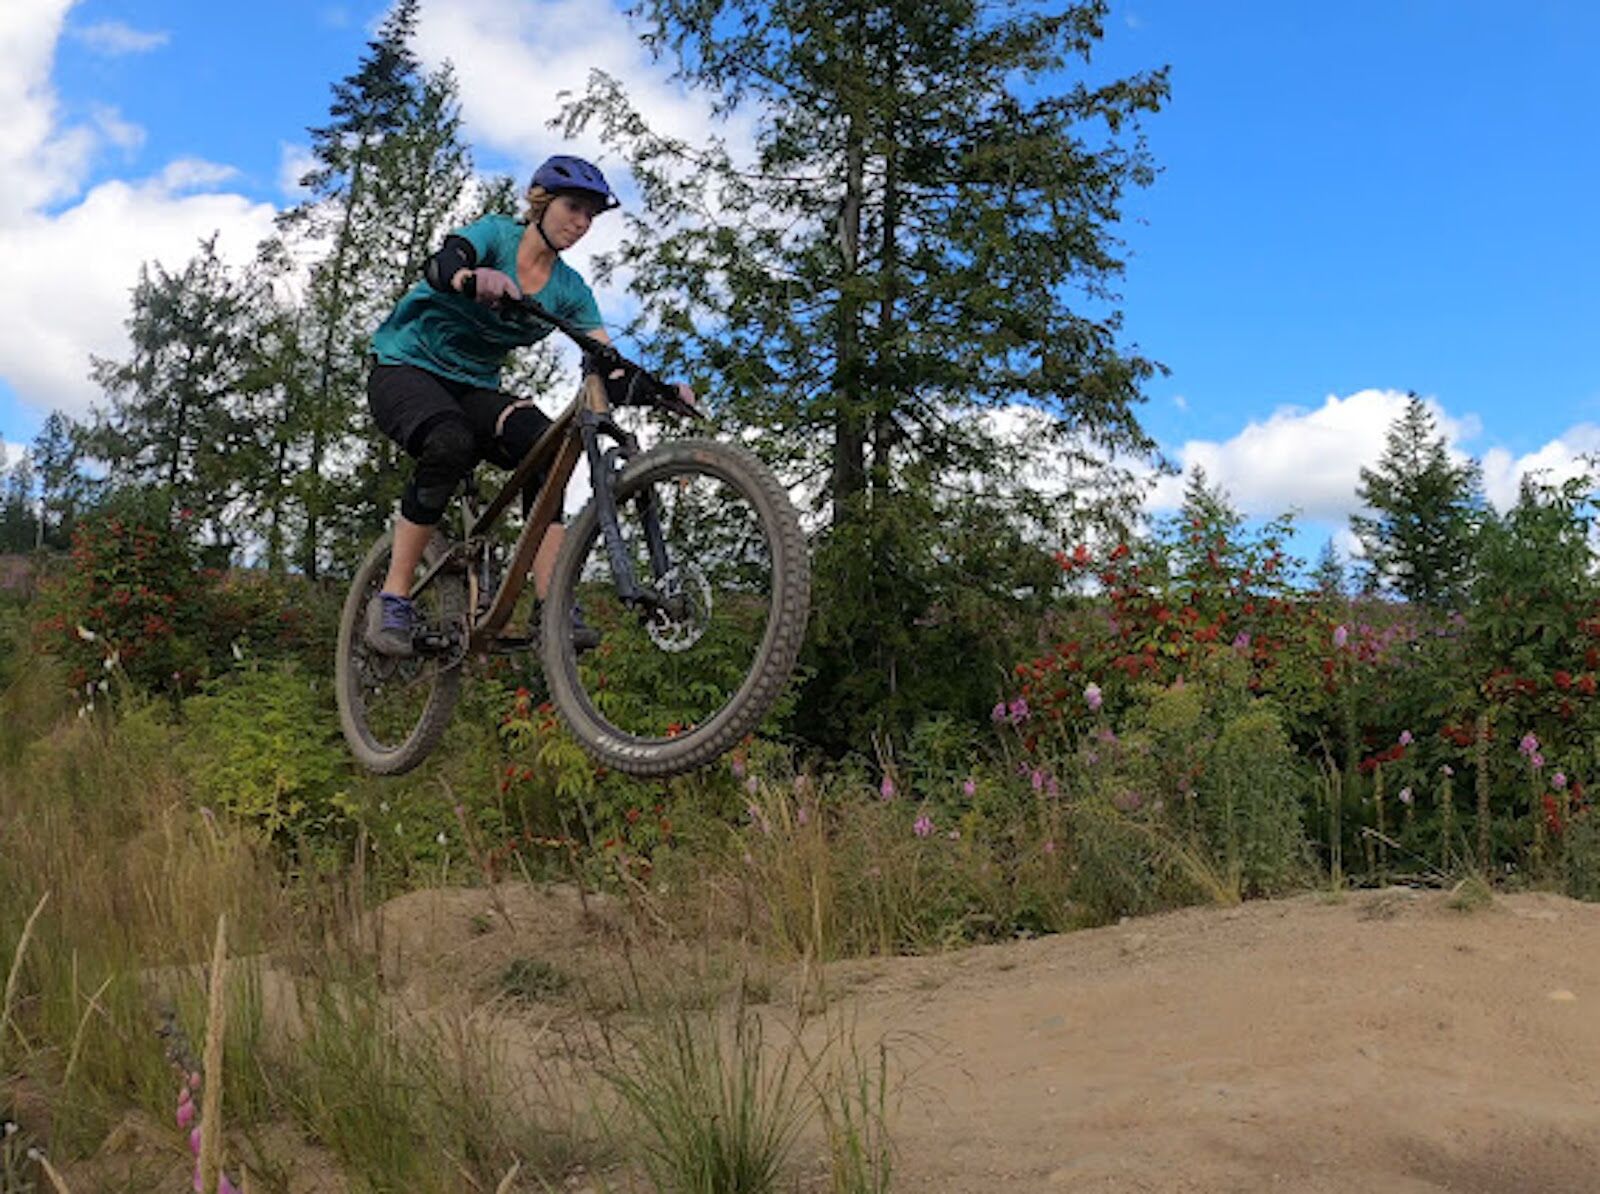
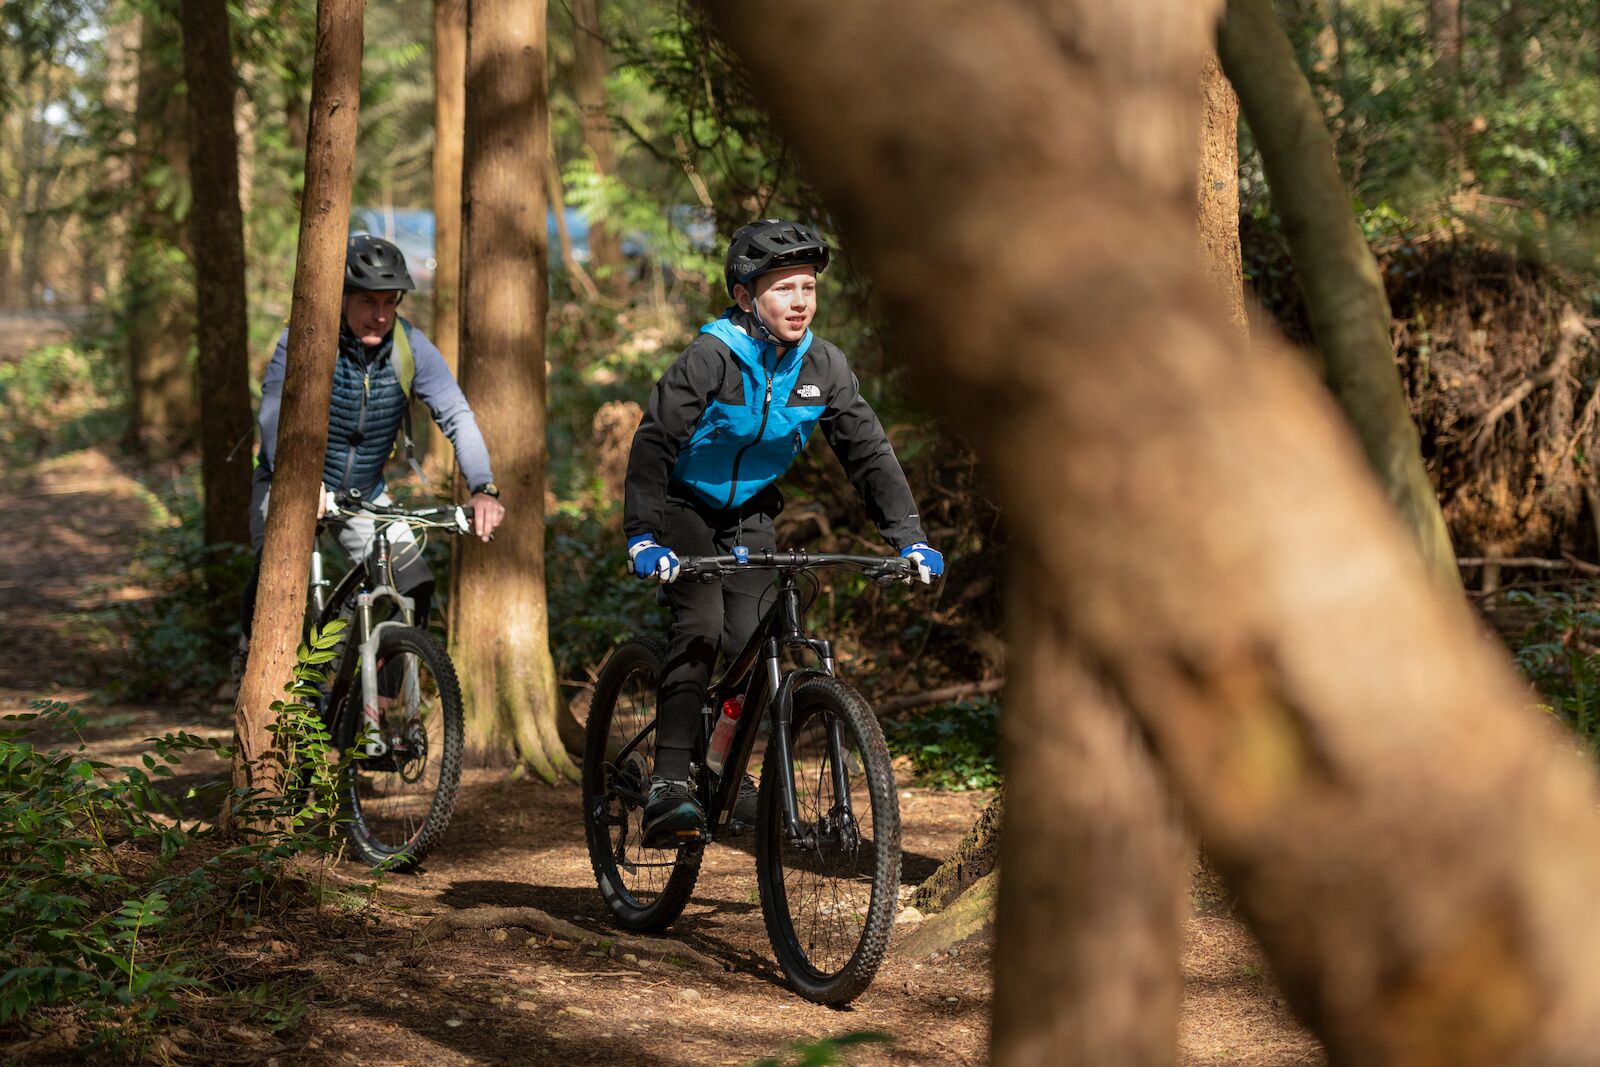
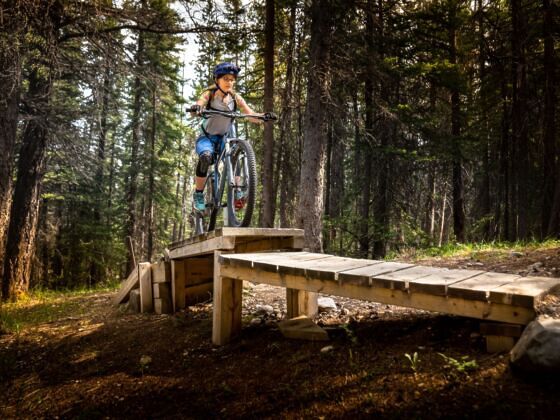
Lift-serviced mountain bike parks are available at many ski resorts around the world, creating a safe and purpose-built place for bikers of all ability levels to ride multiple trails per day without much uphill pedaling. Advanced riders can save their energy for steep, active downhill lines, and beginners can ride gentle trails multiple times to practice skills and bike control. Trails are meticulously designed and built to specific difficulty levels, making it much easier to know exactly what to expect on each trail. Bike parks also have trail maps, clear signage, and on-mountain staff to make it nearly impossible to get lost.

However, it can be hard to know what to expect if you’ve never been to a lift-serviced bike park before. So whether you’re new to mountain biking or just new to mountain bike parks, here’s the basics of what to expect on your first visit, and how to make the most of your day on the hill.


Jump to:


What is a mountain bike park?

ski resort bike parks - telluride

Bike parks carry riders (and their bikes) to he tops of trails using ski lifts (or gondolas). Photo: Kristi Blokhin/Shutterstock

There are two kinds of mountain bike parks — lift-serviced parks, like the ones at ski resorts, and smaller neighborhood bike parks, with small jumps and short trails where riders can work on bike skills. But when most people refer to bike parks, they’re talking about lift-serviced parks, usually at ski resorts in the summer.

Unlike traditional mountain biking, where reaching the starting point often involves a significant uphill climb, lift-accessed parks eliminate that part of the experience. Bikes and riders reach the top of the trails on ski resort chairlifts, allowing for multiple downhill laps throughout the day without expending energy on lengthy uphill climbs. Bike parks usually have a network of downhill (and sometimes flatter cross-country) trails made just for mountain bikers — it’s not the same trails you would ski on in the winter.

Almost all bike parks have beginner, intermediate, and advanced trails, as well as trails built just for jumps, drops, and tricks. The trails vary in difficulty, with beginner-friendly options offering gentle slopes and smooth surfaces, while more advanced trails boast steeper inclines, technical features, and challenging obstacles.

How much do bike parks cost?

Just like at a ski resort, you’ll pay to use the trail system. Fortunately, it’s not as expensive as skiing, though it can add up. Some of the largest bike parks in North America can get pricey, like Aspen Snowmass Bike Park in Colorado ($83 per day) or Whistler Bike Park in British Columbia ($84 Canadian per day). Smaller parks can often be far more affordable, sometimes as low as $30 per day or so. A season pass can cost anywhere from $300 to $700 or more, depending on the park. Most parks also sell less-expensive half-day or evening passes, as well as bundled multi-day tickets. Often, if you buy your tickets online in advance, you’ll save a few bucks.

What kind of bike do you use?

bike rentals in whistler

Bike rental shop in Whistler, BC. Photo: Suzie Dundas

At a downhill bike park, you need to use a full-suspension technical mountain bike. You cannot use a hybrid bike, a road bike, a hard-tail bike, or an inexpensive mountain bike from Target or Walmart. You’ll also want a mountain bike with a lot of suspension in the back so it can absorb bumps and bouncing better.

If you don’t know what any of that means, or don’t have a bike that meets those specifications, you can always rent bikes at the bike park. Renting a bike can be the best way to know you’re on the right type of bike for the trails, and know that the bike is maintained and in good condition. Rentals are usually more expensive that the bike tickets, with major resorts charging rates like $130 (Northstar, CA), $134 (Killington, VT, and Trestle Bike Park, CO), or even $175 (Angel Fire Resort, NM).

If you’re a beginner and plan to only ride very easy flow trails, you can probably use the same full-suspension mountain bike you’d use on your local trails (as long as it’s not a cheap mountain bike from a big box store). If in doubt, call the bike park you’re planning to visit and ask the rental shop what they recommend.

What are the trails like?

mountain bike parks - woodwork feature

Bike parks often have human-made features like brides and jumps. Photo: sophiecat/Shutterstock

Mountain bike parks run the gamut from steep and technical (filled with lots of obstacles like roots, rocks, and boulders) to smooth and nearly flat. All mountains have trails for every level of rider, and many have beginner zones (for novice riders) and “progression zones,” where riders can safely work on improving their skills. Some bike parks also have cross-country trails, which tend to have more gentle up and down slopes with pedaling, rather than being a steep, all-downhill line.

Just like in the winter, there’s a trail map for every resort. And just like a ski trail map, it shows difficulty ratings, intersections, and everything else you need to find your way around the mountain. Many parks, such as Whistler, have a rating scale, so you can see all the trails in order of difficulty. It’s usually online or printed on the trail map.

Flow vs. tech vs. cross-country trails

mountain bike park - techy rider at whistler

Technical trails have more obstacles and are ridden slower than flow trails. Photo: iestyn_evans/Shutterstock

Most mountain bike parks divide trails into three categories: flow trails, technical trails, and cross-country trails. The easiest trails are marked in green, intermediate trails in blue, difficult trails in black, and very difficult trails in double black. Some parks have red trails, called pro lines. Don’t ride those unless you have professional-level bike skills.

Flow trails are smooth, fast, and offer a sense of continuous momentum. These trails typically have wide, bermed corners that allow riders to maintain speed through turns without excessive braking. They might also have rollers, small jumps, and pump sections that allow riders to generate speed by pumping their bodies up and down in rhythm with the trail features. Flow trails prioritize a fun and fast experience, making them ideal for riders of all skill levels, from beginners looking to build confidence to experienced riders seeking a high-speed descent. While advanced riders can go very fast on flow trails, beginners can use them to practice cornering and getting comfortable at gradually increasing speeds.

Flow trail bike park -evan photo

Flow trails are smoother than tech trails and meant to be ridden at higher speeds. Photo: Evan Bing

Technical trails are designed to challenge riders with a variety of obstacles and terrain features. They usually have more roots, more rocks, trickier corners that require choosing a more specific path (called a line), and features like wood bridges or stairs. Riders on technical trails will spend more time navigating obstacles with less focus on speed. There are tech trails of every level, but as a very general rule, a green tech trail will be harder than a green flow trail.

Cross-country trails are the least common in lift-accessed bike parks as they typically involve more uphill riding, which goes against the core advantage of a lift system. However, some parks do offer some XC trails for riders who appreciate pedaling. They’re usually fairly natural, without a lot of human-built features like jumps or log bridges. Cross-country trails are not necessarily more leisurely than downhill trails as quite a bit of pedaling is involved, but they’re often longer and not as steep as downhill-oriented tech or flow trails.

What gear do I need, and can I rent it?

bike park - guy on berm

Full-face helmets are recommended in bike parks, regardless of your skill level. Photo: Aleksei Potov/Shutterstock

Aside from your bike, the only piece of gear you need is a helmet. Most people wear full-face helmets to bike parks, which are the larger helmets that cover your whole head, with a protective band around your jaw. The second option is to wear a standard bike helmet like you’d wear to bike at home. You can rent helmets at every bike shop, usually included in rental costs. You’ll also need some kind of eye protection, like clear glasses, sunglasses, or goggles. Without this, the wind will make your eyes water as you go downhill.

Gear you don’t need need, but will probably want, includes knee pads, a padded bike short, long shorts that cover your upper thighs, and a shirt that covers your shoulders (to protect your skin if you fall). Tall socks and elbow pads can offer extra protection, too. While you can’t rent clothing at most bike shops, you can rent protective items like knee pads.

You don’t need to have special mountain bike shoes, but you do need a tight athletic shoe of some kind. Shoes with firm, flat bottoms work best, as they’ll help you stay secure and stable on the pedals.

How do you get your bike up and down the mountain?

Biek Park lift - whistler BC

You’ll load your bike onto the lift in front of you, and can always ask the attendants to help. Photo: Suzie Dundas

Loading your bike on and off the chairlifts is usually quite easy. At most parks, chairs alternate between chairs for people and chairs for bikes. When it’s your turn, you roll your bike onto the bike mount in front of you. Once it’s locked, you ride the next chair up (just like a ski lift). On some newer lifts, such as the Fitzsimmons Express at Whistler, people can sit on every chair. Instead of alternating between chairs for bikes and chairs for people, the bikes go on the back of the chair in front of you.

If you’re worried about mounting your bike on the lifts while they’re moving, just ask the lift attendants to help out.

At the top, the lift attendants will take the bike off for you and hold it until you arrive, since you’ll be one chair behind the bikes.

Are bike parks good for beginners?

mountain bike park - woman on feature

Bike parks are a great place to practice skills over and over without exhausting yourself on an uphill pedal. Photo: Ramon Cliff/Shutterstock

Bike parks can be a good option for beginners with some important considerations. If you’ve never ridden a mountain bike with shifting gears or a seat that can move up and down, try to rent one for a day before you visit the bike park. It’s not essential, but being familiar with the basics of shifting will reduce your learning curve at the park.

Otherwise, lift-serviced bike parks can be a great place for beginners to learn and progress in a safe and controlled environment — but it’s important to be realistic about your skill level and comfort zone. Starting with a lesson or clinic is a good way to build foundational skills before venturing out on your own. You should always start on an easy trail, since some bike parks are harder than others. Something considered “easy” at Mammoth Mountain in California may be considered “challenging” at the much smaller Chestnut Bike Park in Illinois.

mountain bike parks - woman jumping

Bike parks are a great place to work on features like jumps and drops. Photo: Evan Bing

However, bike park are a great place to learn. Trails at lift-serviced bike parks are more controlled compared to natural trails. They’re designed for specific skill levels, minimizing unexpected obstacles or hazards that beginners might encounter on natural terrain. And because bike parks have progression charts, it’s harder to get in over your head in terms of difficulty. You also usually have multiple ways to make it back to the bottom, so if you attempt a blue trail and it seems too difficult, you can go back to a green at the next intersection (depending on the mountain).

Bike parks also almost always offer lessons. Beginner packages are also popular, often including a bike rental, lesson, and lift ticket. Good deals around the country for beginners include:

  • Bolton Valley, VT: $90 gets you a half-day bike rental with protective gear, a half-day lift ticket, and a 90-minute group lesson.
  • Massanutten, VA: A bike rental with safety gear, a three-hour beginner trail pass, and 90-minute group lesson is $95. (Read more about Massanutten.)
  • Thunder Mountain Bike Park, MA: Get a bike park lift ticket, bike rental, helmet/protective gear, and a two-hour lesson for $165.
  • Silver Mountain Resort, Idaho: A package with a two-hour lesson, bike rentals and protective gear, plus an all-day lift ticket is $116.
  • Deer Valley, Utah: A full-day lift ticket, bike rental, and three-hour afternoon bike clinic is $195.

What happens if someone is faster/slower than me?

mountain bike park - two riders

Slower riders have the right of way on beginner and intermediate trails. Photo: Tourism Delta/Tyler Garnham

If you’re worried about having faster riders come up behind you on the trail, don’t be. There are specific rules in place to manage rider interactions, and on easy (green) and intermediate (blue) trails, slower riders have the right of way. That means when someone comes up behind you, they’ll probably yell something friendly like “hi, coming up behind you.” When you find an open spot to pull over (not on the trail), let them pass. If there’s nowhere good to stop, it’s okay — just keep going, and pull over at the next trail intersection.

If you’re nervous, when you’re at the top before you start pedaling, just let anyone else standing around know that you plan on moving slow. Bikers know that everyone rides at different ability levels and are usually happy to give you space. The exception to this is on double-black, red, or pro lines, when it’s expected that you can ride at a somewhat high speed. But otherwise, don’t worry about it. It’s the responsibility of the rider in back to be in control and maintain a safe enough distance.

Small vs. larger bike parks

two riders at a mountain bike park in whistler

All bike parks have trails for beginners through advanced riders. Photo: Tourism Whistler/Justa Jeskova

It can be tempting to think that beginner riders should stick to smaller bike parks, but that’s not the case. Large bike parks like Whistler and Mammoth Mountain will always have lots of beginner trails, even if they’re known more for expert-level riding. A smaller bike park that only has 10 trails in total may only have two or three for beginner riders. So it’s more important to look at how many trails a bike park has within your riding level, rather than assuming beginners should stick to small parks or experts can only go to big parks.

However: one thing worth considering is the total elevation of a bike park. If you don’t feel like you’re in physical shape for biking quite yet, you may want to choose a mountain with less elevation gain to make each downhill lap a little shorter. Conversely, if you want longer laps, head to a park with more elevation gain.

Bike parks by size

Some of the biggest bike parks in North America are:

Discover Matador

Save Bookmark

We use cookies for analytics tracking and advertising from our partners.

For more information read our privacy policy.