Want to get away? Skip the lift lines and skied-off snow at crowded ski resorts, and go for simplicity: no cell service, a collection of close friends, and fresh powder. One of the most fun and active ways to get away from your daily routine is to book a yurt trip and head into the wilderness. Planning a yurt trip is actually easier than you think.
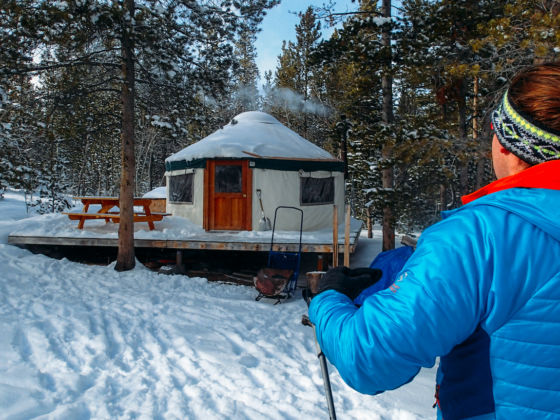
Photo: Alisha Bube/Shutterstock
A Backcountry Yurt Trip Is the Perfect Ski Escape. Here’s How to Plan One.
1. Find the ideal place.
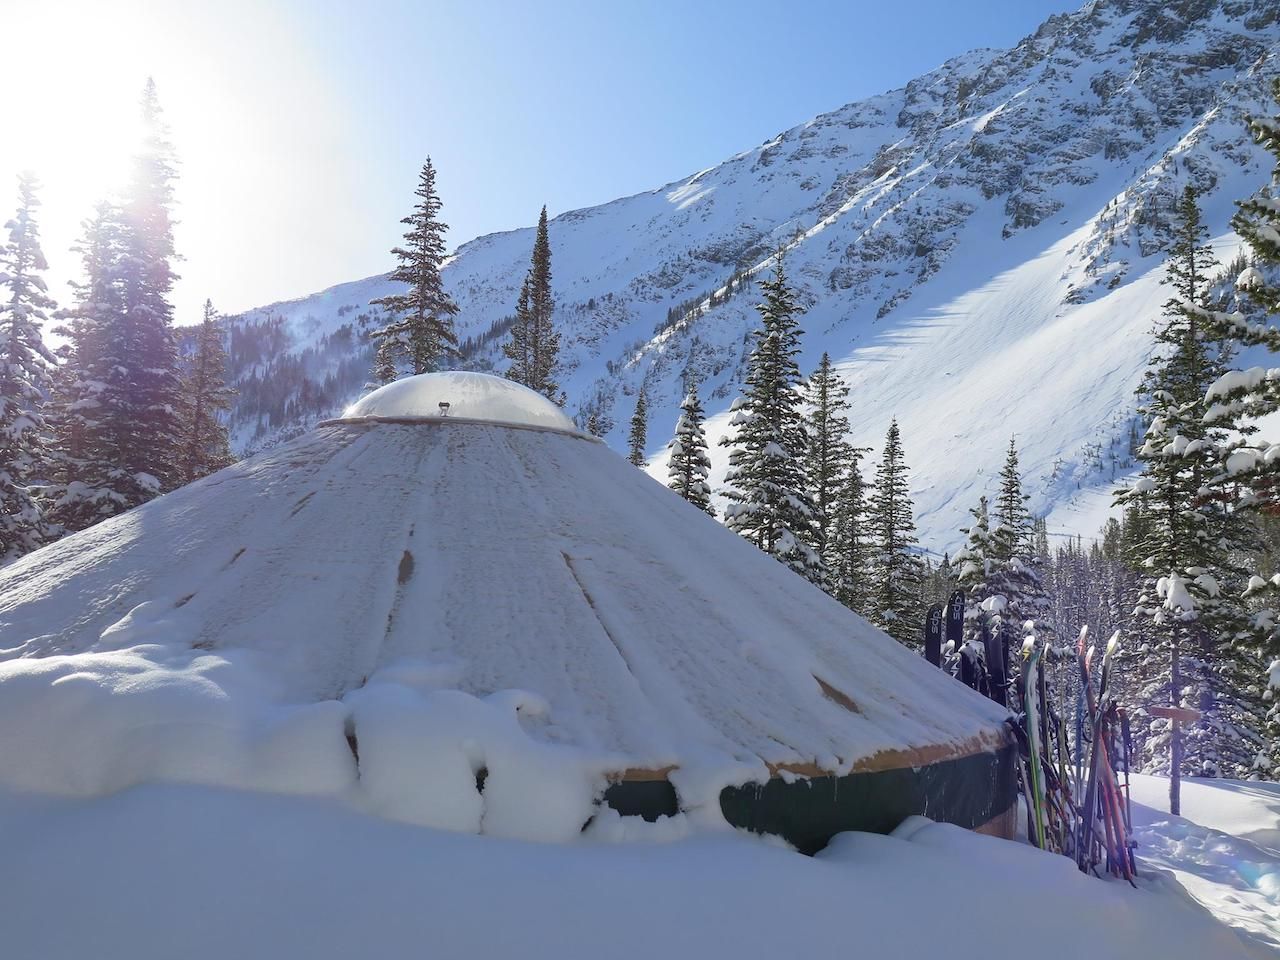
Photo: Bell Lake Yurt/Facebook
In the last decade, backcountry skiing has exploded from a niche sport to one of the fastest growing outdoor activities in the US. The gear has become readily available, route planning resources exist, and increased options for off-grid accommodations are popping up across the West.
It still takes a little more work to get the knowledge needed for a yurt or hut getaway than it does to buy a lift ticket and book a hotel room. It’s worth it, though, as nothing beats empty slopes, time with close friends, and nights spent around a wood stove.
The first step, booking a yurt, is still two or three steps behind the one-stop booking options like Airbnb. Expect a fair amount of Googling, clunky websites, and generally slow email response times from management agencies. The mountain region you live in or plan to visit will have an organized system of huts that book out in advance, though some are fairly archaic.
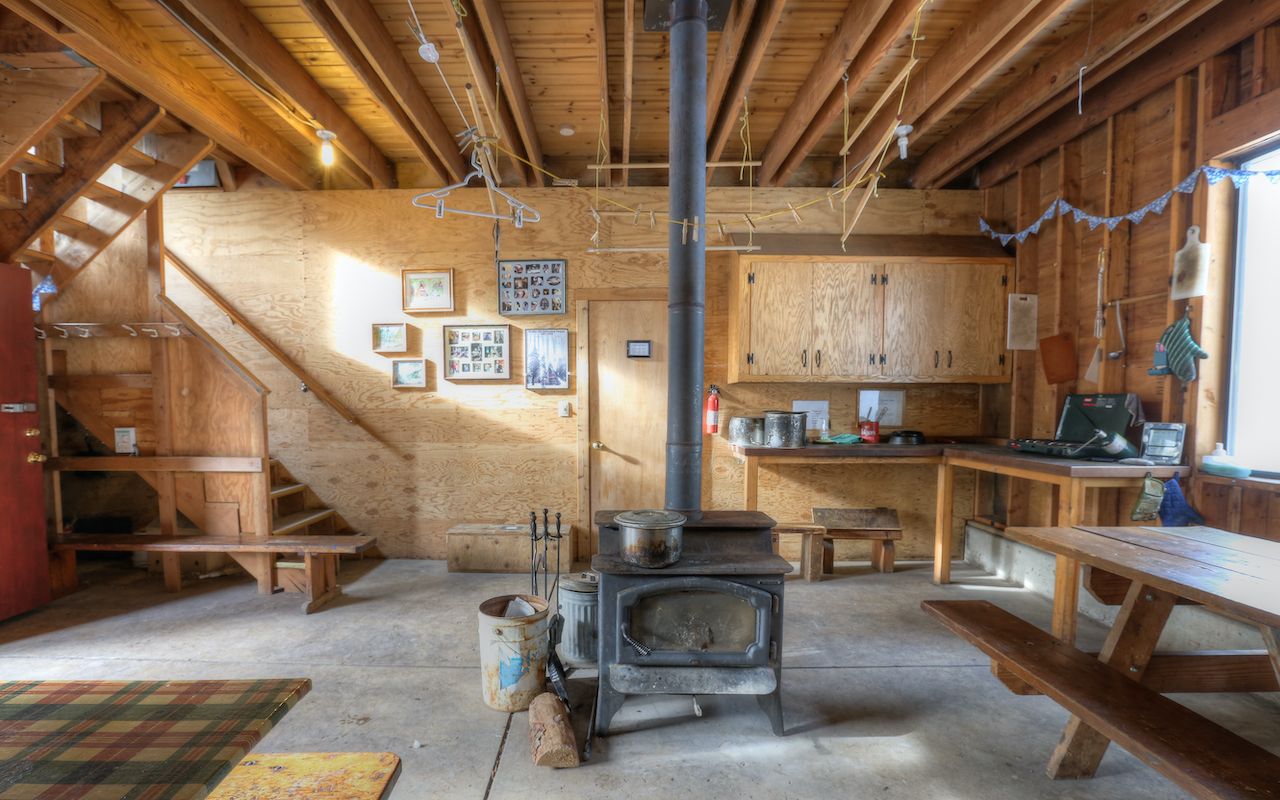
Photo: Written In Silver Visuals/Shutterstock
My favorite places to visit each winter are the Wallowas Alpine Huts in eastern Oregon, Bell Lake Yurt near Bozeman, Montana, and Teton Backcountry Guides yurts near Jackson, Wyoming. In Colorado, the 10th Mountain Division hut system spans much of the state and actually has a modern online booking system that’s easy to figure out.
Upon booking, or in some cases in advance, you’ll receive information on accessing the yurt or hut. This generally requires a day hike or a few hours of skinning up a mountain, but the route is likely to be well-worn, saving the trouble of route-finding through an open field of deep snow.
Also important to consider is what kind of trip you want to have. There are luxury yurts that are fully catered and staffed all the way down to what are essentially cabins with a few bunk beds and a stove. Most huts that are reservable in advance will have cooking amenities, beds, and a “living room” or chilling area for eating, playing cards, and recounting the day. The booking website will list what’s available at each yurt.
2. Gather your friends.
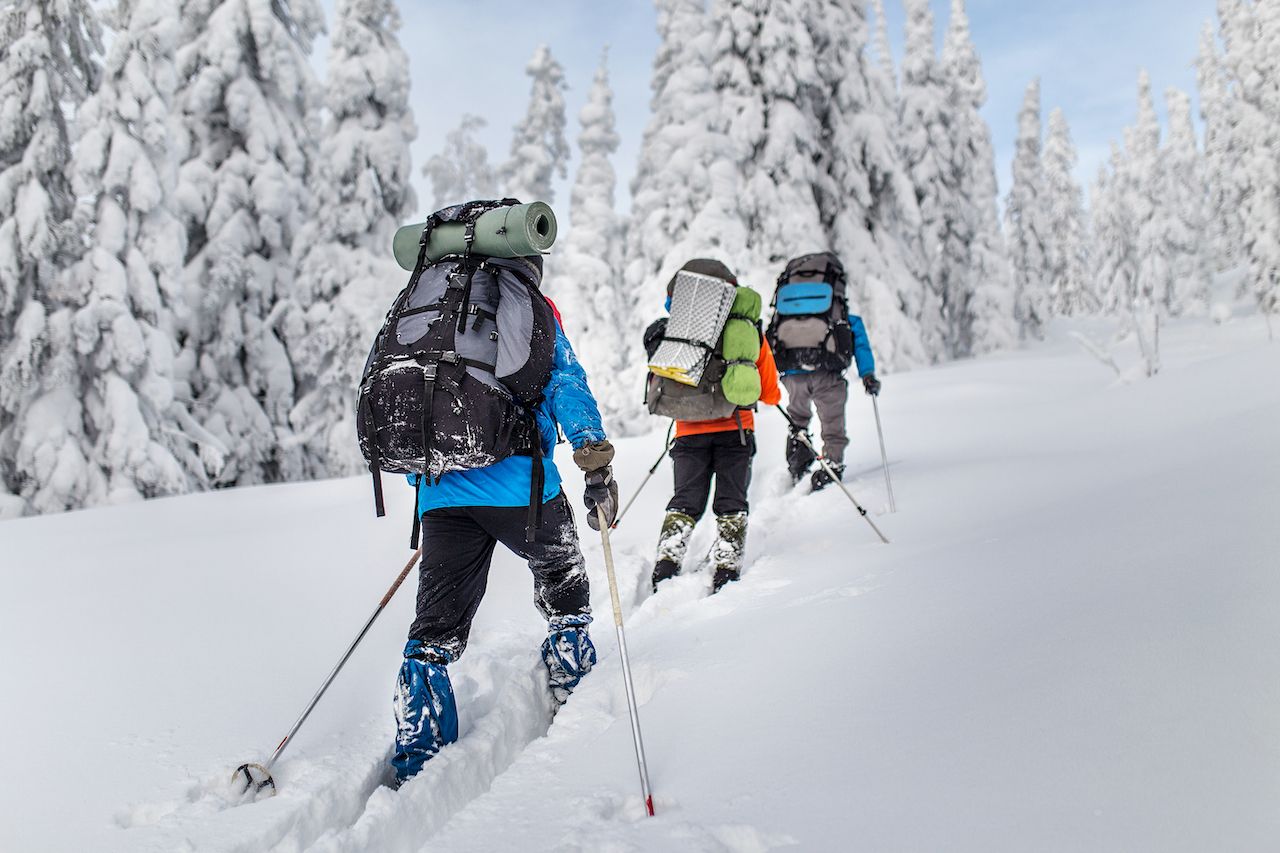
Photo: frantic00/Shutterstock
This may be the most straightforward step, but also the most important. It’s crucial that you plan early — schedules are always busy — and find people who follow through on their commitments. In the modern age of ubiquitous flaking, nothing ruins a trip faster than half the crew not showing up.
When booking, consider your backcountry skill level and knowledge, and those of everyone who will be attending. The established systems noted above have yurts that are easy to access and some that require more effort, maybe even a steep climb up the side of the mountain. Your group is only as powerful as the weakest skier or outdoor athlete, so keep everyone’s ability in mind when deciding which hut to book.
As the de facto leader, you’ll want to select and invite folks who are comfortable with — and can feel safe in — the type of skiing around the yurt. This will take a few messages and some honesty on everyone’s part.
3. Get your gear setup in order.
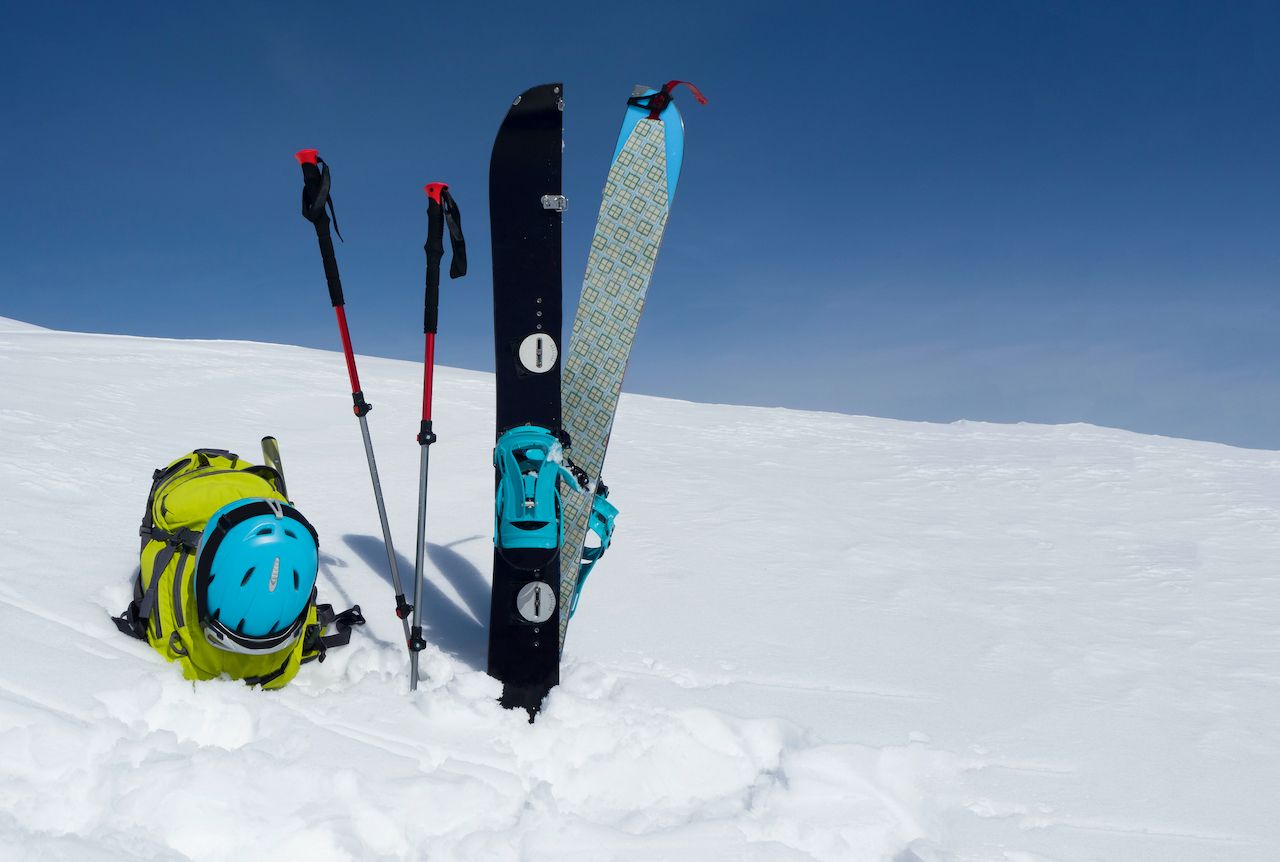
Photo: Lilkin/Shutterstock
A yurt trip builds on the necessities of a day tour and adds in some camping comforts. The essentials are skis with alpine-touring bindings, skins, boots, adjustable poles, and ski clothing with waterproof outer layers. If you’re a snowboarder, swap out the skis for a splitboard, which splits into two planks for uphill use. Safety equipment includes a beacon (check the batteries before you go), probe, and shovel. If you’re lucky enough to afford an ABS avalanche airbag backpack, bring it.
A helmet, goggles, headlamp, first aid, water bottle, and a two-way radio are also must-haves, in my opinion. I bring them on all of my tours, from an hour-long lap on Teton Pass to a week-long traverse of the Sierra. Of course, you’ll need ample — and packable — food for the trip as well.
The rest of the list varies depending on how long you’re going to stay, the weather forecast, and how long the approach to the yurt is. The goal of backcountry skiing is always to stay light, but you can bring a few things to the yurt and leave them there while out skiing. These include a sleeping bag, a spare layer for in-camp, booties, sunglasses, camera, toiletries, and beer. I often limit myself to a 40-liter bag, to keep weight reasonable.
4. Learn backcountry safety.

Photo: Erazem Dolzan/Shutterstock
This is the most important step. Before you even consider a yurt trip it’s critical that you acquire the necessary knowledge around snow, avalanches, terrain traps, and weather factors to keep you and the rest of the group safe. With no ski patrol in the backcountry, all of the assessment and decision making is done on your own.
There are ample places to get an introductory avalanche training. The most common in the US is the American Institute for Avalanche Research and Education, or AIARE for short. Look up a Level 1 backcountry class and apply before you start planning your trip. Classes go all winter across the country. This is a necessary investment for all backcountry skiers, and I ask every single person I travel with about their training and experience. This class is the first big step.
5. Prepare for the trip — and get stoked.

Photo: Tracy J. Anderson/Shutterstock
If you’re still a few months out, it’s good to start training. This includes three components. The first is in inbound ski or snowboard laps to improve form. Next are long day tours to get those legs in shape and become more comfortable with the gear you plan to bring. The third is time in the weightroom to get strong. Your experience at a yurt is completely up to you, and the better shape you’re in, the more you’ll be able to see and do. As you get closer to your trip, keep an eye on the forecast and current avalanche report. ![]()