Photo: Lauren Breedlove

Take Better Photos: 8 Landscape Photography Tips for Self-Taught Travelers

Travel Jobs Photo + Video + Film Outdoor
by Lauren Breedlove Apr 19, 2022

Are you self-taught?

It’s a question I’m often asked, and I am pretty darn proud to say that I am, in fact, a self-taught photographer. What started as a hobby turned into always having a camera in hand and morphed into a career change – though it wasn’t as easy and simple as that.

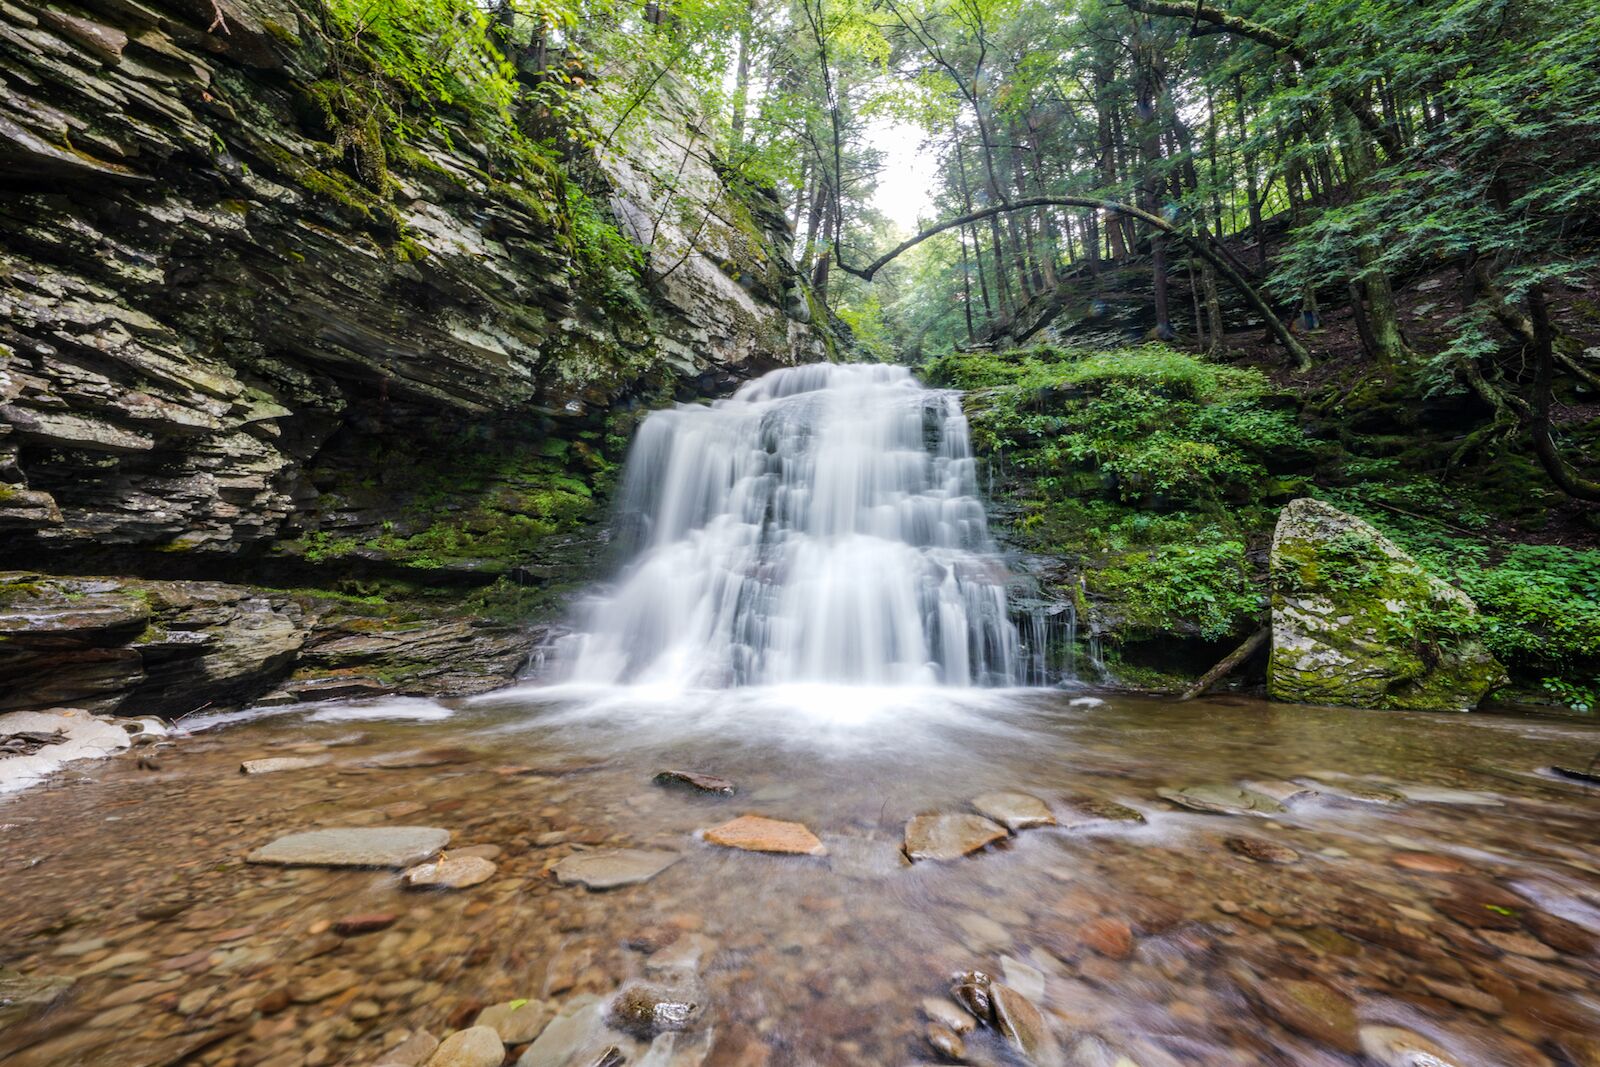
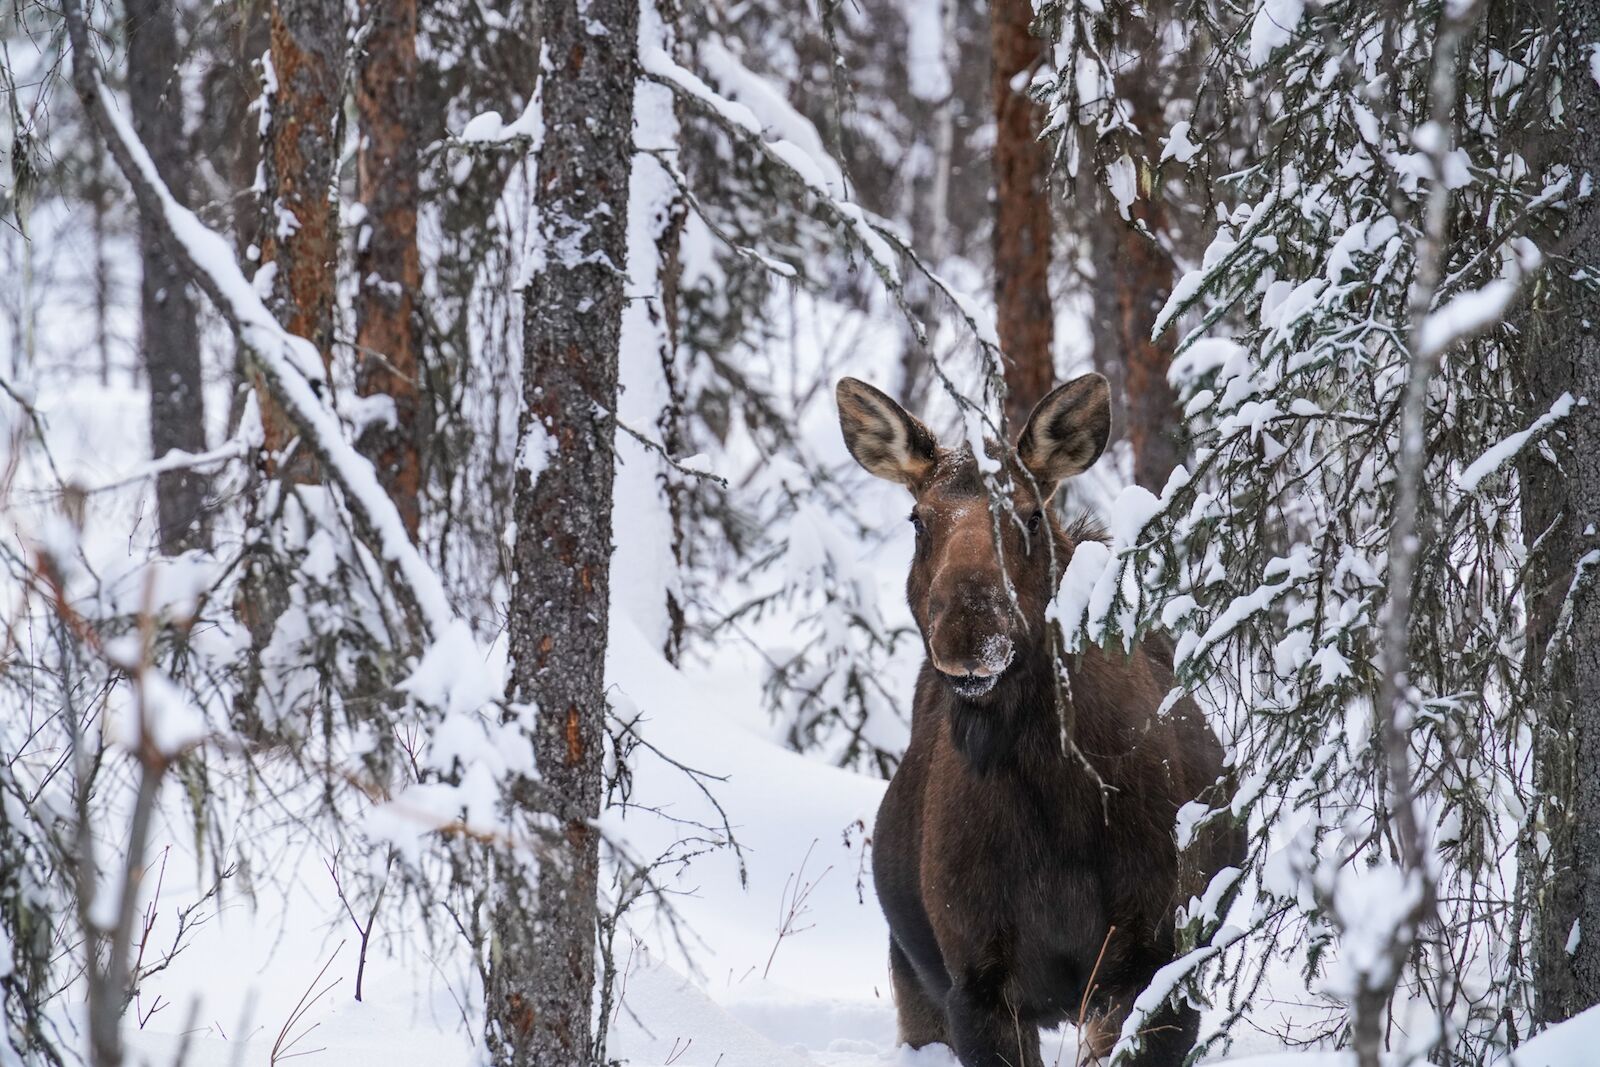
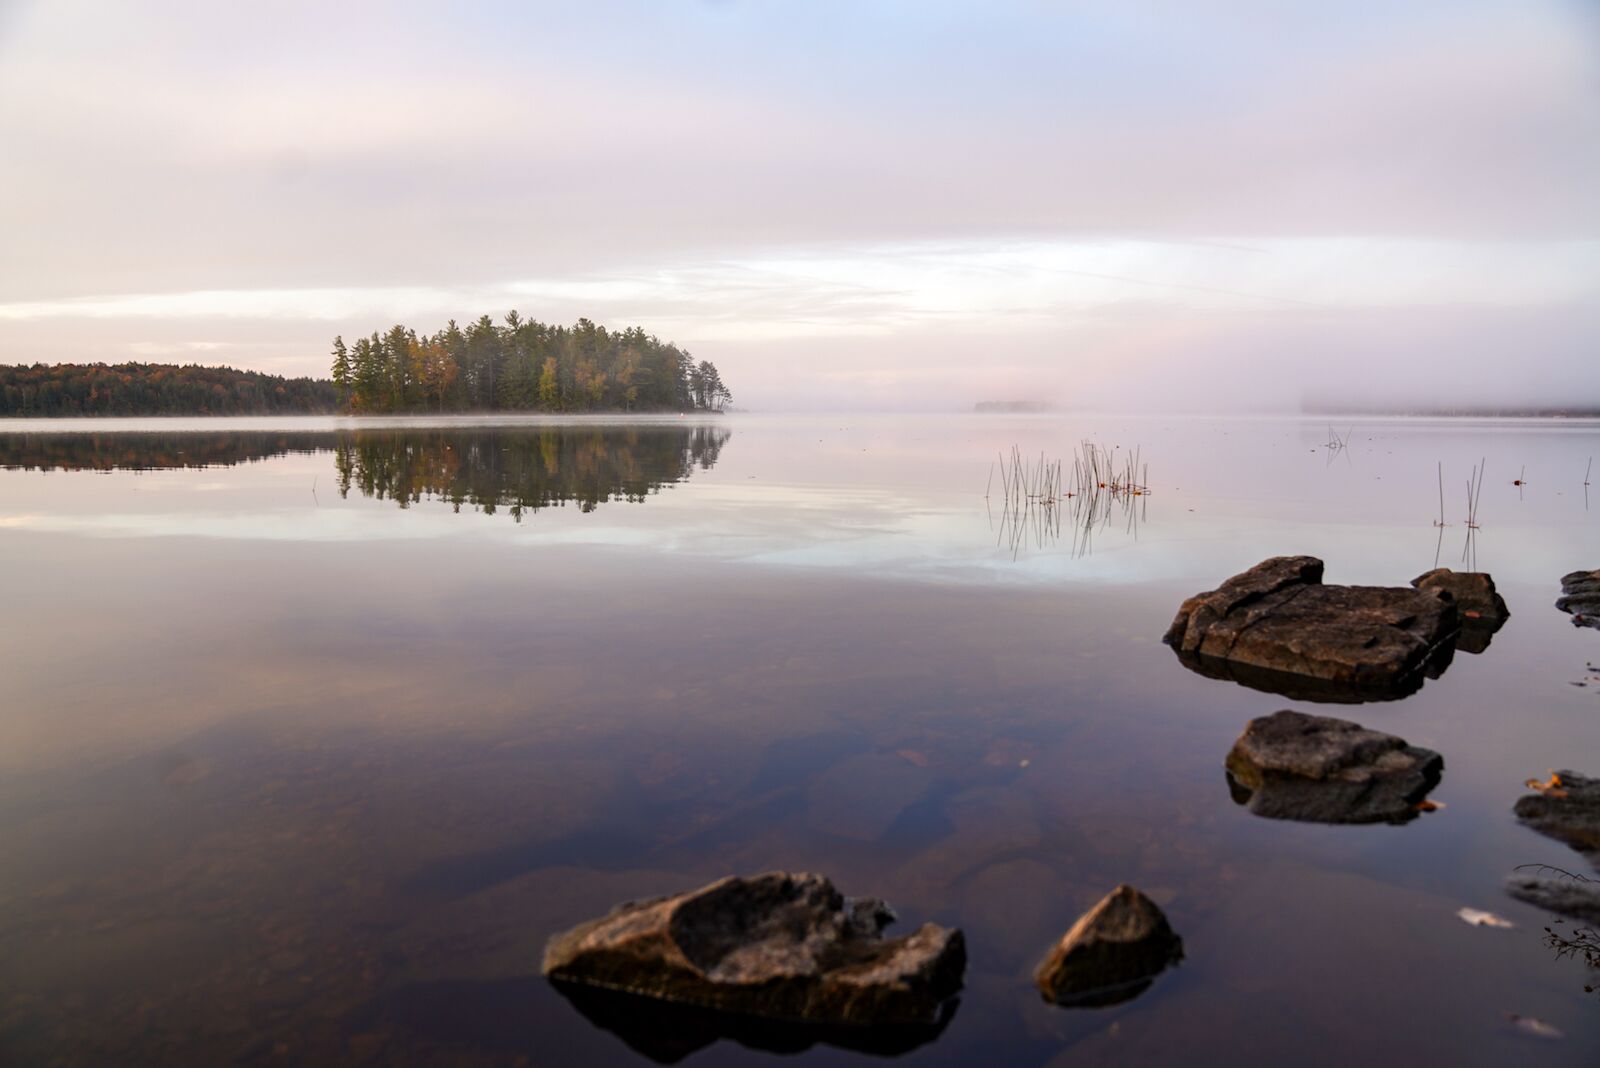
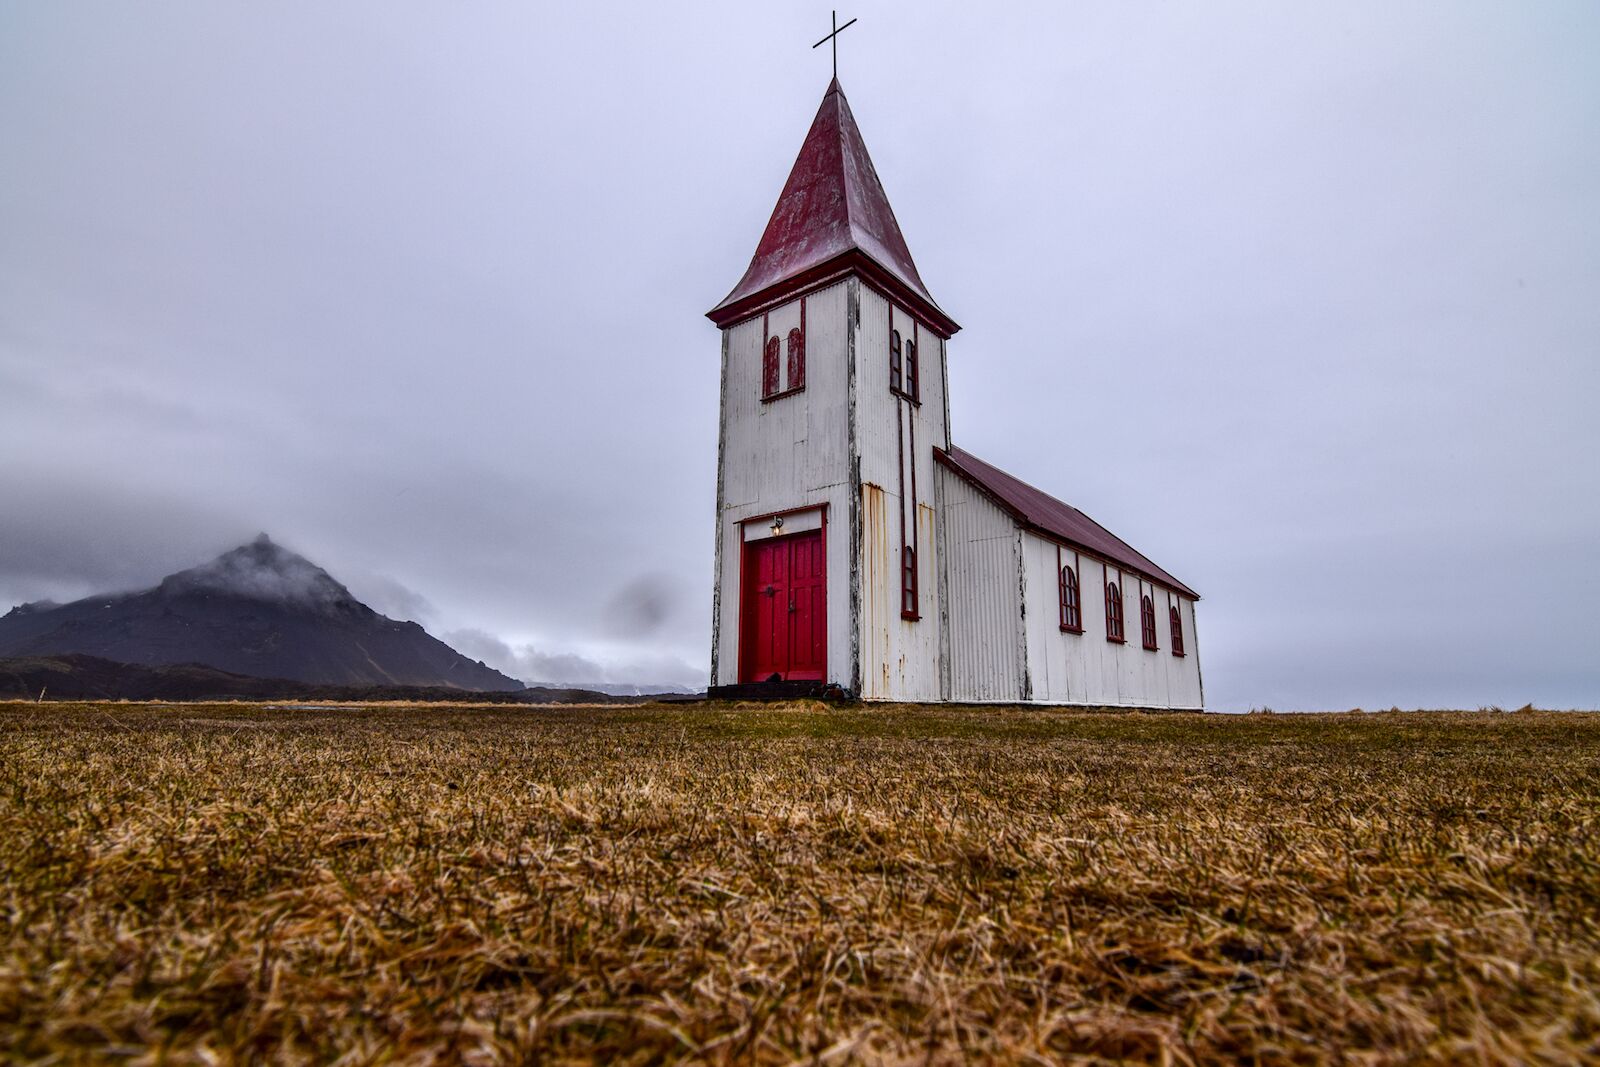
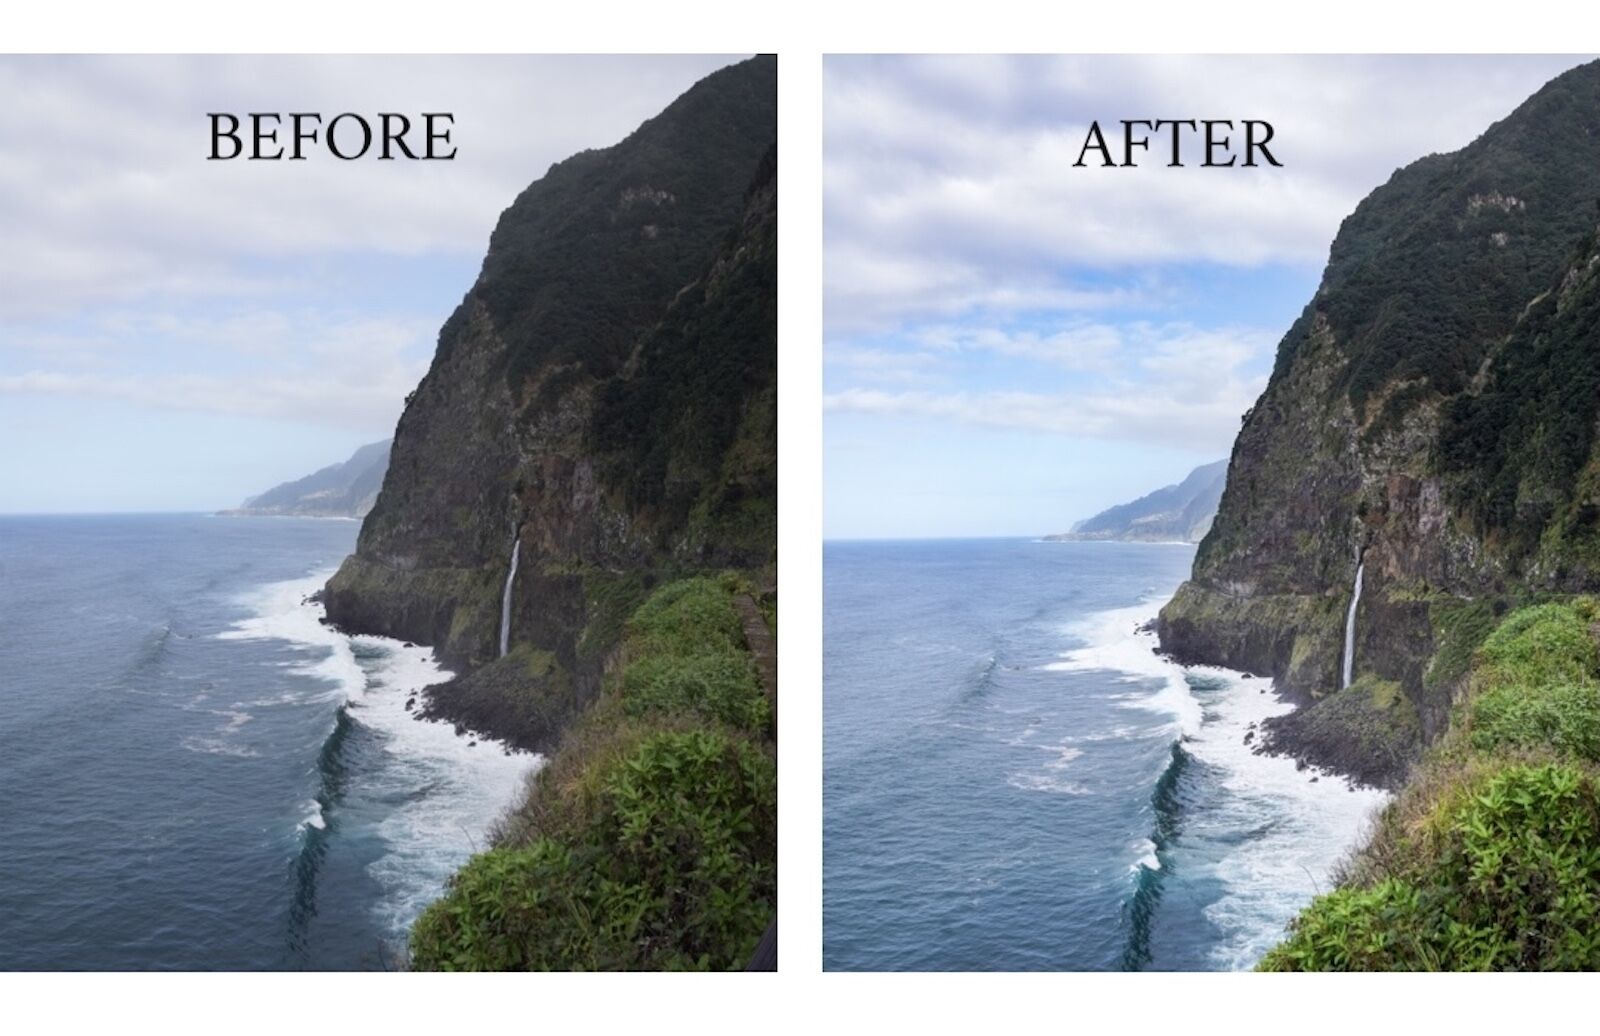
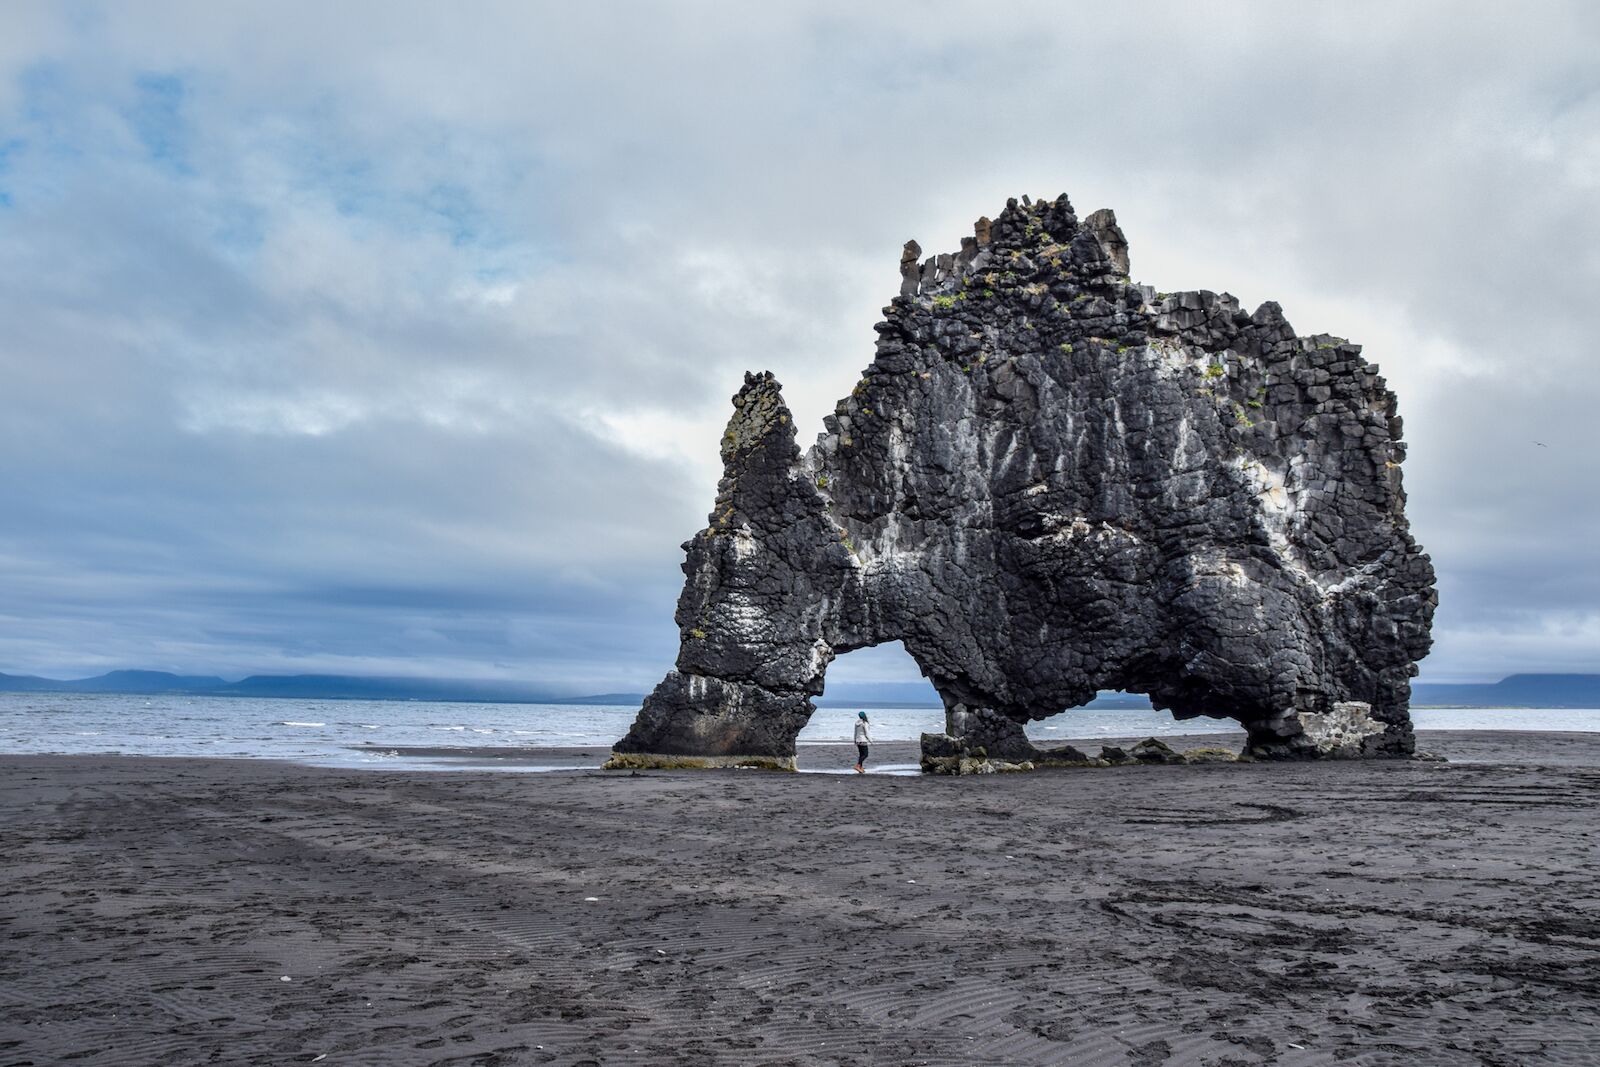
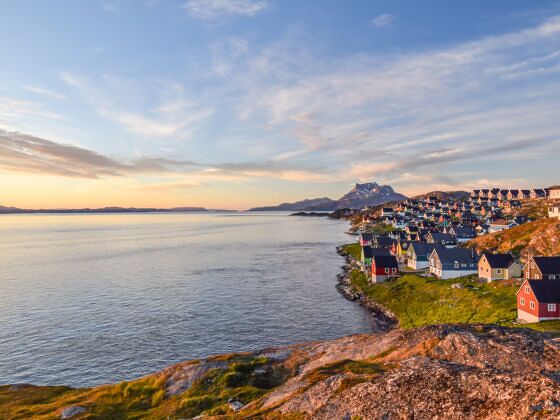
Although my work as a travel writer and photographer has me capturing anything from European street scenes to portraits of tea plantation workers in Sri Lanka, my main focus is on outdoor and landscape photography. It’s what I love the most and where I feel most at home with my camera – truthfully, I may or may not have a serious thing for dramatic scenery. (Bonus landscape photography tip: go for drama.)

You’ll often find me in awkward positions on mountain summits, covered in dirt, crouching to get the perfect shot. I’ve bundled up in temperatures of -45 degrees Fahrenheit to capture the northern lights and slept in the back of rental cars more times than I can count. Landscape photography can be rewarding, breathtaking, and incredibly humbling. It can also be cold, wet, disgusting, and unforgiving. You have to be willing to brave the elements. If you are, then these landscape photography tips are for you.

I set up shots constantly in my head, even when I don’t have a camera on me. It’s something I can’t turn off in my brain. People say that photography is a combination of technical skill and having “an eye” for it; I’m personally heavy on the artsy and composition side of things. Learning the technical end of working a camera outside of my iPhone proved to be my biggest challenge. But I managed to do it (and I’m still learning).

Here are eight landscape photography tips I’ve learned for anyone who’s self-taught, just like myself. Keep ’em in your back pocket for later.

Buy a camera

landscape photography tips buy a camera

Photo: rukawajung/Shutterstock

This should be the obvious starting point; it’s essential for all other landscape photography tips, after all.

We live in a world where “everyone is a photographer” because they own a phone. And yes, phones can take decent photos sometimes, especially in ideal light conditions. But no, everyone is not a photographer, and a phone will limit you more than it will help if you’re serious about learning the ins and outs of the craft. So you’ll have to purchase a real camera – but you don’t have to go nuts and spend your life’s savings on it.

Do your research. Buy a beginner DSLR or mirrorless model (mirrorless cameras tend to be smaller and lighter) with manual capabilities, and consider something used/refurbished to save money. You’ll probably want to trade it in and upgrade at some point down the line. I graduated from a good ol’ point-and-shoot to my beginner Nikon D5300 when I changed careers, and that Nikon got me through five years of traveling through more than 20 countries. It also was the camera that captured the photo that catapulted my photography career.

Then, I spent my life’s savings and splurged on a high-end, professional mirrorless camera. You may also want to invest in a good tripod, since they come in handy during landscape photography for longer exposure shots, astrophotography, or artsy selfies.

Use all available resources

waterfall - landscape photography tips

Photo: Lauren Breedlove

Your camera comes with a manual for a reason. But it can be overwhelming to paw through and absorb the information you need to get started. But hey, that’s what YouTube is for, right?

No, seriously: YouTube can be a decent resource with instructions and tutorials for getting certain shots. I’ve used it to find what f-stop works best for specific strategies, like capturing waterfalls. It’s particularly great for visual learners such as myself.

You can also flip through photography books and see what catches your eye, absorbing inspiration from your favorite shots. Many books also have step-by-step, photo-a-day challenges to help you learn about your camera.

You could also join some Facebook groups and get insight from other photographers, sign up for an in-person workshop to get hands-on experience from a professional photographer, or become part of a forum where you can get critiques and landscape photography tips from fellow enthusiasts. Heck, just Google “landscape photography tips” and read articles like this. Choose whatever works for you and set aside time to learn each week.

Take your camera everywhere

landscape photography tips - moose

Photo: Lauren Breedlove

Your camera is your most important tool for success and it should be with you at all times. Is it always convenient? Nope. But carrying your camera will keep you poised for any possible photography situation and, in turn, make you a better photographer.

It’s a bit painful when there’s a great photo opportunity, but you didn’t want to lug your camera around. Imagine leaving it at home for a hike because you didn’t feel like having the extra weight in your pack, the weather wasn’t ideal, or you had already photographed the exact trail before. Suddenly, a moose appears against the backdrop of the most epic sunset that came out when the clouds cleared at the last second. But guess who didn’t bring their camera and missed out on the shot of a lifetime. Spoiler: it’s you.

While this is probably a slightly unlikely scenario, it gets the point across. Like memories, sometimes the unplanned and more spontaneous moments are the best ones.

Get up early, stay out late

Landscape photography tips -sunrise lake

Photo: Lauren Breedlove

It sounds a bit contradictory, but stick with me here. Midday photographers have to deal with harsh light, which can wash out your images, create weird shadows, and leave you with solid-blue, somewhat boring skies.

Without a doubt, dawn and dusk are the best times to shoot. Not only do you get more variety in the sky day-to-day and season-to-season, but it also happens to be when wildlife is most active. If you’re looking to add some little (or big) creatures to your landscape photography, sunrise and sunset are the ideal times to do it. Wildlife can gussy up any landscape photo, and trying to include them in your photos is one of my top landscape photography tips that adds a lot to your photo without too much work. Just be sure to do it from a safe distance, and always prioritize the animal’s safety and habitat over capturing the shot.

And if you’re thinking about how much you hate waking up early, me too – but photography turned me into a morning person. I like to sleep in with the best of them, but sunrise lures me out of my cozy bed, making me willing to brave dark drives, hikes, and at times, unfavorable temperatures in order to shoot with that early morning light. Add in some fog, and I’ll swoon.

There’s nothing quite like watching and capturing the silent landscape before the rest of the world wakes up. Additionally, early morning is a great time to have otherwise-busy locations all to yourself.

Sunset has the same dreamy effect. Shoot as many sunsets as you can; back to back if you’re traveling.

Shooting in the field during these times will teach you to adapt to changing light and train you to change your settings quickly while also giving you some of the most dramatic light possible.

Don’t be afraid to shoot in automatic

landscape photography tips - lupines

Photo: Lauren Breedlove

…just don’t do it forever.

Set your camera to automatic when you first start out, and take note of the settings for aperture, shutter speed, and ISO (International Organization for Standardization). You’ll find lots of landscape photography tips that say you should never shoot on automatic — ignore them if you’re just starting out.

Aperture is your depth of field and affects how much of your image will be in focus based on the amount of light that passes into your lens. This is where “bokeh” comes from – that coveted, blurry, out-of-focus background when the subject of your choice is in close, crisp focus. Usually, this is achieved with a low F-stop or wide aperture (usually 2.8 or wider). With most landscape shots, you want the majority of the image in focus, which requires a narrower aperture (usually around F12 or higher).

Your shutter speed manages the length of time that your camera’s sensor will be exposed to light coming in and can be anywhere from a fraction of a second up to 30 seconds. Quicker shutter speeds are typically used for movement (like when shooting sports), and slower shutter speeds are typically used for astrophotography to capture stars in the night sky. This is where a tripod comes in super handy.

Slower shutter speeds require your camera to be kept extremely still while it’s working. A great example of this is the smooth, ethereal effect achieved when taking images of waterfalls, using a slower shutter speed between one and four seconds. But with subjects moving quickly, like animals running, anything but the fastest shutter speeds will result in blurry photos.

The other major player within your manual settings is ISO, which controls the darkness and brightness of your images. Most people avoid using ISO values that are too high (1600 and above) because it gives the image a grainy or “noisy” appearance.

These settings are all connected and it’s your job as the photographer to mix them appropriately, creating the ideal cocktail to produce the photo you want.

Your camera’s choice of automatic settings may not always be correct, but they’ll give you a good idea of what works in various situations. Once you have a grip on those manual settings, you can slowly start controlling them yourself one at a time until you’re managing everything yourself on the manual setting.

Play around

landsscape photography tips shoot from an angle church

Photo: Lauren Breedlove

The best landscape photography tip I can offer for figuring out your personal style and creating unique shots is to play around with perspectives, focal points, and composition. These things can completely change an image based on what you choose. Don’t be afraid to get dirty; you can add a fresh perspective to an already well-photographed location by shooting from an unusual vantage point.

I have personally climbed into a tree, rolled around on the ground, made a step stool out of rocks, sat on someone’s shoulders, and squatted down until my legs were going to give out. Changing the focus up can also create a fresh take on a photo. Try focusing on the flowers on the ground with the mountain backdrop slightly blurred (and vice versa) to see what works best.

This also includes playing around with various lenses to see what you like working with best. A wide-angle lens (around 12-16mm) can take fantastic shots of wide, epic scenes, while a 24-70mm lens will get most of the scene but also work for closer details you’ll encounter in nature. A good zoom lens will capture wildlife, mountain ridges, and the moon.

Also play around with adding subjects, which is an ideal way to show scale in landscape photography. Whether it’s a stranger taking in the view, an animal doing its animal thing, or a friend forced to pose, having a subject can add a focal point and a lot of flavor, resulting in overall more interesting photos.

Learn how to use Lightroom

before and after lightroom

Photo: Lauren Breedlove

This post-processing tool will become your best friend for quick and easy edits. A more user-friendly version of Photoshop, Lightroom is a fantastic program for adding some pizzazz to your photos while also learning more about photography in the process.

You can brighten up a photo with a click, add a dash of warmth, give your colors a bit of a boost, play with contrast, and much more. Even easy edits can give your photographs a refined and professional look. Lightroom can certainly bring your photograph to the next level. Refer to tip number two for learning it: look on YouTube.

Cut yourself some slack

Lauren under a rock formation

Photo: Lauren Breedlove

Photography isn’t easy, the hustle is real, competition is steep, and you have to be willing to work hard at learning how to do it to be successful.

That said, it’s easy to get sucked into self-doubt when perusing social media apps like Instagram, comparing your work to others. Although it’s easier said than done, try to use Instagram as a tool for inspiration (not copying), rather than a tool for spawning negative feelings or self-doubt. For every one photo like the one above, you’ll have 40 that are blurry, too dark, or otherwise less-than-ideal. Everyone has a different style and background, but the only way you will improve is to keep on shooting.

Discover Matador