The camping craze that we’ve seen this summer has made its way to winter. Winter camping is not only a relaxing way to get into nature, but it also gives you easy access to activities like backcountry skiing or snowboarding, snowshoeing, and cross-country skiing. Camping in cold weather comes with its own set of challenges, but with proper planning and cooperative weather, it can be an unexpected new way to practice your newfound love of sleeping outside. Here’s everything you need to know to prepare for your first winter tent camping experience.
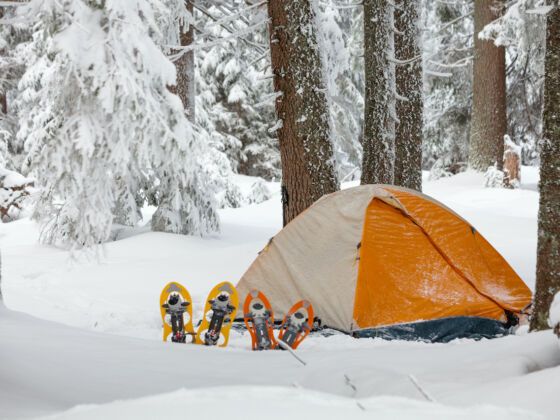
Photo: My Good Images/Shutterstock
Winter Camping Is Cold, but It’s Also Fun and Rewarding
1. Prepare for the cold
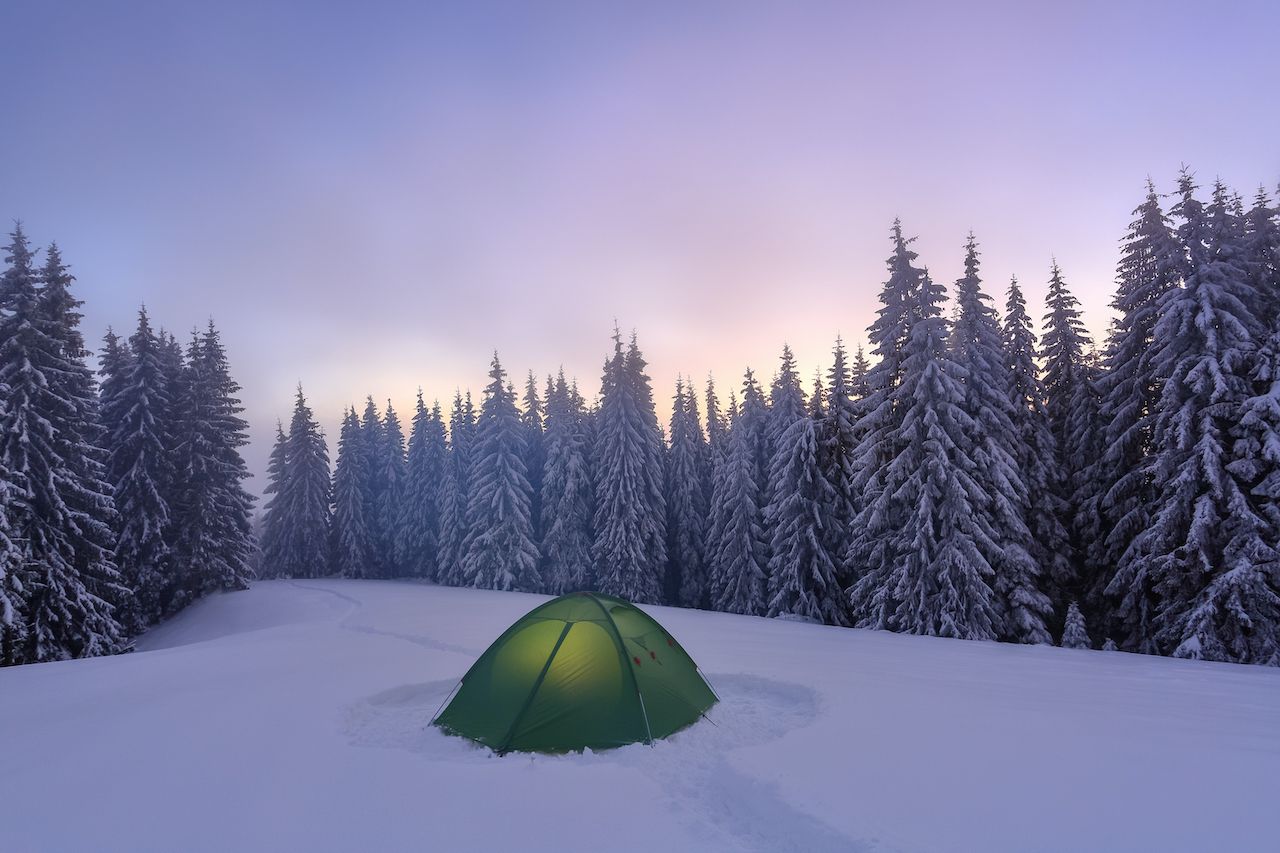
Photo: Vitalii_Mamchuk/Shutterstock
Two primary factors present themselves in campsite selection that aren’t there in the summer: avalanche danger and frigid temperatures, both worsened when high winds are present. The best locations for winter camping are in a flat valley or open space a safe distance from steep slopes. That way, if snow does slide, it won’t reach the campsite.
Weather forecasts should always play a role in camping decisions, particularly in winter when the risk of hypothermia and winter storms are present. Have a backup camping location picked out in case the forecast where you hope to camp looks dismal. In general, even most winter-optimized sleeping bags won’t do much to keep you warm in sub-zero (Fahrenheit) weather, and that includes windchill. If heavy winds or snow are in the forecast, consider camping another time or at your backup location.
Any winter camping exposes you to the elements, however. A heat lamp or heater stove can keep a compact campsite warmer. Some heat lamps like the Mr. Buddy Little Buddy Heater can be used inside tarps and tents, but avoid fully enclosed spaces (such as a zipped tent) due to potential condensation and carbon monoxide poisoning.
Keep in mind that cloudy weather doesn’t inherently signal that a location will be colder. Thick cloud cover can trap heat, actually keeping an area slightly warmer than clear skies. Just be mindful of the potential for heavy snow or winds.
2. Pitch your tent up on top of the snow
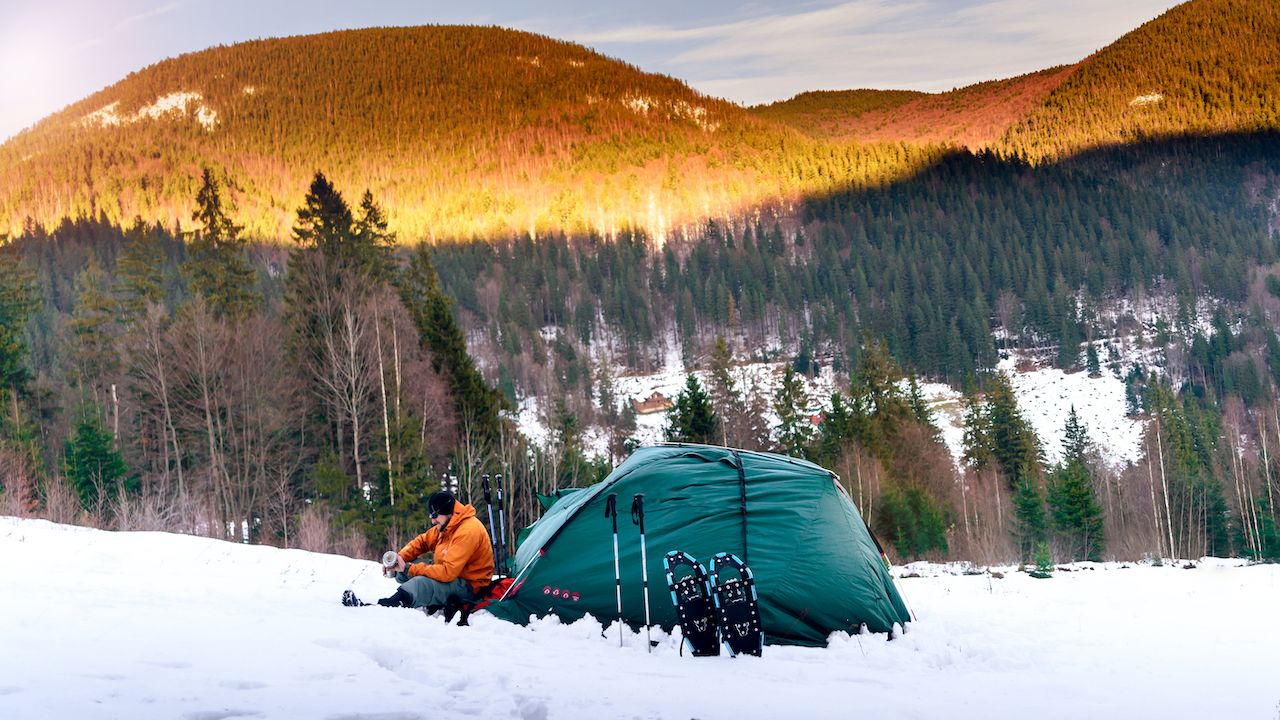
Photo: Gavayec/Shutterstock
Before anchoring your tent, clear a layer of snow from the area where you plan to set it up. Pile that snow up on the side of the tent where any wind is most likely to come in from. This gives you a bit of a buffer on top of the fly and tent itself. A group of trees or small convex like a hill can also help this cause if available.
Then, pack down the remaining snow into a square significantly larger than your tent. Avoid bulges of snow by flattening the area with your boots or a shovel. Your body heat will melt loose snow overnight, meaning your sleeping position is likely to shift, which is both annoying and uncomfortable. Line bags and other larger, dry items inside the tent for added insulation (just don’t forget to leave room for moving around and sleeping).
Angle your tent in a way that lets light to creep in as the sun rises. This allows heat in and helps you avoid oversleeping. To anchor the tent, winter-specific snow stakes are your best bet, though you can also support normal stakes by placing dry gear items along the inside corners of the tent.
For more on setting up a tent, check out Matador’s complete guide to pitching a tent.
3. Set up your camp kitchen
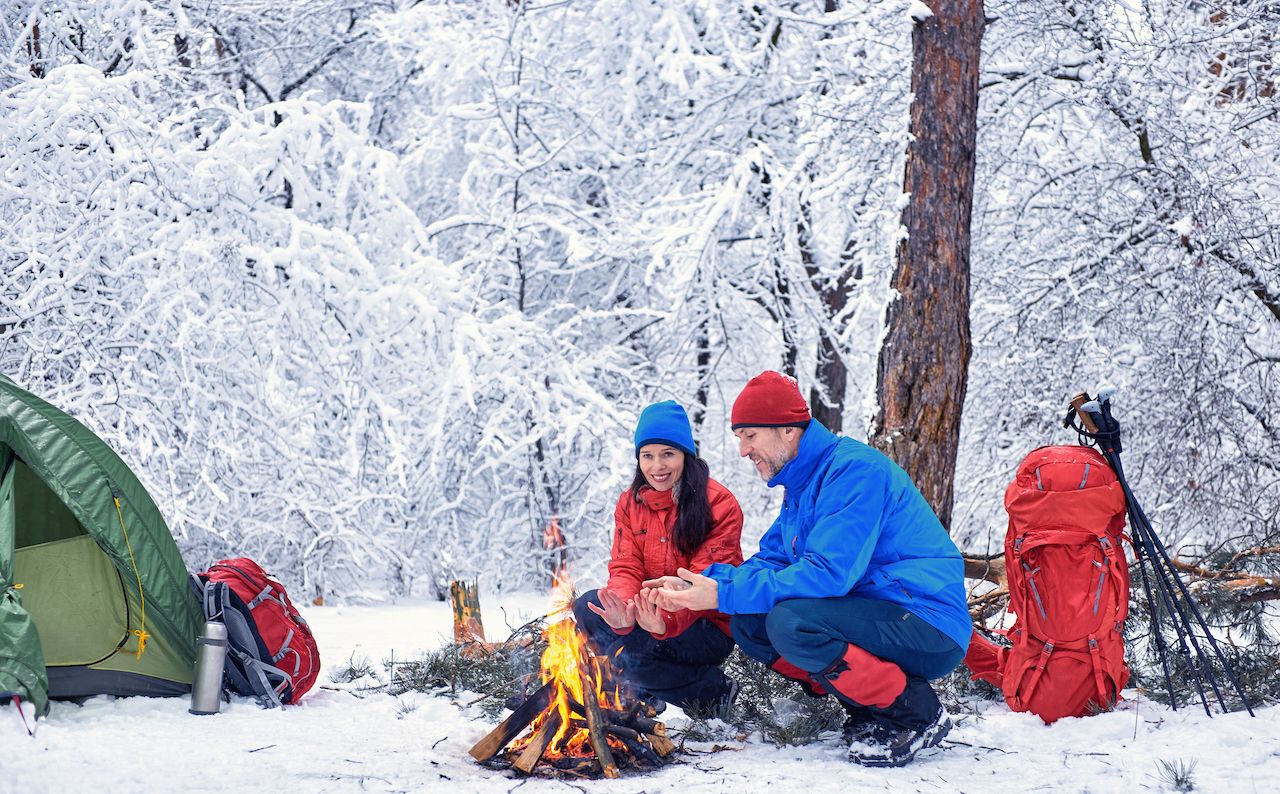
Photo: trek6500/Shutterstock
A liquid fuel stove such as a JetBoil or even a basic campfire will work for cooking at your campsite. Canister stoves can work but tend to have a weaker flame in cold temperatures. Be sure to have a way to light the stove and a backup in case that method fails.
Starting a fire in winter is similar to doing so in warmer months. Use a fire ring if established or dig a small circular hole in the snow. Stack thin logs in a “teepee” form above a layer of kindling, and then light the kindling. Monitor its progress, and once the fire has spread to the logs themselves, poke them down onto the kindling. Of course, check to see if the area where you are camping has any fire restrictions in place before building a fire, and be sure to properly put out the fire before going to sleep.
Stack your firewood in a pile in order to keep the logs on top dry. Otherwise, you may have a tougher time getting that fire going in the morning when the breakfast bell rings. Placing a piece of plywood underneath the stove can prevent moisture caused by melting snow from impacting its performance. Here’s how to start a campfire, regardless of the conditions.
With some added effort, snow can make for near-extravagant camp kitchens. Construct a flat table using your shovel and those snowman-building skills you developed as a kid. If you don’t have camp chairs, employ that same skill set to craft a bench or two for sitting around the table. For more on campsite cooking, check out what professional chefs recommend.
4. Have a plan for cold temperatures and moisture
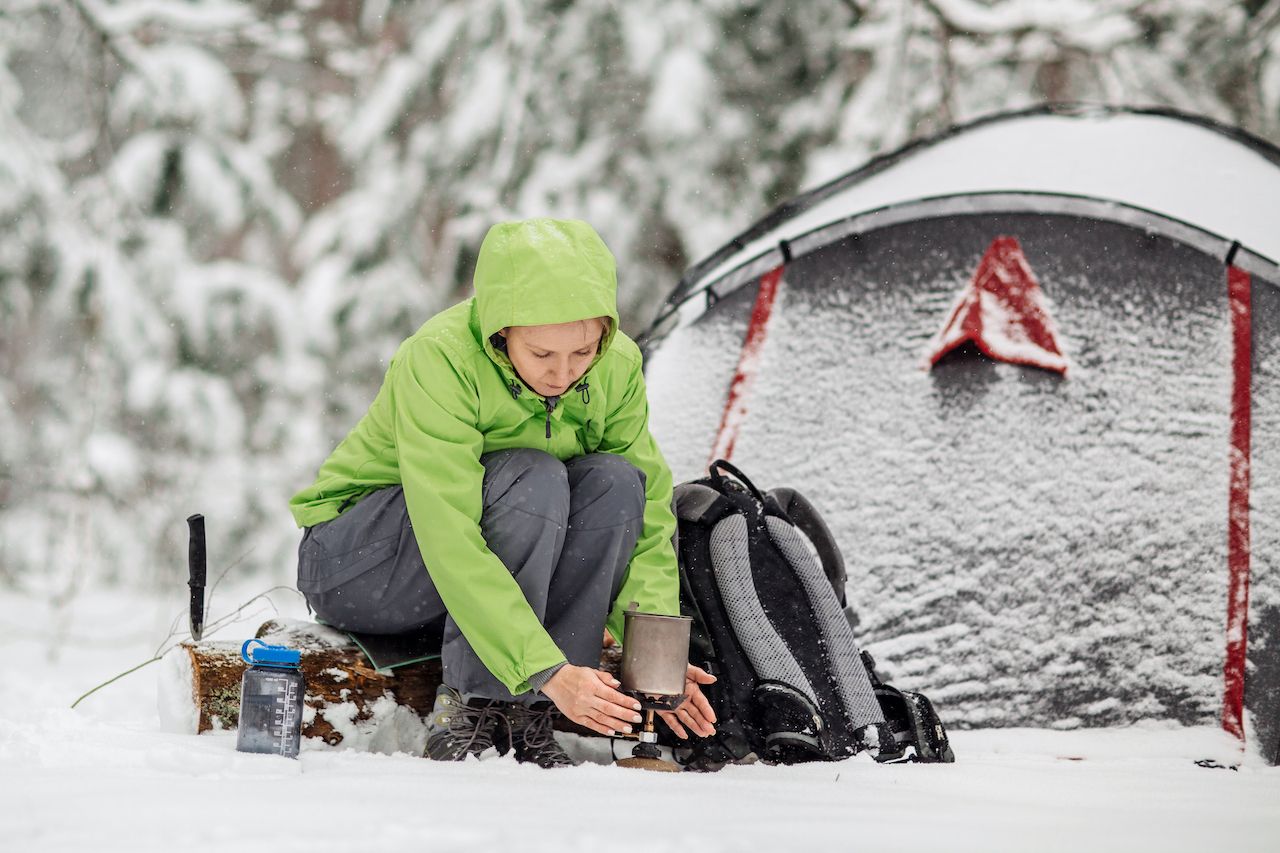
Photo: PRESSLAB/Shutterstock
When planning for and executing a winter camping trip, keep these two words top of mind: stay dry. A wet tent, sleeping bag, clothes, or touring gear is the fastest way to ruin the experience.
One trick for staying dry is to follow the “reverse layer” approach. Rather than starting your experience heavily layered for warmth, do the opposite — start with a single layer and add on as you get cold. Not only does this get your body better accustomed to the weather ahead, it prevents you from sweating through your clothes, a surefire way to be wet and miserable.
If a clothing item does become wet, do what you can to dry it with your body heat. Placing gloves or base layers around your shoulders or on top of your head won’t dry them completely, but will help until you get to camp and can place the item by the fire.
The most important piece of gear you need for a comfortable winter camping experience is a zero-degree, cold-weather sleeping bag like the Marmot Trestles 0. An insulated bag like this one keeps you protected against the outside cold and optimizes your body heat for overnight warmth. A down-insulated bag such as the Nemo Sonic 0 is the ultimate sleeping bag for winter camping, but you’ll have to shell out $400 or more — though you could simply double up on thinner, cheaper ground pads that are easier to carry.
A sleeping pad is also critical to staying warm and dry. There’s no need to shell out big bucks. A classic Thermarest Ridgerest runs about $20 and will work just fine. If conditions look harsh and your budget allows, a thicker pad such as the Edped DeepSleep keeps you elevated from the wet ground.
5. Pack all the gear you’ll need
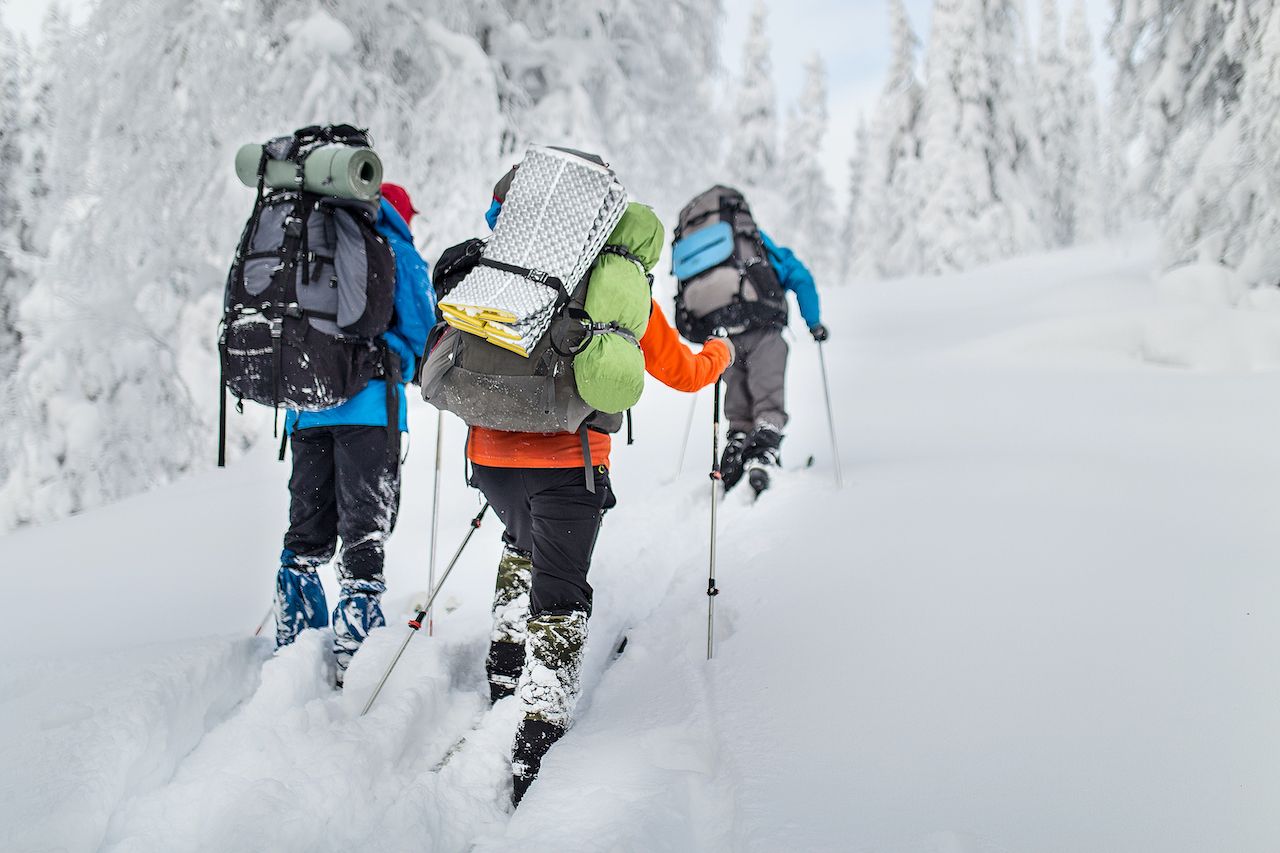
Photo: frantic00/Shutterstock
- Tent. Unless you’re heading into a storm or other adverse conditions, a normal three-person tent will work provided you have the proper stakes and other gear to keep warm. If you do opt for a winter-specific tent, buy one that is spacious and insulated like the Crua Cocoon Maxx ($399).
- Warm clothes. Don’t forget that puffy jacket, or anything else made with down. Think layers: a base layer including long underwear and moisture-wicking merino wool, a secondary layer including a puffy jacket or fleece and warm pants, and an outer layer including a jacket shell and ski pants or overalls. Insulated winter gloves, thick socks, and snow-appropriate boots are a necessity, as is a warm beanie and face covering. Make sure your layers are breathable to prevent moisture from sticking around on the inside.
- Backpack. If skiing, snowboarding, or snowshoeing, a winter-sports-specific backpack such as the Spindrift 32L from Mammut is your best bet for a backpack because these are designed for use while ski touring or otherwise being out in the cold. Look for a pack that can hold a CamelBak or other water bladder without the line freezing and that has space for your clothes and avalanche safety equipment.
- Sun protection. Sunscreen may conjure images of summer days at the beach, but it’s as important as any piece of gear in snowy climates as the sun’s rays reflect straight off the snow. Sunglasses will be your other best friend, as will goggles with light-colored lenses that better reflect the sun’s light and help you make out contours in flat light conditions.
- Thermos. For soup, hot water, and any other liquids you wish to keep warm for hours on end, an insulated thermos like those from Hydroflask or Yeti will do the trick. When at camp, keep your thermos stored upside down to prevent the lid from freezing on, since water freezes from top to bottom.
For staying warm, safe, and dry while going on winter hikes, cross-country skiing, and snowshoeing, check out our tips for winter hiking.
6. Safety tips for winter tent camping trips
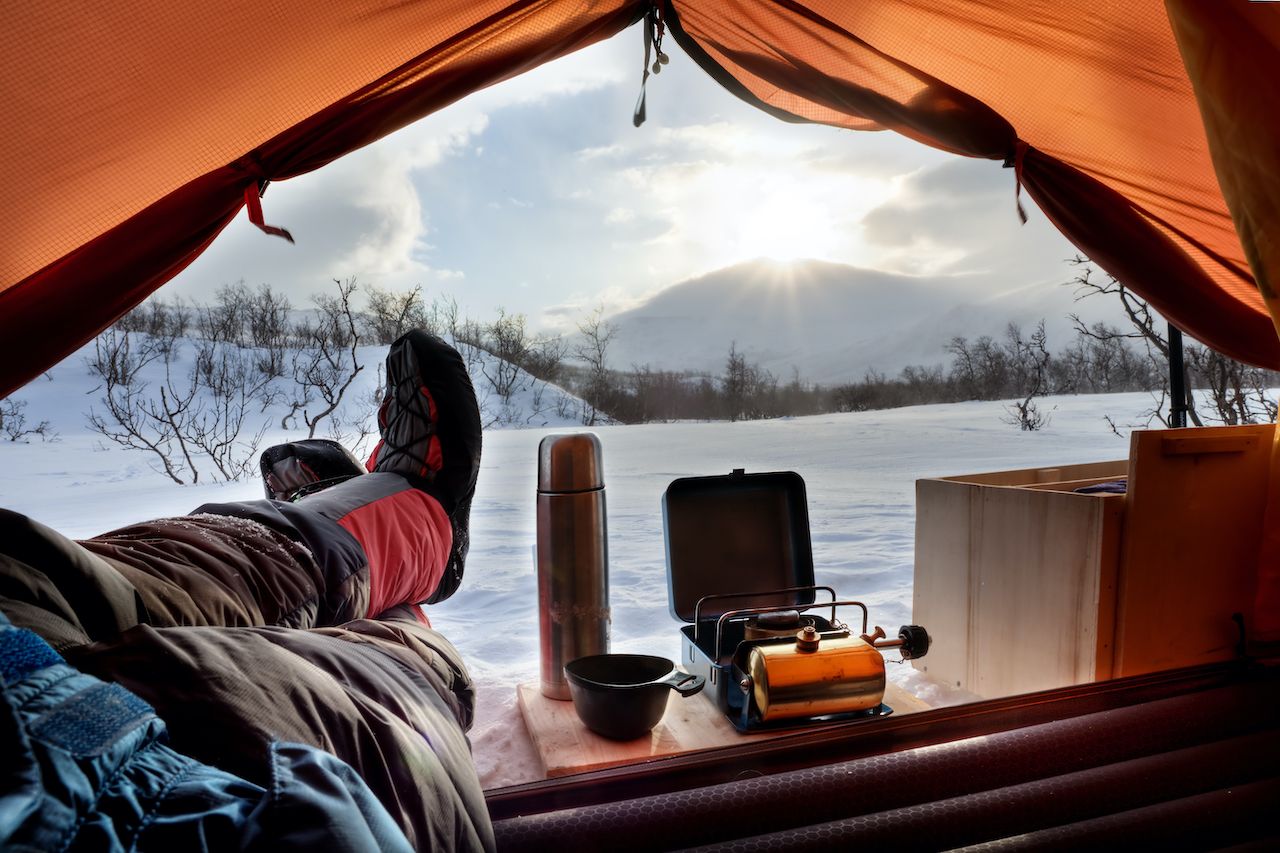
Photo: Jens Ottoson/Shutterstock
- Bring plenty of fuel and fire starter. Bring extra fire starter — and even an extra stove — in case your primary stove malfunctions or you have a tough time getting wood lit. Keep your fuel canister somewhere where it won’t freeze, like packed between clothes or in water.
- When packing food, think fats and calories. No, not french fries — but healthy fats high in Omega-3s and/or protein like nuts and nut butter, cured meats and cheeses, and protein bars. High-calorie and high-protein foods keep your body fueled for adverse conditions as well as adventure. Where in summer you might error on the side of under-eating to keep your load light, do the opposite in winter. Stock up on food, and eat that food. You’ll have a heavy jacket on to hide the food baby.
- Bring avalanche safety equipment. This includes a beacon, shovel, and probe, and you should know how to use them. Everyone in your party should have their own avalanche gear and be comfortable using it. This does not apply if you there are no mountains nearby, of course — like snow camping by a frozen lake in Minnesota. There, you might want to bring gear to go ice fishing, but know the risks there as well.
- Stay warm and loose. Consistent stretching and quick-hit exercises like running in place or jumping jacks prevent you from tightening up and ensure you’ll be warm when you crawl into a cold tent at the end of the night.
