All photos by author
FOR THE PAST FEW YEARS, aurora observers have often been disappointed; the sun hasn’t been very active. Fortunately for photographers and astral observers alike, that is about to change. Solar activity is on the rise and the long-term forecast indicates the winters of 2012-2013 and 2013-2014 will be the peak of solar activity for at least another 10 to 15 years.
In other words, now is the time to bundle up, head north, and go outside with your camera. Here are five steps for making images of the aurora and the winter world at night.
1. Get a tripod.
I’m constantly amazed at how many photographers don’t own one, or if they do, don’t use it. Using a tripod forces you to slow down, think, compose carefully. You can’t just point and shoot. Of course, you also get sharper images. Bottom line — you NEED a tripod for night work, because the exposures are so long that it’s absolutely impossible to go handheld. If you don’t have one, get one. A cheapie from your local discount store will work, but I suggest investing some money in a good set of legs and a good head — it will save you hours of frustration and buyer’s remorse.
2. Determine exposure.
It’s likely in night work that your camera will get very confused and will be unable to choose the appropriate f-stop or shutter speed. So you’ll need to use the camera’s manual setting. (For those who use auto-everything, this is a good opportunity to throw away the crutches and learn about exposure.)
Next, select an appropriate ISO — if you have a top-of-the-line camera with very low noise, you’ll be able to use a fairly high ISO setting, like 800 or even higher. If, however, you shoot with a lower-grade DSLR, or advanced point and shoot, you’ll need to start lower. Try 200 or 400. Finally, select a shutter speed. This will depend on your ISO and how fast your lens is. I suggest starting off around 15 seconds, then reviewing your image on the LCD and adjusting up or down as necessary. (A word of warning: On a dark night when the only light is your camera LCD, your image will appear brighter than it will on your computer.)
3. Focus.

When I first began making images at night, this was my Achilles’ heel. Focusing at night is tricky. Even the best cameras won’t be able to focus in the dark, so shift your lens to manual focus and set it like this:
The left edge of the infinity line is the best place to start; small adjustments can then be made by reviewing the LCD after the first few images. If your foreground elements are placed sufficiently back in the frame everything should be sharp, from the trees and hills to the stars and aurora.
4. Use a fast lens.
Go wide. Go fast. A good wide-angle allows you to show as much of the sky and foreground as you wish. A zoom will provide for some latitude in your composition. A fast lens like an f2.8 or better will permit shorter shutter speeds, which means less trailing in the stars, less wind-motion in the trees, and better definition of the curves and pillars of the aurora. Slower lenses will work but it might be necessary to use higher ISOs (and thus create more noise) or longer exposures (leading to unwanted trailing in the stars or blurring of the aurora).
5. Compose carefully.
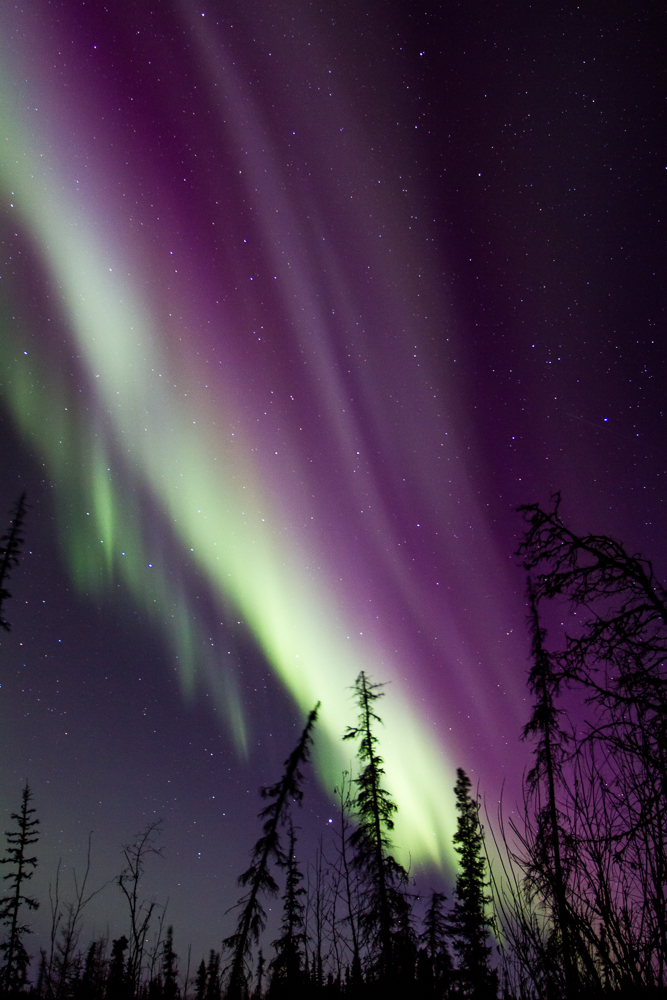
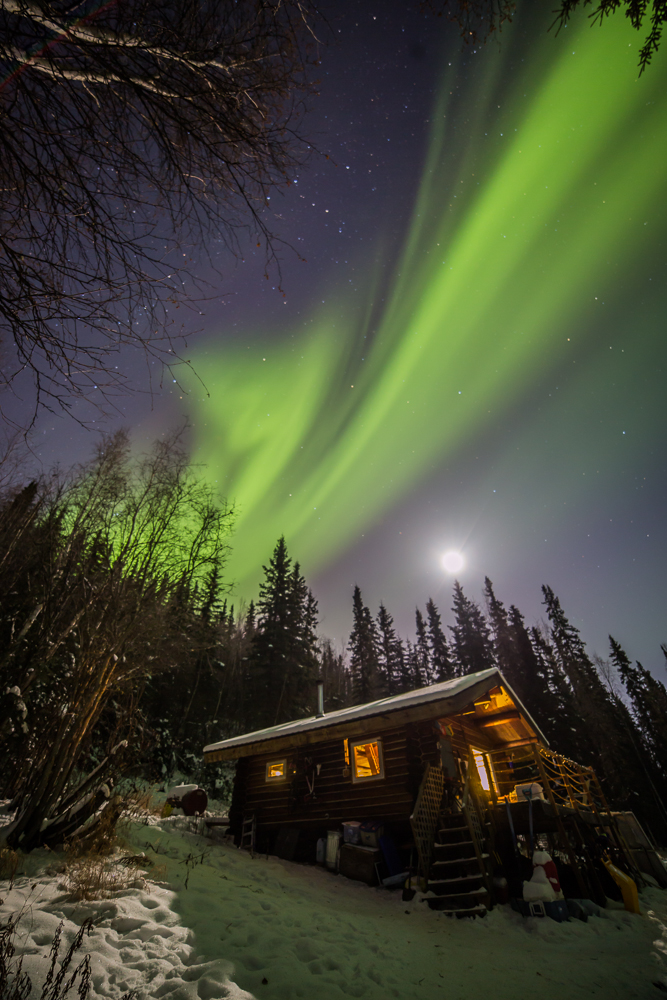
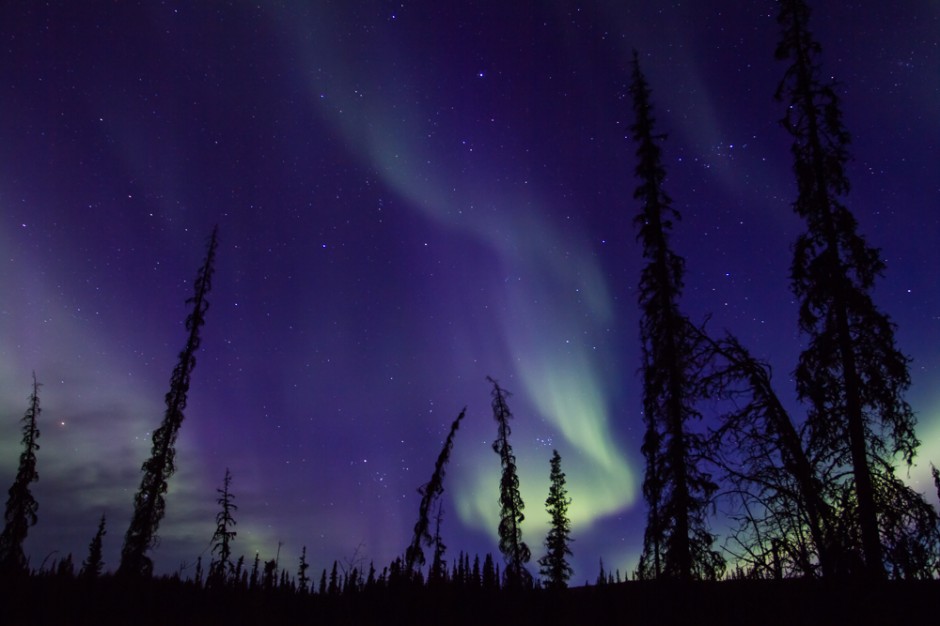
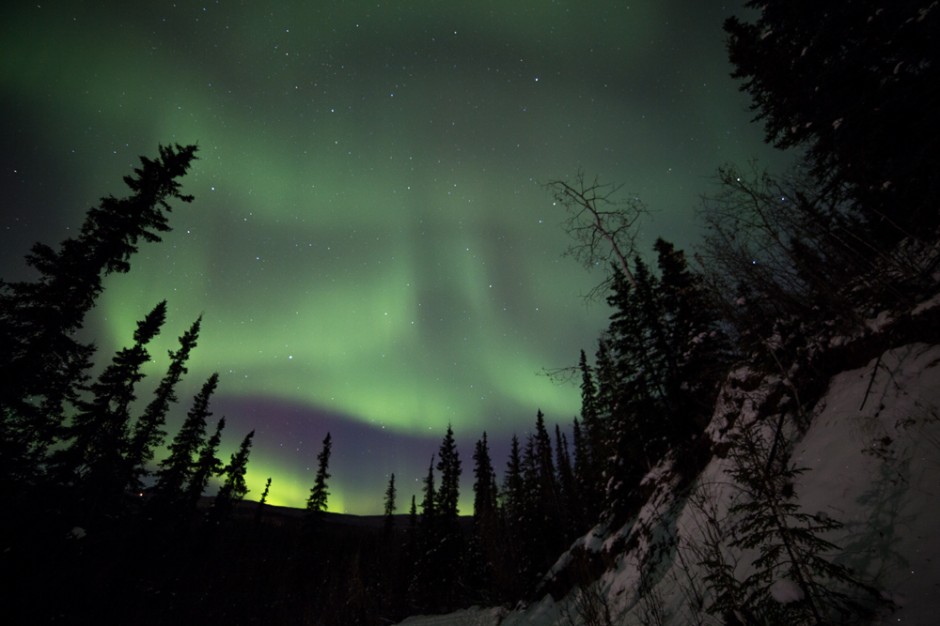
Compose as though it were a landscape image. Your subject is the sky, but the other elements in the frame are just as important. An image of just the aurora and a few stars might have some interesting color but will lack a sense of place or depth. A poorly composed foreground will be a distraction. Select a tree, mountain, person, tent, or whatever, and then compose carefully. ![]()
Intermission
Intermission