Photo: Jacob Lund/Shutterstock

The Advanced Guide To Using IPhoto

Photo + Video + Film
by Mikey Leung Nov 29, 2007

You’ve just finished a shoot of an incredibly colourful festival in Bangladesh, or you’ve been busy taking pictures of your family with your new digital SLR.

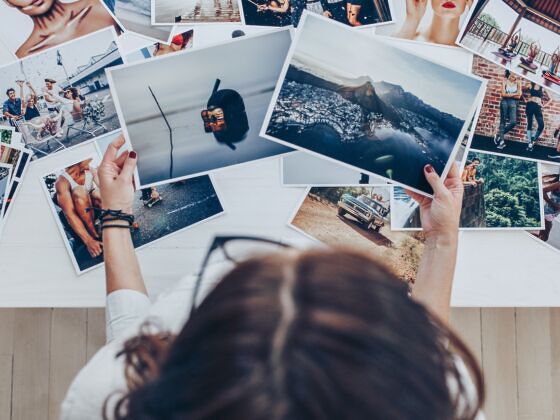
What do you do with the 200-plus frames you’ve taken at the end of day? Without editing and choosing your best photos, you will never evaluate what worked and what didn’t, and that makes it much harder to improve your photography.

The good news is that Mac OS X’s bundled iPhoto program makes this process easier and faster, but most people don’t know how to use the program effectively. Once you take a few preliminary steps, you’ll be more ready to show and broadcast your best work to the world.

1) iPhoto Library Manager: a must-have tool for iPhoto

The newer and more affordable digital SLR cameras have created a new photographic explosion-quality photography has never before been in the reach of so many people.

The flip side is that the file sizes of the resulting photographs can clog up your Mac’s resources worse than a Dhaka traffic jam. Furthermore, when iPhoto crashes, libraries have a tendency to corrupt as well, resulting in lost or damaged pictures.

That’s why you should break up your libraries according to location or event by using the iPhoto Library Manager, a free tool that allows you to create multiple photo libraries and keep track of their size and back them up more easily.

2) Ratings: a process for getting to your best photos

During the shoot, cull as many photos as possible, keeping your post-shoot workflow more efficient. Remember that all those extra frames require a lot of extra processor requirements, so if you can delete on the fly you’ll save yourself time afterwards.

After importing, view the photos as a slideshow to evaluate their quality and turn off the Ken Burns effect because it is distracting. Instead, turn on the ratings so you can evaluate the frames as you go. Rate the best frames with four or five stars. Delete as many frames as possible in the first pass.

The key here is to look through the frames quickly and see which ones stand out and which don’t-bear in mind that any extra photos will continue to soak up computer resources and bloat your libraries.

3) Keywords: catalogue by topic or place

As you import photos, you should also put keywords on them: namely the location of the shoot or its theme.

Create keywords in the preference menu first. Then, as you import the photos, tag them with your chosen keywords. You can then view smaller sets of photos in your library by simply viewing by keyword.

Keywords help you retrieve a set of pictures in your library more quickly-and are much more powerful than simple albums. Keywords help you show select photographs to a friend or an editor more quickly and help you keep that ever-increasing collection of photographs organized.

4) Smart Albums: getting to the best pictures in your collections

Now here’s the best part. Once you’ve added keywords and rated your photos, you can start using iPhoto’s Smart Albums feature to retrieve the best of the best. When you create a Smart Album, it pulls photos from your library based on factors you define: namely the ratings and keywords you decided on earlier.

Let’s use an example to make this whole process clear.

In my collection, I have thousands of photographs from several destinations around Bangladesh. After I’ve tagged each photo with keywords-namely the cities I shot the photos in-I make sure each of those photos is also rated from none to five stars.

Then I create a Smart Album that pulls all photos that have a rating of four or more stars. Immediately, I can see the best of my work in the entire library. If I want to look at just the best photos from Dhaka, I can create another Smart Album that pulls all photos with four or more stars and the keyword “Dhaka” out from the library.

5) How to share it: plugins for Flickr

What good is all this editing work if you don’t even share your pictures with others? Another reason I use iPhoto is because I know many other people do and thus plug-ins for the program are not hard to find.

When it comes to sharing on Flickr, the keywords I added earlier now function like tags. Used in conjunction with Connected Flow’s Flickr iPhoto plugin, your keywords will be automatically uploaded as tags, which makes them searchable by other people and saves you from having to add tags later.

The plug-in can also resizes the photographs, which saves you uploading time especially if you have crappy internet connections on the road like I do in Bangladesh.

Armed with some of these tips, you should be able to start seeing more quickly what works in your photography and what doesn’t.

Do you have your own iPhoto tips? Please share them below!

Mikey Leung is an Asia-based adventure travel journalist, specializing in feature photography and travel writing. He is just starting work on a new travel guidebook to Bangladesh with Bradt Travel Guides. News regarding the guidebook project is at www.joybangla.info.

Discover Matador