Packing for a summer trip to the Arctic Circle is more complicated than it seems. You’ll need to balance comfort with adaptability, variability, and sustainability — plus, it all needs to fit in your suitcase, bulky jackets and all. Most people, myself included, visit the Arctic Circle in the middle of summer. But even in summer, weather can be famously fickle, with days quickly moving from sunshine to bone-chilling wind and fog. Temperatures can be into the 40s Fahrenheit (or 50s, in my case), but feel much colder when you’re on the water in an inflatable Zodiac or getting blasted with winds atop a snowy mountaintop. Conversely, you’re bound to get sweaty and uncomfortable if you wear too many layers when hiking through deep snow.
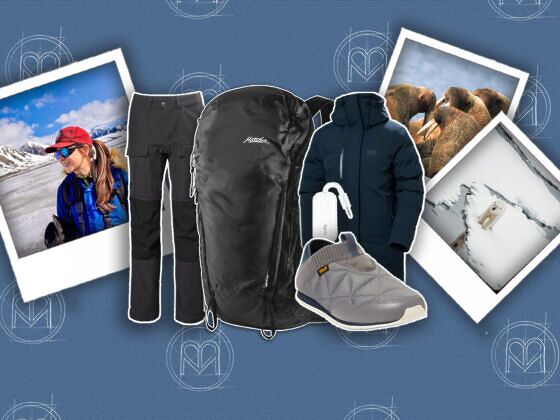
An Arctic Packing List: What to Buy, Rent, and Leave at Home
I recently spent eight days in the Arctic Circle, circumnavigating Svalbard, the northernmost island of Norway, on a Lindblad Expeditions small-ship expedition wildlife cruise. Here’s what I had on my Arctic packing list, including what I bought, what I borrowed or rented, and what I didn’t need at all.
If you don’t want to buy everything new, I recommend checking local used gear and thrift stores first. Several of the items I wore on board the most, including a fleece pullover, a few long-sleeve base layers, and a pair of joggers, came from my local thrift store. You can also rent camera gear from stores like BorrowLenses, and sometimes, even rent clothing through your trip operator. And if you’re an REI member, you can find deals on excellent brands like Mountain Hardwear and Helly Hansen from REI Used Gear.
We hope you love the gear we recommend! Just so you know, Matador may collect a small commission from the links on this page if you decide to make a purchase — it’s one of the ways we keep our articles always free to read. Listed prices are accurate as of the time of publication.
Arctic Packing List: Things You Will Definitely Need
A Multi-Country Plug Adapter
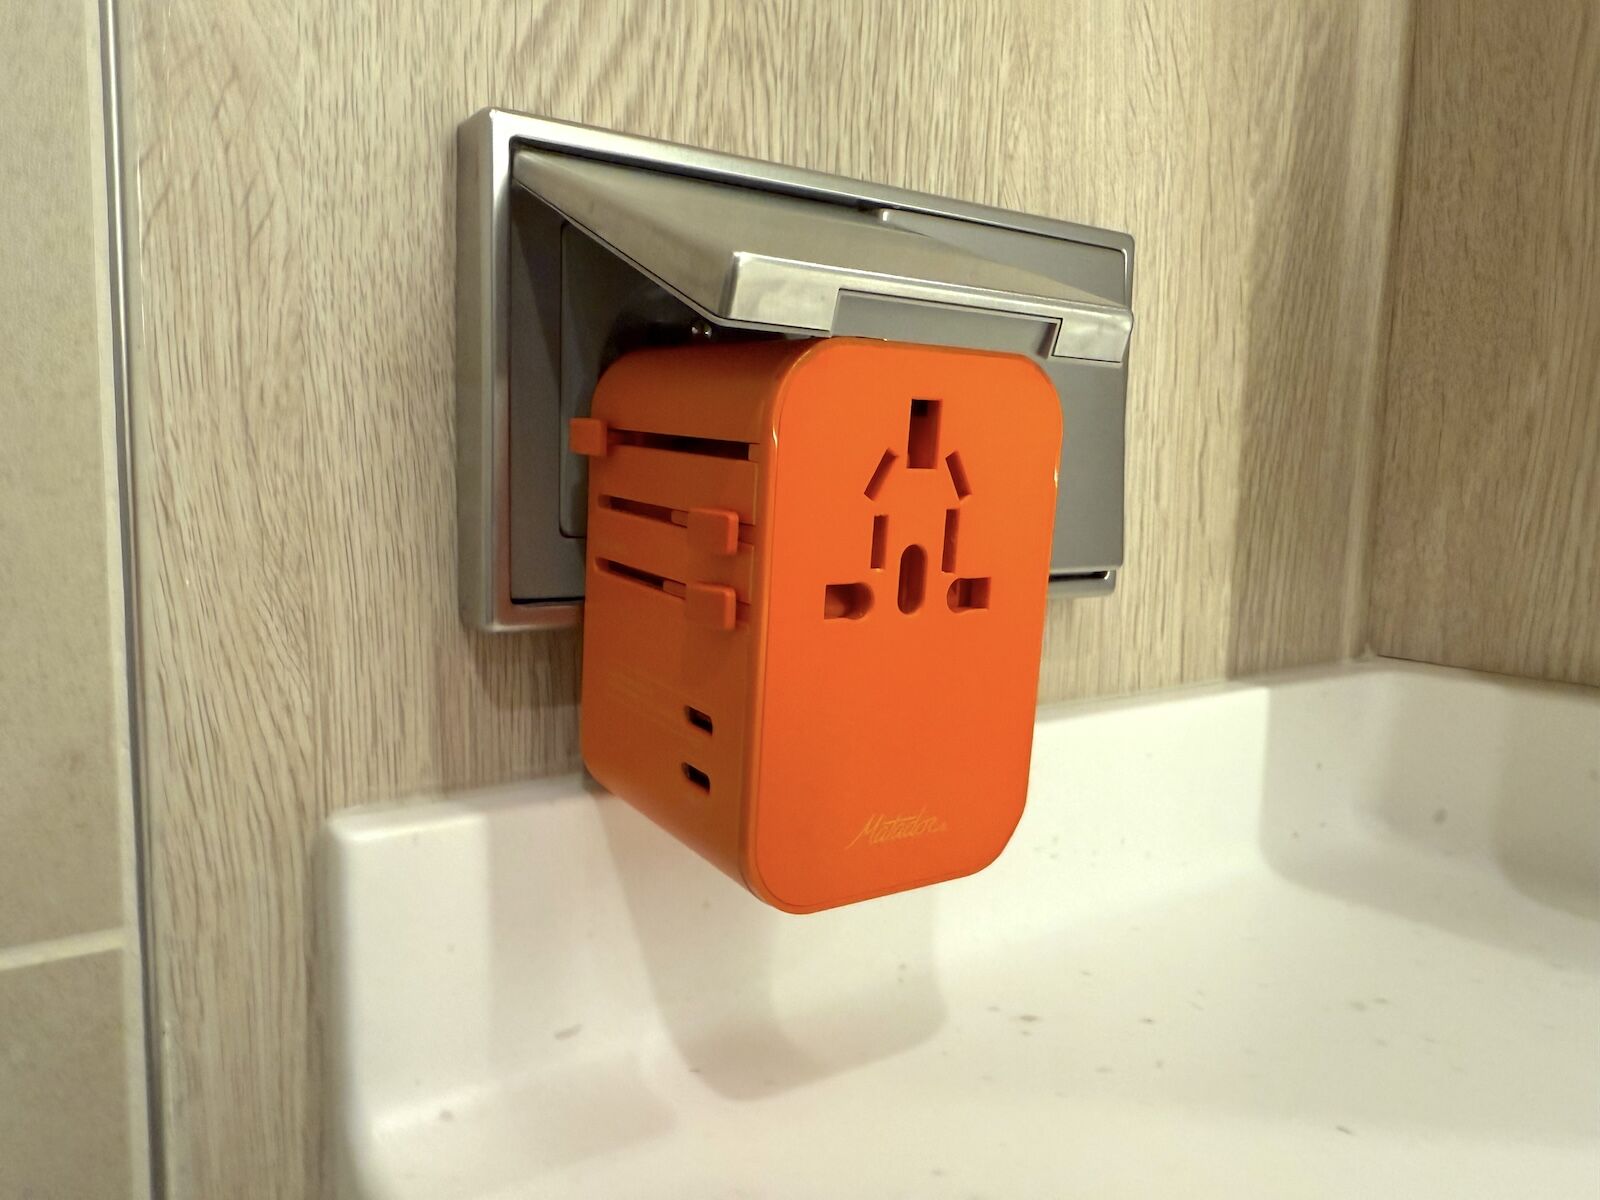
Photo: Suzie Dundas
I stayed in Svalbard on a ship that mostly caters to American travelers, so it actually had plenty of plugs with US ports. But I appreciated having an international plug in airports and in my hotel before and after the trip. I highly recommend this plug converter from Matador (no relation), as it has movable ports to work in every country, so you don’t need to carry attachments with it. It’s got three USB ports and two USB-C ports and, most importantly, it’s bright orange, so you’re unlikely to leave it behind in hotel rooms (as I am very prone to do).
A Really Thick Eyemask
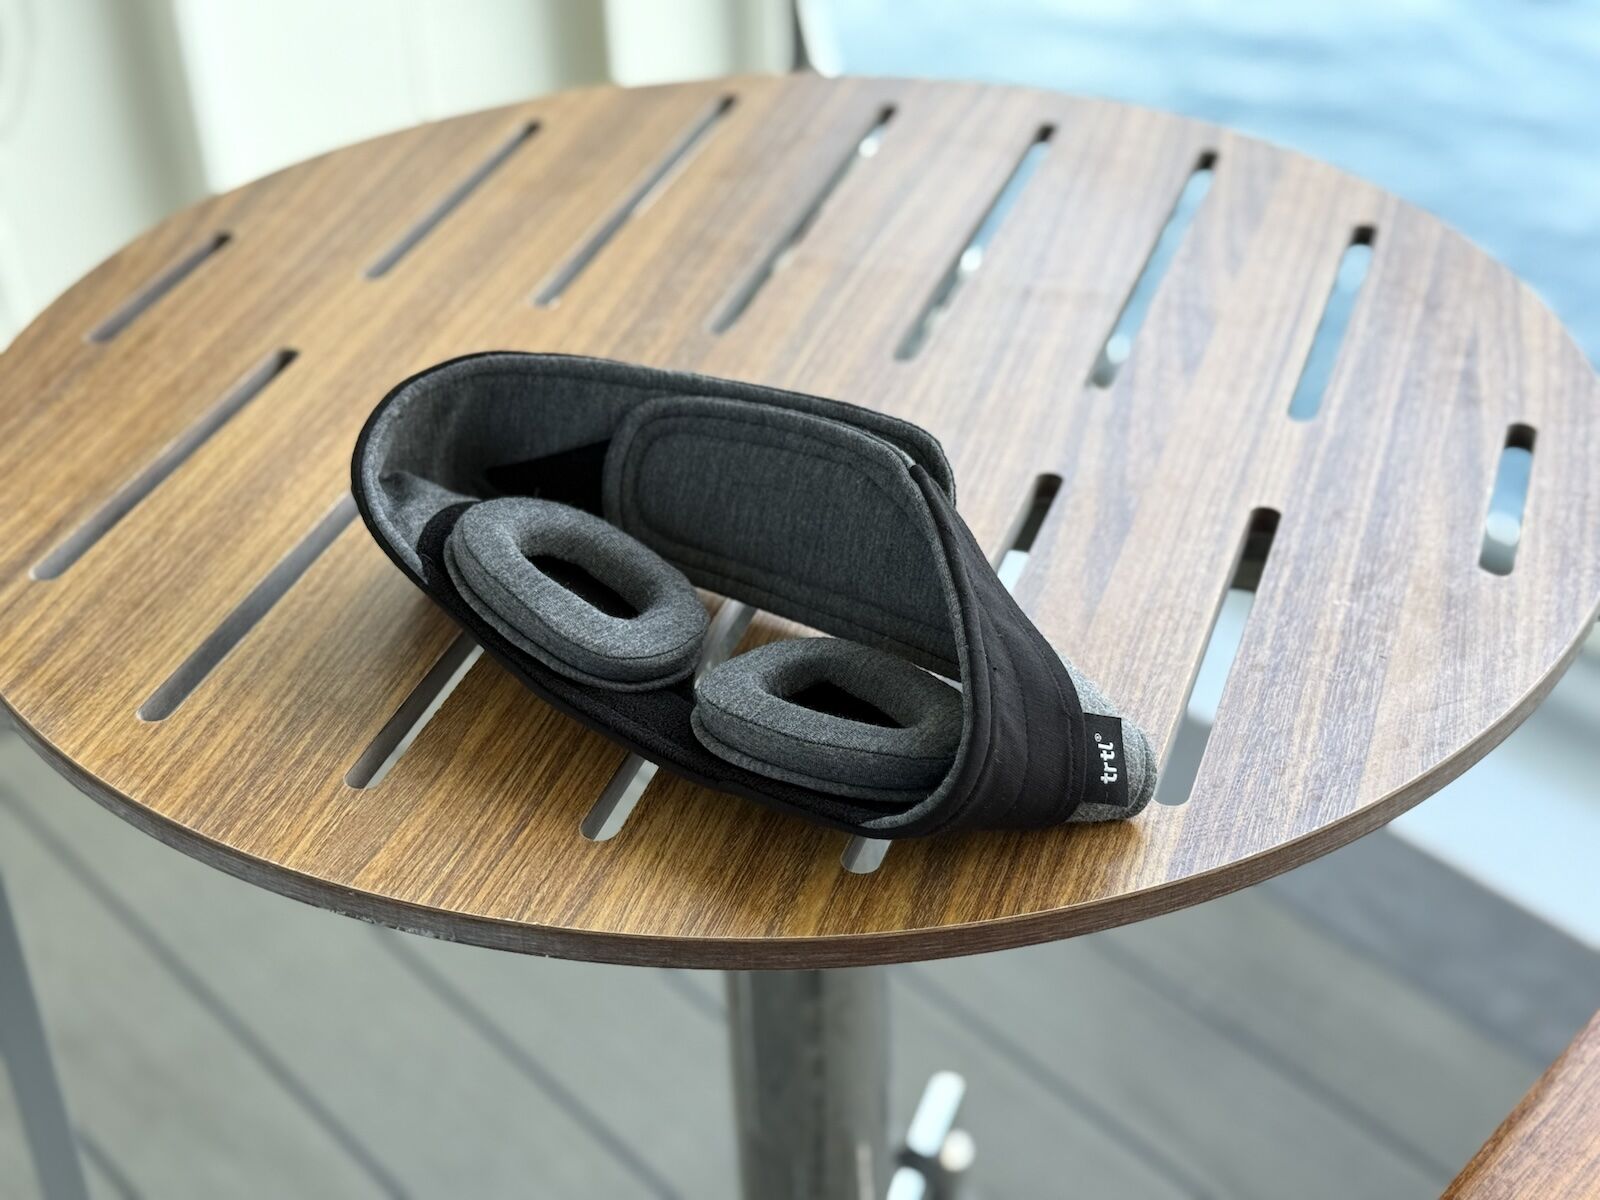
Photo: Suzie Dundas
If you’re heading to the Arctic Circle between early June and the end of July — which happens to be peak season for expedition cruises — you can count on either 24 hours of sunlight, or close to it. Even with blackout curtains, you’ll have sun coming through from beneath the edges. If you’re sensitive to light when you’re sleeping, as I am, you’ll need a blackout eye mask. I tried the Trtl Glimpse Sleep Mask (from the same company that makes the airplane pillows you wrap around your neck) and it made a huge difference. It’s more comfortable than an elastic eye mask, and has insulated (and washable) pads that go around your eyes to block out most light and make it possible to blink and move your eyelashes. It comes with a carrying case you can clip to the outside of your bag and was essential, especially for trying to go to bed when it looks like it’s 1 PM outside.
An Insulated Jacket
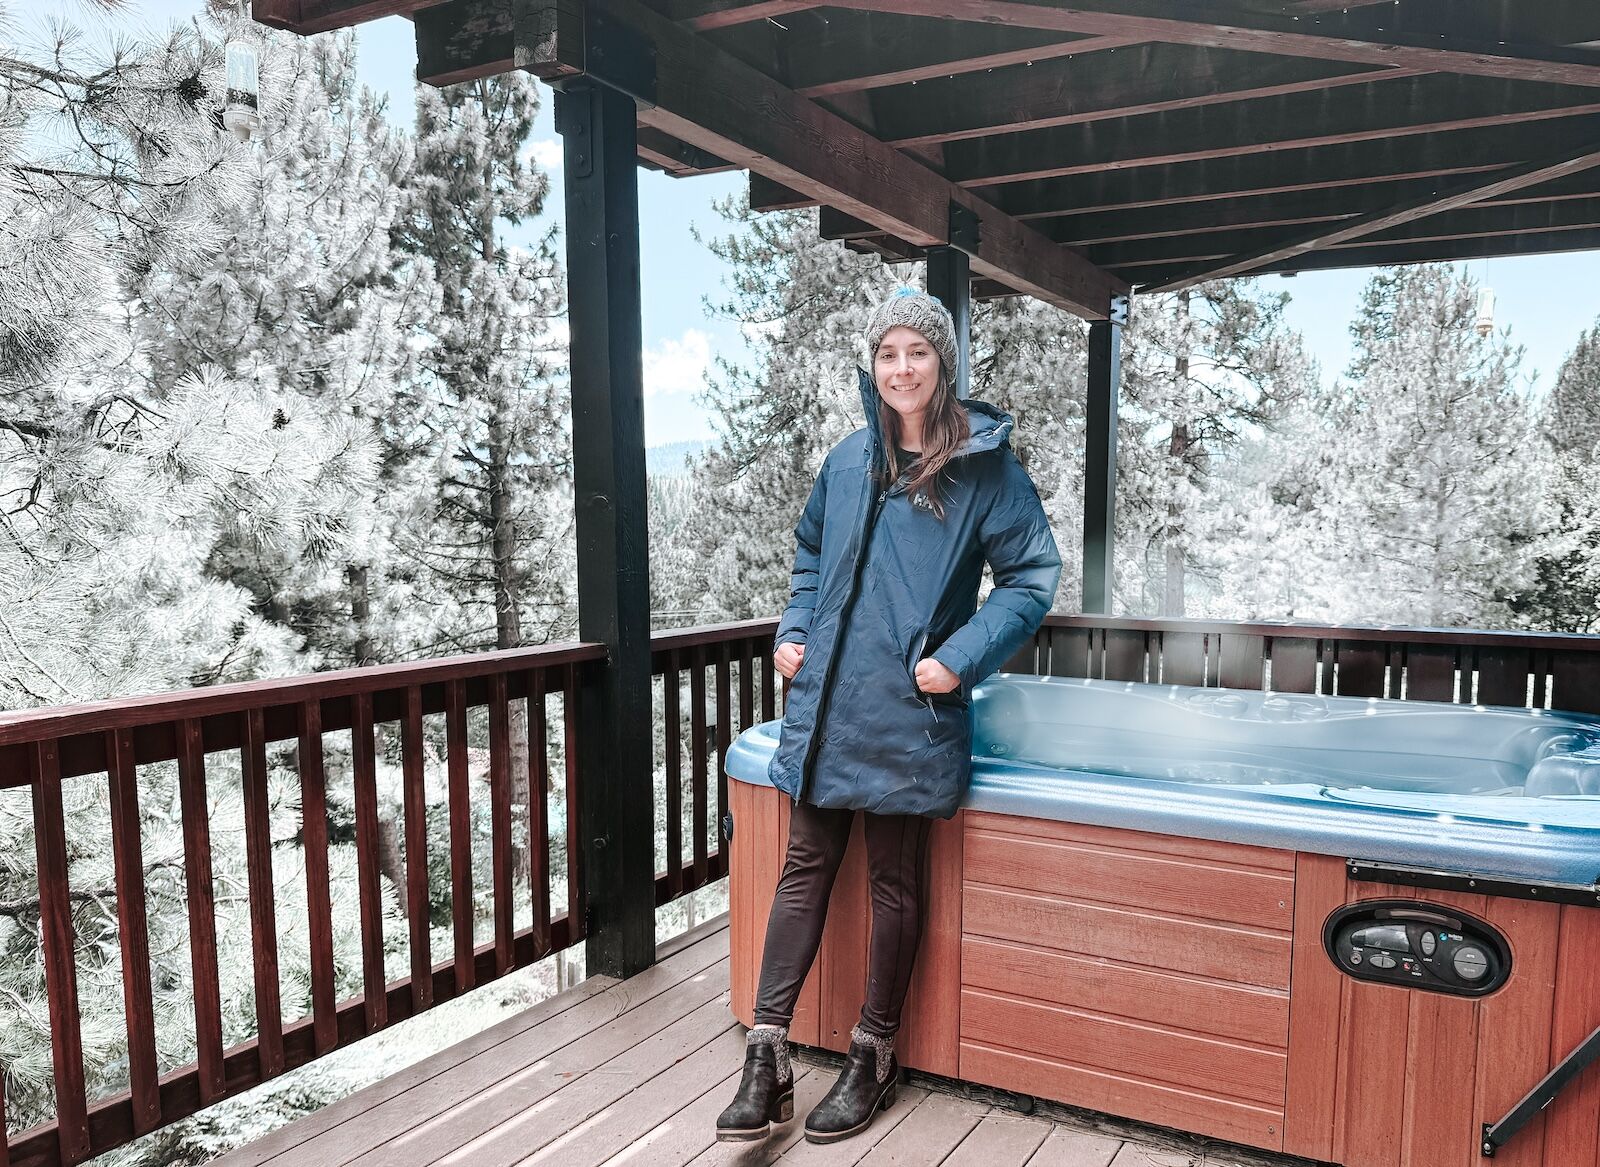
Photo: Suzie Dundas
I didn’t end up using my long insulated parka, because it wasn’t cold enough. That’s a problem, climate-wise, and indicative of the impact of climate change on the Arctic Circle. However, it’s supposed to be much colder than it was during my trip (which was in the 40s and 50s F), so I would strongly suggest bringing a long jacket that covers your butt, anyway.
For a high-quality, water-resistant puffy jacket that isn’t going to cost $700, check out the Helly Hansen Adore Tech Parka, which is the one I brought. It’s long and covers your whole core, is between $200 and $300, was super warm, and is roomy enough to layer underneath without going up a size. I got a medium and it was quite big on me, even though I normally wear a small or medium. So really, don’t size up.
If you don’t feel like buying one, consider asking if your tour operator has a rental program. Just know that down compresses over time, and older or used jackets may not be quite as warm. But you can always layer underneath.
UV-blocking Arctic Sunglasses
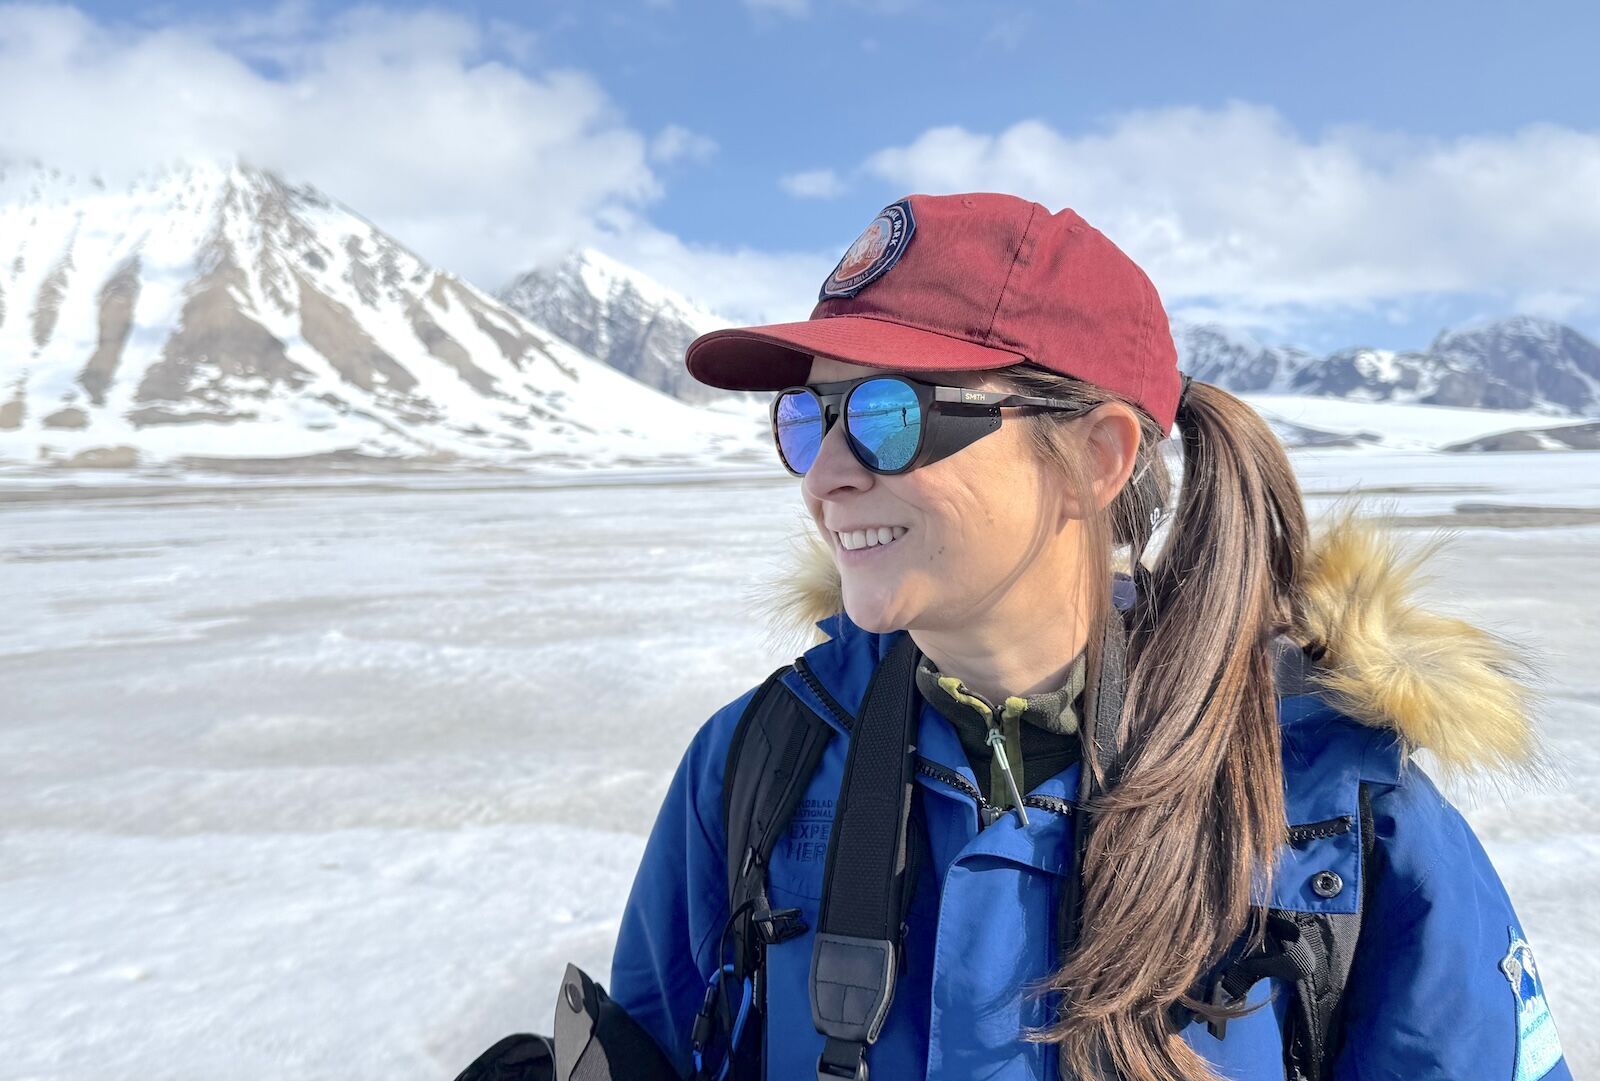
Photo: Suzie Dundas
What are Arctic sunglasses, you ask? Well, it’s a term I made up for sunglasses that have removable side flaps to keep extremely bright light, reflections, and wind out of your peripheral vision. I wore these everywhere in the Arctic and they were very useful on windy boat rides to keep my eyes from watering, and on land, when sun reflected off ice and snow. The Smith Venture also comes with a detachable neck strap, ideal for photographers who need to quickly pull down their sunglasses and look through a viewfinder. I don’t recommend spending $200+ on sunglasses just for one trip, but if you’re a backcountry skier, snowshoer, or otherwise spend a lot of time outside in the winter, you’ll find plenty of places to wear them. While on board, I noticed all the staff also wore sunglasses with side flaps, and got more than a few compliments on them.
Of all the places where it may be worth splurging, it makes sense to protect your eyes, especially when you’ll be constantly looking for wildlife under 24 hours of sun days in a row.
An Airplane Bluetooth Adapter

Photo: Suzie Dundas
I wrote years ago about how I love my AirFly Pro, a small Bluetooth device that lets you use airplane entertainment screens with your personal Bluetooth headphones. I recently upgraded to an AirFly Pro 2, and it’s much improved, with a quicker pairing process and virtually no lag or audio delays. I recommend the “deluxe” set that comes with a carrying case and adapter for planes that still use dual-plug ports. Though some planes are starting to roll out Bluetooth pairing, you never know if your flight is actually going to have it. And it’s sort of like airplane USB ports: they may be there, but that doesn’t mean they work. It makes the long flights to places like Oslo, Tromso, or Nuuk (Greenland) way more bearable.
Cold-Weather Hiking Pants
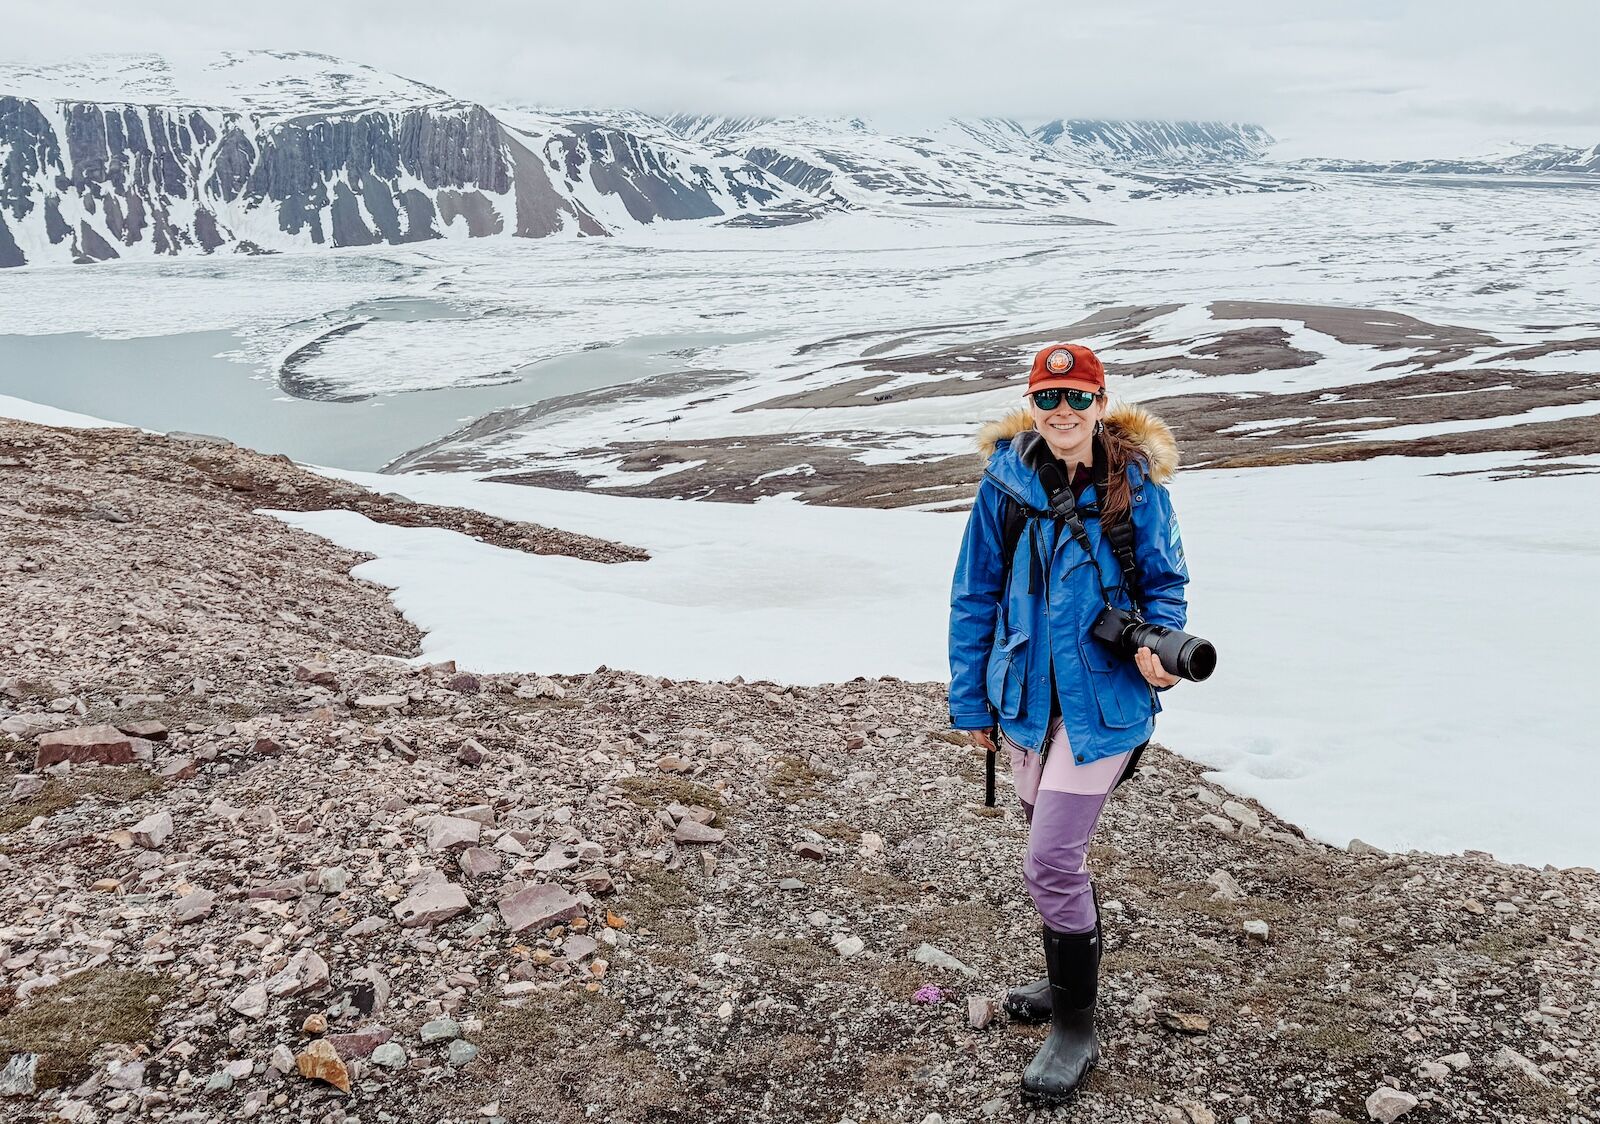
In this photo, I’m wearing several insulated layers on top, plus a base layer under the Vika Tur Pant. Photo: Suzie Dundas
Bringing bulky ski pants takes up a lot of luggage space and, in the summer, is probably overkill. What you should bring is a pair of water- and wind-resistant cold-weather hiking pants. I very much appreciated having the Vika Tur 2.0 Pants from Helly Hansen (a brand founded in Norway), since they’re designed for cold-weather moutaineering. Most days, I didn’t wear a base layer underneath, especially since the lining is a soft, fleece-feeling material. There are two big pockets plenty large enough to securely stash my phone, plus a zippered front thigh pocket. I’d suggest they run a little small, as I’m wearing a medium in this photo, so consider sizing up if you’re planning to layer underneath.
A Waterproof Hiking Bag/Day Bag
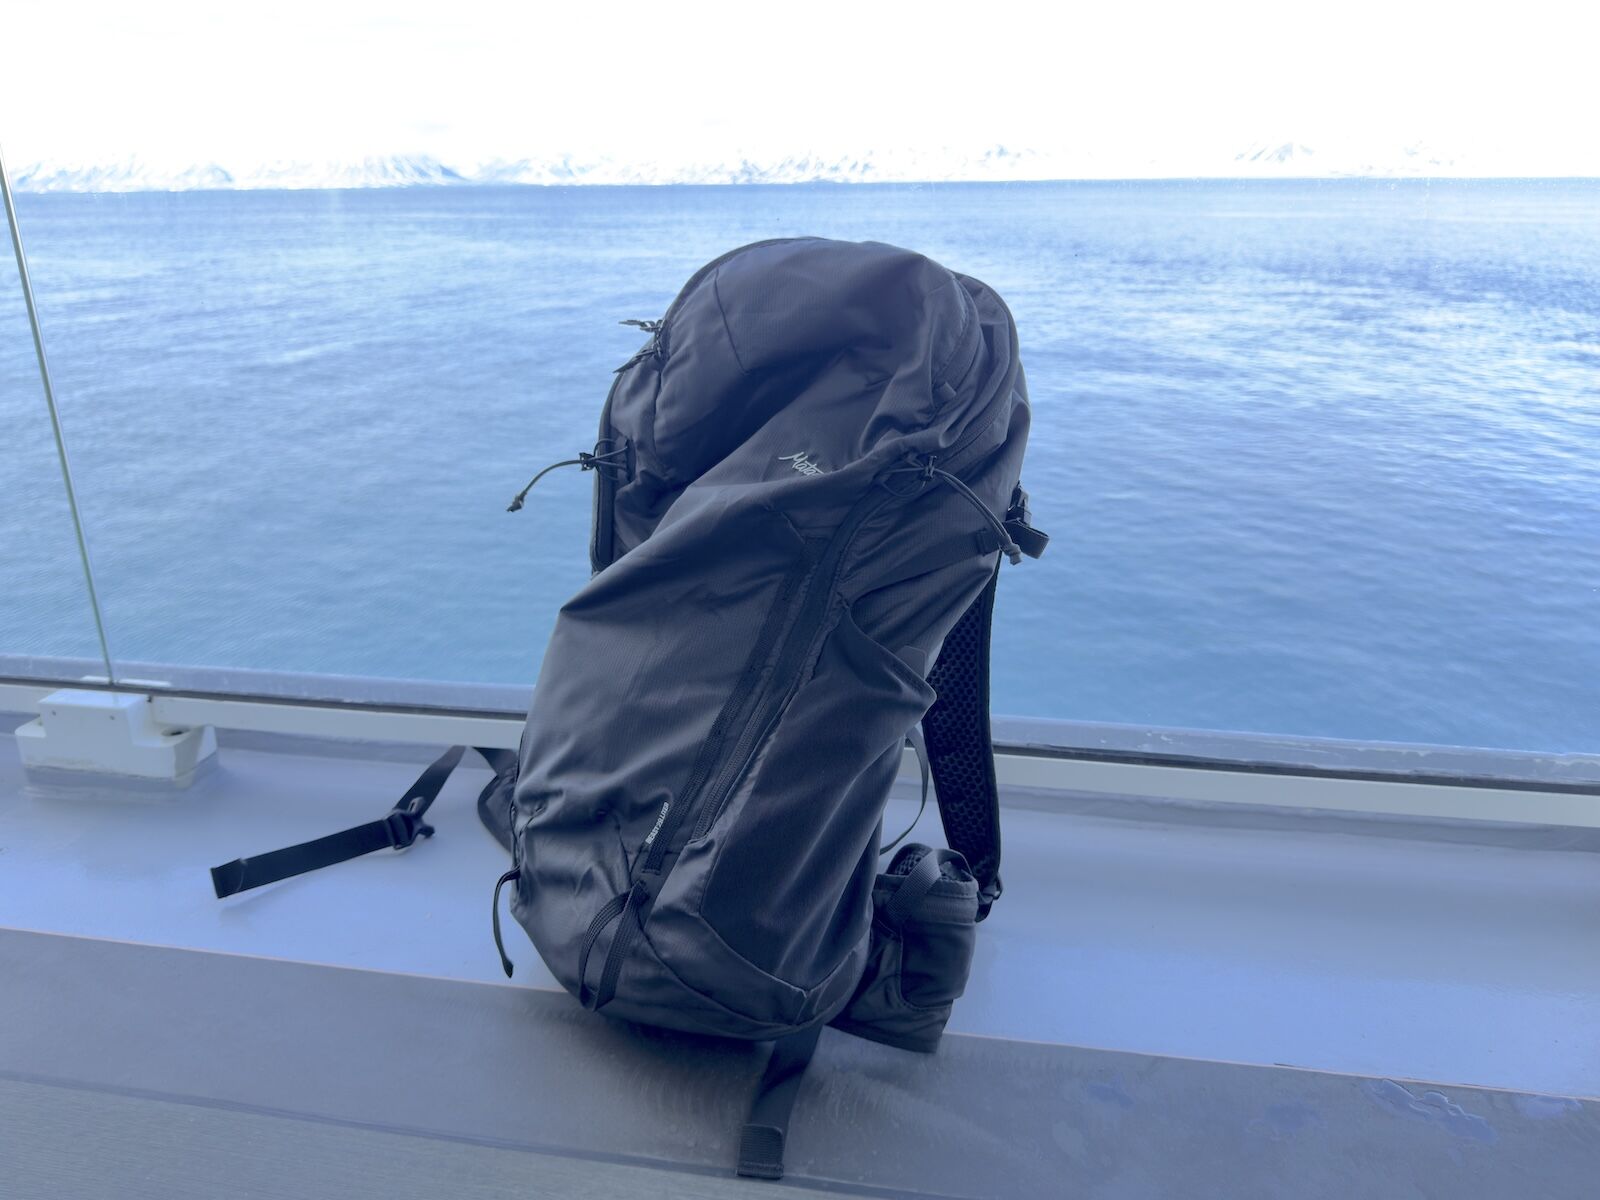
The Matador Beast 28 was an excellent mix of packability, size, and comfort. Photo: Suzie Dundas
I struggled with what backpack to bring, as I knew I needed a big backpack for my carry-on, but would want a smaller (and more waterproof) bags for hiking. However, I was also planning to hike with my camera, so I couldn’t use a flimsy, packable backpack. I ended up using the Beast 28 from Matador Travel Gear, a waterproof bag with features like side pockets, hip and chest straps, and a flexible back frame for comfortable carrying, even when it was loaded with heavy camera gear and extra clothing.
I slid down glaciers and spent all day walking around in the rain in Longyearbyen and my gear stayed dry and protected. So far, it seems extremely durable, unlike some of my thinner packable bags, which now have duct tape patches from dropping and scraping them during hikes. My only gripe is that the zipper opens about 180 degrees, making it easy to open it too much when you’re swinging it forward to grab something out.
A DSLR Camera with a Telephoto Lens
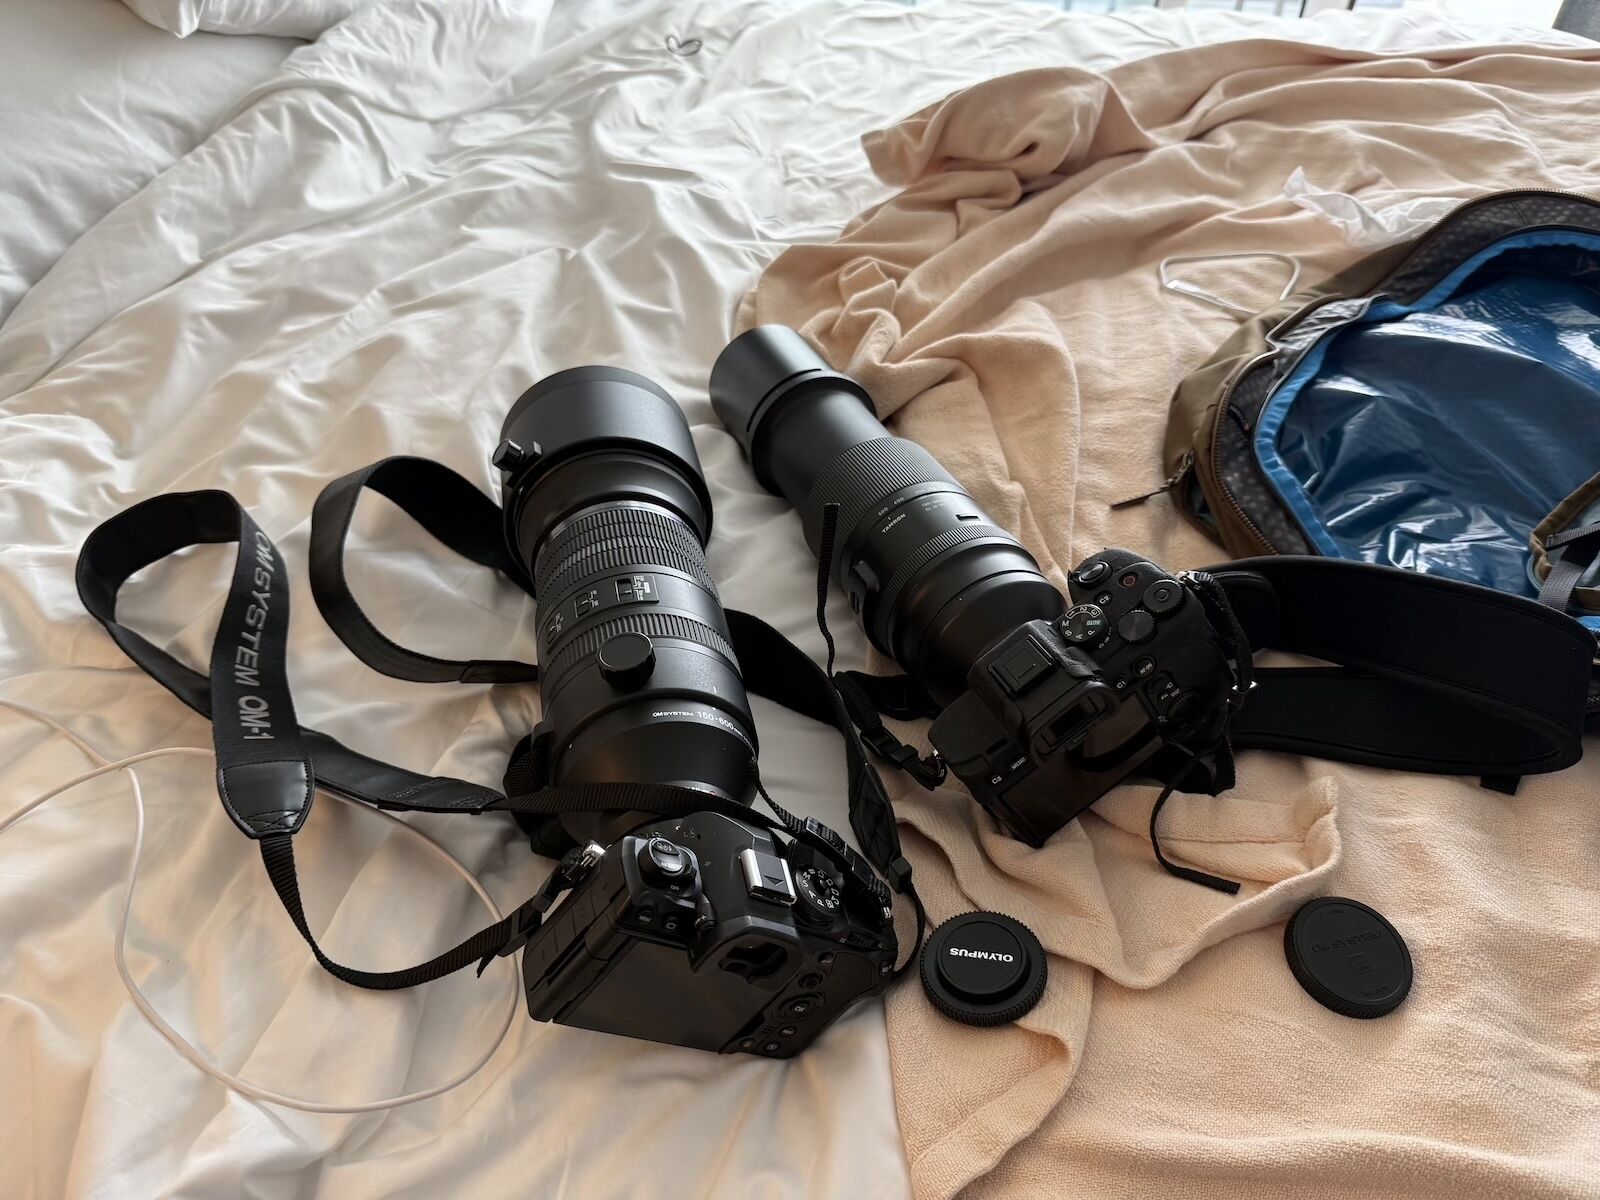
Photo: Suzie Dundas
This is one item on your Arctic packing list where a cheap version won’t do. One of the main reasons to go to the Arctic is to see wildlife, but regulations prevent cruises and boats from getting very close. So you’ll want to have a long lens and a camera that shoots in RAW, not just JPG. I brought my beloved Sony A7IV, with a 150-500 mm lens. But you should do your research before buying (or renting) a nice travel camera, as they are pricey buys.
However, twist: depending on how you visit the Arctic, you may be able to borrow one — for free, no less. I cruised with Lindblad Expeditions, which had on board the Resolution a camera library with cameras, lenses, and accessories you could borrow at absolutely no cost. They’re first-come, first-served, but during my trip, no one else borrowed anything, so I had my choice of cameras every day. It’s worth asking if your tour operator has a similar service, especially if you’re worried about weight issues on small planes to or from places like Svalbard or Tromsø.
A Packable Rain Jacket
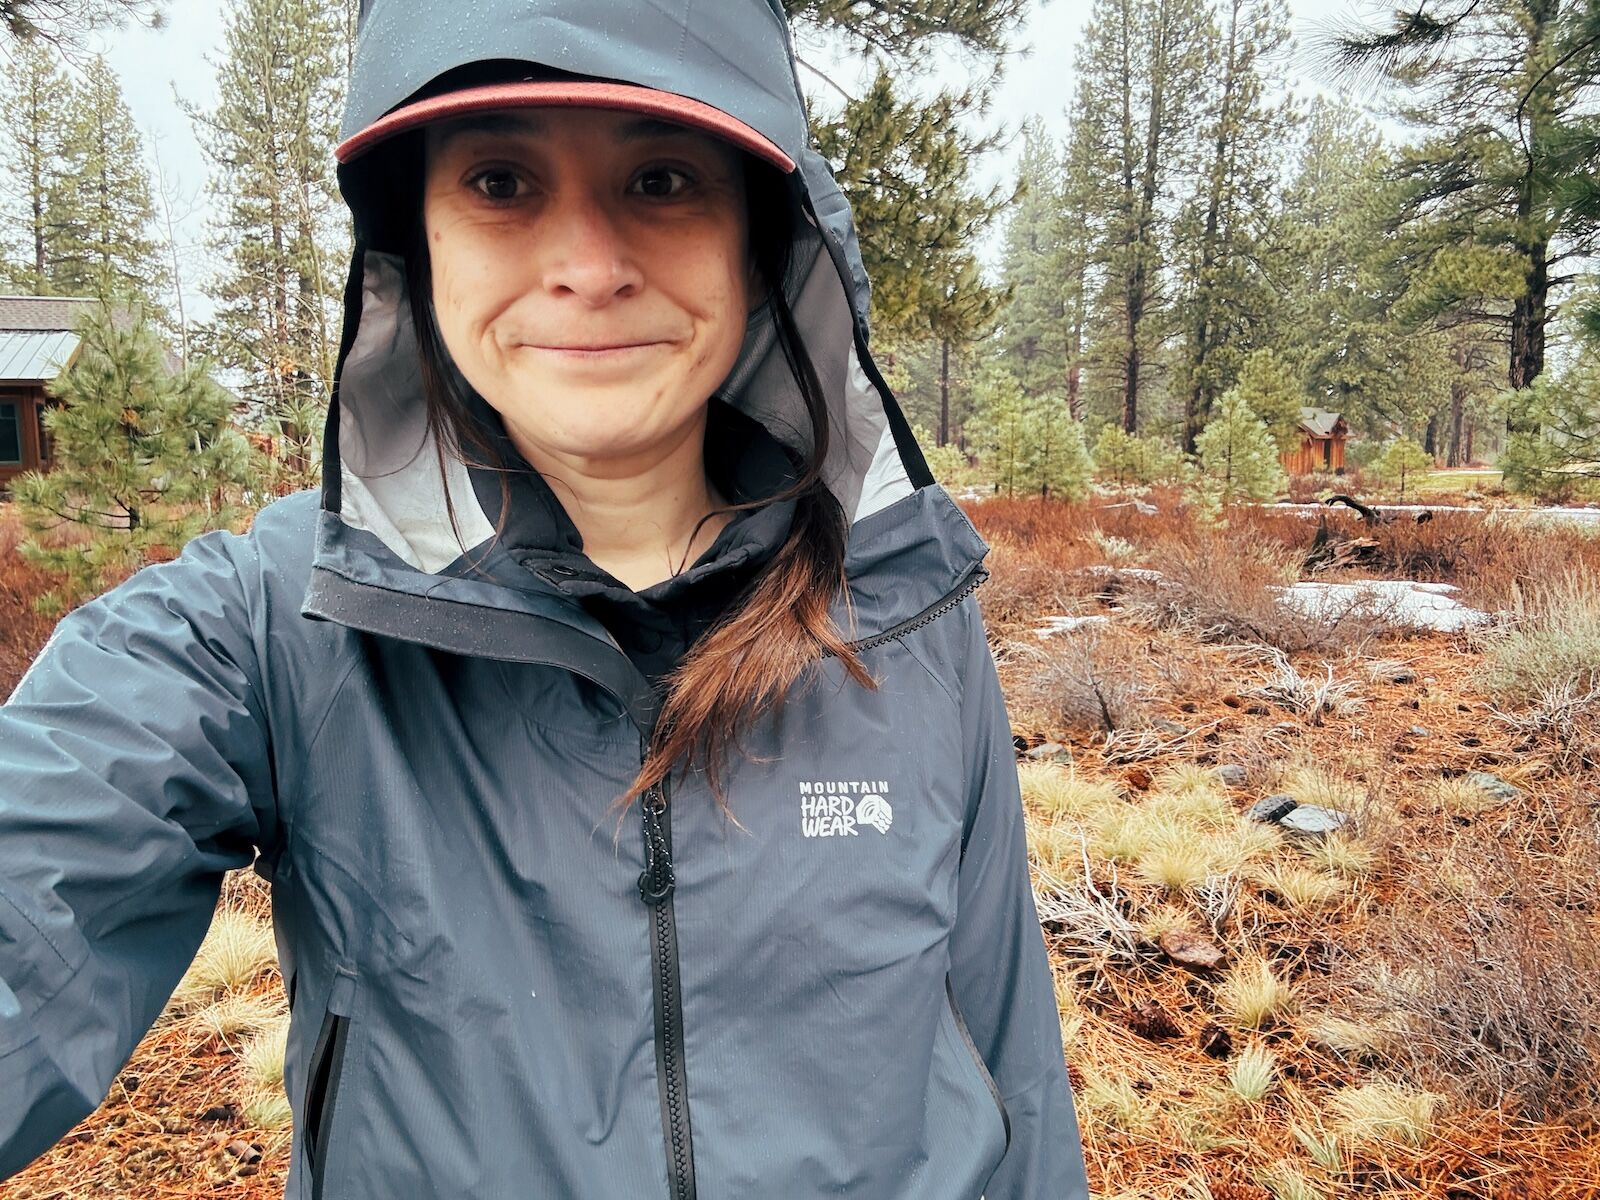
Photo: Suzie Dundas
I didn’t end up needing it in Svalbard, both because it didn’t rain much, and because Lindblad Expeditions gives guests on their Arctic cruises a waterproof parka to keep. But in Oslo, it was extremely helpful to have a lightweight rain jacket. Light rain is common there, even in summer, and having a jacket I could toss in my purse and throw on without adding much bulk was key. I’ve been using the Mountain Hardwear Premonition Jacket for nearly a year and have nothing bad to say about it. If you’re looking for an ultralight and ultra-waterproof jacket, it’s one of the best out there, even taking into account the price tag.
A Large Carry-on Bag
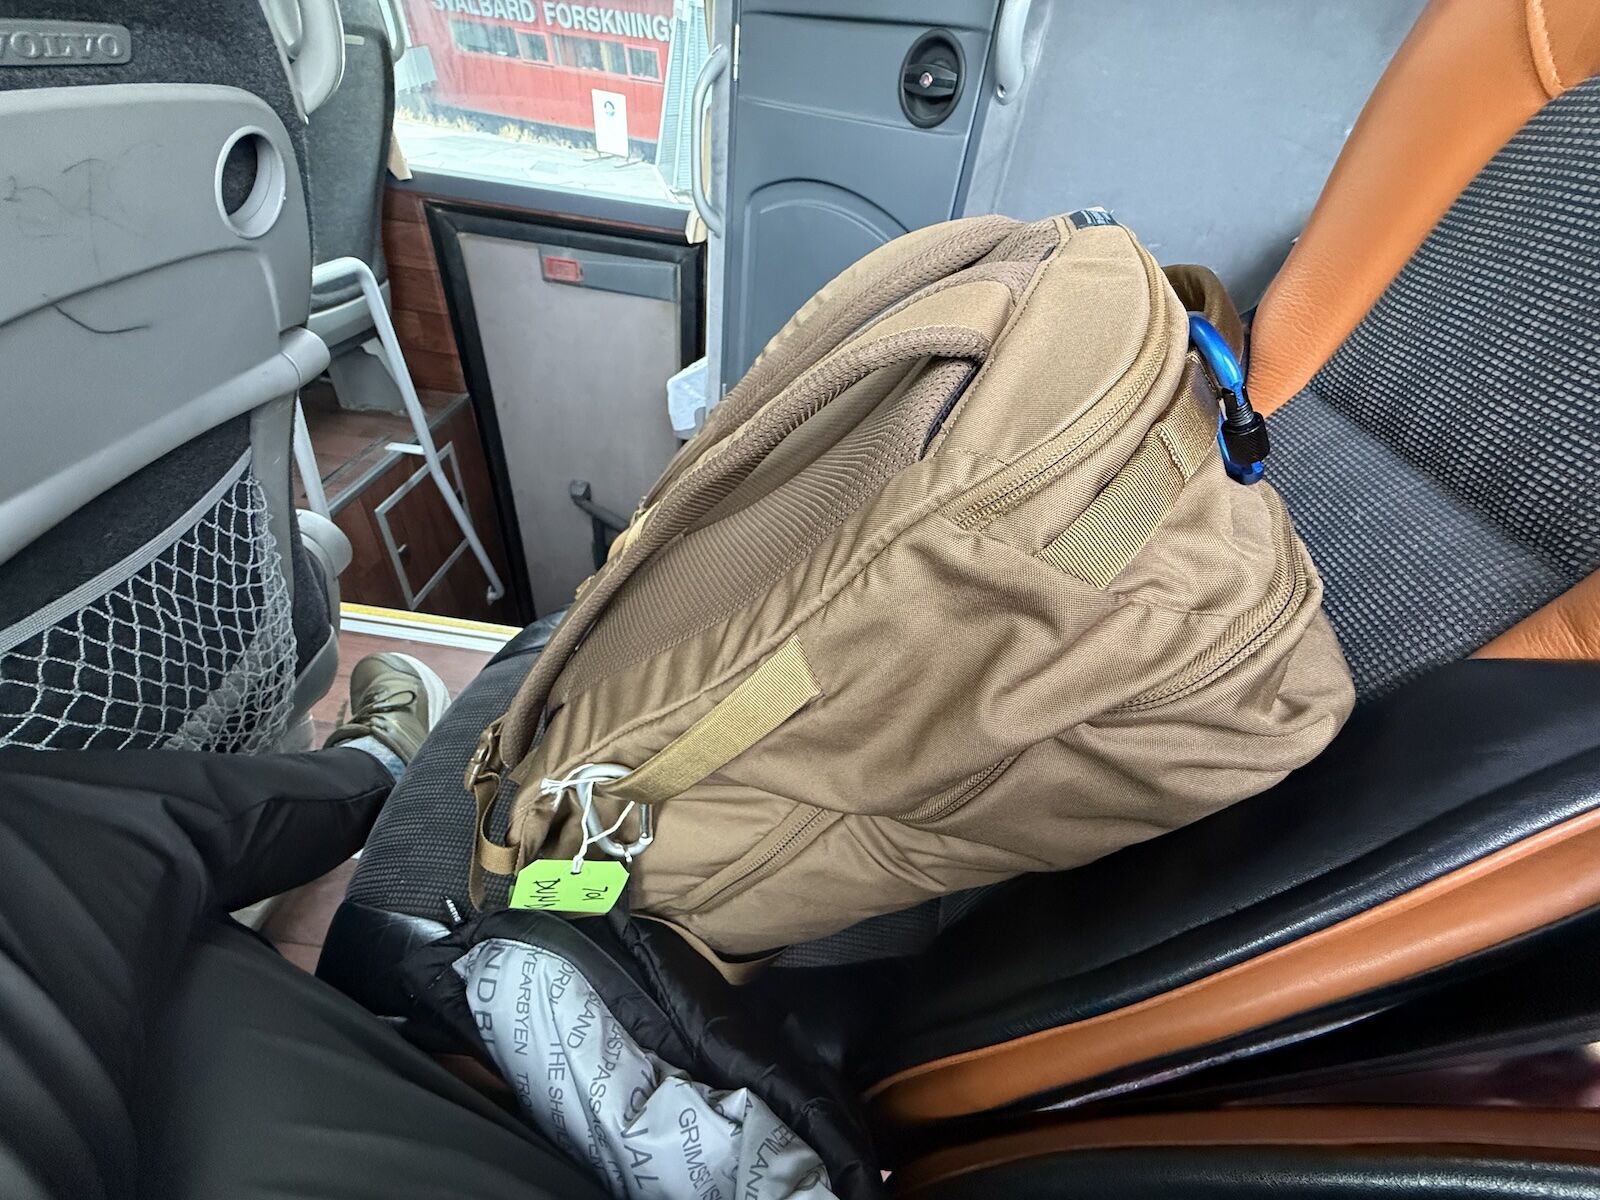
Photo: Suzie Dundas
It was an 11-hour flight to Oslo from Vancouver for me, then another three hours to Svalbard, so I had to carry a lot with me: a travel pillow and blanket for the plane, an extra layer, snacks, my laptop, chargers, and toiletries, plus all my camera gear. That’s why I used the biggest carry-on I have: The Gregory Border 40. It’s fairly affordable at around $140-$160, and maxes out your carry-on by offering 40 liters of space. It’s spread between two primary compartments (one of which is odor- and moisture-proof), and a few small compartments like a laptop pocket and front zippered pocket. I’ve never had a flight attendant question it as a carry-on, and the soft-sided design means you can easily shove it under an airplane seat — or at least make it look like it’s under the seat well enough for takeoff.
More Socks (Always)
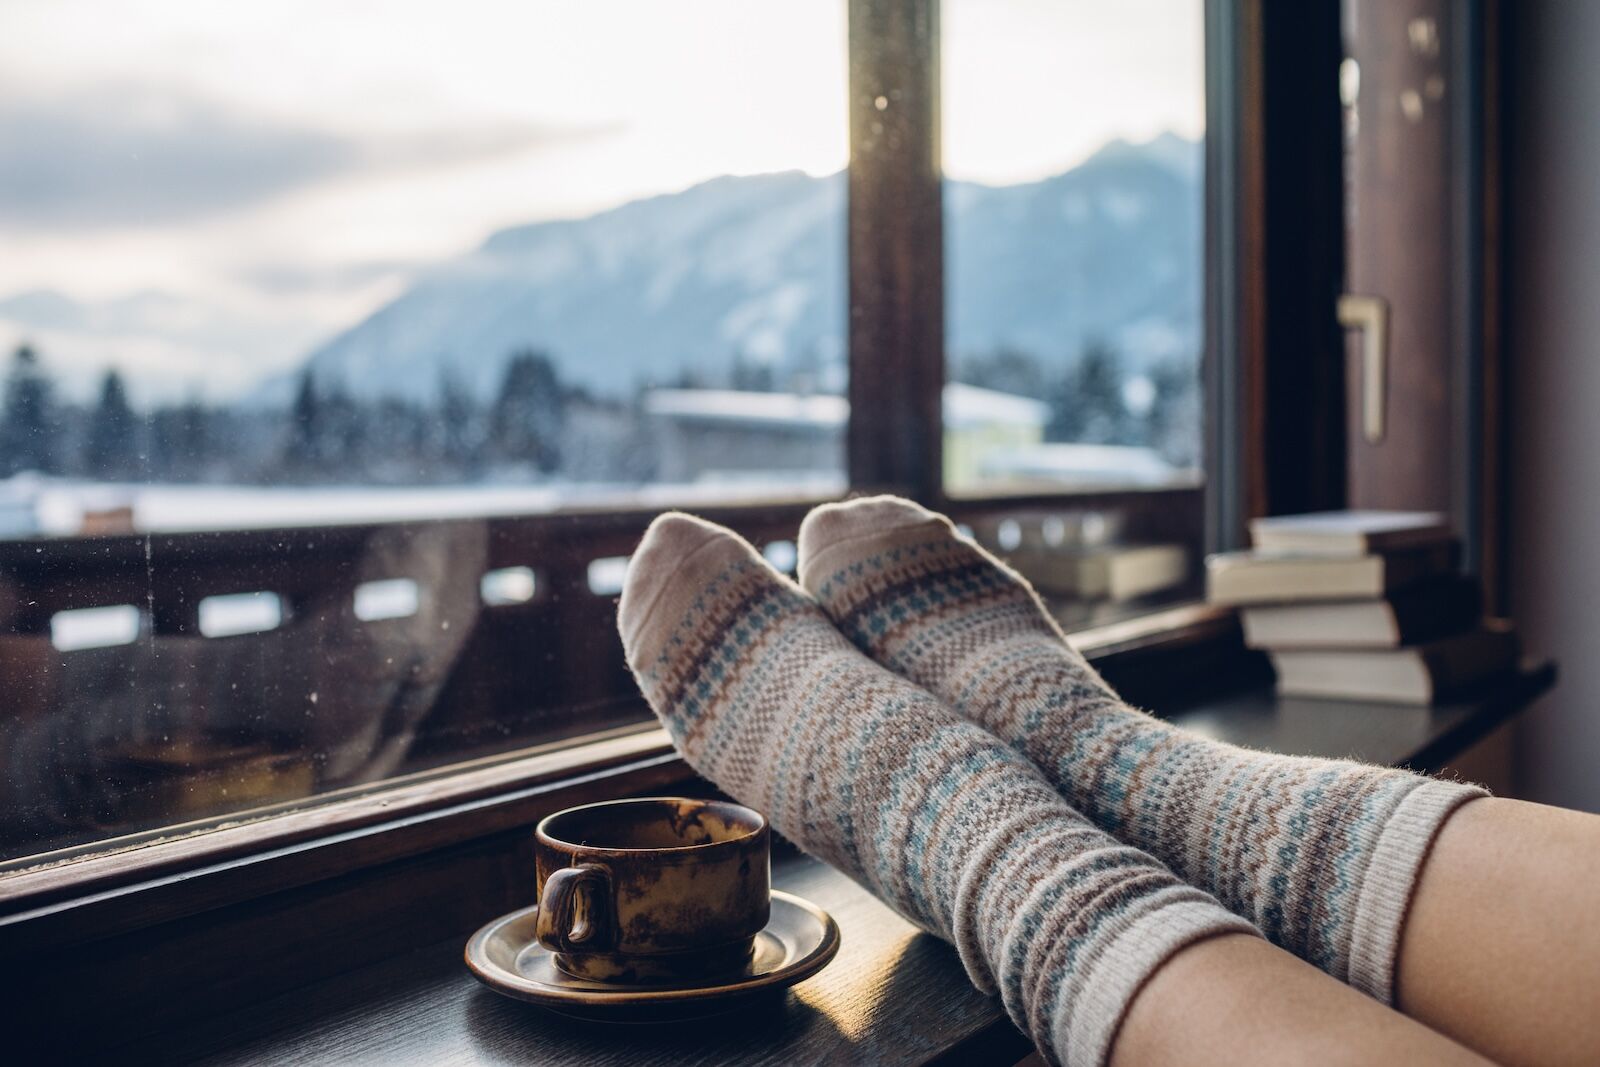
Photo: AlexMaster/Shutterstock
I wish I had added more socks to my Arctic packing list. I wore each pair at least twice, and by the end of the trip, I was smell testing them to see which ones were the least offensive. My Lindblad Expeditions trip had six days of on-land excursions, so I would recommend bringing at least that many pairs of tall, thick socks, especially if you’re wearing rental boots. My favorites on my trip were my thickly insulated Smartwool Over-The-Calf socks and my Icebreaker Merino Wool Over-the-Calf socks, both of which were warm when wet and dried quite quickly. Make sure to wear a quick-drying fabric like Merino wool or a synthetic material, as you will probably get snow in your boots if you do any hiking on land, even in summer.
Slip-on Shoes
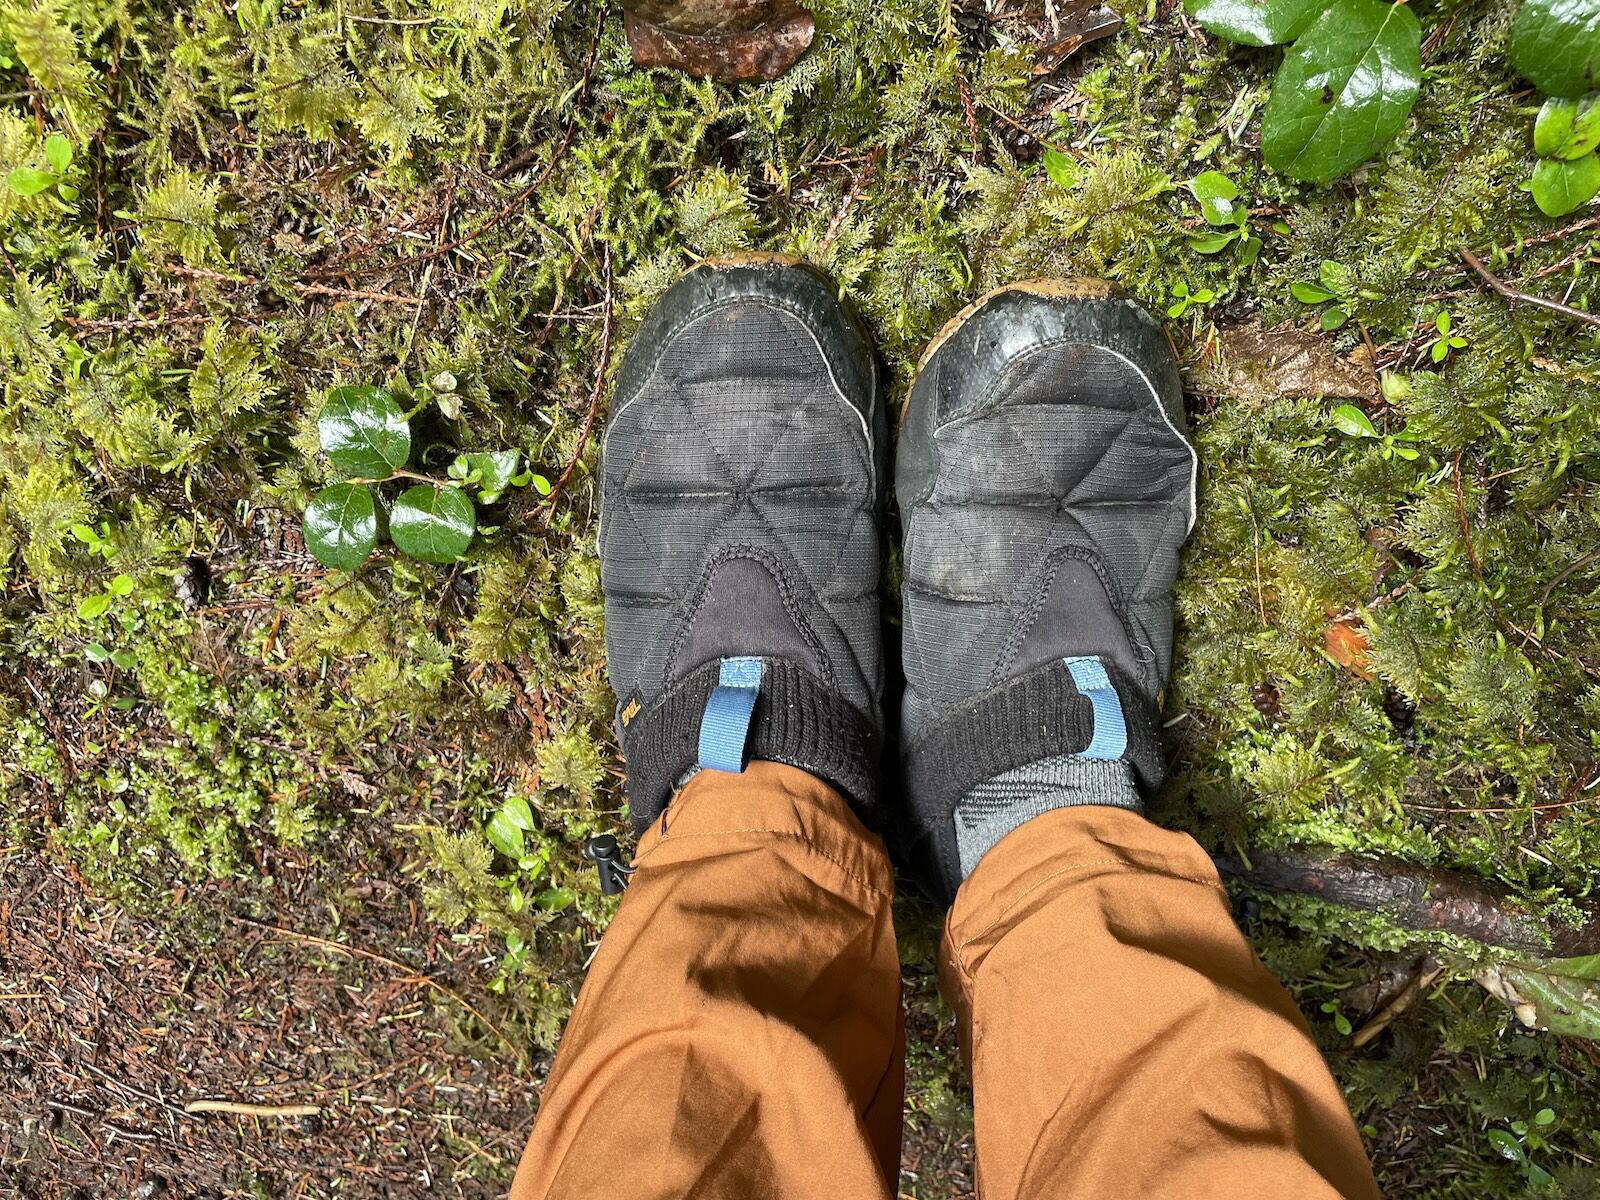
Photo: Suzie Dundas
I’m obsessed with slip-on insulated slippers — the kind designed for camping and backpacking. I’ve worn pairs from Teva, The North Face, Oboz, Rab, and more, and honestly, they’re all good choices. The ones I wore on board were my unisex Teva ReEmbers, one of the original insulated slippers. I strongly recommend a warm shoe you can easily take on and off to wear on board when walking around and relaxing on the ship. A slipper or other shoe you can slide on in seconds is also useful in case you’re lying in bed when you get word of a polar bear sighting just off the edge of the boat. You don’t want to miss a shot because you’re lacing up your stiff trail shoes.
Things I Didn’t Need to Bring

I borrowed thick, waterproof boots from Lindblad Expeditions, which was way better than buying and carrying a big, bulky pair in my suitcase.
A lot of packing lists for Arctic travel include laundry lists of bulky, hard-to-pack items, so here are a few areas where you can save space. Here’s what I either left at home, or wish I had.
- Sunscreen: I brought a huge tube of sunscreen and didn’t need it, mostly because my skin was covered whenever I was outside. Bring an ocean-safe sunscreen for your face and hands, but you probably won’t have much skin exposed to the elements while you’re outside.
- Boots: Many of the shore landings are in water, which means you’ll need rubber, waterproof boots that come up to your knees. Even if I’d had a pair, which I didn’t, I wouldn’t want to bring them since they take up so much space in a suitcase. Lindblad Expeditions has a boot rental program on board, so I just borrowed a pair from the ship. Many tour companies and gear outfitters offer a similar service, so check if it’s available before you waste time and money on hard-to-pack (and expensive) boots.
- Waterproof pants: I brought fully waterproof pants, but I’m not sure why. You definitely want a pair of water-resistant hiking pants, or something like a ski pant, but you don’t need the fully waterproof, fisherman-style pants I brought.
- Extra gloves and beanies: I mostly wore a baseball cap (because Arctic sun) with jacket hood over it. I think I only wore a beanie one time. You should still bring one in case it’s extra-cold, but I’d recommend just a basic, packable knit one, like the tried-and-true beanies from Buff. One pair of gloves would have also sufficed. I wore my medium thickness waterproof gloves most of the time, and didn’t wear the thick ski gloves I brought at all.
- A GoPro: Everything in the arctic is vast, deep, and landscape-focused — not exactly the kind of shots action cams lend themselves to. Most wildlife you see will be so far away you couldn’t even see them in your footage. If you’re doing a land-based activity like snowmobiling, maybe it makes sense. But for a cruise-based trip, don’t bother.
- Binoculars: I brought my Nocs Standard Issue binoculars, which are pretty nice, especially for the price — but I didn’t need them. Onboard the Resolution were at least a dozen pairs of binoculars in common spaces anyone could borrow, as well as high-powered spotting scopes that could see much farther than even the best binoculars. You should check if your boat or tour operator has binocs on board, and if so, just use them. However, if you do need your own pair, the Nocs Standard Issue are a smart buy.
