Photo: blue-sea.cz/Shutterstock

6 Photographer-Approved Tips to Take Perfect Underwater Pictures

Photo + Video + Film National Parks Diving
by Nickolaus Hines Nov 2, 2021

An underwater photograph is the perfect memento from any trip where water is the main attraction. Yet the barrier to entry for underwater photography is much higher than it is for snapping a picture on dry land. That’s one reason why the most stunning underwater photographs can be so eye-catching.

For help on getting the perfect submerged shot, I turned to professional photographers and the global Professional Association of Diving Instructors (PADI), which also has an underwater photographer course for $125.

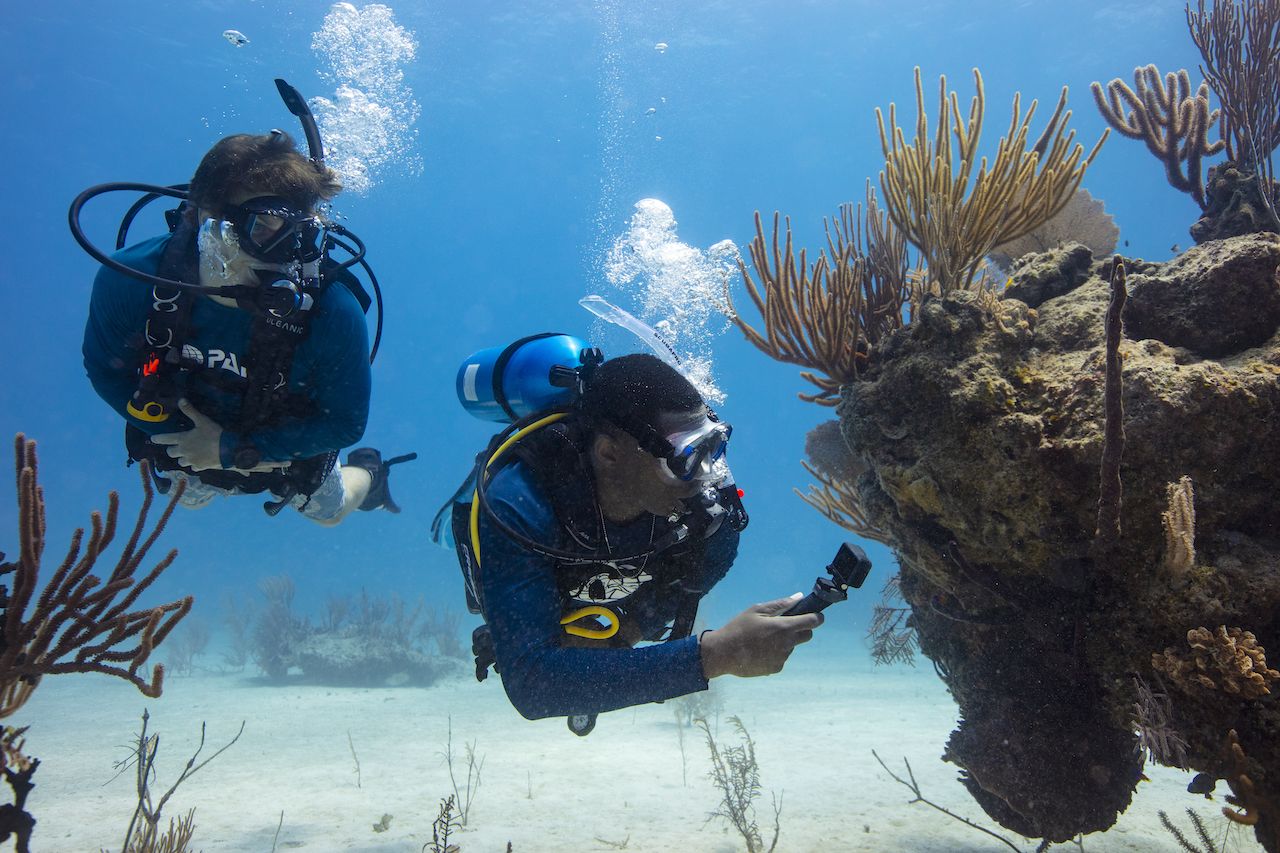
Grab your water-ready camera (whether that be the a GoPro that can handle up to 33 feet of submersion, a waterproof point-and-shoot, or specialty equipment) and follow these tips to get started on nailing the perfect underwater shot on your next vacation.

1. Get close

“There are a lot of beginner mistakes, but a common one is trying to take pictures from too far away,” says Karl Shreeves, co-author of the PADI’s underwater photography course and the company’s principal photographer for educational materials. “The less water light passes through the better the picture, generally speaking, so closer is usually better.”

2. Avoid a shallow depth of field

Above-ground photos often benefit from a tight selective focus and a shallow depth of field. This allows for a crisp subject up front with a blurred background. Getting a clear underwater photo with a shallow depth of field, however, is a different story.

“The number one mistake I’ve made in the past is using a shallow depth of field,” says Robb Leahy, a photographer who recently worked on the Reef Restoration Project on the Dutch Caribbean island of Bonaire. “A shallow depth of field makes a photo interesting but it can be challenging underwater to nail your focus. I have found the best way to keep images sharp is by setting the aperture around 5.6 to 7.1.”

3. Mind the white balance setting

A camera’s underwater mode (if there’s one available) is an easy go-to for crystal clear bright water. That checks the box for your tropical coral gardens or kelp forests in the middle of the day.

Even if you’re more the type who puts the settings to auto and moves on, you may still want to keep an eye on one setting in particular: the white balance. This is how the camera ensures white looks, well, white. That’s not terribly hard to do out of water because the colors are relatively steady. Underwater is a different story.

learning how to do underwater photography

Photo: PADI

“Because water absorbs color, a change of depth or distance affects the white balance,” Shreeves says. “Adding to this, we don’t usually want to be perfect with white balance (it needs to look like you’re underwater, right?). So, more advanced underwater shooters often adjust color primarily afterward with software – but that only works if the camera’s underwater setting was reasonable.”

This is especially important to pay attention to at certain depths and if you’re shooting colorful subjects.

“The color red disappears at a depth of 30 feet, and orange at around 50 feet,” Leahy says. “Auto-white balance is less forgiving underwater and can mess up your colors, especially skin tones.”

On a clear day, Leahy will shoot on aperture priority mode at 5.6, with a high speed shutter burst, center auto-focus, an ISO set between 800 and 1,600, and the white balance set to 5200K.

4. Choose a wide-angle lens

Shreeves usually works with such a wide angle that he has to be careful his feet aren’t in the photo. A long lens may be needed for super shy creatures that’ll dart away if they spot you, but long lenses typically don’t have an application for your average underwater shots.

“Other than for closeup work or fish portraits, the widest-angle lens you can get is best,” Shreeves says. “The reason is that it lets you get close while ‘pushing’ the picture away optically, so you see everything with less water between the subject and camera.”

underwater photography course in front of coral

Photo: PADI

And remember, you can always crop the photo later.

“A wide angle lens is more forgiving and images can be cropped to better composition in post,” Leahy, who suggests a 15-25mm lens, says. “I’ve never used anything longer than 50mm because it’s hard to keep the subject in frame from a far distance.”

5. Know the light limitations of the environment

Natural light can be much more difficult to work with than when you’re above the surface. Shreeves has three basic principles to underwater natural light photography: “Shoot in clear, well-lit water; stay shallow; and stay close.”

“Clear water is always the best, period,” Shreeves says. “And murky water is always the worst, period. Beginners can readily get great shots within the limits of even modest, underwater snapshooting photo gear in clear water. In murky water, only skilled shooters get useable shots, and they have to have the right equipment, lighting and skill, plus make adjustments later in Photoshop.”

6. Be patient, but also aware of timing

A picture is a moment in time, and often the best pictures are made when the photographer patiently waits for the exact moment that can tell a story or depict something many people miss in the day to day. Timing it a little harder underwater.

Like all wildlife photography, it’s all about good luck and patience,” Leahy says. “But when you’re underwater, your time is limited to the amount of air you have. Holding a position can be quite challenging or impossible when there’s a strong current so I would recommend having your settings dialed in.”

Discover Matador