Photo: Shutterstock/MSPhotographic

Green Recipes: How to Make Your Own Cheese

Travel
by Sara Clarke Apr 28, 2010
In the first installment in our Green Recipes series, Sara Clarke shows you how to make your own cheese.

You really only need three things to make a simple fresh cheese: milk, heat, and acid. There are some rules to follow, and some kitchen supplies that will make things easier, but in the end it comes down to those three things.

The Milk

It is very important that you do not try to make cheese with ultra-pasteurized milk. Other than that, any milk will do. You could also use the milk of goats or sheep if they are available to you; recently a New York City chef revealed that he’s been experimenting with cheese made from his wife’s breastmilk!
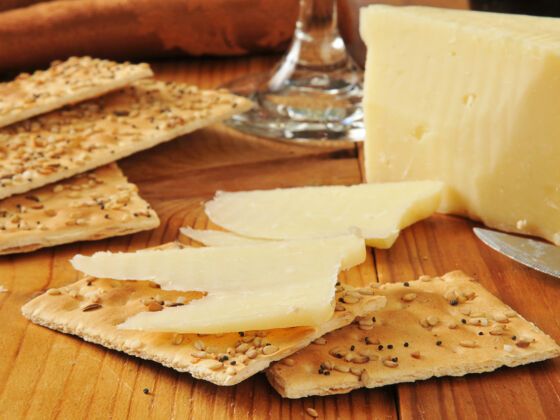
The Recipe

Pour a gallon of milk into a large pot, the kind you would typically use to make a big batch of pasta. Heat this pot of milk over a burner until it reaches the simmering point. Other recipes will specify various temperatures, but using a thermometer isn’t important – our ancestors made cheese for thousands of years without fancy electronic gadgets, and so can you.

When the milk reaches a simmer, it’s time to add your acid. The two most popular acids for home cheesemakers are lemon juice and white vinegar. As long as you use these in the correct ratio to the amount of milk simmering on your stove, you really can’t go wrong.

Use a tablespoon of vinegar or lemon juice for every quart of milk; so to your simmering gallon of milk, add four tablespoons of your chosen acid. Stir just enough to blend it in, then turn off the heat. Soon the milk will begin to curdle: you’ll see solid chunks of curd floating in the remaining yellowish liquid, called whey. Leave the curds and whey to cool until you can handle the pot and its contents easily without burning yourself.

In the meantime, get out a colander, a slotted spoon, and some kind of cloth or paper towels. You can buy cheesecloth in supermarkets, but a tea towel, a bandanna, or a few layers of paper towels placed carefully inside the colander will work equally well. When the curds and whey are cool enough, use the slotted spoon to remove the biggest curds. Then pour the remaining whey and small curds through your cloth-lined colander. What remains in the colander is cheese!

If you’re hungry, you can stop here. The resulting soft cheese tastes wonderful eaten plain with a sprinkle of sea salt and olive oil, or a drizzle of honey if you have a sweet tooth.

You can also wrap the cheese in a cloth (paper towels probably won’t work) and hang it over the sink to drain out more whey. After 15 minutes or so, the cheese will have the consistency of a good ricotta which you can use to make lasagna, filled pasta, or blintzes.

Why Make Your Own Cheese

Homemade ricotta is far superior to its supermarket cousin, because the latter is pumped full of preservatives and stabilizers to extend the shelf life and make it easier to transport. Sitting on a shelf in the dairy aisle, ricotta becomes bland and gritty. This is the best reason to make your own cheese at home — fresh cheeses are much better when they’re actually fresh and not artificially preserved for months in a plastic tub.

Continuing to drain the cheese presents endless possibilities. Left to hang for a few hours, the cheese will be a little firmer, with a spreadable consistency like chevre. This is great spread on a slice of toast or added to a sandwich. If you leave the cheese to hang overnight, you’ll be left with paneer or queso blanco, which is perfect in a curry or used as a filling for enchiladas. You can even brine it for a few days in the refrigerator to make feta.

Community Connection

If you’d like to share a Green Recipe, email neha[at]matadornetwork[dot]com with your piece.

Discover Matador